System Tables
Code Tables
Code Tables are used to control the values selected in user defined fields. The values entered for each Code Table category appear in a Drop Down, Pop Up field, or Calculated fields. You can add new values to the Code Tables, when nessesary, and you create as many values for the Code Tables your company requires.
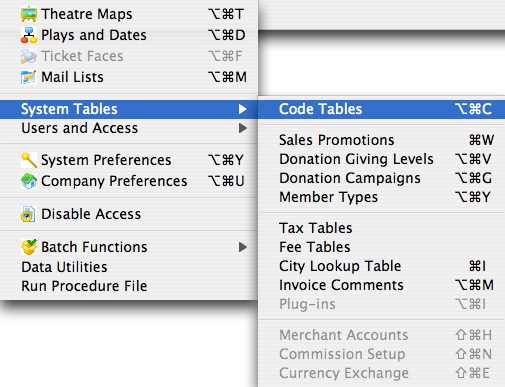
You access the Code Tables through the Setup >> System Tables >> Code Tables Menu.
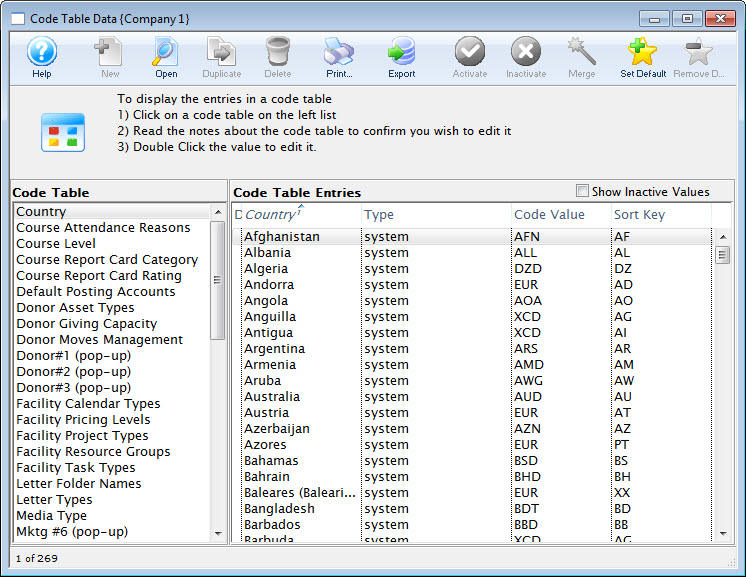
The Code Table Data Window opens.
Inserting Values
To insert a value into an existing code table, you perform the following steps:
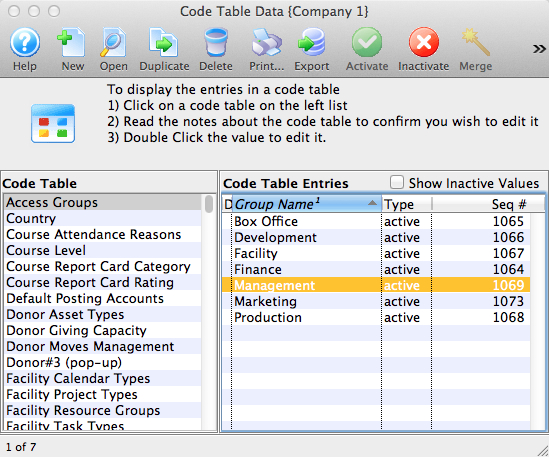
- In the left column of the Code Tables Data window, highlight the table you want to insert a new value.
- Click the New
 button in the Code Tables Data window ribbon bar.
The Code entry dialog opens.
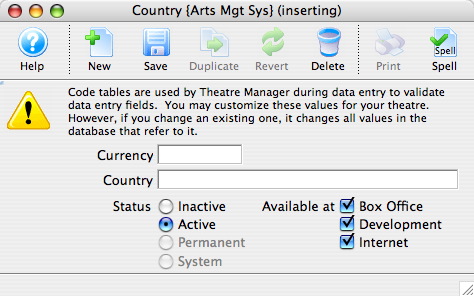
- Enter the new code.
- Set the status of the new code.

When inserting, the default is always "Active".
- Click the Save
 button.
The new code is now saved and added to the code table.
Editing Values in a Code Table
|
You can edit the value of a entry in a code table but by changing it you will be changing all records which used the previous value. |
- Double Click the value you would like to edit.
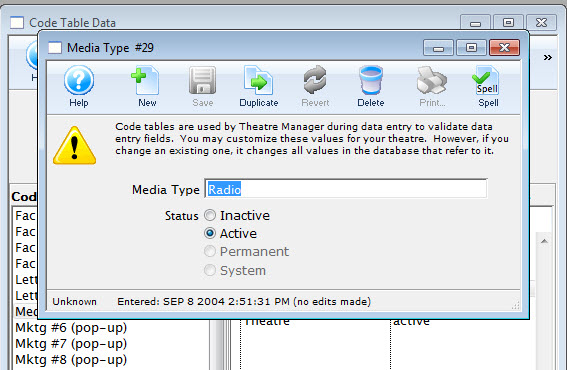
- Change the value as needed and click the Save
 button.
The value will be changed in the code table and on all records which contained that value.
Changing Value Status
|
Changing the status of a code table value is a good way to remove a value from use temporarily. |
- Select the Code Table and Table Etrey value you would like to change the status of.
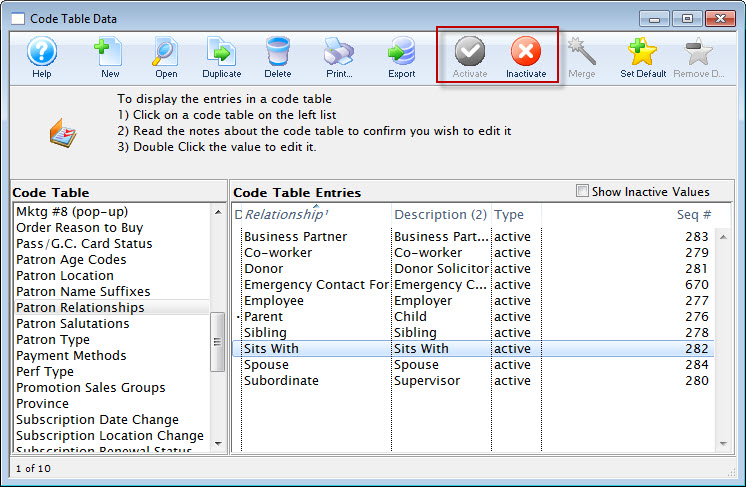
- Click either the Activate
 or Inactivate
  Buttons
depending on which status you would like to change the value of.
Setting or Removing a Default Value
Some code tables allow setting up a default value to be used when inserting a new record into Theatre Manager. For example, if the salutation code table had a default value of "Mr. and Mrs." This feature reduces the amount of time it takes to input information into Theatre Manager. Values that do not change each time a new record is inserted can be predefined.
Setting a Default
- Select the value from the appropriate code table.
Single click the value to highlight it.
- Click the Set Default
 button.
A bullet should now appear beside the value, signifing the default code table value.
Removing a Default
- Select the default value from the appropriate code table
Single clicking the value to highlight it. This will be the value that is marked by the bullet.
- Click the Remove Default Button

The default should now be removed. If the bullet has disappeared the process was successful. There is no longer a default value.
Merging Code Table Values
Merging Code Table Values can take some time as it depends on how many values you are merging and the number of times they have been merged. Make a backup of your database before you perform a merge on code table data. Click Here to learn how.
- Select the values that you would like to merge.
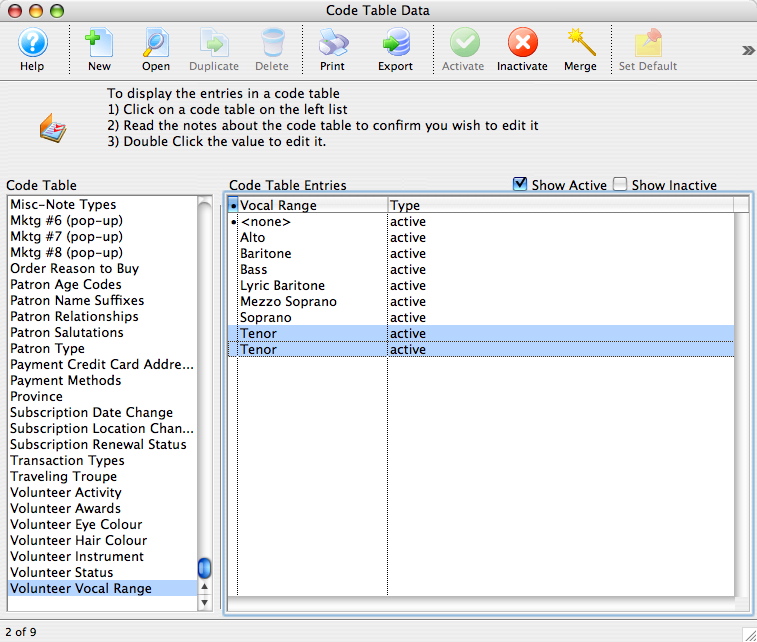
- Click the Merge
 button.
The Duplicate Search Options Window will open.
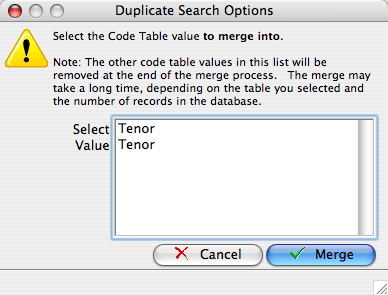
- Select the value you would like to merge all data into then click Merge

A Warning Window will open asking you to confirm the merge.
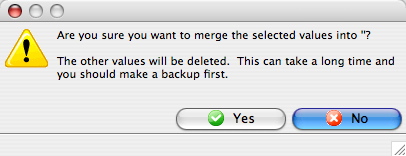
- Click Yes
 to continue with the merge.
Deleting Values
To determine if you can delete data from a code table, check the Delete Button. If the button is inaccessable  (greyed out) no data can be removed from the table. Once a code has been assigned to a record it cannot be deleted.
If you want to prevent further use of an value, and you can not delete it, disable it. Click here for more information in changing the status of a vaule.
To delete a value, you perform the following steps:
- Choose the code value to be deleted
Do this by single clicking the value.
- Click the Delete
 button.
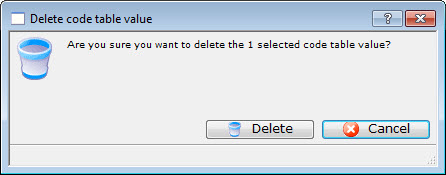
The Delete a Record confirmation dialog opens.
- Click the Delete
 button to complete the deletion
The Value is now be deleted and has been removed from the table.
Reloading Table Values
When you launch Theatre Manager, the current values from the Code Tables are loaded into memory. Adding new values or editing existing values does not reload the values stored in memory for other employees currently logged onto Theatre Manager. To see any changes made, all users need to re-launch Theatre Manager to see all changes made by other users updated in memory.
To reload all the changes made to the code tables, you need to perform the following steps:
- Close Theatre Manager.
- Start Theatre Manager.
Any changes made to the code tables will be visible and available.
Code Table Options
Access groups
- As broad as a department
- As specific as a person or two
To use this feature, you need to do three things:
- Create a list of departments of access groups to suit your needs in this code table
- Assign an employee to one or more access groups
- Assign a specific record to one or more groups using the access field on each record. If the employee matches any one of the groups, they will be able to see the data. This applies to:
- Donation records
- Ticket Sales
- Ticket Reporting
- Tasks
- Mail Lists
- Donation Campaigns
- Play Access
- Performance Access
- Volunteer Activities
- and more
Using Access Groups
When you click on the popup, there are 3 options to choose from and which are explained below. These security access groupings are defined in code tables and need to be assigned to an employee.

| All Groups | If you have access to all groups (form employee prefernces) or if the current record allows access by all employees, you will be able to set that 'all groups' have access.
This setting means that anybody may view or edit this particular record. |
| My Access | The setting allows you to change the access of the current record to provide at least the same access that you have.
You cannot remove groups that you do not have access to, so that means if you only are assigned the box office and finance groups, and the existing record has box office and marketing, marketing will still have access. |
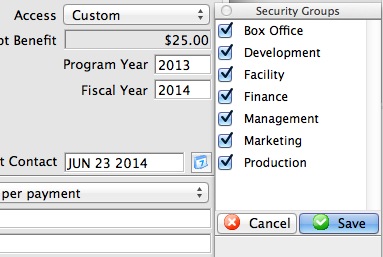
| Custom | If you select this option, you will see a floating window like the image below. You will only see groups to which you are assigned and you can indicate which ones other employees will need to access the record.
If there are groups to which you do not belong and that are part of the security for this record, you will neither see them, nor be able to change them and they will always be put back onto the security string. This means you can
|
Country
The Countries in the code table list appear in the Country drop down list in the Patron window, Default Data, Maps, Web Sales, and other places using the Country drop down list in Theatre Manager.
You can shorten the list by setting countries to inactivate, or if a country is not a 'System' country, it can be deleted from the code table. If a country is not in the Code Table, it can be added.
For 'System' countries, Theatre Manager has built in controls for phone numbers, postal codes, and more. Currently these are:
- Canada
- USA
- Australia
- New Zealand Depending on the region, defaults can be set. For more information on setting a country as a default in the Company Defaults, click here.
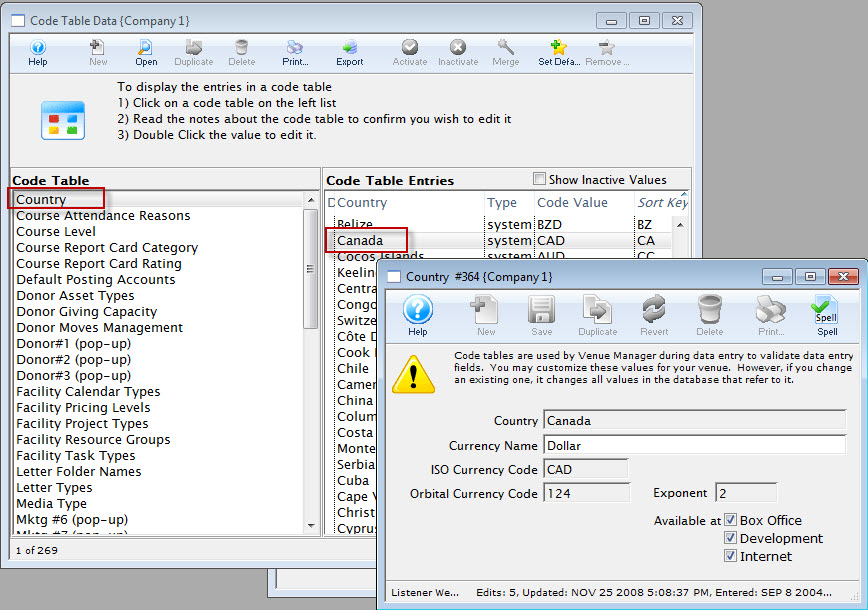
For more information on how to access the Country table click here.
For information about editing values in Code Tables, click here.
Course Attendance Reasons
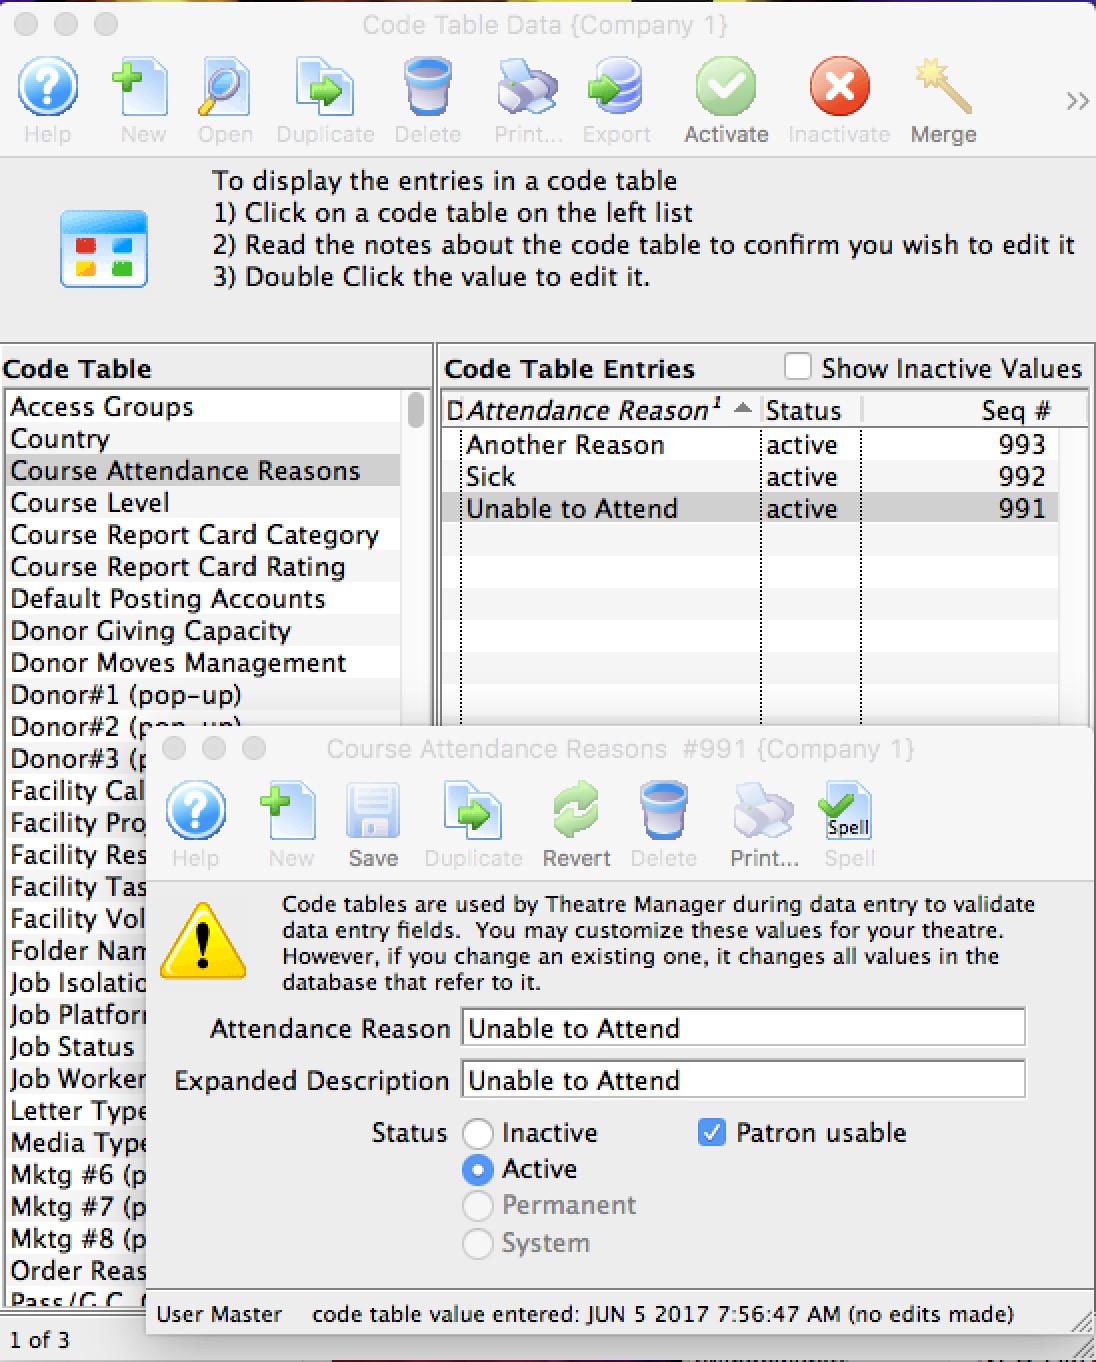
The field settings are:
- Attendance Reason - this is a short description to appear online in the patrons' attendance record. Examples: 'away' or 'sick'
- Expanded Description - is a longer description for lists for the attendance reason. Examples:
- 'cannot attend - personal reason' or
- 'caught the current flu going around'
- set the status to be active or in active
- indicate that the attendance reason as being patron usable. If this flag is set, then a patron can use this excuse to set their own attendance to a class within a course using the online module. For example, if a student could not attend one day in a drama class, ballet class, swim class or pilates session they can indicate why they cannot come so that the instructor knows who will be present that day.
 |
Staff can use all reasons that are active, including those that are marked not patron usable |
For information about editing values in Code Tables, click here.
To see where and how Course Attendance Reason is used in Courses, click here.
Course Level
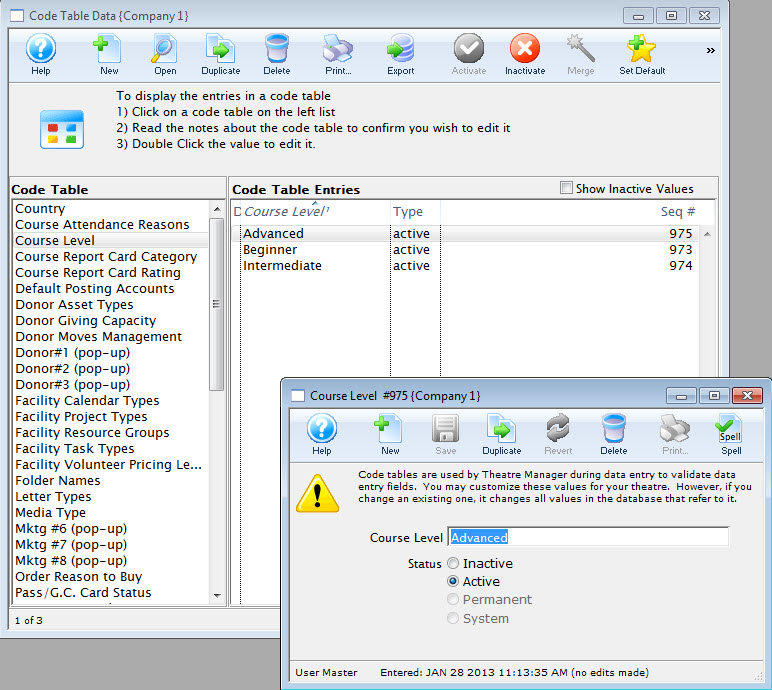
For information about editing values in Code Tables, click here.
Course Report Card Categories
Report Card Categories also have to be setup before Report Cards can be used. Go to Setup>>System Tables>>Code Tables to find Report Card Categories and assign values to it.
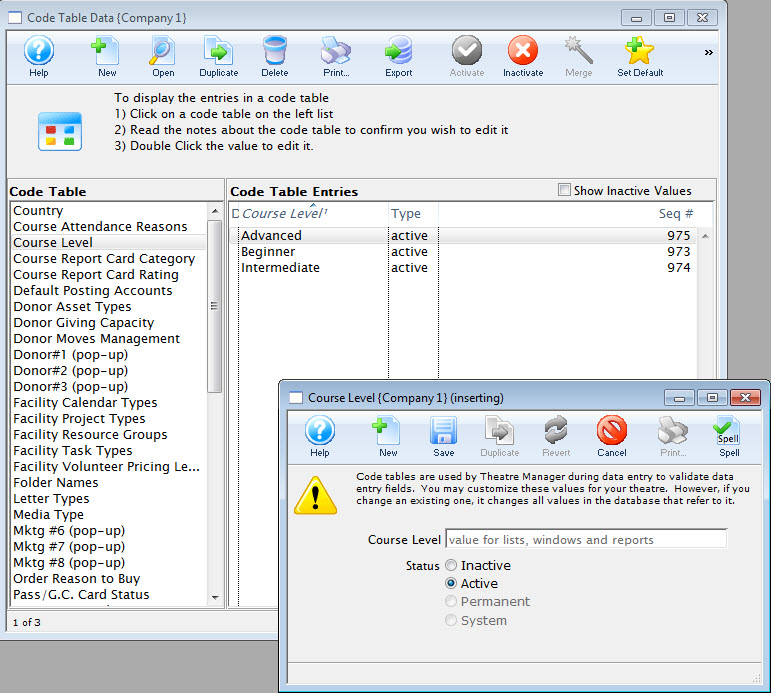
For information about editing values in Code Tables, click here.
Course Report Card Ratings
Just like Categories, Report Card Ratings have to be defined in Code Tables before they can be used. Go to Setup>>System Tables>>Code Tables to find Report Card Ratings and assign values to it.
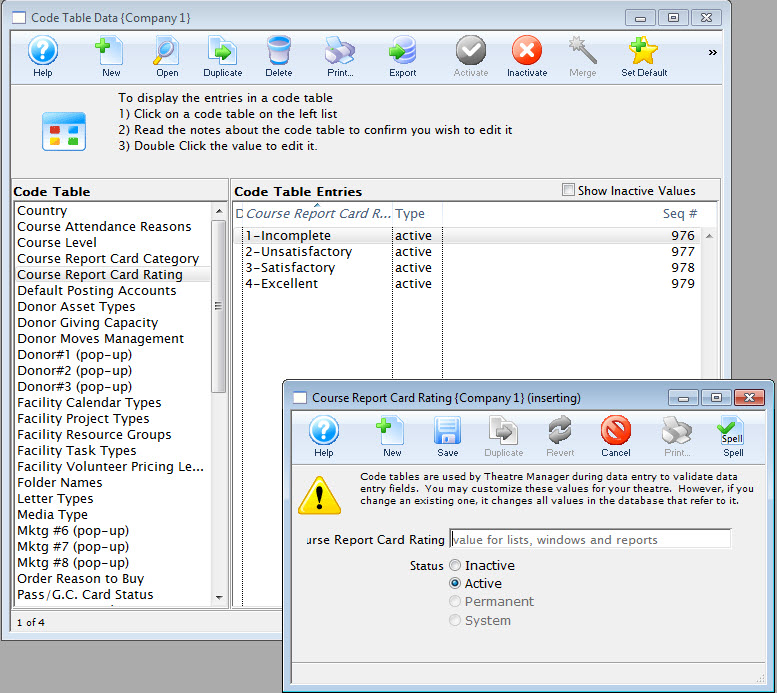
Default Posting Accounts
Specific general ledger asset and income accounts are required to be defined prior to Creating Sales Entries and performing Deposits.
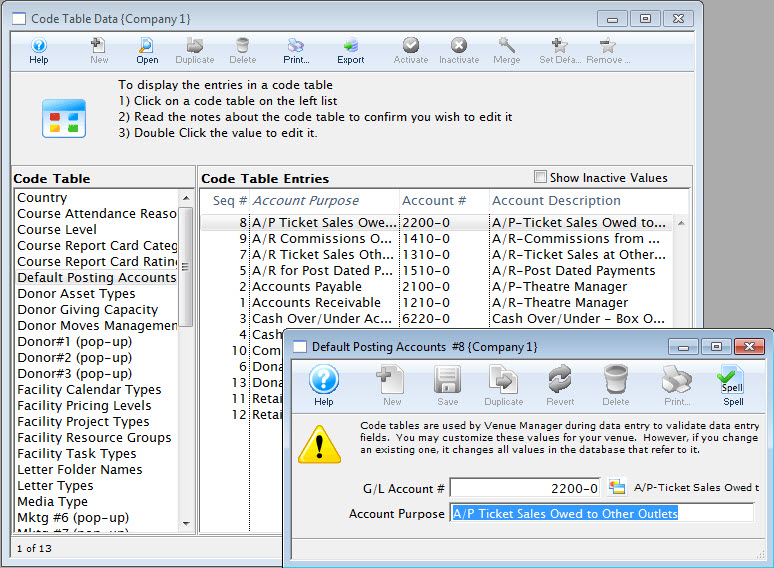
- Refer to the section General Ledger Accounts to create the account
information. Click here for more information.
For information about editing values in Code Tables, click here.
- For example: Once you have an accounts receivable account, that account will only be used as an accounts receivable account.
Because these code table values are defaulted, you may not insert a new default account or delete an existing account, however, you can edit an existing account. The result values are the types of default accounts that must be set up in Theatre Manager.
You must assign a General Ledger Account number to each of the defaulted values. The general ledger accounts you use must be created to carry out the sole purpose of the default value.
 |
Note: The donation main bank account and the transfer bank account have special meaning cannot be the same.
Refer to the help on setting up Restricted Donation Accounts for more information. |
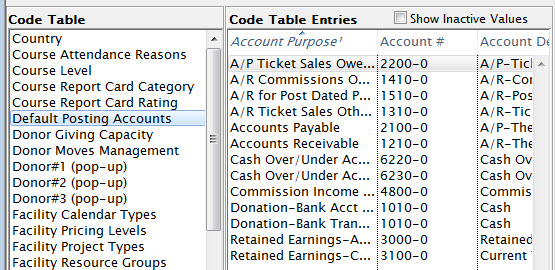
Editing a Default Account
The default accounts should not need to be edited or changed very often. There may be times which you need to.
For example: When upgrading Theatre Manager, sometimes new default accounts are added, or you may desire to change the account numbers on a yearly basis. Before editing a default account ensure that there is a general ledger account number that is set up.
Refer to Creating General Ledger Accounts for more information.
- Double click on the account to be edited.
The Entry of Account Description Window opens.
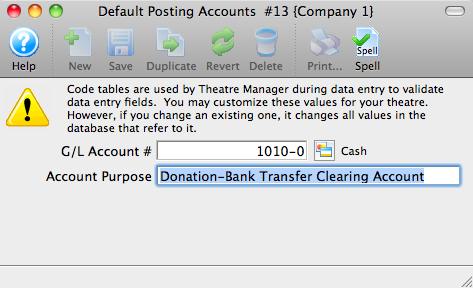
- Enter the G/L account number.
If you do not already have a general ledger account number setup in G/L accounts do so now. Entering a G/L Account number here, will assign a general ledger account to the default account in code tables.
- For example: The default account "Exchange Fees" is assigned the G/L Account # 4 - 2000 - 200. Therefore all revenue generated from exchange fees will be posted to that account number.
- Enter an account purpose (or description).
This field should be already filled in. You may change the name if you like, but it is not recommended.
- Click Save

The changes have now been saved.
Special accounts for Outlet Setup
 |
Please take care setting up the accounts below. They are design to act like 'revolving accounts' for sales an receivables. If set up properly, the periodic outlet balancing process should be relatively straight forward. |
| Account Purpose | Account Type | Description and what happens in your outlet | What happens in the other outlet |
| A/R Ticket Sales Other Outlets Owe You | Asset |
If you allow another outlet to sell your tickets, an entry will be made to this account for the amount that they owe you. This is why it is normally an Asset account (receivables)
The offset account for the tickets will be the accounts in the accounting tab of the event setup window |
The other outlet will have taken the payment for the tickets and they will owe you money.
|
| A/R Commissions owed from other outlets | Asset |
When you sell tickets for another outlet, you can receive a commission for the sale (if they set one up in Commission Setup
The amount that the other outlet owes you
|
Commission setup has an accounting tab.
When a commission is owed to an outlet, the accounts in the commission tab are used for the outlet:
|
| A/P Ticket Sales owed to other outlets | Liability |
This is the account used to track money you owe to the other outlet after selling one of their tickets. It is the reverse of the description of the 'A/R Tickets sales other outlets owe you' under the last column - what happens in the other outlet. Essentially, your outlet:
|
This is also the reverse of the description of the 'A/R Tickets sales other outlets owe you' under the third column - what happens in your outlet other outlet. |
| Commission Income from all other outlets | Income | When you sell a ticket for another outlet, any commission due to you is offset into this account. (see 'A/R Commissions owed from other outlets - fourth column') | When another outlet sells your ticket, the commission payable is placed into the account in the commission setup. (see 'A/R Commissions owed from other outlets - third column') |
Donation Campaign Category
items appear online in the sort order (alphabetical) and the external name is used to categorize and provide headers for each group. You can access various categories online using direct links in emails or web pages
Suggested values to enter into this code table for external name are:
- Gifts to Capital Campaign
- Donations to Individual Campaigns
- Support our Educational outreach
There are 3 fields:
- External Name - see above
- Internal Name - which can be the same as external name, or if you prefer a different set of names, for internal use, enter them instead
- Sort order - which is the order in which the categories will be displayed online. You may want this to be different than the alphabetical sort order of the names for marketing purposes. Eg, Individual Donations are in the middle of the alphabet, but you may want them to be first in the online web page, so make the sort order for this a a '1' and for Gift Certificates, make that a 2 or a 3, etc.
For information about editing values in Code Tables, click here.
Donor Asset Types
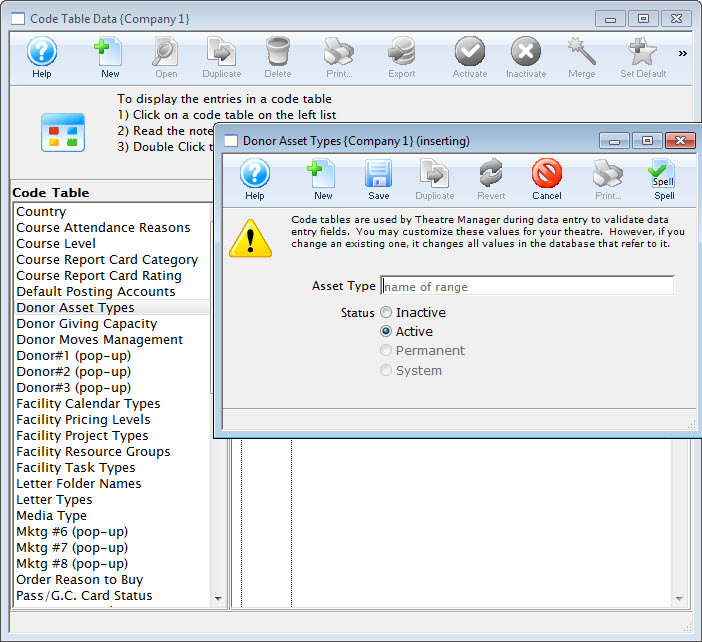
For information about editing values in Code Tables, click here.
Donor Giving Capacity
The Donor Giving Capacity values are displayed on the Donor Tab on the Patron Window. Click here for more information on the Donor Tab.
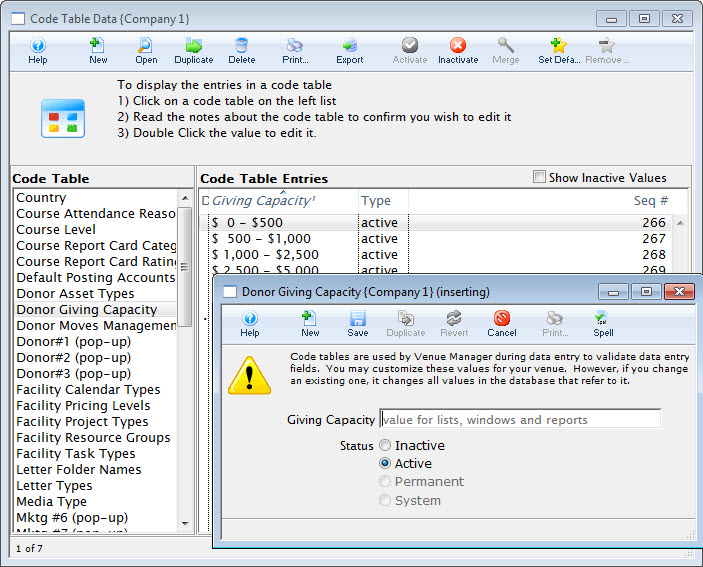
For information about editing values in Code Tables, click here.
Donor Moves Management
The Code Table Moves Management is used to track interactions with Donors and Potential Donors. Moves Management can be used to track Patrons as relationships are built, donations given and contributions increase.
Click here for more information on the Donor Tab.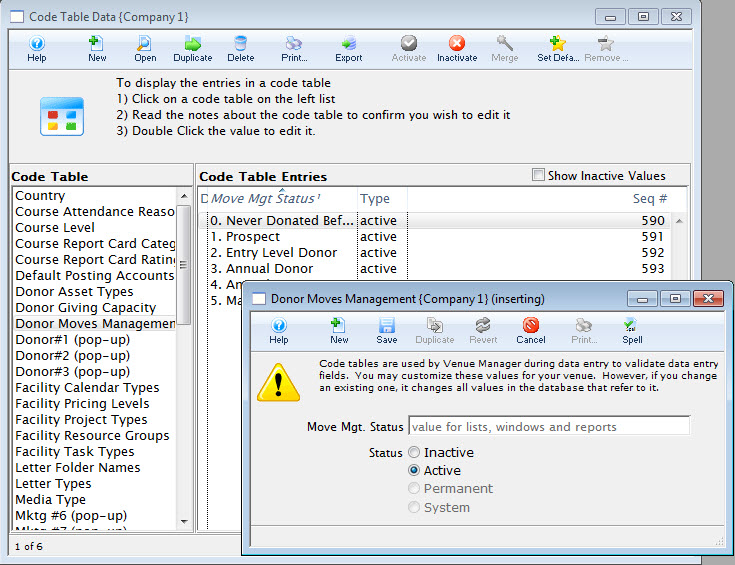
For information about editing values in Code Tables, click here.
Donor#1 Popup Field
The Donor 1,2,3 pop-up code tables represent the values under the Notes Tab of Donation Details.
These fields can be made manditory fields through the Mandatory Data Tab in Company Preferences. You can also change their names in the Appearance Tab of Company Preferences. This way you to customize Theatre Manager to your venue's requirements.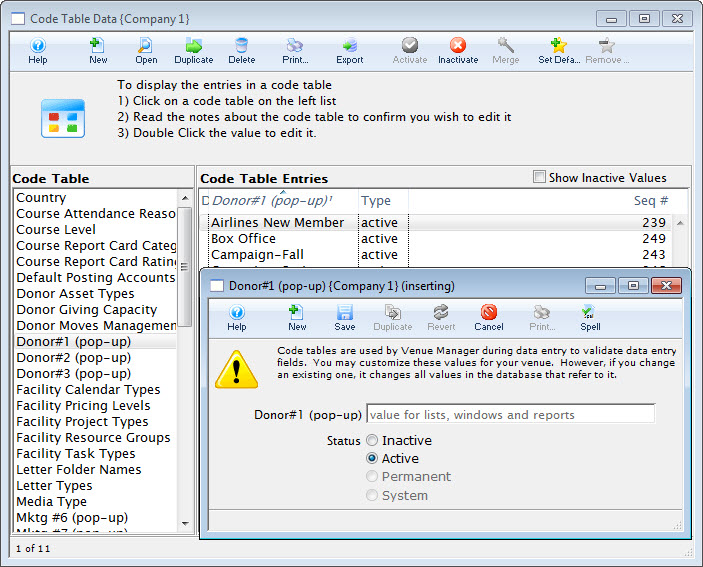
For information about editing values in Code Tables, click here.
Donor#2 Popup Field
The Donor 1,2,3 pop-up code tables represent the values under the Notes Tab of Donation Details.
These fields can be made manditory fields through the Mandatory Data Tab in Company Preferences. You can also change their names in the Appearance Tab of Company Preferences. This way you to customize Theatre Manager to your venue's requirements.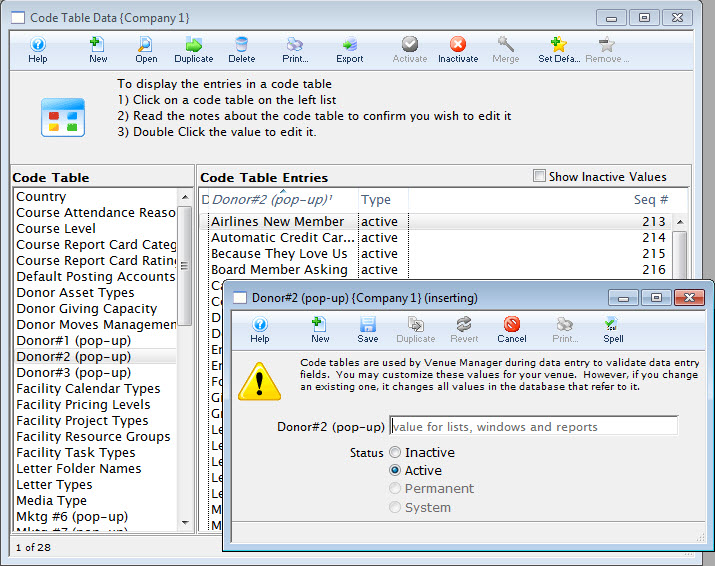
For information about editing values in Code Tables, click here.
Donor#3 Popup Field
The Donor 1,2,3 pop-up code tables represent the values under the Notes Tab of Donation Details. They can also be made manditory fields through the Mandatory Data Tab in Company Preferences and their names can be changed in the Appearance Tab of Company Preferences. This allows you to customize Theatre Manager to your venue's requirements.
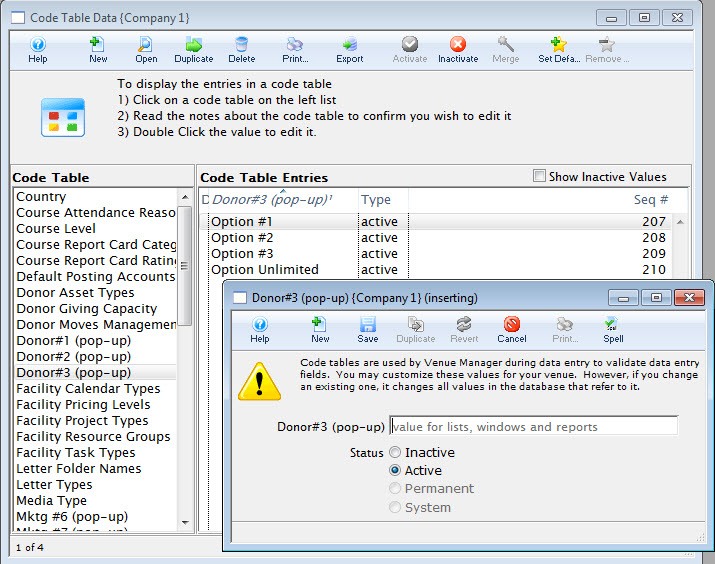 click here.
Facility Calendar Types
Calendar Types are set in new Tasks as they are inserted into the Calendar in Facility Managment. There are "permanent" system Calendar Types built into Theatre Manager.
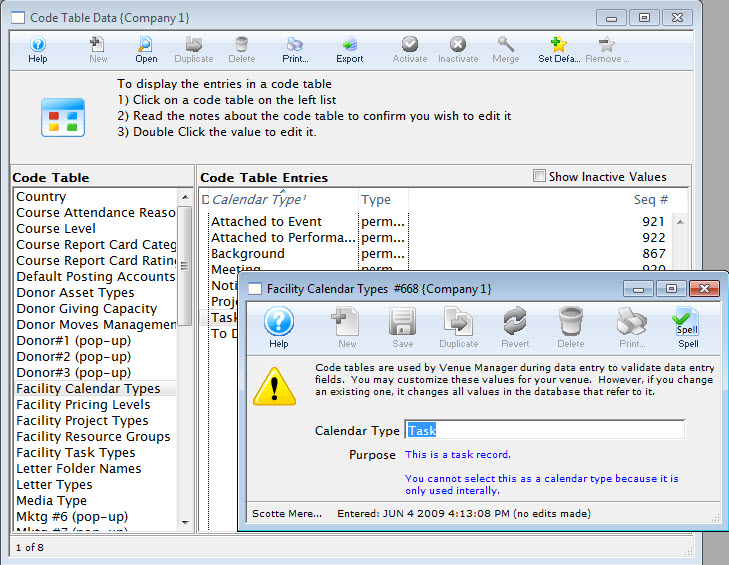
Facility Calendar Types are built-in codes you do not have to set up. While you cannot change the meaning of each of these, you can change the description to something more meaningful to your organization.
These are used as the general types for the Facility Task Types you will use to define the type of each task.

Click here, to learn more about Calendars.
Facility Project Types
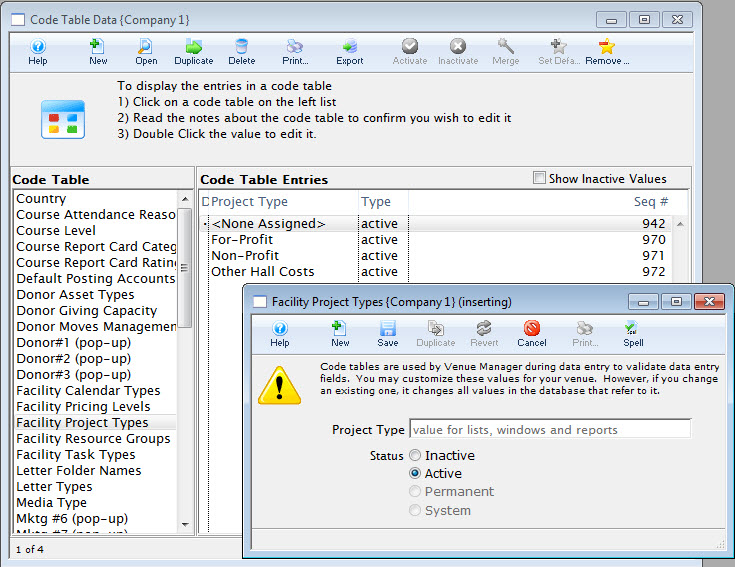
For information about editing values in Code Tables, click here.
Facility Resource Groups
Click for more information about Resources, Resources, Inventory and Merchandise.
The default setting in Theatre Manager is the Generic group. Other groups can be added as needed.
Groups might be for internal resources and those sold on line. Examples might be:
- Typical internal resource groups
- Light devices
- Sound equipment
- Rooms
- Resource groups that might also be sold online could be
- Merchandise
- CD's and Music
For information about editing values in Code Tables, click here.
Facility Resource Sub Groups
Click for more information about Resources, Resources, Inventory and Merchandise. The default setting in Theatre Manager is the Generic group. Other groups can be added as needed.
Resource Sub Groups are intended to be sub-classification within a resource group when items are sold online. For example, a resource group of Merchandise might have subgroups like
- Men's t-shirts
- Womens t-shirts
- Hat's
i.e. there is one Men's t-shirts with a bunch of sizes/colours on the web pages.
For information about editing values in Code Tables, click here.
Facility Task Types
The Facility Task Types are those that appear in the Task Information Window, Task Type drop down.
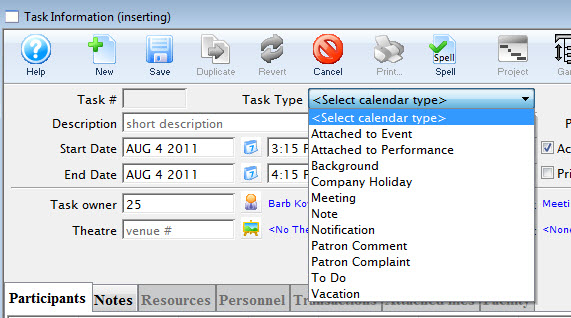
- To enter a new task type, click the new button.
The Task Type Add window opens.
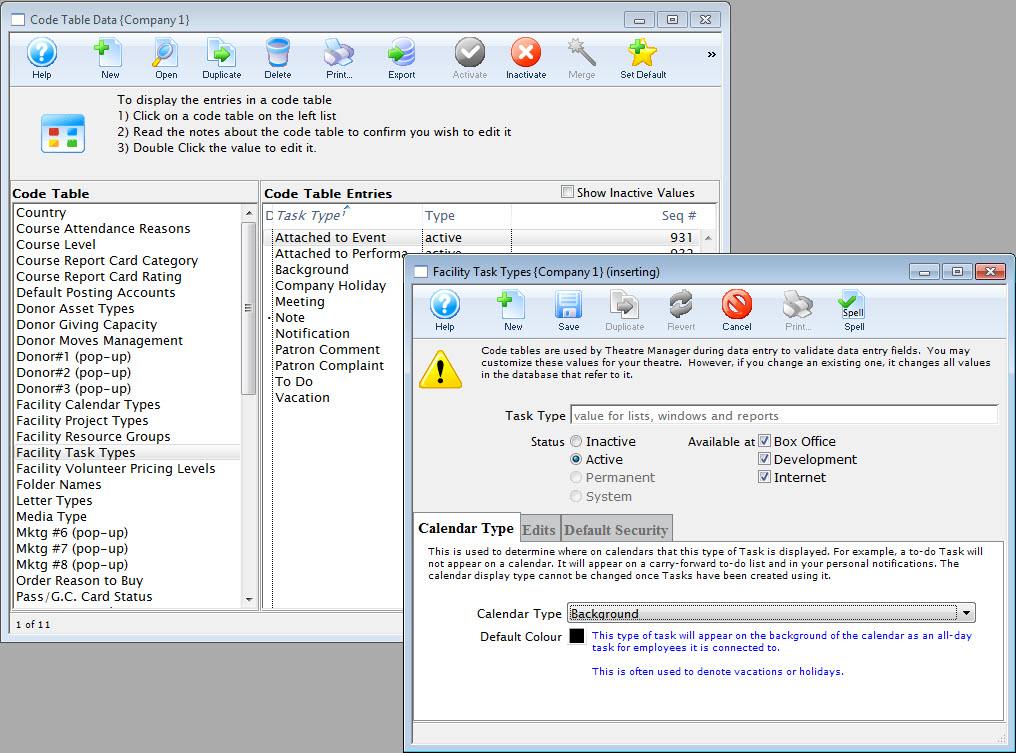
- In the Calendar Type tab, select the Calendar Type the task is to be associated with, from the drop down list.
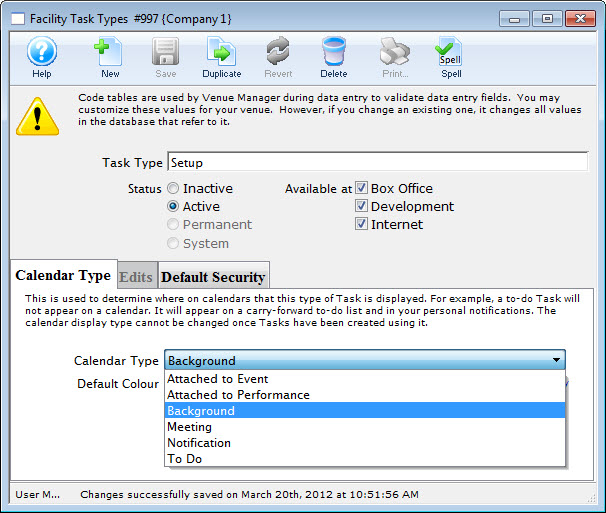
You can also choose a color for the task on a calendar.
- Click the Save
 button.
The Default Security tab is now available.
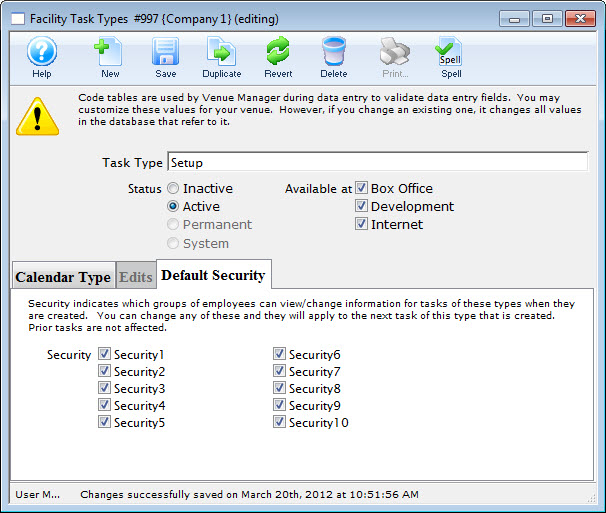
You can now choose a security level. Security indicates which groups of employees can view/change information for tasks of these types when they are created. You can change any of these and they will apply to the next task of this type created. Prior tasks are not affected.
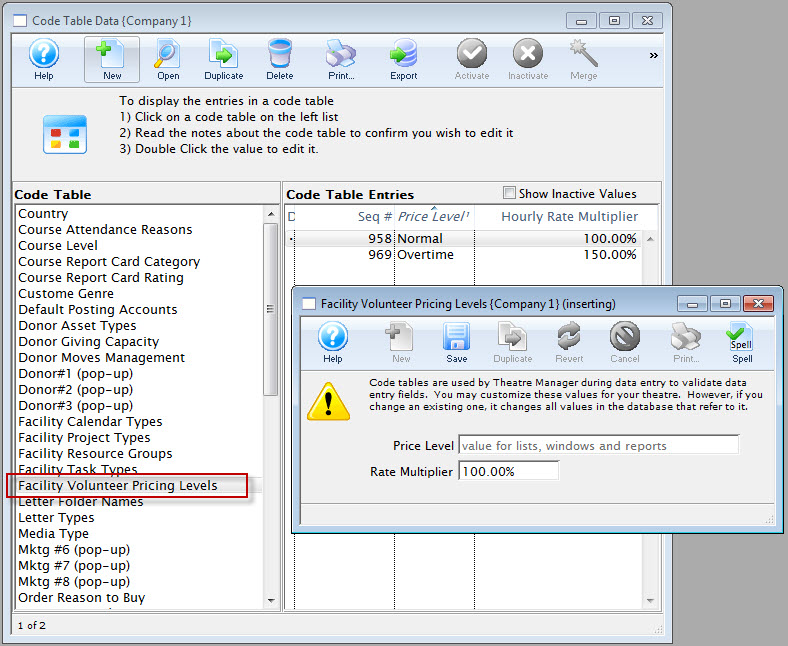
Facility Volunteer/Personnel Pricing Levels
The types of activities your organization's volunteers engage can not only be set up, assigned and tracked inside Theatre Manager but if you have the Facility Module, Pricing Levels can be established and changed to reflect things like Overtime and Stat Holidays. You define pricing levels for the volunteer on the Facility Billing tab of a Volunteer's Activity window.
- Click here for more information on the Facility Billing tab.
- For more information on volunteer management inside Theatre Manager click here.
- For information about editing values in Code Tables, click here.
Folder Names
The Code Table Folder Name is used to categorize and organize Folders within Theatre Manager. At the current time, these Folders can be found when saving Form Letters or Mail Lists
You can create folders where you can store Form Letters and Mail Lists. It makes it handy to separate them by department, for example. You could have a Development folder and a Box Office folder. The Box Office would store all their Mail Lists in the Box Office folder - then when the Development staff go looking for a Mail List, they don't have to wade through all the Box Office Mail Lists to find their own. Folders can be used as search options in the Form Letter List and Mail List windows to ease the search time for the desired Form Letter or mail List.
The folders can be divided by department or person, or any other division you want.
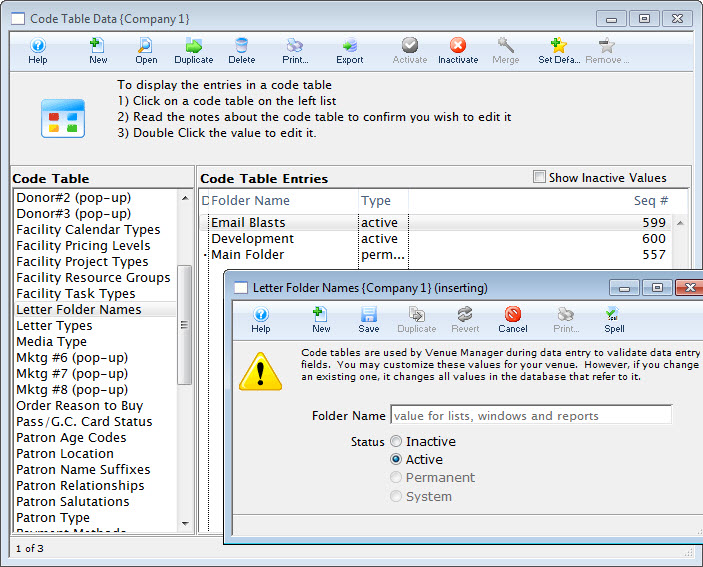
For information about editing values in Code Tables, click here.
Gender
The Gender code table is also linked to the salutation table. If people pick a salutation, you can indicate the gender that is to be associated with the salutation. For example, Mr. generally translates to 'Male'. If a patron picks that as a salutation, Tm will help by setting their gender to Male, if it is set to the default of 'Unknown'
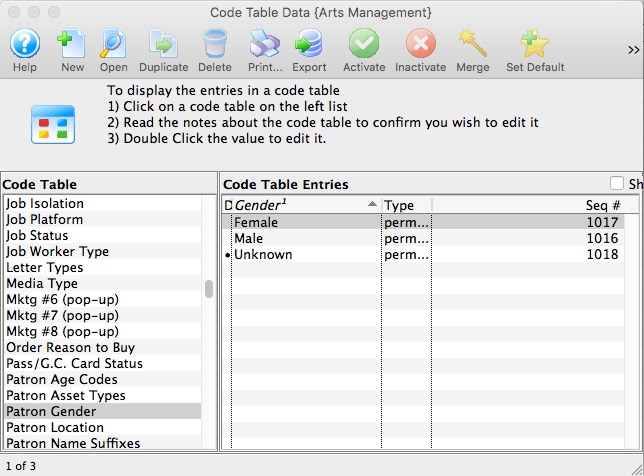
For information about editing values in Code Tables, click here.
Letter Types
Letter types are displayed in the Form Letters Window accessable through the Letters Tab.
 |
Types allow you classify the types of letters that can be created and sent to patrons |
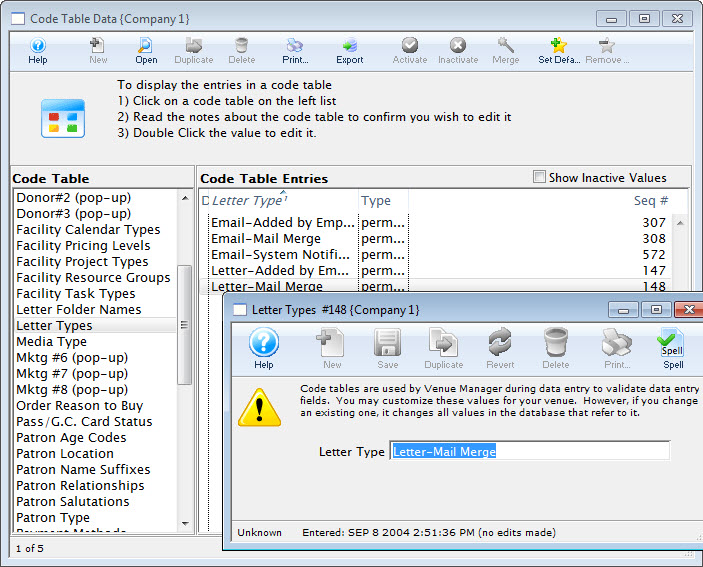
For information about editing values in Code Tables, click here.
Media Types
The Media Types are used to maintain the type of press for members of the media.
Click Here to view the help on Media Management.
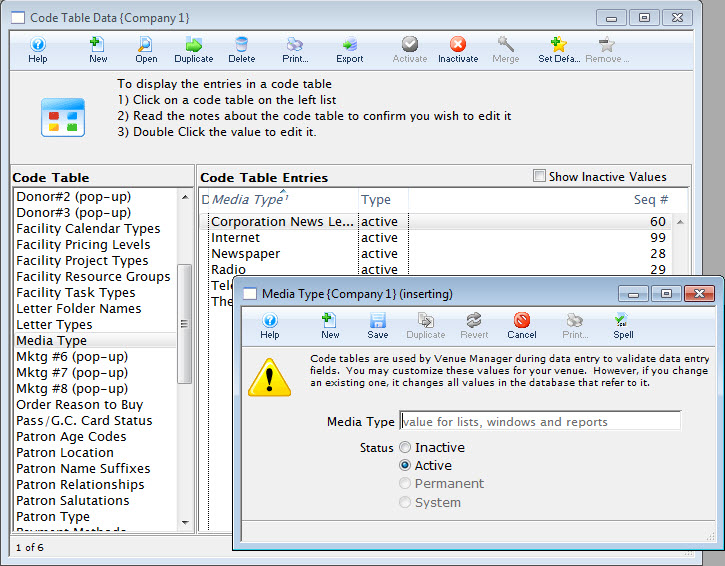
For information about editing values in Code Tables, click here.
Member, Pass and Gift Certificate Categories
items appear online in the following sort order:
- Alphabetical by the 'sort order' of the category (multiple categories can have the same sort order), then by
- External name used to categorize and provide headers for each group, then by
- The actual pass/gift certificate name within the category
Suggested values to enter into this code table for external name are:
- Gift Certificates
- Memberships
- Subscriptions
- Passes
There are 3 fields:
- External Name - see above
- Internal Name - which can be the same as external name, or if you prefer a different set of names, for internal use, enter them instead
- Sort order - which is the order in which the categories will be displayed online. You may want this to be different than the alphabetical sort order of the names for marketing purposes. Eg, Subscription Passes fall towards the end of the alphabet, but you may want them to be first in the online web page, so make the sort order for this a a '1' and for Gift Certificates, make that a 2 or a 3, etc.
For information about editing values in Code Tables, click here.
Mktg Field #6
The Marketing Code Table values are displayed in the Marketing Tab on the Patron Window. They can also be made manditory fields through the Mandatory Data Tab and their names can be changed in the Appearance Tab of Company Preferences. This allows you to customize Theatre Manager to your own venue's requirements.
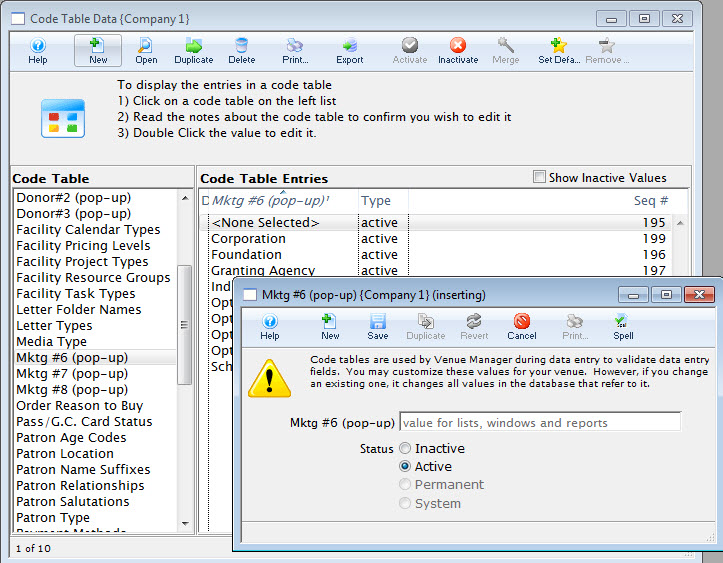
For information about editing values in Code Tables, click here.
Mktg Field #7
The Marketing Code Table values are displayed in the Marketing Tab on the Patron Window. They can also be made manditory fields through the Mandatory Data Tab and their names can be changed in the Appearance Tab of Company Preferences. This allows you to customize Theatre Manager to your own venue's requirements.
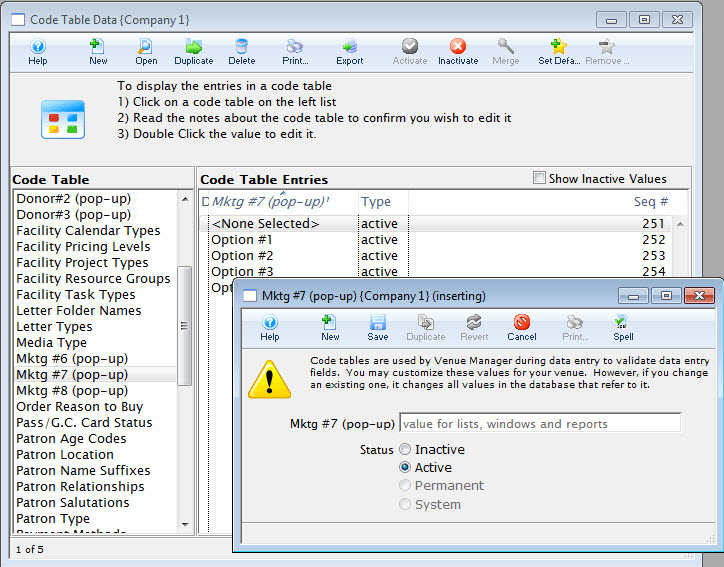
For information about editing values in Code Tables, click here.
Mktg Field #8
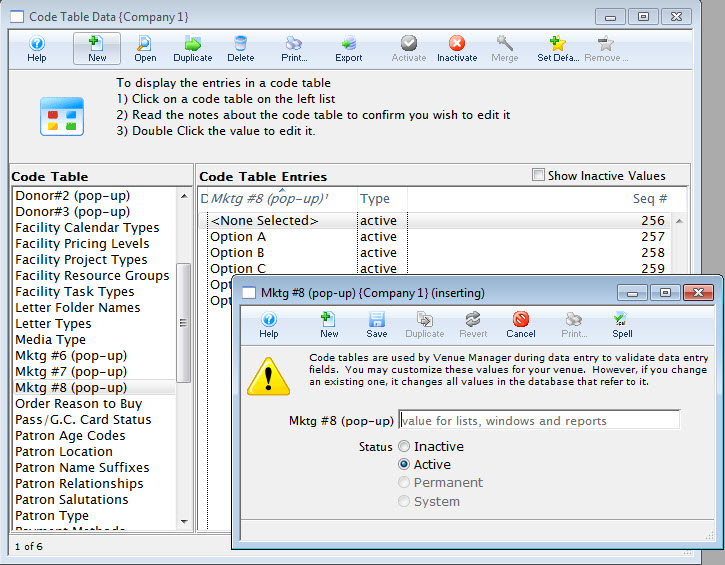
For information about editing values in Code Tables, click here.
Order Reasons to Buy
It is recommended that this code table be somewhat specific and contain between 10 and 25 key possible reasons for why patrons buy from your organization. Examples might be:
- some newspaper sources
- some social media sources
- some sources based on annual activities like subscriptions, fundraiser, or donation
- some sources based on referrals like friends
The Revenues by Why Did Patron Buy report is a great way to summarize this data for relevant events and periods of time.
 |
You can make collection of this data mandatory for all orders by enabling the reason to buy option in System Preferences. |
 |
For all values in this table, you will want to take care in where you make them available.
|
 |
For online donations, you will want a code table entry that:
|
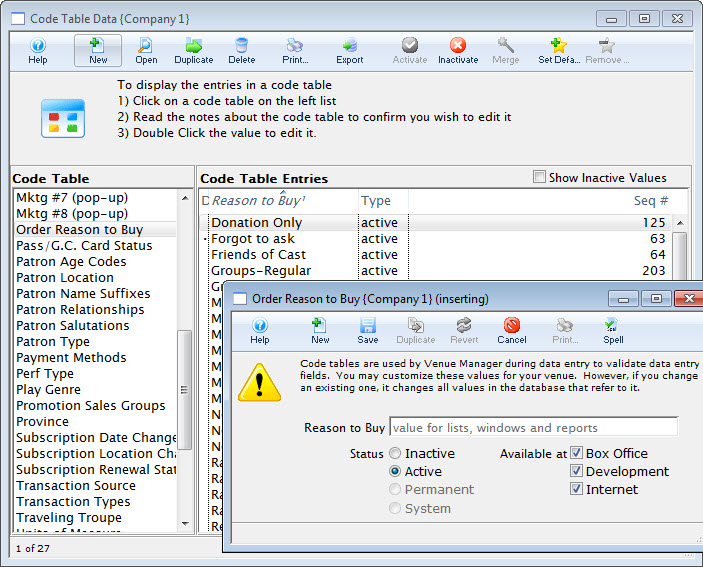
For information about editing values in Code Tables, click here.
Pass/G.C. Card Status
The member card status codes are displayed on the Member Card Window. They are used as a reference as to the status of the card. Each card status may be set as 'active' or 'inactive'. Inactive card types do not count towards the maximum access card limit for a pass/Gift certificate setup-> edits tab.
Click here for more information on the Member Card window.
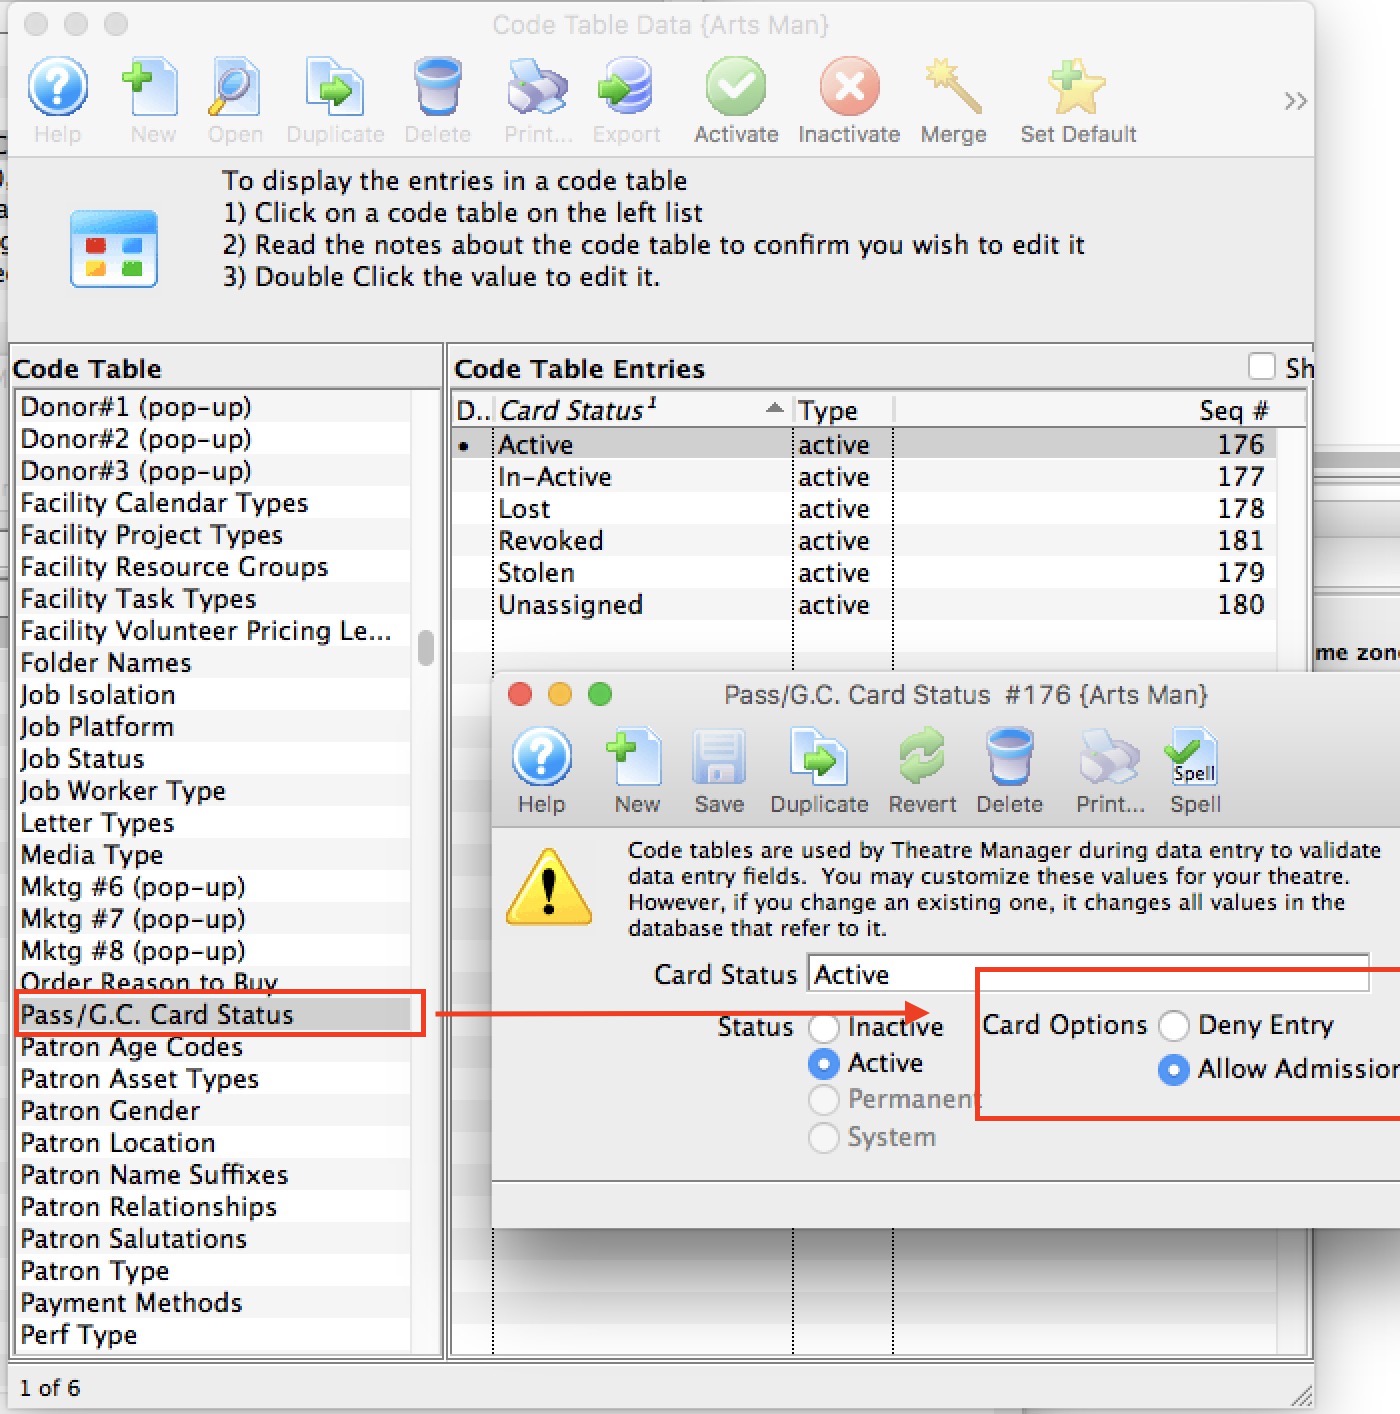
For information about editing values in Code Tables, click here.
Patron Age Codes
The Code Table Age Codes is used to categorize personnel and/or volunteers into particular age ranges. If the age is unknown, then an age code Unknown may be useful. Age codes could also be specific birth years if required.
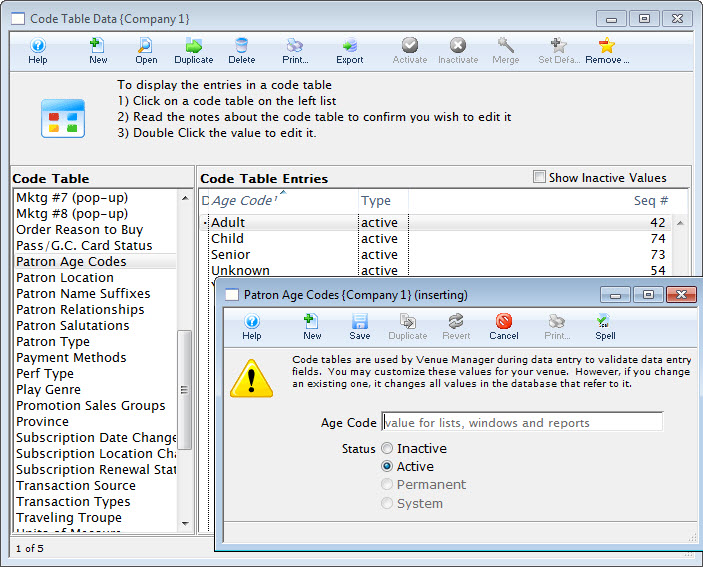
For information about editing values in Code Tables, click here.
Patron Location
- phone numbers
- addresses
- e-mail addresses
- web site addresses
 |
Note: for addresses, you can indicate if 'Company/Title' should be printed on the address label or form letter address. This field would be checked for 'work' addresses, and not for 'home'. If the company name is not marked to be printed on an address (in codetables), it never will for labels or form letters |
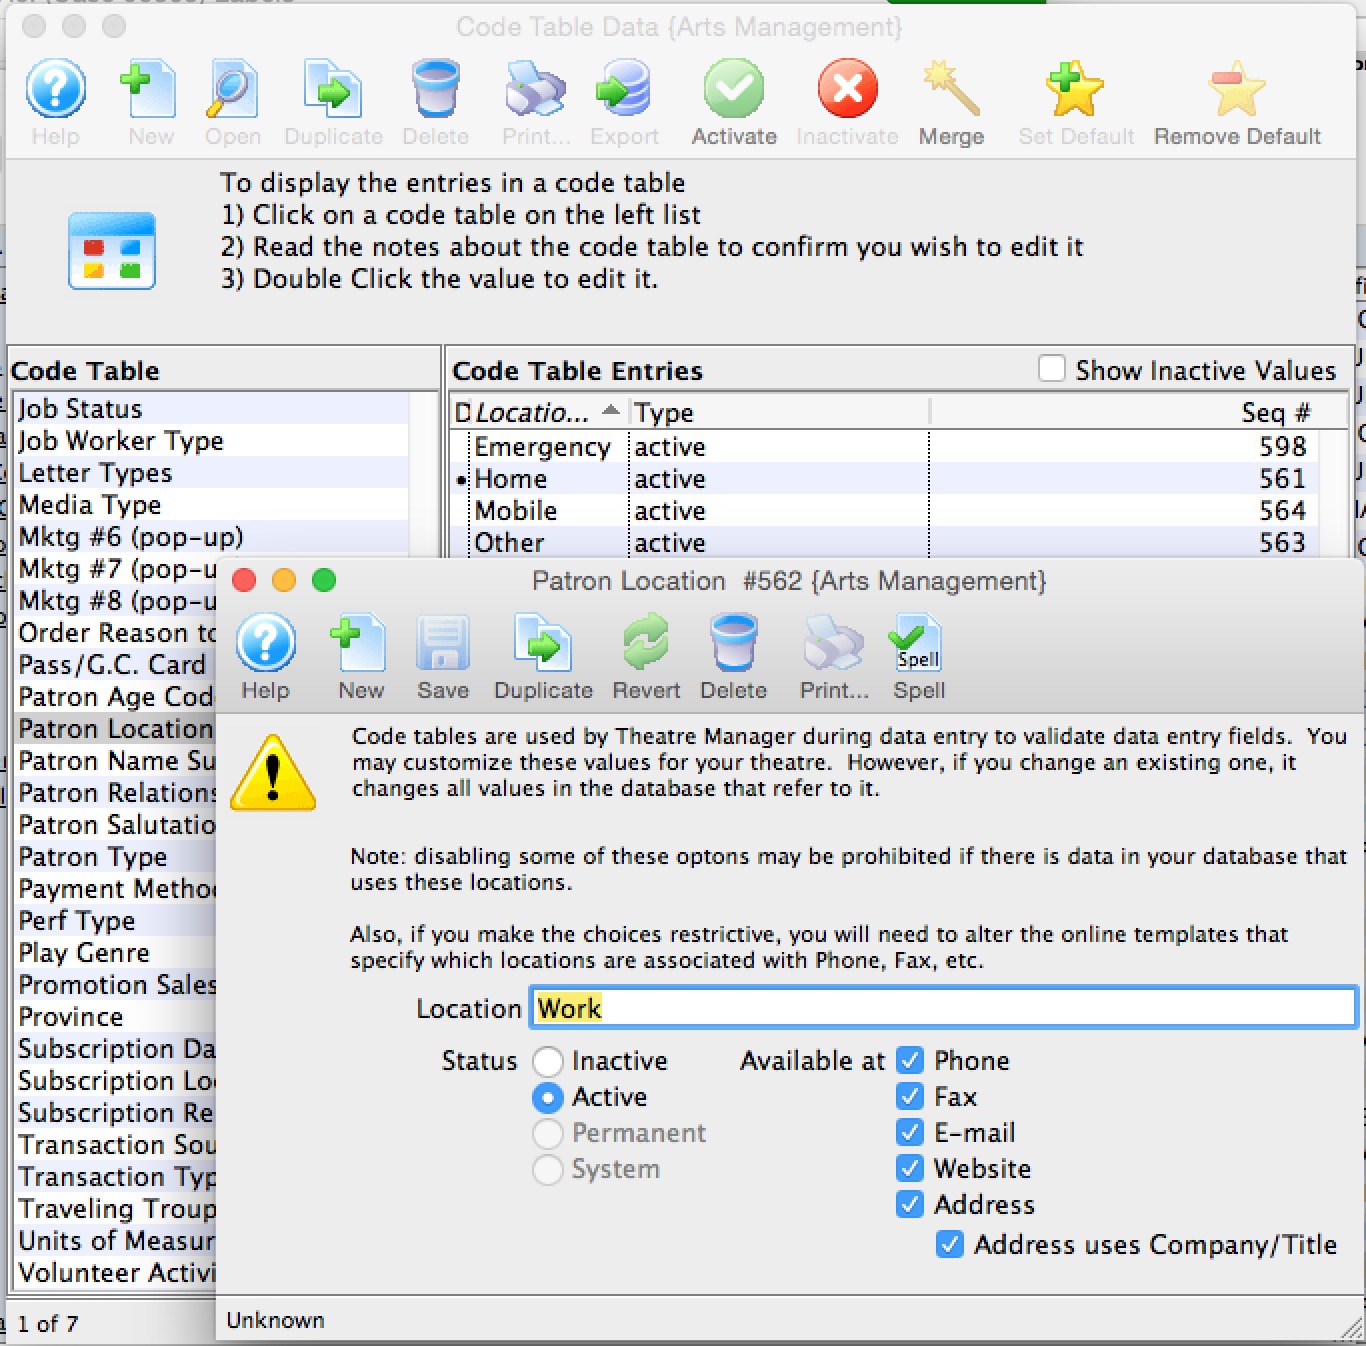
For information about editing values in Code Tables, click here.
Default Locations used at the Box Office
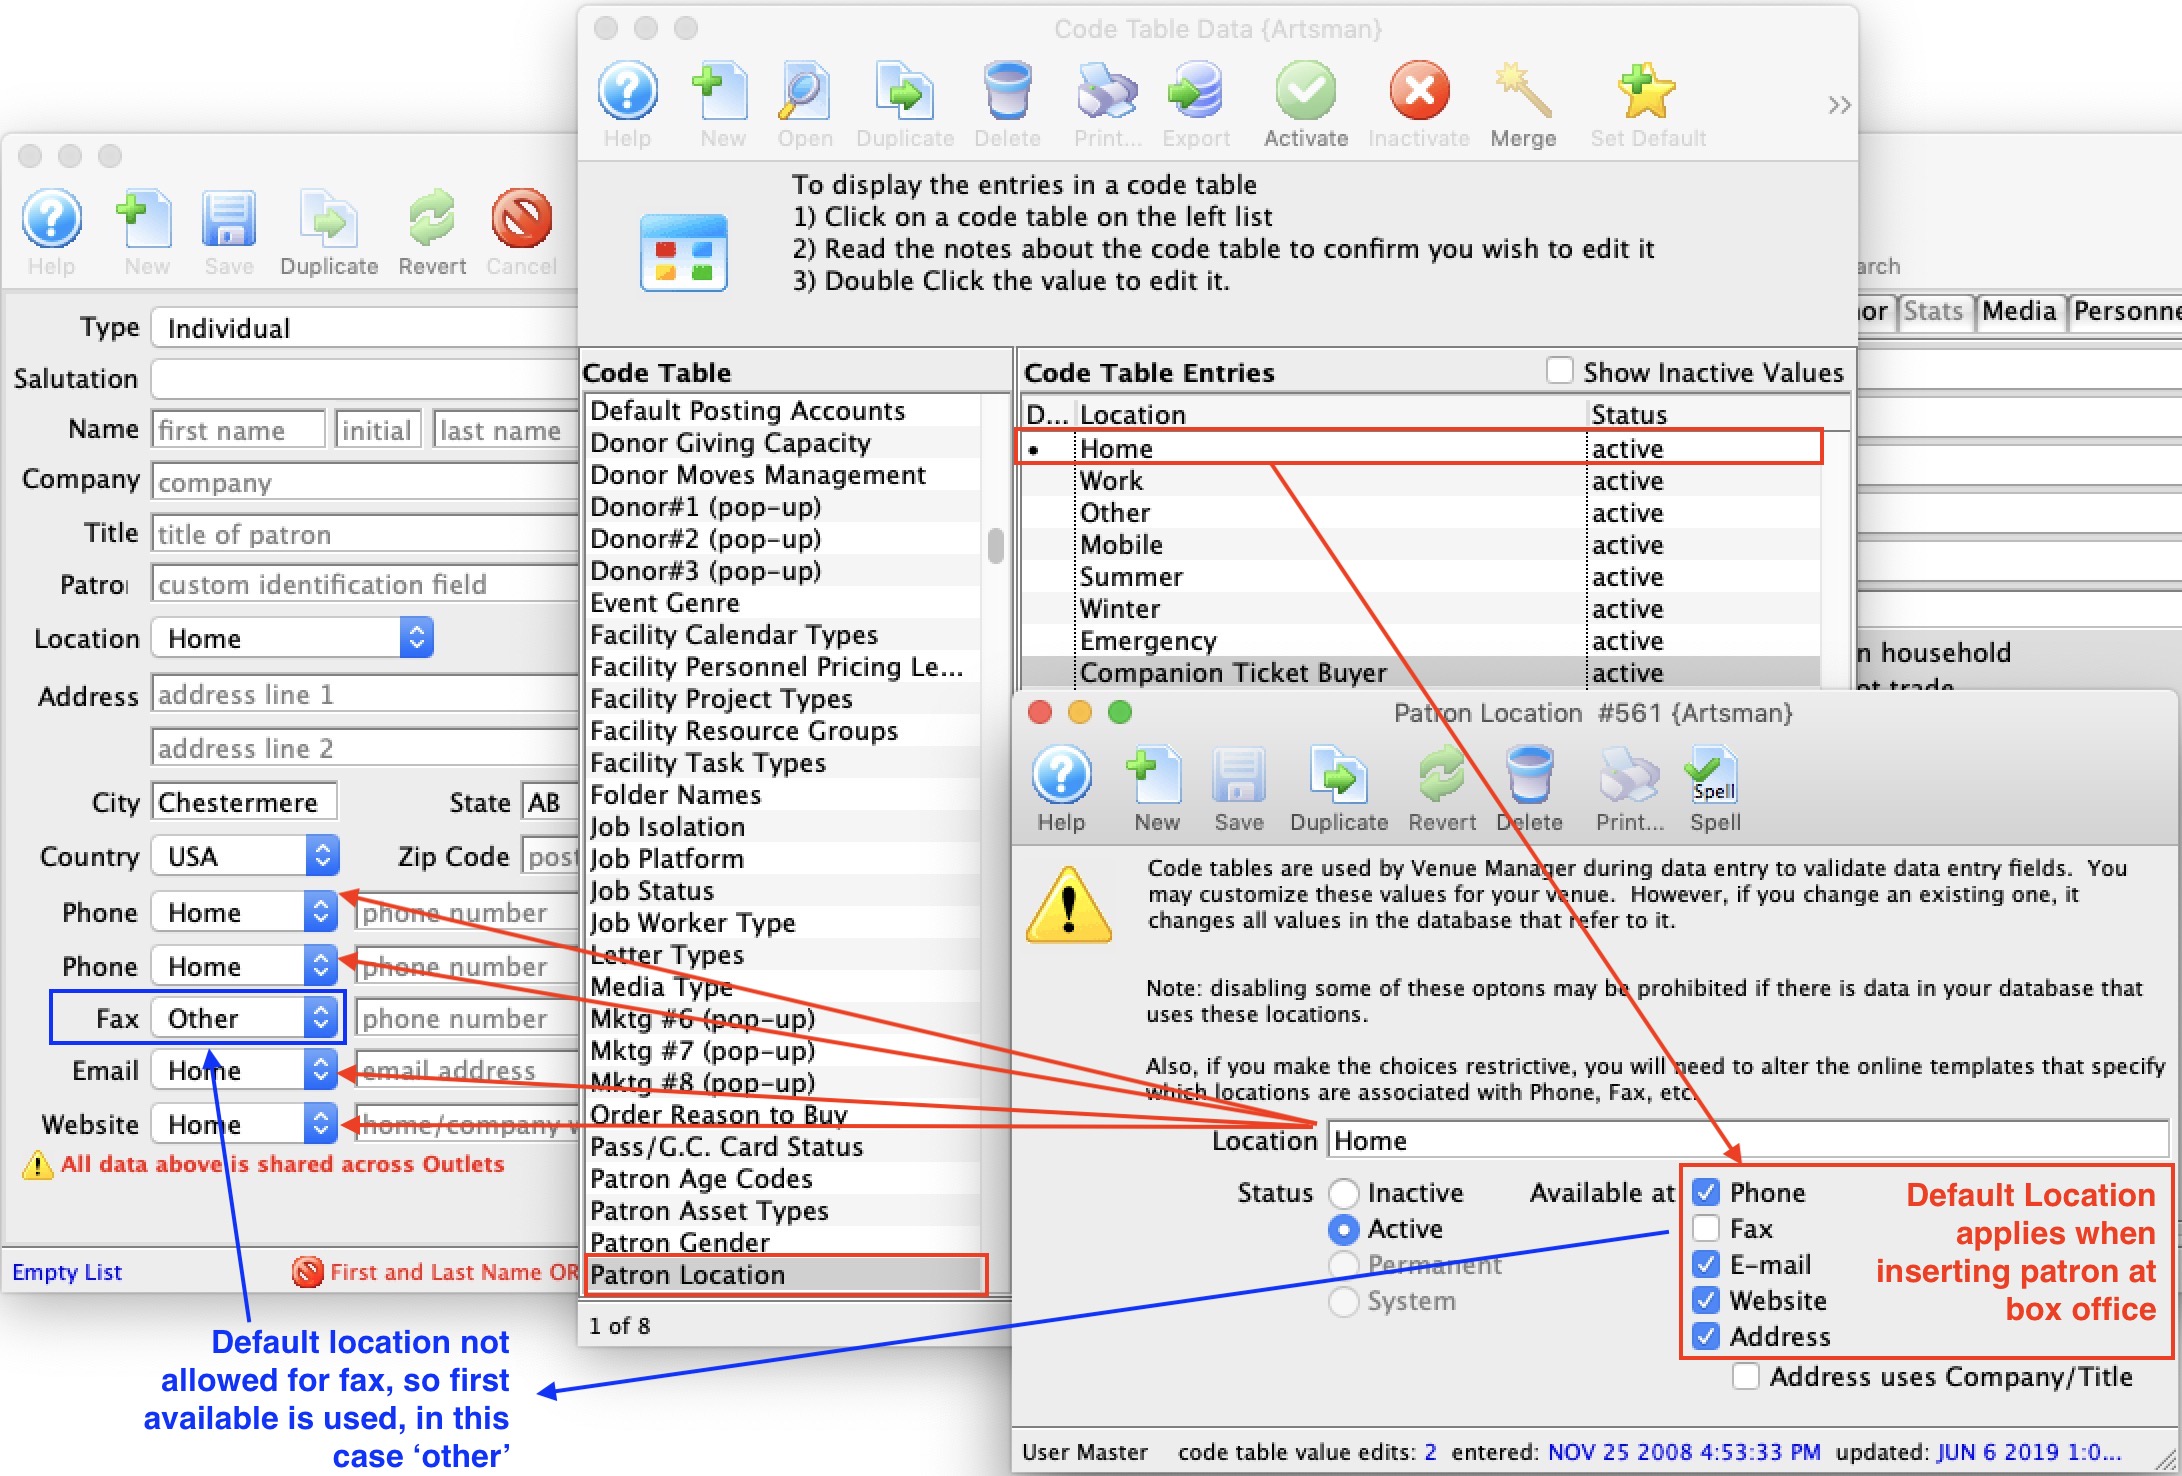
Every code table can have a default value indicated by the '•' at the left of the code table entry. This is important to set for the Location table as it affects which location is used by default. In the example below:
- Home is the default location, so it will appear in the new patron entry screen.
- Home is allowed to be used for:
- Phone numbers so the default for all phone numbers entered at the box office is 'home'. If you don't want that for a specific phone number, you much change it on the patron window
- E-mail - which is shown as the default for email entry
- Web site - which is shown as the default for web sites
- Address - which is shown as the default for addresses
- Home is not allowed for fax in this example. The default for fax will be one of other locations that allows fax numbers
Default Locations used on the web Site (for new patrons)
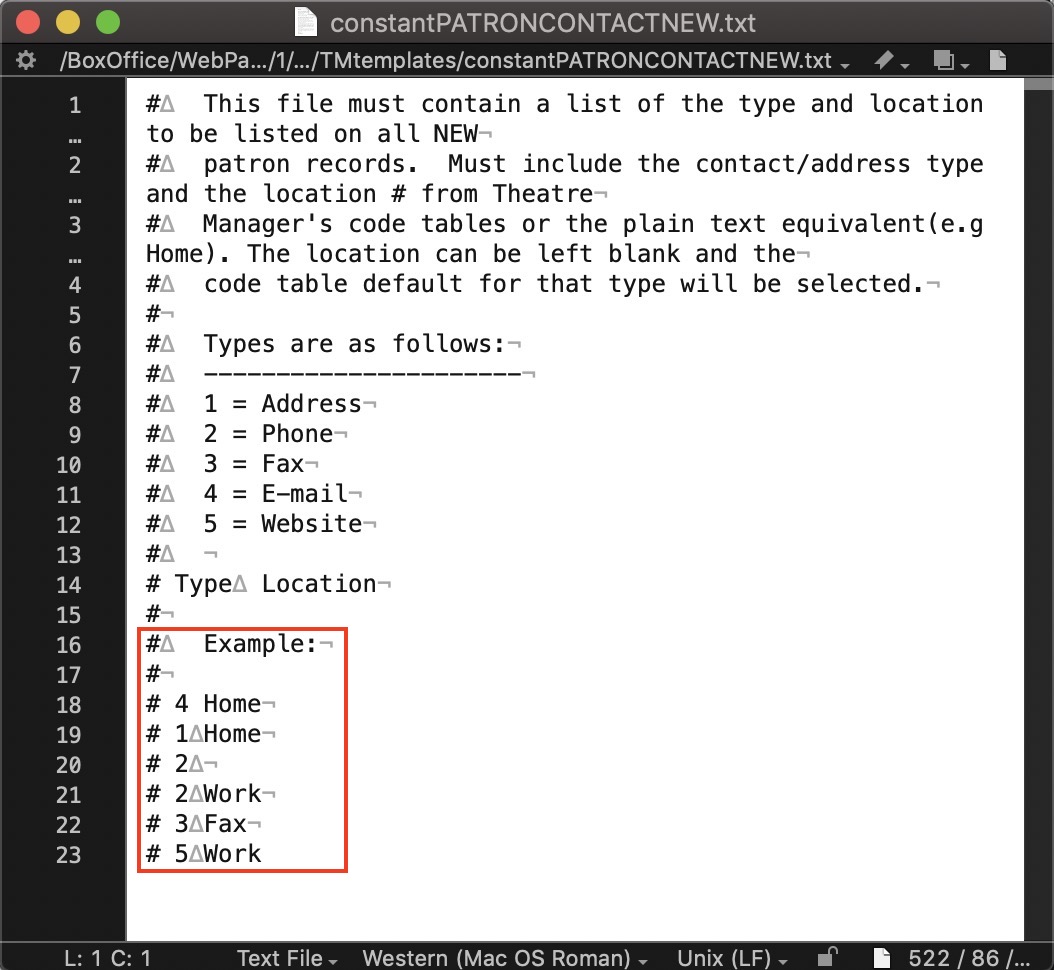 Locations on the web are a bit more granular and refer to the code tables for values, but do not use the code tables for position of usage.
For example, on the web you may want to:
- Only allow certain items to be entered
- duplicate some of them (like allow entry of multiple phone number)
- Change the order in which they are presented
to do this, you edit the file called constantPATRONCONTACTNEW.txt that is in the tmTemplates folder. In that file, you would have a number followed by a tab, followed by the name of the location from the code table. The number reflects the meaning of the contact data. Always put Email first. The following is an example:
4 tab Home where
- 4 means email per the legend -and-
- Home is the value to use which must exist in code tables and be valid for that entry
so a reasonable list of entries are:
| Number | Value | Description |
| 4 | Home | the default email address is 'home' it does at the top opf the new patron web page |
| 1 | Home | the default mailing address is also 'home' which goes in the address section of the web page. If you put a second address in this table, you could allow patrons to enter a work address or leave it blank. |
| 2 | blank | A blank entry means take the default location for a phone from the code tables. In the example of the code table above, it would also be 'home' |
| 2 | Work | means add a second entry field for another phone number and label it 'Work' |
| 2 | Cottage | means add a third entry field for another number and label it 'Cottage'
The above table do not have any entry for 3 (faxes) or 5 (web sites), so those options will not be presented to the user. |
Default Locations used on the web Site (for existing patrons)
There is a similar file called constantPATRONCONTACTEXISTING.txt with the same rules for existing patrons. Theatre Manager will always show all the data in the patron record and no more. If you want to have some empty fields for additional data, you can add more to the template.
For example, if you want to allow up to 3 phone numbers, then you might have a table of
- 2 tab Home
- 2 tab Work
- 2 tab Mobile
Default Locations used on the web Site (for existing patrons)
There is a similar file called constantPATRONCONTACTLIMITED.txt with the same rules if you are using limited profile patrons to specify what those phone or emails will be called when a patron fills them in.
Patron Name Suffixes
Name Suffixes are chosen from the Patron window. These can be included when sending letters to patrons.
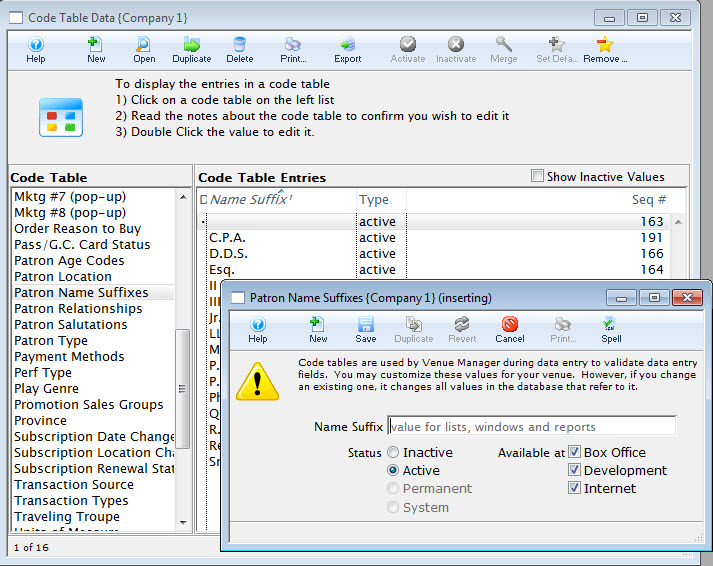
For information about editing values in Code Tables, click here.
Patron Relationships
The example below provides some ideas for the relationship code table that you can enhance to suit your business and CRM requirements.
Making a relationship entry under one patron automatically makes an entry under the other patron. The code table allows you to create terminology that clearly defines both sides of the relationship. For example:
- in a family relationship you could use Parent/Child to show who is the parent in the relationship and who is the child.
- a work relationship could be supervisor/employee.
- some relationships might use the same words like coworker/coworker.
- some political relationships could be Knows the Mayor/Is known by the Mayor
Use any pair of words that helps you define the relationship.
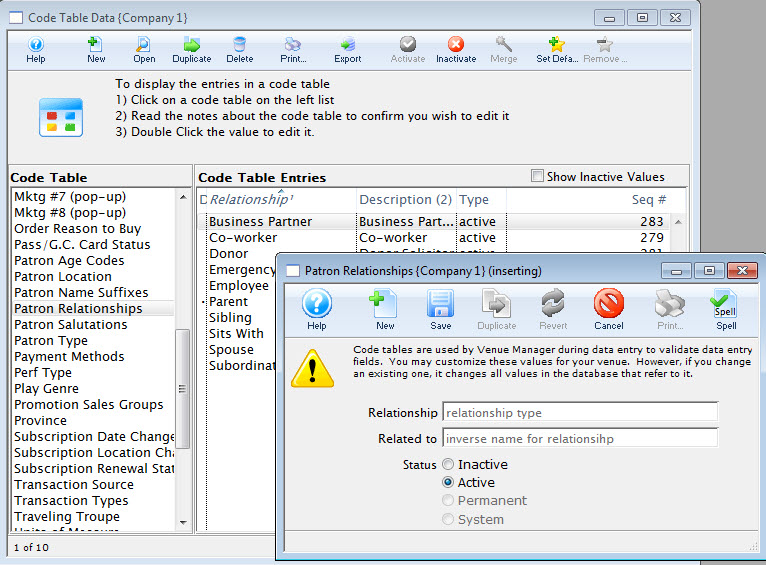
For information about editing values in Code Tables, click here.
Patron Salutations
The Patron Salutations code table is used to maintain the salutations on the patron and employee windows.
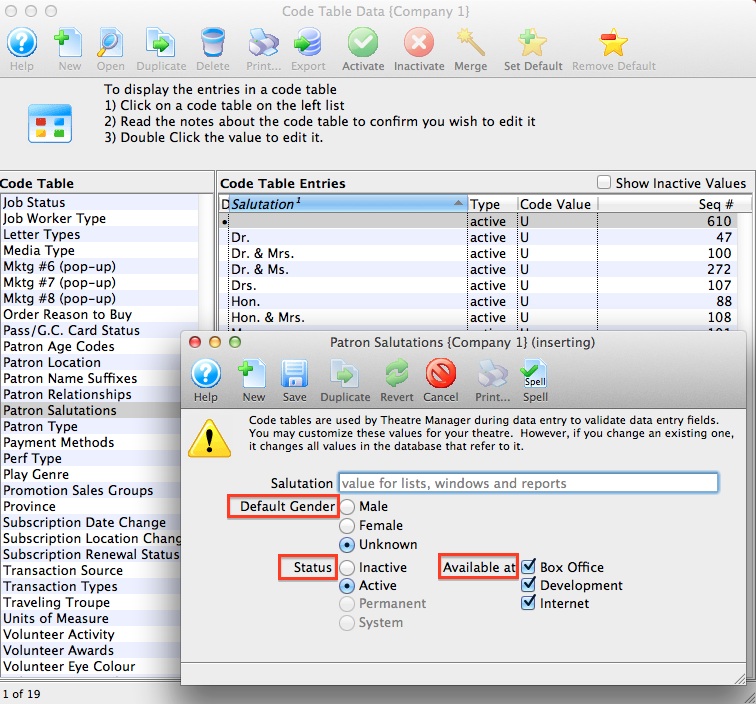
| Default Gender | Setting the gender allows the gender to be automatically tagged in the patron's record when a salutation is applied to a patron's record. Then there is no guessing as to who you are talking with. Gender can be used in search criteria for reports, exporting and mail lists and are created in the gender table. |
| Status | Allows the salutation be changed between Inactive or Active. Some salutations are not changeable and are marked as Permanent or System. This field is searchable. |
| Available At | Select areas where the salutation can be used in the Box Office, Development, or Internet. More than one choice can be used. This field is searchable. |
For information about editing values in Code Tables, click here.
Setting Patron Salutation As Mandatory On Patron Insert
- Go to Setup >> System Tables >> Code Tables.
- Scroll to Patron Salutation.
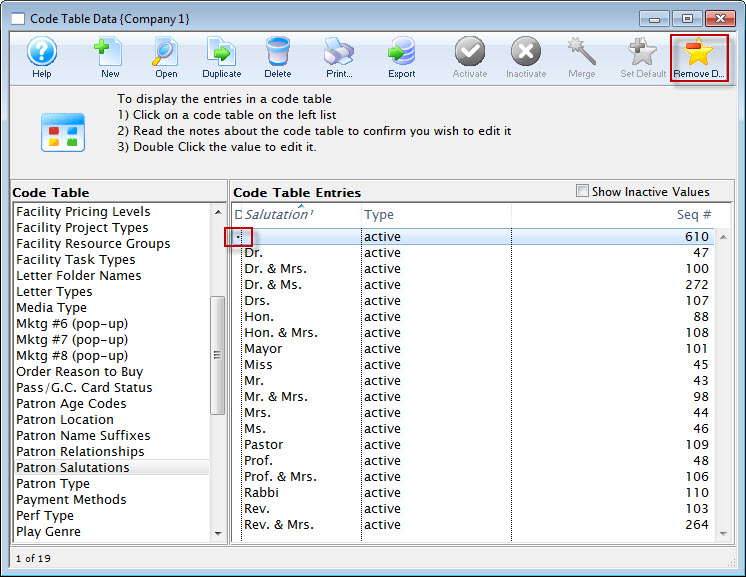
A blank salutation is set as a default by Theatre Manager. The default value in a code table is marked with a dot to the left of the entry.
- Highlight that blank salutation and click the Remove Default
 button.
This removes the blank default salutation.
- Remove the blank salutation using the Delete
 button.
If it has been used in a patron record, you will not be able to remove it. Mark it inactive.
- To mark a value inactive, follow instructions found here.
Patron Type
The Code Table Patron Type is used to sort patrons records into categories. This information is used for Patron Records.
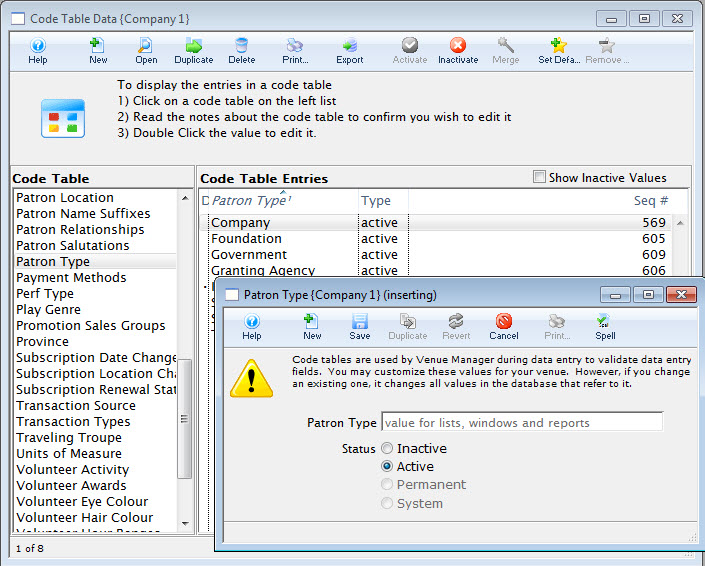
For information about editing values in Code Tables, click here.
Payment Methods
- The payment Code is the abbreviated form that is found throughout Theatre Manager.
- The Payment Method is the full description of the payment type that appears online and at the box office.
- Security Group Access provides
- Ability to set which groups of people can use the payment method. It means you can set access to some of the custom payments to certain people. Eg. There may be some different ones for education, development, group sales or inter departmental transfer payment types.
- Security cannot be use for the 7 built in payment methods below (eg ~CASH, ~CHECK ,etc)
- The G/L account column displays the GL asset account that a particular payment is posted to.
- The Sort Order allows you to organize the payment method display order where paymetns are listed online and at the box office. this way you can put your commonly used items at the top of the list. Sort order is 10 characters, alphabetic
- Payment types are one of:
- Credit Card - can be used with merchant providers or EMV devices to authorize cards. You must have contracted with your merchant provider to use each card type you want to accept.
There are some specific values for the payment code if the payment type is 'Credit Card'. These are:
- VISA - for Visa
- MCARD - for Mastercard
- DISC - for Discover
- DCCB - for Diners Club
- INTRAC - for Interac (debit) in Canada
- currently only supported for Moneris EMV cards.
- You cannot accept INTRAC without using an EMV device.
- This method is removed from the payment list when doing refunds -- but it can be used for EMV refunds since the choice of refund method is then based on the card the patron actually uses.
- JCB - for JCB cards
- UPAY - for Union Pay (Chinese branded)
This will ensure that Theatre Manager validates for the required number of digits for each card type, and have the correct numeric algorithm. An error message is displayed if the numbers are not entered correctly, to assist card entry.

Before changing the merchant provider for a credit card payment method, please read about the ramifications - EFT - (Electronic Funds Transfer) can be used, amongst other things, for post dated payments and produce an export file during end of day. The export file is formatted to your bank and will cause funds to be transferred from patrons to your account.
-
System - are 7 special built in system payments that cannot be deleted (only inactivated) like cash, check, voucher, pass/gift certificate redemption and gift in kind. They cause Theatre Manager to behave in a distinct way and ask for special data to be entered for that payment method.
These built in payment methods are:
- ~CASH which is typically called 'cash' and is used for all cash payments..
In Canada, make sure to set it for rounding to nearest $0.05
- ~CHECK which is typically called 'check' or 'cheque' and is used for all check payments
- ~GIFT which is for gift in kind payments to supply data as required by CRA for tax receipts.
- ~COUPN which is used to add coupons to an order that might cause a discount to happen
- ~ACCT which is used to indicate no payment on an order - and leave a balance on account
- ~PASS which is used to add a gift certificate or pass payment to an order. A pass might alter the cost of the tickets to create a discount.
- ~PNOTE which is used to add a voucher payment number to an order - suitable for printing on invoices to customers.
- ~CASH which is typically called 'cash' and is used for all cash payments..
- Other - can be used for any other payment methods such as intra-campus PO's or payment entered in another system and recorded in TM - those which cannot be accommodated in the standard payment methods
- Credit Card - can be used with merchant providers or EMV devices to authorize cards. You must have contracted with your merchant provider to use each card type you want to accept.
There are some specific values for the payment code if the payment type is 'Credit Card'. These are:
 |
Please refer to Rounding of Cash Payments if you are in Canada or another country that requires rounding of certain payment methods.
While this features is typically used for cash, you can use on any payment method |
For information on how to access the payment method table click here.
For information about editing values in Code Tables, click here.
Inserting a New Payment Type
Inserting a New Payment Type is used to add options to the Payment Methods category.
- Create a general ledger account number.
Entering a new payment type in Code Tables requires entering a General Ledger Account number for the card type in the Chart of Accounts.
- Open Code Tables.
Click Here to learn how to access the Code Tables Window.
- Click on Payment Method.
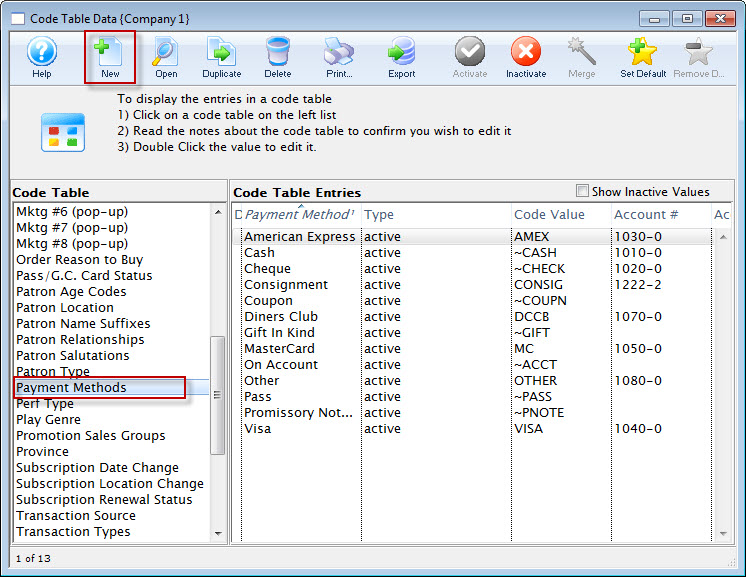
- Click the New
 button.
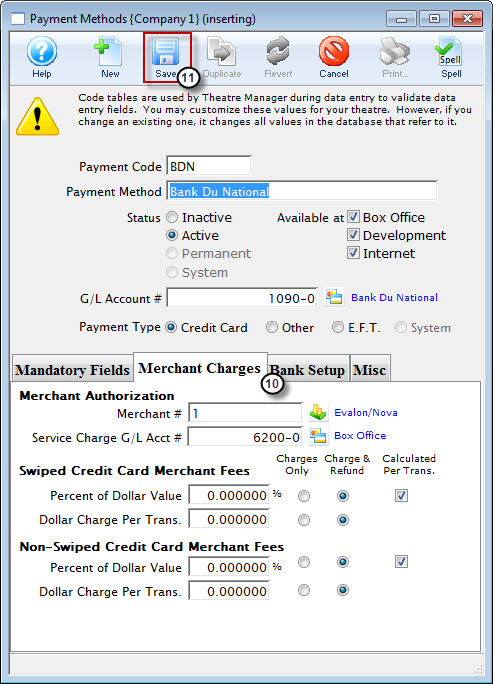
The Payment Methods Insert Window opens.
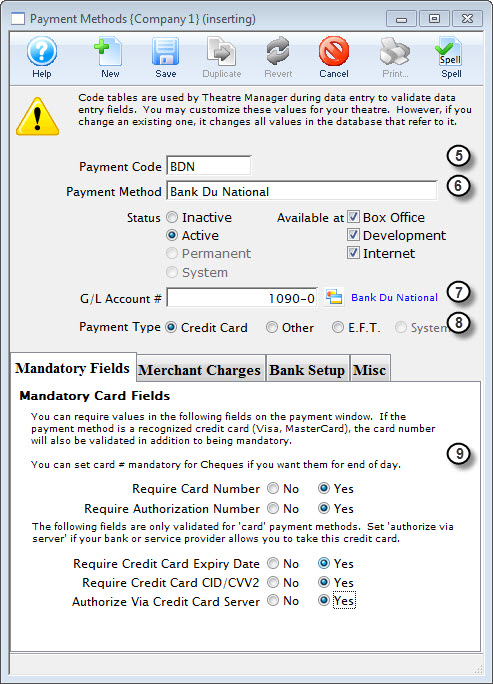
- Enter the payment code.
This is the short form of the payment description. This text appears as the code table lookup value.
- Enter the payment description.
This is the full description of the type of payment that you are creating. This text appears as the code table result value.
- Enter the GL account number.
This is the GL number that you created in step one. Type in the full 8 digit account number or use the drop down list on the right side of this field to manually select the account number.
- Select the payment type.
Click on the radio button that best describes the type of payment method you are inserting.
- Select mandatory fields.
If a customer is paying via credit card, you must decide which credit card fields must be entered before payment can be accepted. The fields you may make mandatory are credit card number, credit card expiry date, credit card authorization number, and process card via credit card server. The last selection is available using Theatre Manager's Credit Card Authorization.
Selecting yes for any of these fields makes them mandatory fields.
- Select the Merchant Charges tab.
For Credit Card processing a Merchant #, Service Charge G/L Account Number and Percent of Dollar Value or Dollar Charge Per Transaction are required.
- Click the Save
 button.
The new payment type has now been created and is ready for use.
Changing Credit Card Provider
 |
Before changing the merchant provider for a credit card payment method, please about
|
Generally there are two aproaches:
- Create new credit card payment methods for the new merchant provider and migrate all post dated and recurring donation payments to the new provider. This is the best choice because
- It preserves history of which merchant did which payment
- Allows you to reactivate old merchant account if you need to do linked refunds for past payments (such as occurred during Covid and mass cancellations, but could just as easily occur for a cancelled concert at any time
- It sets up future post dated credit card payments to use the new merchant
- Move all existing and historical credit card payment methods to the new provider so that they no longer exist under the old provider. This is rarely used:
- It sets up future post dated credit card payments to use the new merchant
- All historical data is also migrated, so future linked credit card refunds will not work, since they are for the incorrect merchant provider.
Impact on Merchant Profiles
In both cases, moving to a new merchant provider means any Merchant Profiles established for patrons will become useless.
The patron merchant profiles will be recreated under the new merchant account as each patron purchases in the future. They cannot be transferred from one merchant provider to another.
Rounding Cash Payments
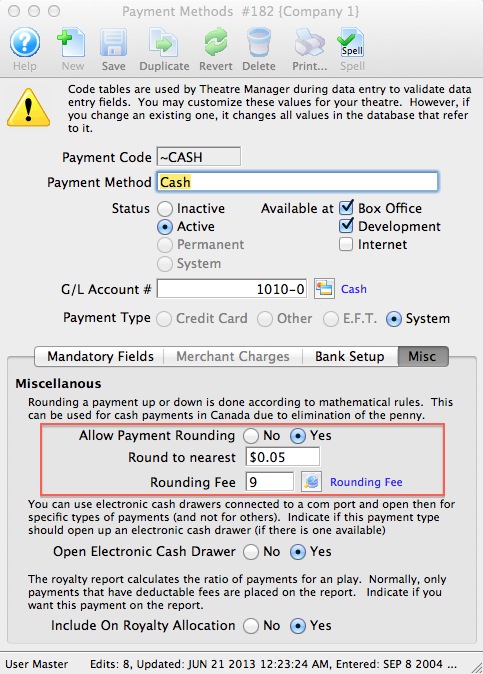
- Go to Setup>>System Tables>>Code Tables
- Select Payment Methods
- Double click on the payment method you wish to setup for rounding on the right. If you are rounding the Cash payment method, then find the system ~CASH payment explicitly per the image below.
- click on the 'Misc' Tab for the payment method and set 'Allow Payment Rounding' on
- indicate the amount of rounding you want.
- Normally, this rounding amount would be $0.05 to round to the nearest nickel.
- You can have TM round to the nearest dime, quarter or any value you place into this field.
- Provide a fee type that will be used to track any rounded amounts -or-create one if you do not have a rounding fee account
- you will need a G/L code in your chart of accounts to post the fee to.
- the fee should not have any tax associated with it as you are just tracking the amount of cash that you gain or lose to rounding the payment. If your payments are evenly distributed (i.e. half are rounded up, half are rounded down), the total amount in this account will approximate zero.
Example: How does the process work?
Lets say the value of the ticket you sell is $29.46. Any tax is calculated by Theatre Manager is purely on on the price of the ticket (not the payment) and this is what is posted to the sales accounts and all reports.
- if the person pays by any method other than cash, you receive $29.46 in the asset account
- if the patrons pays by cash, the order total is still $29.46 and the cash payment that is requested is rounded down to $29.45. The payment windows does this for you automatically.
-
When the person gives you cash for $29.45
- the ticket is still allocated the full price of $29.46 (which includes per ticket fees and taxes)
- the bank account for cash payments is only allocated $29.45 because that is what you received.
- the fee account is allocated -$0.01 as a write off
Deleting a Payment Type
|
If a payment type has been used, it cannot be deleted. |
If you wish to discontinue a payment type, disable it. Click here to learn how.
To delete an unused payment type:
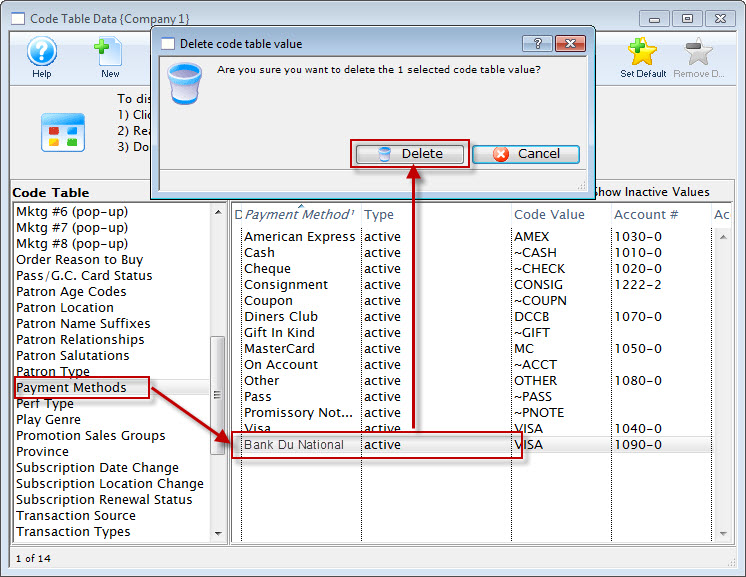
- Select the payment type that will be deleted.
- Click the Delete
 button.
The Delete codtable confirmation opens.
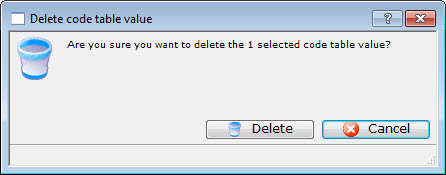
- Click the Delete
 button.
The payment type is now deleted. Clicking the Cancel
 button will abort the deletion.
Performance Type
This is a versitile, customizable code table field you can use to flag specific performances. You can use it for display on the web and it can also be used like the Genre flag for TicketTrove. It can also be used for reports to narrow down searching for specific performances.
Using this field, you can also search for specific performances during the Ticket Sales.
If you are using this field for courses, Click here for more information.
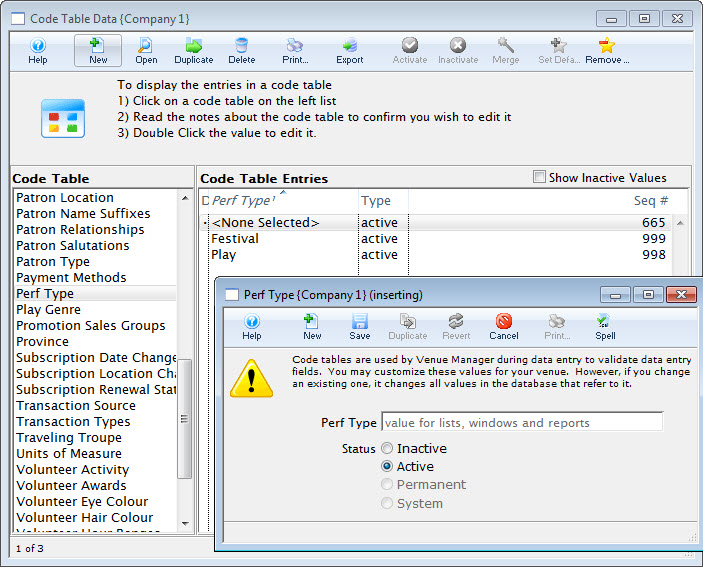
For information about editing values in code tables, click here.
Play / Event Genre
|
Genre is a general classification for events that is common to all Theatre Manager customers.
You cannot edit the Genre Table |
Currently, there are about 70 classifications which are used in the TicketTrove iPhone/iPad app to help customers find entertainment to their liking as well as on the event search window on the web.
- For Example: Customers can look for drama, hockey games, musicals, symphonies, ballet, etc.
Specifying a genre for an event is required.
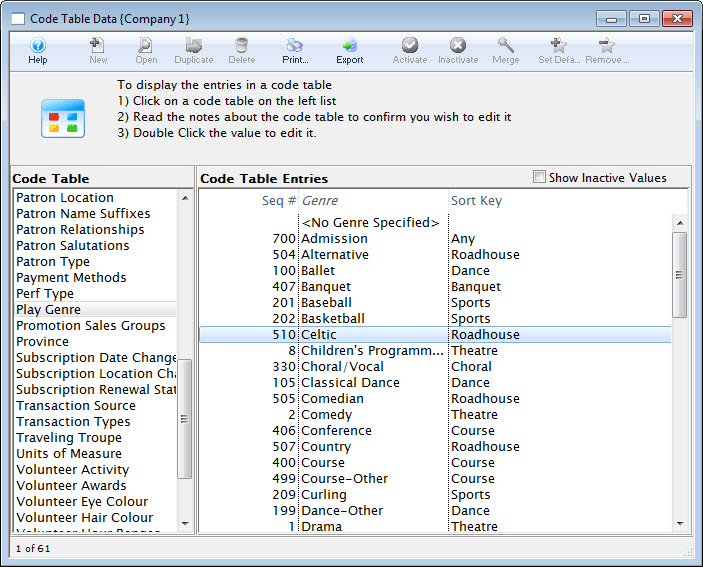
You will need to update the genre setting for each future event on the Events and Dates Marketing tab to help users search for specific types of events in their interest area.
Click here for more information on the Events and Dates Marketing tab.
For information about editing values in Code Tables, click here.
Promotion Sales Groups
Sales Promotions are able to be grouped into letter codes to help make them easier to read on a report. By assigning a letter to a group of Sales Promotions, you can categorize them in a report by their similarities. For example, you can use the letter 'S' to indicate all the Season Sales Promotions (Early Bird, Season, Flex Season) into one category. Then when running reports, you can run them based on Report Subtotal Group 'S', rather than selecting the promotions one by one. In addition, when running full reports on an event, you can subtotal all your
- A - Single Ticket Sales (regular, 2 for 1, General Admission).
- D - Special Benefit Promotions (Dinner, Opening Gala, Development Events).
- G - Group Tickets (Senior homes, Brownies).
- M - Media Tickets (Critics, Editors).
- S - Season Tickets (Earlybird, Season).
- Z - Comp Tickets (Listed with a 'Z' so they appear last in reports)
Or any categorization you choose.
You can set names for these categories so they are more meaningful to your organization in the Code Table setup for Promotion Sales Group.
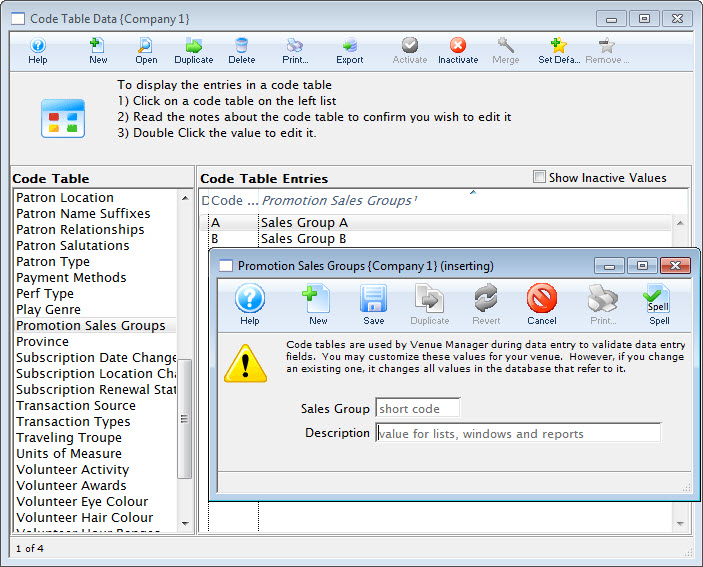
For information about editing values in code tables, click here.
Province/State Code
The Province/State Code Table is a list of Provinces and States in North America and recognized American states throughout the world. This list is primarily used for Web Sales.
The name Province can be changed to State (and vice versa) in the Appearance tab of Company Preferences. For more information on changing the title click here. Altering the Sort Value allows you to determine whether Provinces or States appear at the top of the list. They are assigned to Groups which sorted alphabetically. Each Province/State is then sorted numerically within the group.
For example, Provinces might be in Group 'A', and States in group 'B'. Within the Group, you would assign the Provinces A01, A02, A03, etc. The States would be given Sort Values of B01, B02, B03, etc. Since A comes before B, the Provinces would come above the States in the list. American users would do the opposite.
Depending on the region a default can be set. For more information on setting a Province or State as default click here.
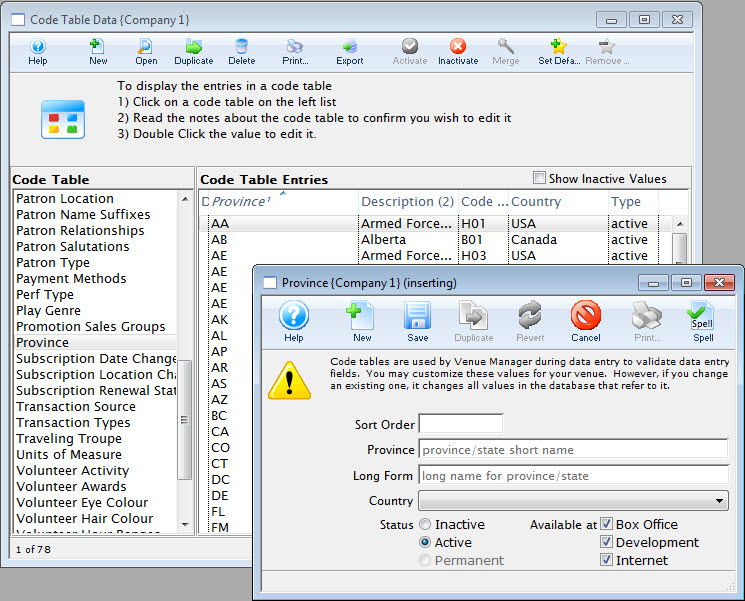
For information about editing values in Code Tables, click here.
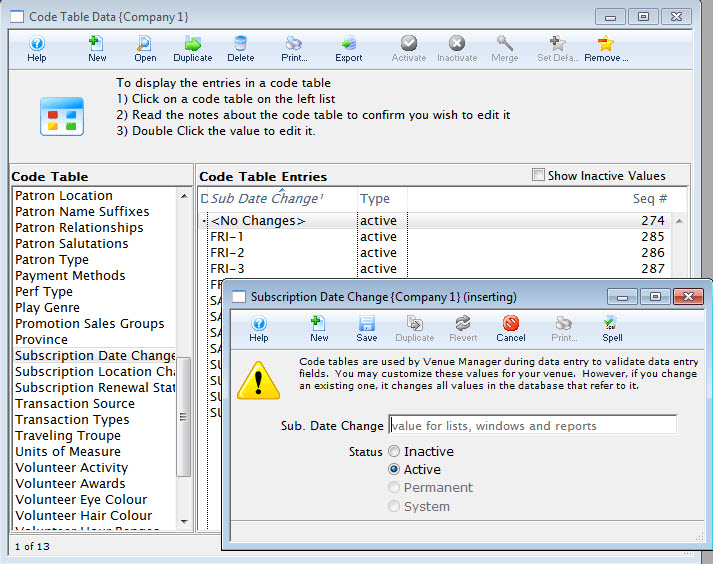
Subscription Date Change
The values from this table are displayed on the Season Subscription Detail Window. They reflect if a patron changed the date which they were attending plays for their subscription. They also allow for better marketing records to be kept and provide another value which can be used in reports and form letters.
For information about editing values in Code Tables, click here.
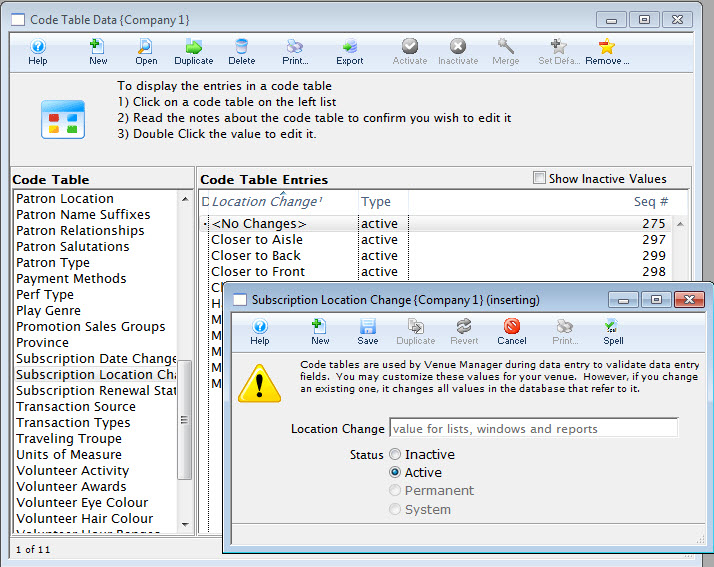
Subscription Location Change
The values from this table are displayed on the Season Subscription Detail Window. When the patron is renewing, you can record if they changed their season seats and where in the theatre they moved to.
This means better marketing records can be kept and provide another value which can be used in reports and form letters.
For information about editing values in Code Tables, click here.
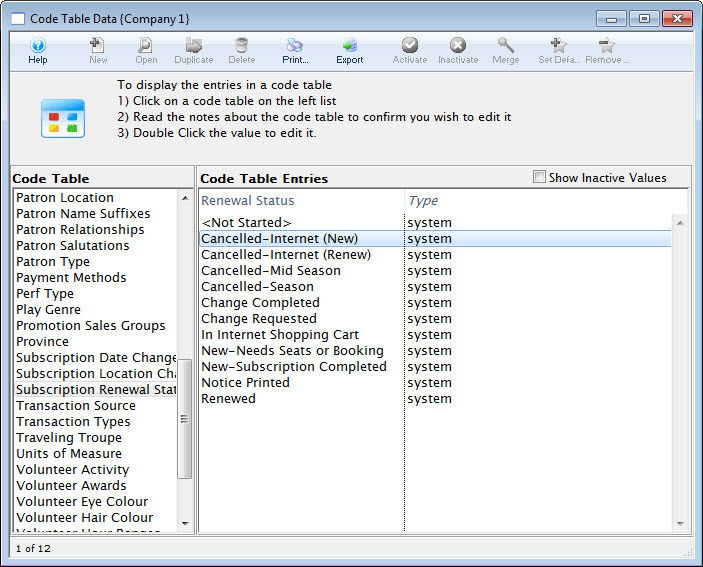
Subscription Renewal Status
The values from this table are displayed on the Season Subscription Detail Window. They allow for better marketing records to be kept and provide another value which can be used in reports and form letters.
For information about editing values in Code Tables, click here.
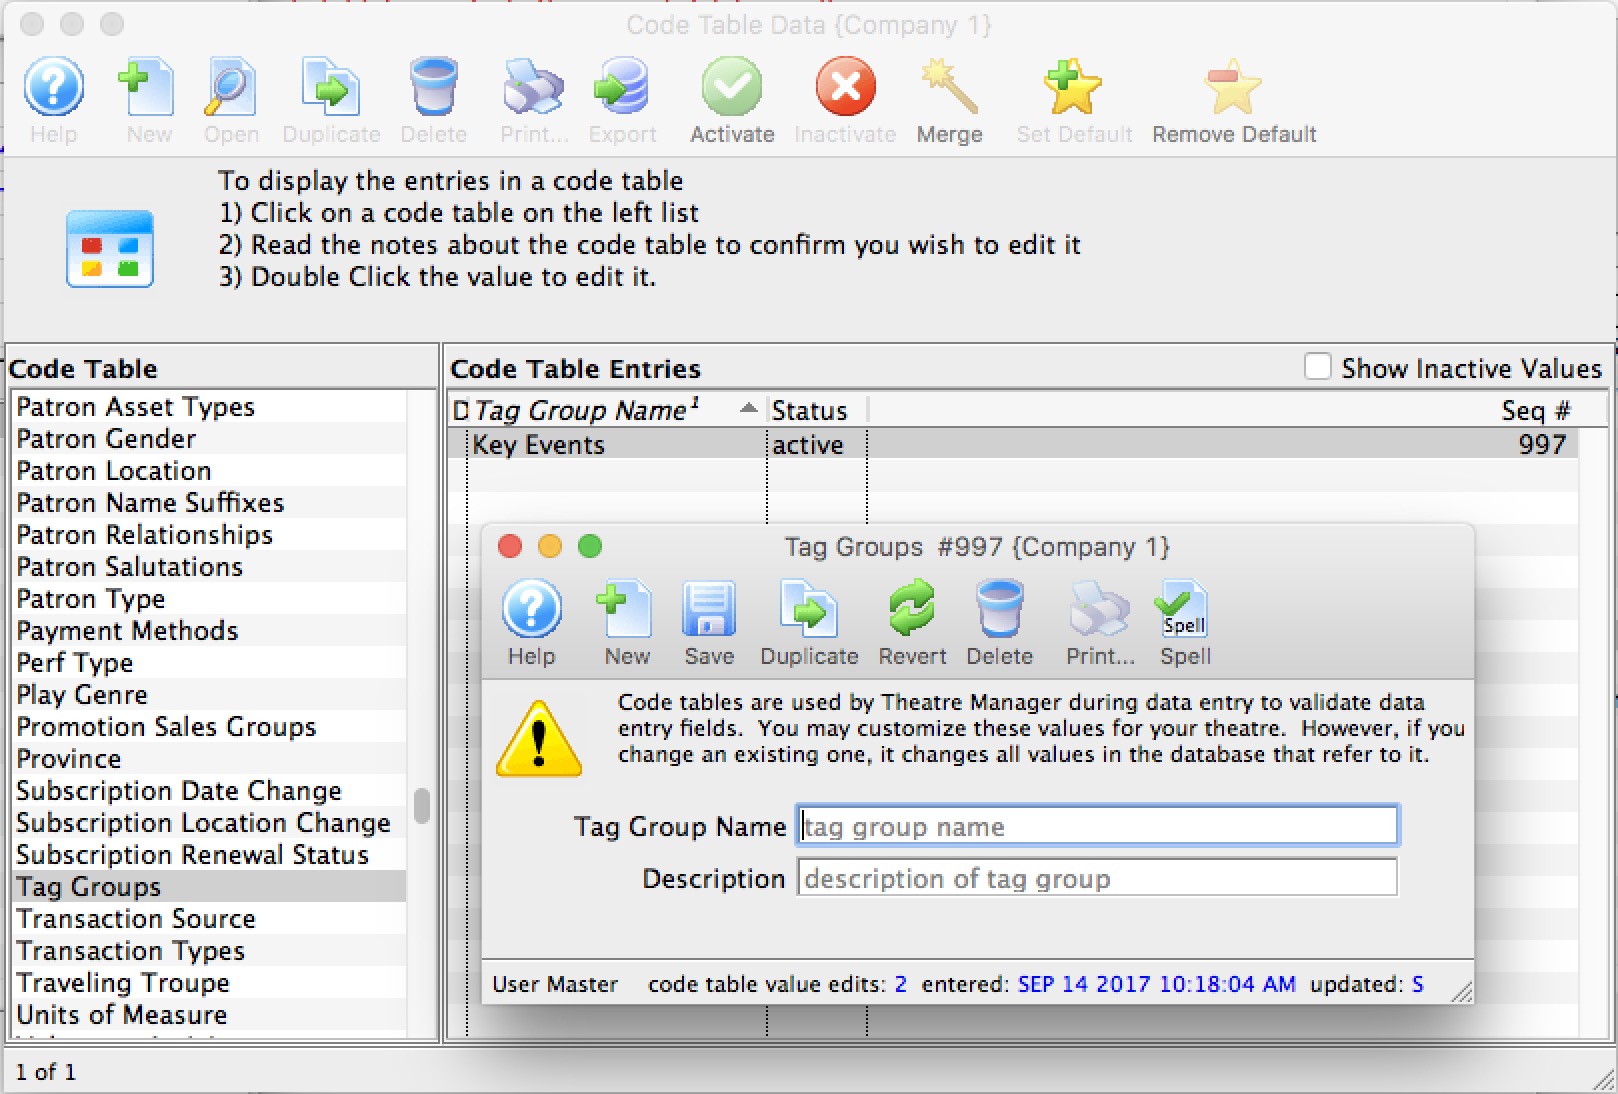
Tag Groups
Tag groups are ways to conveniently group a number of different tags that you want to associate with records.
 |
Tag Types allow you group or classify the tags in the tag setup tables |
For information about editing values in Code Tables, click here.
Transaction Source
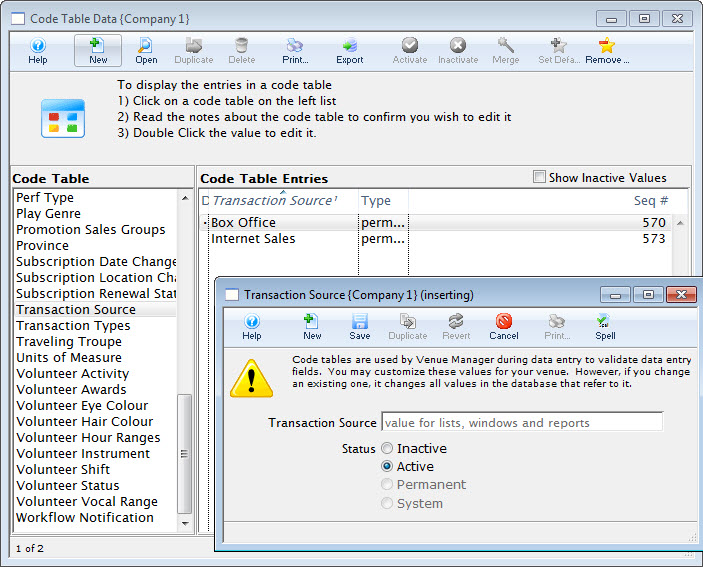
For information about editing values in Code Tables, click here.
Transaction Types
The Transaction Types Code Table is a system table and cannot be changed. The values found here are a list of all the possible types of transactions that can be created and found in Theatre Manager. The result value is the actual transaction name, while the lookup value is a short form that is usually found on transaction reports, or inside the patron transaction tab. If you come across a transaction lookup value that you don't recognize, visit this code table to find its definition.
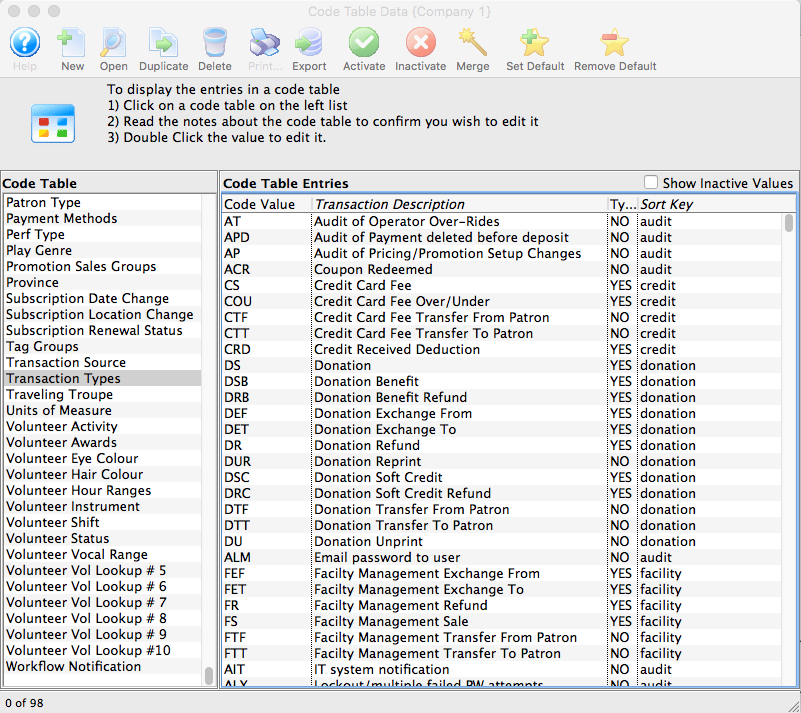
The Transaction type Values are:
| Code Value | Transaction Description | Type | Sort Key |
PATRON or AUDIT |
|||
| AC | Patron Card Viewed by Authorized User | N | audit | ACR | Coupon Redeemed | N | audit |
| AEI | Patron Change-Internet | N | patron |
| AIT | IT system notification | N | audit |
| ALI | User logged in | N | audit |
| ALM | Email password to user | N | audit |
| ALO | User logged out | N | audit |
| ALX | Lockout/multiple failed PW attempts | N | audit |
| AM | Patron Merged | N | patron |
| AP | Audit of Pricing/Promotion Setup Changes | N | audit |
| APD | Audit of non deposited payment deleted | N | audit |
| AS | Patron Added | N | patron |
| ASI | Patron Added-Internet | N | patron |
| AT | Audit of Operator Over-Rides | N | audit |
CREDIT CARD (No longer supported after Version 6) |
|||
| COU | Credit Card Fee Over/Under | Y | credit |
| CRD | Credit Received Deduction | Y | credit |
| CS | Credit Card Fee | Y | credit |
| CTF | Credit Card Fee Transfer From Patron | N | credit |
| CTT | Credit Card Fee Transfer To Patron | N | credit |
DONATION |
|||
| DEF | Donation Exchange From | Y | donation |
| DET | Donation Exchange To | Y | donation |
| DR | Donation Refund | Y | donation |
| DRB | Donation Benefit Refund | Y | donation |
| DRC | Donation Soft Credit Refund | Y | donation |
| DS | Donation | Y | donation |
| DSB | Donation Benefit | Y | donation |
| DSC | Donation Soft Credit | Y | donation |
| DTF | Donation Transfer From Patron | N | donation |
| DTT | Donation Transfer To Patron | N | donation |
| DU | Donation Unprint | N | donation |
| DUR | Donation Reprint | N | donation |
FACILITIY |
|||
| FEF | Facility Management Exchange From | Y | facility |
| FET | Facility Management Exchange To | Y | facility |
| FR | Facility Management Refund | Y | facility |
| FS | Facility Management Sale | Y | facility |
| FTF | Facility Management Transfer From Patron | N | facility |
| FTT | Facility Management Transfer To Patron | N | facility |
MEMBERSHIP |
|||
| MEF | Pass/G.C. Exchange From | Y | membership |
| MET | Pass/G.C. Exchange To | Y | membership |
| MR | Pass/G.C. Refund | Y | membership |
| MRB | Pass/G.C. Benefit | Y | membership |
| MRR | Pass/G.C. Manual Redemption | Y | membership |
| MS | Pass/G.C | Y | membership |
| MSR | Pass/G.C. Redeemed For | Y | membership |
| MTF | Pass/G.C. Transfer From Patron | N | membership |
| MTT | Pass/G.C. Transfer To Patron | N | membership |
FEES |
|||
| OEF | Order Fee Exchange From | Y | fees |
| OET | Order Fee Exchange To | Y | fees |
| OR | Order Fee Refund | Y | fees |
| OS | Order Fee Sale | Y | fees |
| OTF | Order Fee Transfer From Patron | N | fees |
| OTT | Order Fee Transfer To Patron | N | fees |
PAYMENTS |
|||
| PD | Payment Post Dated | Y | payments |
| PDD | Payment Post Dated Deposited | Y | payments |
| PDR | Payment Post Dated Refund | Y | payments |
| POF | Payment Move From Order | Y | payments |
| POT | Payment Move To Order | Y | payments |
| POU | Payment Over/Under | Y | payments |
| PT | Payment | Y | payments |
| PTF | Payment Transfer From Patron | N | payments |
| PTT | Payment Transfer To Patron | N | payments |
INVENTORY |
|||
| RIAD | Resource Inventory Adjustment | N | inventory |
| RICI | Resource Inventory Check In | N | inventory |
| RICO | Resource Inventory Check Out | N | inventory |
| RIEN | Resource Inventory Tracking Ended | N | inventory |
| RIH | Resource Inventory Held | N | inventory |
| RIPR | Resource Received by patron | N | inventory |
| RIR | Resource Inventory Released | N | inventory |
| RIST | Resource Inventory Tracking Started | N | inventory |
RESOURCES |
|||
| REF | Resource Exchange From | Y | resources |
| RET | Resource Exchange To | Y | resources |
| RR | Resource Refund | Y | resources |
| RS | Resource Sale | Y | resources |
| RTF | Resource Transfer From Patron | N | resources |
| RTT | Resource Transfer To Patron | N | resources |
EXCHANGES |
|||
| TEF | Ticket Exchange From | Y | exchanges |
| TET | Ticket Exchange To | Y | exchanges |
REFUNDS |
|||
| TR | Ticket Refund | Y | refunds |
SALES |
|||
| TS | Ticket Sale | Y | sales |
MISC |
|||
| ACR | Coupon Redeemed | N | misc |
| TTF | Ticket Transfer From Patron | N | misc |
| TTT | Ticket Transfer To Patron | N | misc |
| TU | Ticket Unprint | N | misc |
OUTLET |
|||
| XR | Outlet-Donation refunded for another Outlet | Y | outlet |
| XS | Outlet-Donation sold for another Outlet | Y | outlet |
| YR | Outlet-Pass/G.C. refunded for another Outlet | Y | outlet |
| YS | Outlet-Pass/G.C. sold for another Outlet | Y | outlet |
| ZEF | Outlet-Ticket exchange from for ticket own | Y | outlet |
| ZET | Outlet-Ticket exchange to for ticket own | Y | outlet |
| ZR | Outlet-Ticket refund for ticket owned by | Y | outlet |
| ZRC | Outlet-Commission Payables to Other Outlet | Y | outlet |
| ZRS | Outlet-Sales Payable to Other Outlet | Y | outlet |
| ZS | Outlet-Ticket sale on behalf of another | Y | outlet |
| ZSC | Outlet-Commission A/R from Other Outlet | Y | outlet |
| ZSS | Outlet-Sales A/R from Another Outlet | Y | outlet |

Traveling Troupe
The Traveling Troupe code table affects the Traveling Troupe buy window. The result values are listed on the troupe buy window in the order you would like them to be displayed (Lookup Value). The Result values are important "times" for the traveling troupe. A call time is assigned to each value in the buy window. This is so a troupe manager can print a daily report of the troupes activities for the members of its troupe.
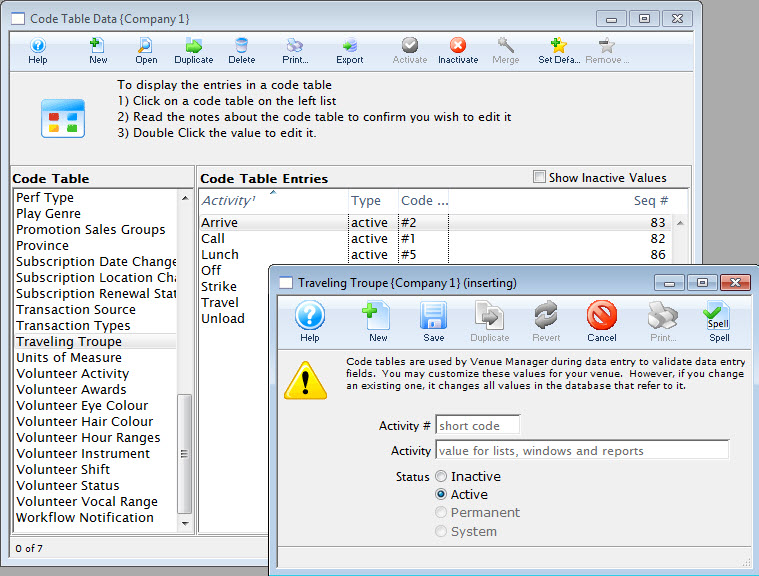
For information about editing values in Code Tables, click here.
Units of Measure
This is a listing of the various units of measure recognized by the program. They are "permanent" system values built into Theatre Manager and cannot be edited or amended.
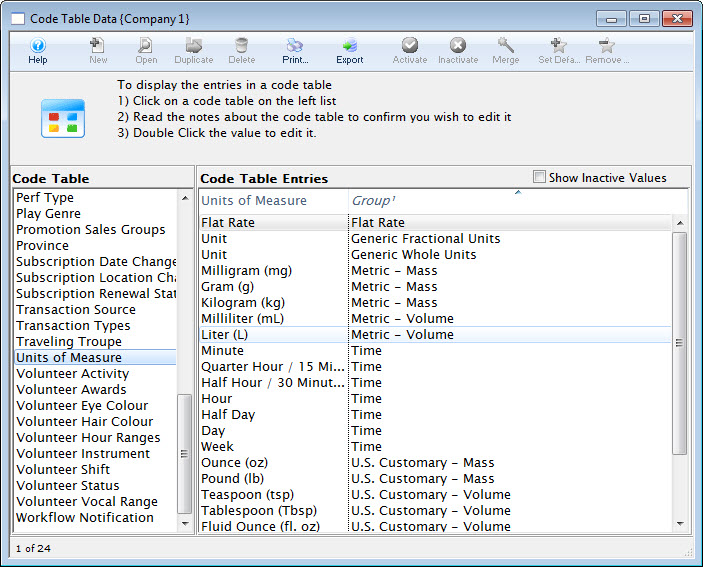
Volunteer Activity
The types of activities your organization's volunteers engage in can be set up, assigned and tracked by Theatre Manager. This page shows you how to set up those activity types.
 |
Refer to the video help on volunteer management for more information. |
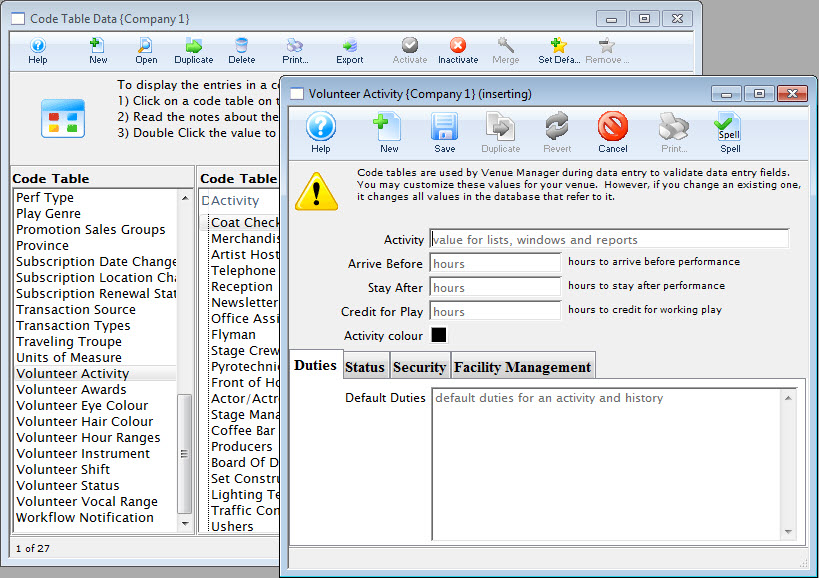
Click here, for more information on setting up Volunteer Activities.
Adding Volunteer Duties
- Go to Setup >> System Tables >> Code Tables and scroll down to select Volunteer Activity.
- Click the New button
 to open the Volunteer Activity Insert window.
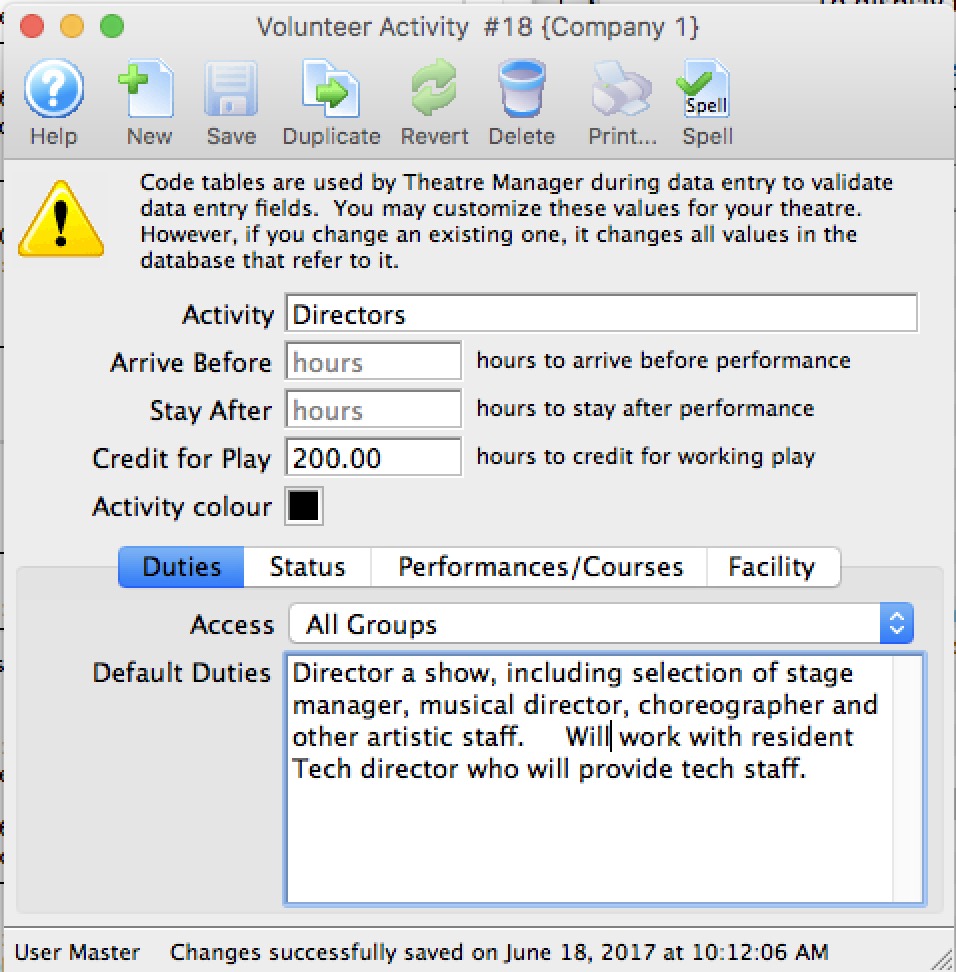
- Give the new activity a specific name so anyone will be able to decipher its purpose. It will also appear on reports and search criteria.
- Optionally, if tracking hours or if hours do not match the task or performance it is associated with
- Enter the number of hours before and after the performance that the volunteer is expected to be there. For example, if the performance starts at 7:30 pm, you might expect an usher to arrive 1 hour before and stay a half hour afterwards. If these two fields are set, they add extra time to the volunteer record before event start and duration of performance. Thus a 2 hour performance might result in a time credit of 2 + 1 before and 0.5 after, or 3.5 hours. This will show on the calendar in Facility Management.
- Alternatively, you can specify a fixed number of hours to credit to the staff/volunteer for doing this activity. This approach is more suitable for things like directors, actors or volunteer office staff who might be given a time allotment, regardless of the duration of the event.
- If either of the above are provided, they become defaults during data entry. If not provided, the setup can specify the total time if you want the time to be fixed, rather than based on calendar input.
- If you want this activity to have special colouring on the calendar, select a color other than black.
- On the Duties tab, enter any default duties for this position.
Volunteer Activity Status
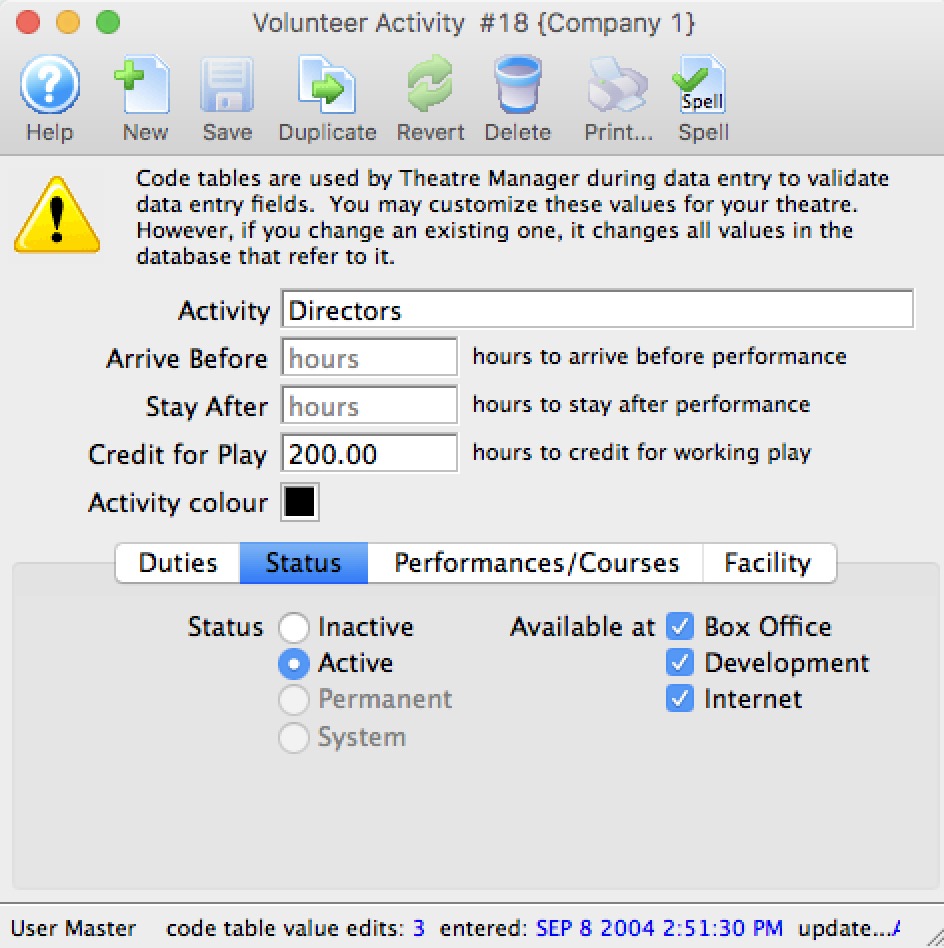
The Status tab is used to indicate if the volunteer/personnel activity code is active or inactive as well as where it might be used.
Web Permissions for Personnel Activity
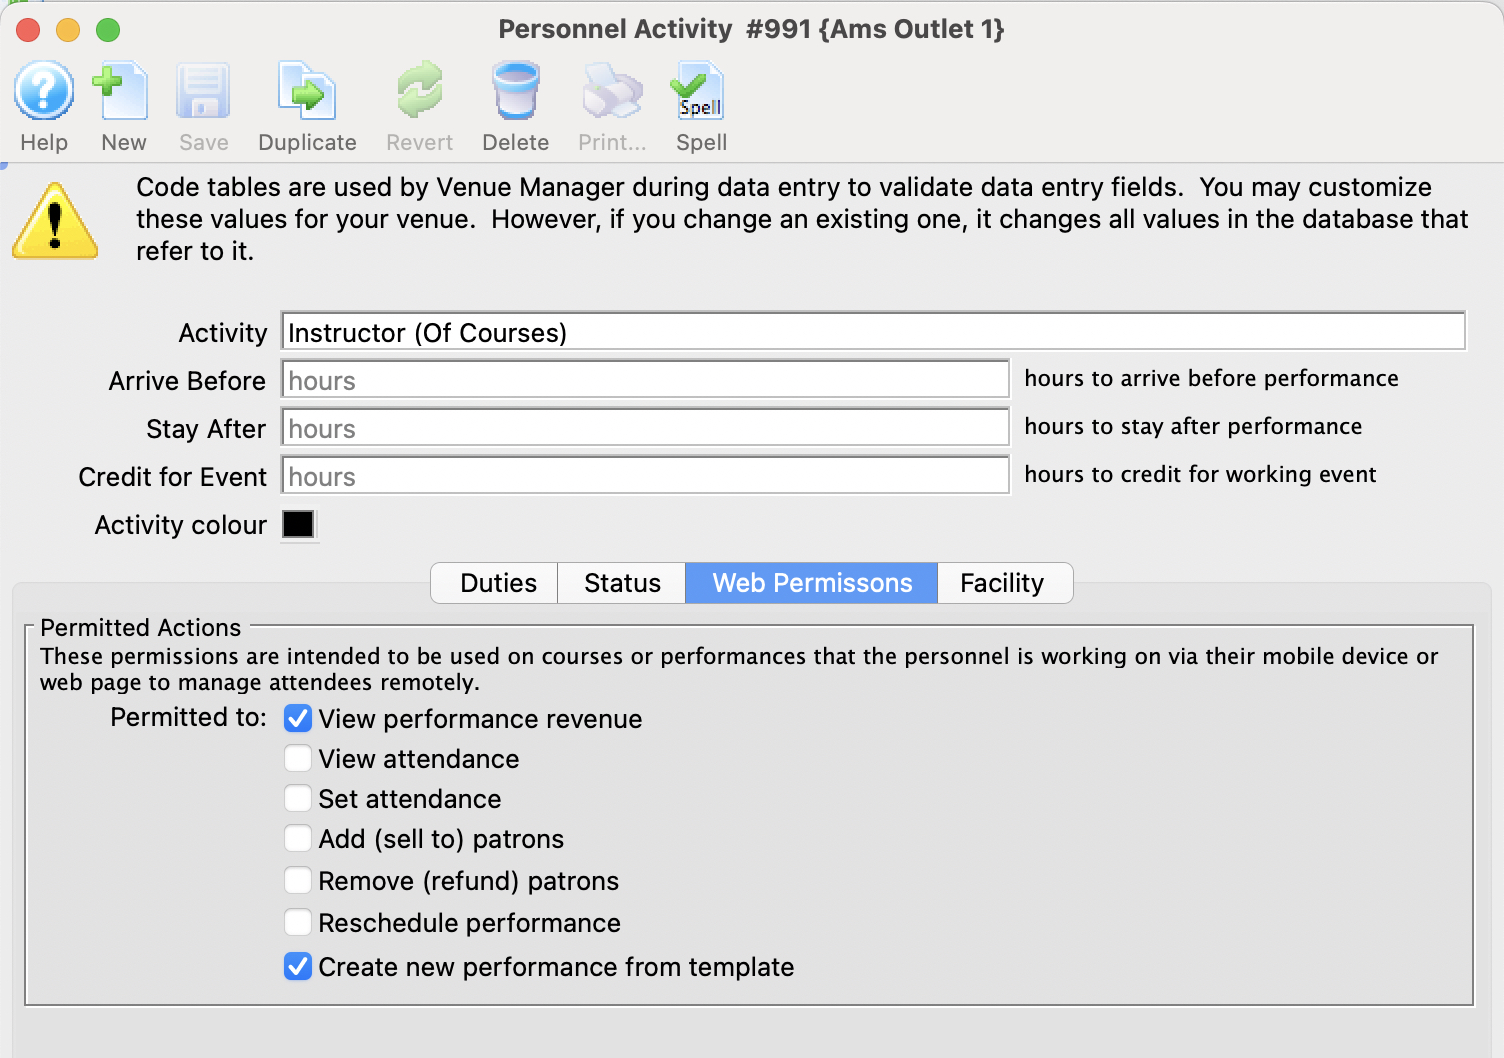 This feature is designed to work in conjunction with the Web Services to give a permission Staff member/volunteer to accomplish various tasks within the web module -AND/OR- Producers (regular Patrons) the ability to see and export sales and attendance information.
The permissions will allow:
- An employee managing a course/class to set attendance, add participants on the fly, refund a class, reschedule a class or add a new class. See example permission for a course instructor
- A Producer to see the sales and attendance for specific events or performances that they have been assigned to in the Event setup. See example permission for Producer/Promoter
If this activity code is associated with the person for a particular event, the following indicates what they can do online. The employee/volunteer will need to pull up the event/performance online in a web browser.
| Permission | Meaning |
| View performance Revenue | Allows the Producer or Promoter of an event to view performance revenue for the event that they are assigned to |
| View attendance | This means that the Volunteer/Employee/Promoter can view the patron information for people who have purchased to the event o the course. |
| Set attendance | This means that the employee/volunteer can set or clear attendance reasons for the patron for each class or event using a tablet or computer. This is not meant for high volume attendance tracking - more for courses and really small events. |
| Add (sell to) patrons | If enabled, the employee/volunteer can add NEW patrons to the course. It is designed for those kinds of classes where people can just show up - and then be enrolled by the instructor. |
| Remove (refund) patrons | If enabled, the employee/volunteer can remove people from the course/class and issue a refund to the patron in form of a credit (eg pass/gift certificate). |
| Reschedule performance | Allows the employee/volunteer to change the date and time of a class within the course |
| Duplicate performance | Allows the employee/volunteer to add extra classes to the course. |
Course Management - web access
- Set Attendance
- Add (sell to ) patrons
- Remove (refund) patrons
- Reschedule Performance - which is important of its a course which means they can change the date of the performance
- Create New Performance - which lets them add a new date for a course
The web permissions are described more fully in the Web Permission Page.
If you create this type of activity and add it to a patron, you can:
- assign it to a course (or any event and/or performance for that matter) -AND-
- they will be able to manage it online to do the activities you have assigned above
Event Producer/Promoter - Web Access
- View Performance Revenue
- View Attendance
The web permissions are described more fully in the Web Permission Page.
If you create this type of activity and assign it to a patron, you can:
- assign them to an event (or performance) -AND-
- they will be able to, at any time, view or download:
- the revenues for the event (or performance) -AND/OR-
- retrieve limited information about the patrons who are attending the event
You can even track which events they have viewed and how often by looking at web logs.
Volunteer Activity Facility Setup
- Default billing rate - which is what we wish to bill the person out at to the renters.
- Default hourly cost - which is the default hourly cost of using the person in this volunteer activity. It can be overridden by setting pay rates on the employee facility set up window
- Sales Tax Code - which is used to add taxes to the expenses and income
- Use deferred accounts if set, then any facility project marked as using deferred accounts will use the deferred account entered below. If neither the project, nor the activity uses deferred accounts, then only the earned accounts need to be specified.
- Accounts
- Deferred Expense Account - the deferred account into which future expenses will be placed if using deferred accounting for the project. This is typically a liability account
- Earned Expense/Cost of Goods Account - the earned account for expenses This is typically either an expense of cost of goods account. When the project ends, this is where the expenses will be rolled over into.
- Deferred Income Account - the deferred account into which future income will be placed if using deferred accounting for the project. This is typically an asset account
- Earned Income Account - the earned account for income. When the project ends, this is where the invomce will be rolled over into.
Review Rates
To see current billing rates for anyone already associated with this activity, click the Review Rates button. The same window will pop up if you change the default billing rate, giving you an opportunity to change or leave alone the billing rate for anyone associated with the activity.
Volunteer Awards
Personalizing your volunteer recognition component of your program is the best form of showing appreciation for the contribution of volunteers. In this code table, you add the details for your awards.
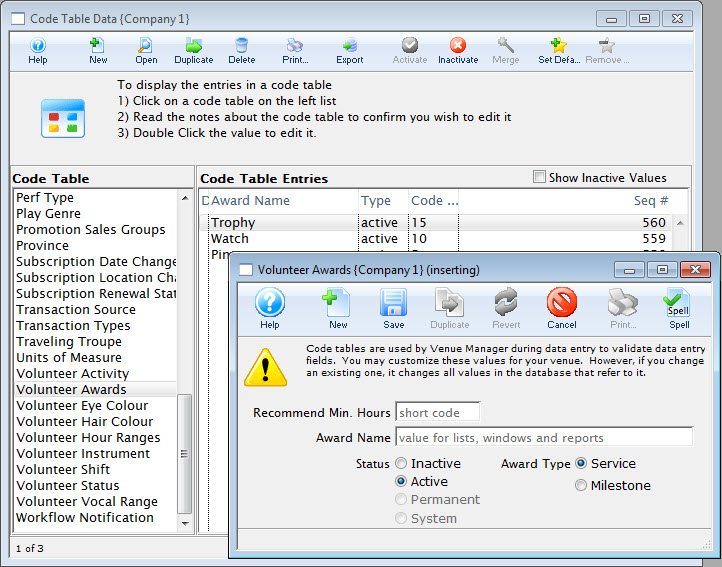
For information about editing values in Code Tables, click here.
Volunteer Custom Field 1
The Custom Volunteer Field 1 (Volunteer Eye Color) field can be customized to suit client needs. The field can be renamed and drop down options edited to reflect client needs. This drop down field is found in Patron Records and Personnel Management.
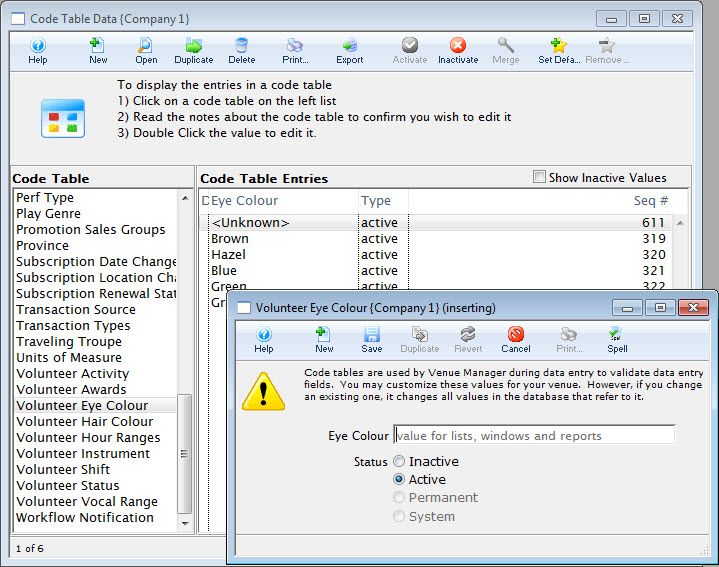
For information about editing values in Code Tables, click here.
Volunteer Custom Field 2
The Custom Volunteer Field 2 (Volunteer Hair Colour) field can be customized to suit client needs. The field can be renamed and drop down options edited to reflect client needs. This drop down field is found in Patron Records and Personnel Management.
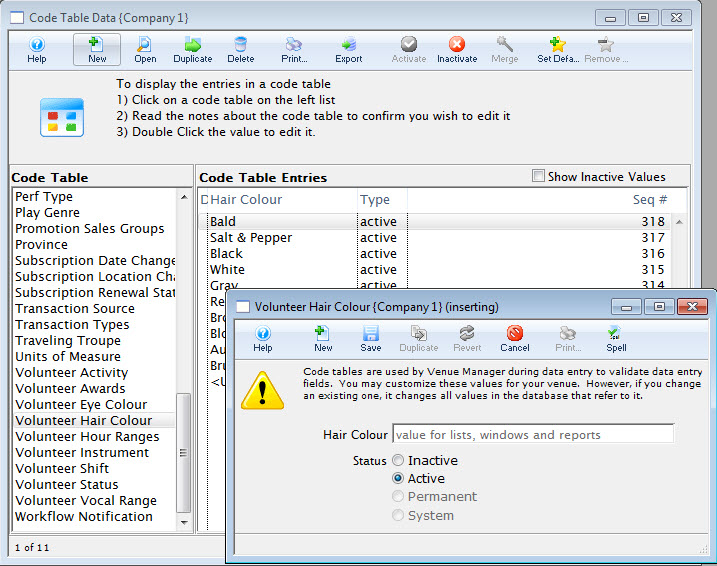
For information about editing values in Code Tables, click here.
Volunteer Custom Field 3
The Custom Volunteer Field 3 (Volunteer Instrument) can be customized to suit client needs. The field can be renamed and drop down options edited to reflect client needs. This drop down field is found in Patron Records and Personnel Management.
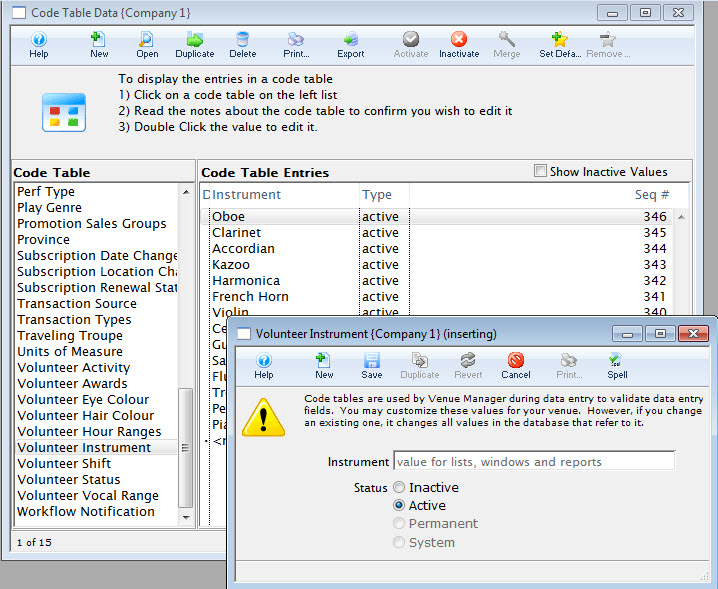
For information about editing values in Code Tables, click here.
Volunteer Custom Field 4
The Custom Field #4 (Volunteer Vocal range) code table can be customized to suit client needs. The field can be renamed and drop down options edited to reflect client needs. This drop down field is found in Patron Records and Personnel Management.
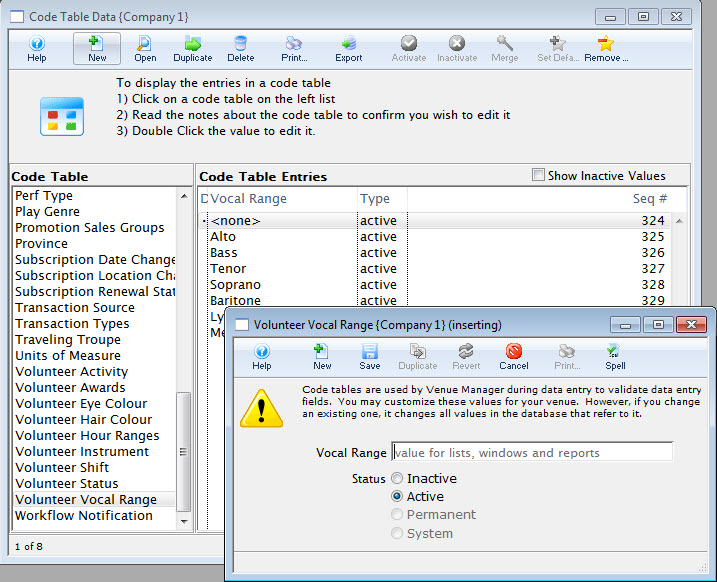
For information about editing values in Code Tables, click here.
Volunteer Hour Ranges
The Volunteer Hour Ranges code table Used to summarize volunteer hours in the Volunteer Hour Summary Report.
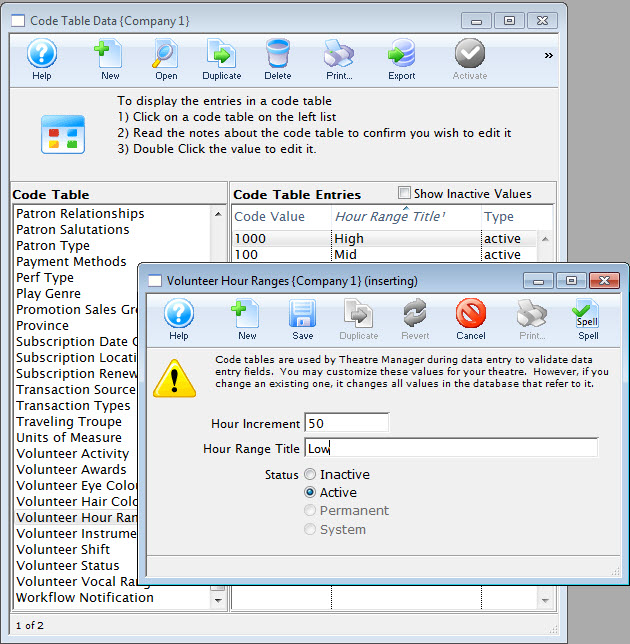
For information about editing values in Code Tables, click here.
Volunteer Shift
The Volunteer Shift code table can be customized to suit client needs. The field can be renamed and drop down options edited to reflect client needs. This drop down field is found in Patron Records and Personnel Management.
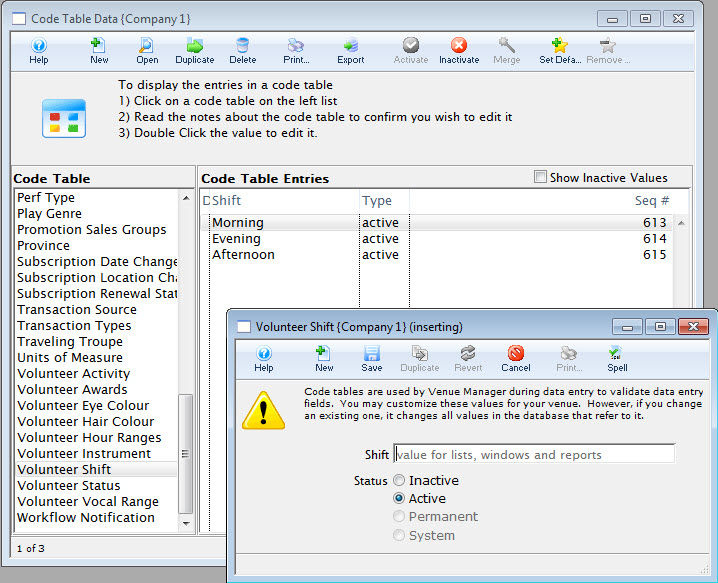
For information about editing values in Code Tables, click here.
Volunteer Status
The Volunteer Status can be customized to suit client needs. The field can be renamed and drop down options edited to reflect client needs. This drop down field is found in Patron Records and Personnel Management.
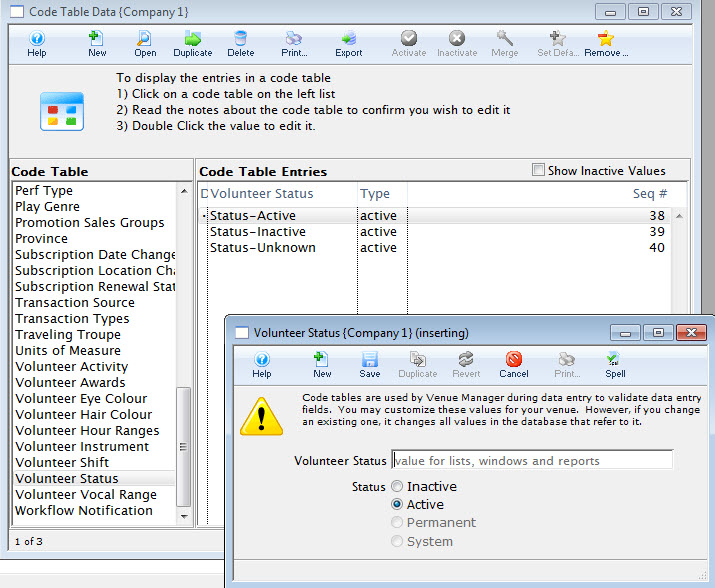
For information about editing values in Code Tables, click here.
Workflow Notifications
The Workflow tab allows you to create and manage different notification types for Internet and Box Office Sales.
Click here for more information on WorkFlow Notifications.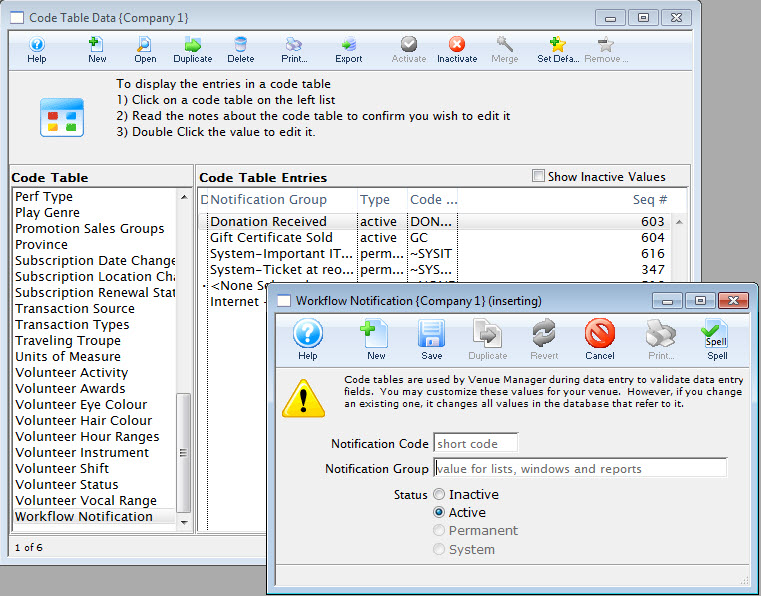
For information about editing values in Code Tables, click here.
Sales Promotions
Markups and discounts can be percentages or fixed amounts. For Example:
- A half price sales promotion has a 50% discount.
- A group discount could be $4.00 off the regular price.
- A special promotion that includes a reception, may have a markup of $4.00 added to the regular price.
A sales promotion can combine a discount and a markup. For Example:
- You could have a special seniors price which is always $7.00 that combines a 100% discount with a $7.00 markup.
Ticket prices before tax are calculated as:
- Ticket Price = Ticket Base price - Sales Promotion Discount + Sales Promotion Markup.
Sales Promotions Codes are accessed through the Setup >> System Tables >> Sales Promotions Menu.
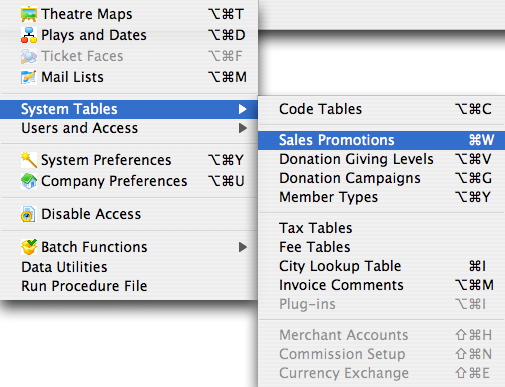
The Sales Promotions window opens.
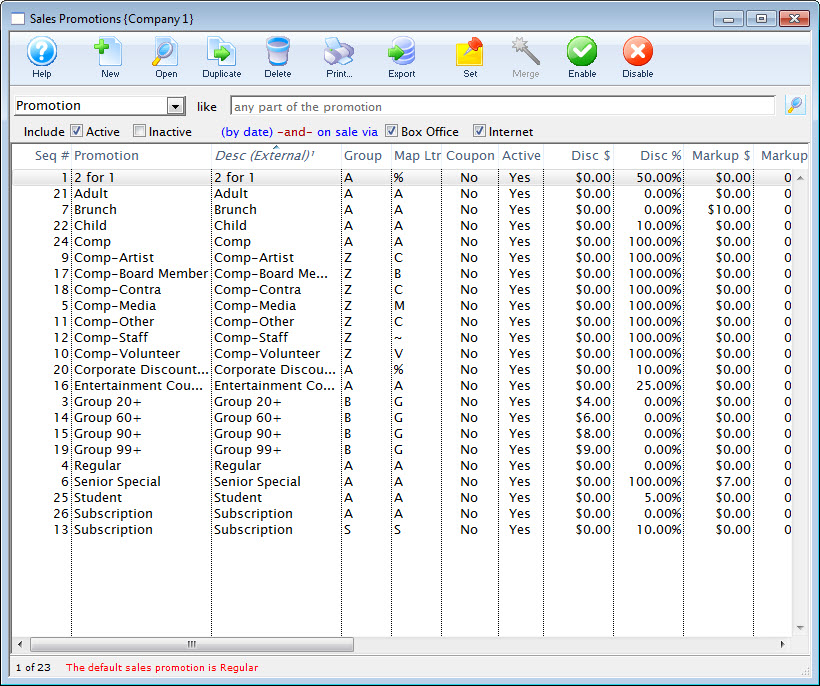
Click here for a detailed description of this window and it's functions.
Sales Promotions List Window
Sales promotions are used during the ticket purchase process to indicate how the base ticket price is to be altered to arrive at the final ticket price. A sales promotion is a discount, a markup, or a combination of both that is added to a ticket at the time of purchase. A ticket sold at "full" price has a sales promotion that has a no markup and no discount.
Markups and discounts can be percentages or fixed amounts.
- For Example:
- A half price sales promotion has a 50% discount.
- A group discount could be $4.00 off the regular price.
- A special promotion that includes a reception, may have a markup of $4.00 added to the regular price.
- A half price sales promotion has a 50% discount.
A sales promotion can combine a discount and a markup.
- For Example:
- You could have a special seniors price which is always $7.00 that combines a 100% discount with a $7.00 markup.
Ticket prices before tax are calculated as:
- Ticket Price = Ticket Base price - Sales Promotion Discount + Sales Promotion Markup.
Promotions must be available at other outlets before a performance can be sold at the other outlets.
Sales Promotions Codes are accessed through the Setup >> System Tables >> Sales Promotions Menu.

Parts of the Sales Promotions Window
 |
Inserts a New promotion. For more information on inserting new sales promotions click here. |
 |
Opens the edit window for the selected promotion. For more information on editing sales promotions click here. |
 |
Creates a copy of the sales promotion. |
 |
Deletes the selected promotion. For more information on deleting sales promotions click here. |
 |
Generates a report of the listed sales promotions to the screen or default print location. |
 |
Exports out the listed sales promotions in a tab-delimited format. |
 |
Sets the selected promotion as the default. |
 |
Enables the selected promotion. |
 |
Disables the selected promotion. | Promotion | Search option for sales promotions |
| From | Starting point for search |
| To | Ending point for search |
 |
The type of promotions you wish to view: All, Active, Inactive |
| Promotion | The descriptive name of the promotion. |
| Desc (External) | The external description of the sales promotion to be printed on a ticket or displayed on the internet. |
| Group | Group letter the promotion belongs to. |
| Map Letter | Letter that will appear on the map for this promotion. |
| Coupon | A coupon is required for this promotion. |
| Discount $ | The dollar discount for the promotion. |
| Discount % | The discount percentage for the promotion. |
| Markup $ | The dollar markup for the promotion. |
| Markup % | The markup percentage for the promotion. |
| Ticket Fee 1 | Ticket Fee 1 value. |
Sales Promotion Code Window and Detail Tab
The Sales Promotion Detail window is where you enter new, or edit sales promotions.

The Sales Promotion Code window can be broken into 3 parts:
- The toolbar / ribbon bar. Click here, for more information on the buttons and what they do.
- The Name and Status of the current promotion.
- The Tabs. These are:
- Description - As Described on this page.
- Calculation - Click here for a description of this tab.
- Edits - Click here for a description of this tab.
- Plug In - Click here for a description of this tab.
- Performances - Click here for a description of this tab.
- Transactions - Click here for a description of this tab.
Parts of the Detail Tab
| External Description | The descriptive name of the promotion. |
| Exclude Price Codes | The price codes which the promotion cannot be used with. |
| Report Subtotal Group | Select from the drop down list, the appropriate grouping to use to subtotal similar promotions together on reports. You can add more groups in the Promotions Sales Groups. Click here for more information. |
| Map Display Letter | The letter to display on a graphical map when a ticket is sold using this promotion. |
| Subscription Hold Letter | The hold letter to display on a reserved seating map in a control house, when a ticket is held for a subscriber using this promotion as part of the subscription process. |
| Ticket Type for G/L Posting | The ticket type to which the promotion applies. Availble are:
|
| Ticket Face # | Sales promotions can print an extra ticket under certain conditions, for example a restaurant voucher if it is a Dinner and Show promotions. |
Calculation Tab
This is a very powerful tool to help you figure out ticket pricing if you are applying fees, discounts and commissions.
This window is broken into four columns:
- Ticket Pricing Options
- Tax Rate
- Calculation Options
- Sample Price Calculator
 |
Notes about tax rates set in this window:
|
Parts of the Calculation Tab
| Ticket Pricing Options | Tax Rate |
Calculation Options
Enable or disable |
Sample Price Calculator | ||
|
Price
=Base Price for Ticket Price Code |
-Discount | Used to decrease the base ticket price by a fixed dolar amount OR by a percentage | This tax rate setting is only for sample calculator to provide an idea.
The Actual Tax Rate comes from tax rate on the performance. |
Apply the Dollar Discount First. This means that any percentage discount is applied after the dollar discount is applied. For example: 1$ off and then 10% off that calculation is different than $1 off the original price plus 10% off the original price. | Displays what the values you have entered do to change the price. |
| +Markup | Used to increase the base ticket price by a fixed dolar amount OR by a percentage |
Apply the Dollar Markup First. This means that the dollar amount is added to the price and then any percentage amount is added on top. Eg. $10 added to the price, followed by 10% on the total is different than $10 added to the original amount plus 10% of the original price.
Always add the Markup - means add the markup amount even if the price of the ticket starts at zero (comp) or gets discounted to zero. it is away of making a ticket a fixed price and can be used for things like a youth ticket anywhere in the venue or a fixed amount of a tip added at dinner theatre, even to comp tickets. |
|||
| and round to the nearest | Indicates if the base price is to be rounded BEFORE adding fees and taxes. |
|
|||
| +Ticket Fee 1 | A ticket fee added to the base ticket price by a fixed dolar amount OR by a percentage | Choose the tax to apply from the Drop Down List | Always Add Fees | ||
| +Ticket Fee 2 | A ticket fee added to the base ticket price by a fixed dolar amount OR by a percentage | Choose the tax to apply from the Drop Down List | |||
| +Ticket Fee 3 | A ticket fee added to the base ticket price by a fixed dolar amount OR by a percentage | Choose the tax to apply from the Drop Down List | |||
| and round to the nearest | Indicates if the base price is to be rounded AFTER adding fees and taxes. |
|
Commission Table | Opens the Commisions Setup Lookup to apply a commission | |
|
If a performance is to be sold at another outlet, the promotion slected will require a Commission. |
Edits Tab
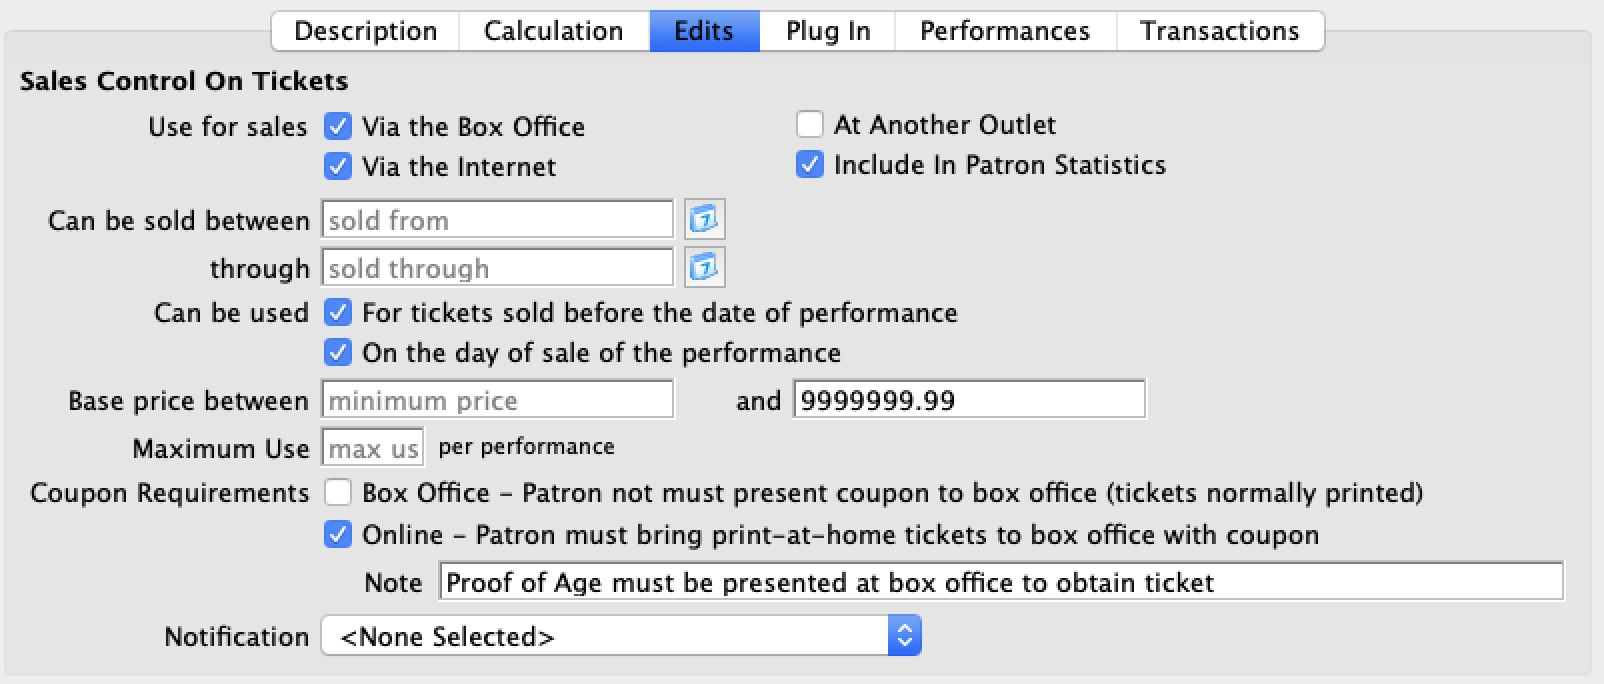
Parts of the Edits Tab
| Use For Sales |
Enable the appropriate check boxes for this promotion:
| ||
| Can be sold between | Enter the dates for when the tickets can be sold From and Through | ||
| Can be used |
Enable the appropriate check boxes for this promotion
| ||
| Base Price | The Lowest and the Highest price of the ticket the promotion can be appied to | ||
| Maximun Use |
The maximum number of time a promotion can be used
For Example: the first 50 tickets get a discounted rate | ||
| Coupon Requirements |
BOX OFFICE has a special meaning. It tells the system that in order to get this promotion/discount, the patron must present a coupon to you at the box office that verifies eligibility for the discount. An example might be:
In such cases, the order ticket print status is automatically set to HOLD @ WILLCALL FOR COUPON regardless if the patron asks to have their tickets mailed.
ONLINE has a slightly different meaning. If you mark that a coupon is required for an online sales (for the same reasons as above) and the ticket is printed-at-home, Theatre Manager will:
|
||
| Coupon Requirements Note |
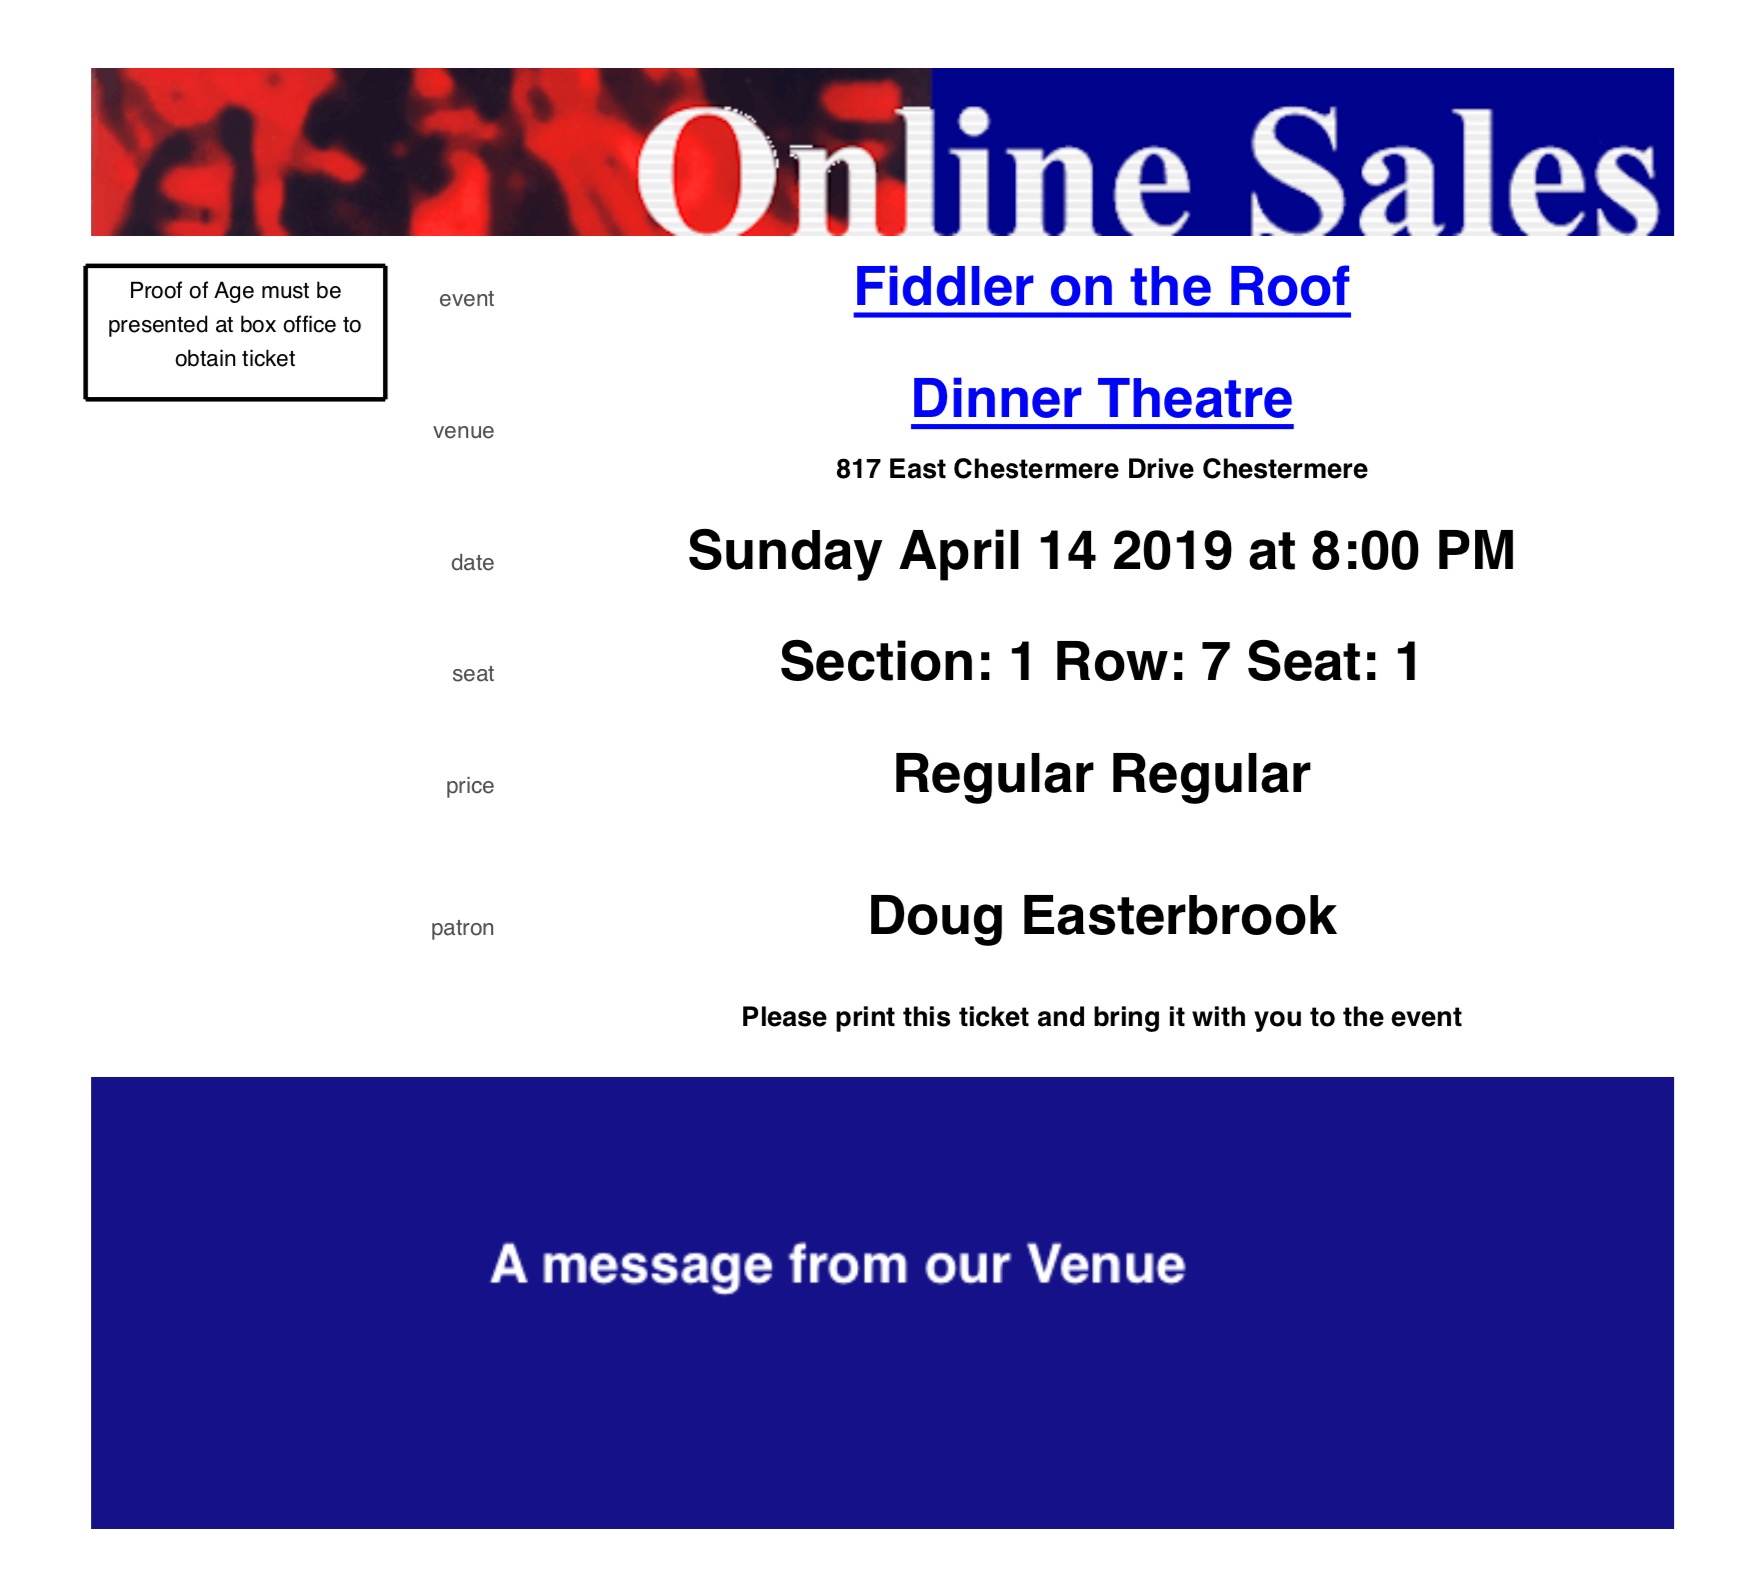 When a patron buys online and the print at home setting requires a coupon, you must also enter a note in this field. This provides the box office staff (and the patron) some instructions what they have to do to validate the ticket. This is printed on the upper left corner of the print at home ticket, per the sample.
|
||
| Notifications | If necessary, select the appropriate notification from the drop down list |
Plug In Tab
Plug-Ins are special code segments designed specifically for your Theatre that affect how the sales process works. For example, a sales promotion plug in might look at the number of tickets and change regular sales to group sales of tickets automatically.
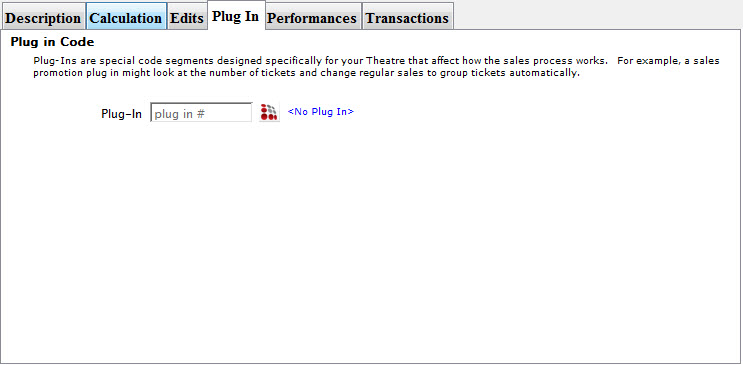
Click the Plug In  button to open the the Plug In List Window.
Performances Tab
The Performances tab, allows you to veiw indepth information about the Plays / Events / Performances you want to apply the promotions to.
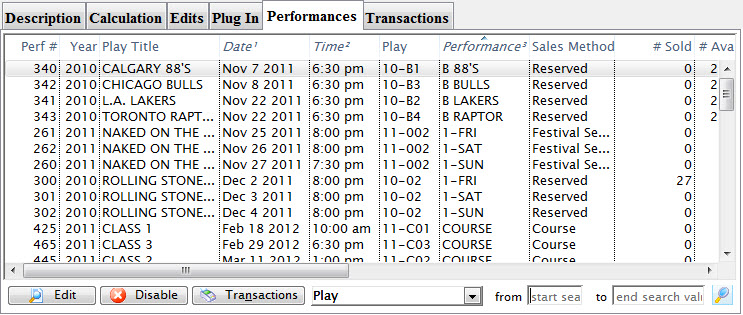
Parts of the tab
 |
Opens the highlighted Performance in the Performance Detail window for editting. Click here for more information on editing a performance. |
 |
Disables the current sales promotion from the selected performance(s). To enable the sales performance again, you will need to edit each performance or mass enable from the sales promotion list. |
 |
Clicking the Transactions button, opens the transactions list window to show the transactions related to the selectd performance. |
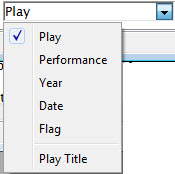 |
Allows you to find specific performances to select from by selecting an option. |
| From / To | You can further refine the displayed list by entering from or to information related to your selection in the drop down list. |
 |
Click the Search button to find the performances that match your search critera. |
Transactions Tab
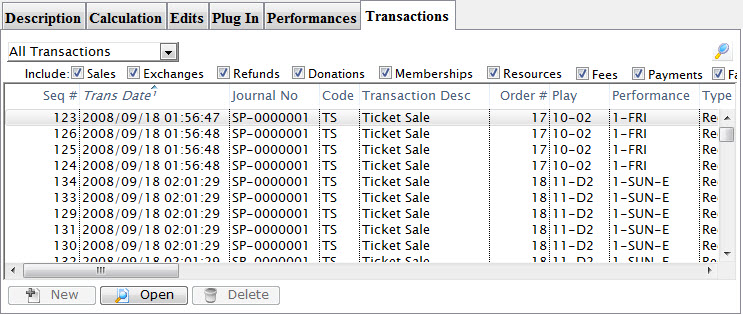
 |
Allows you to insert a new transaction record. |
 |
Opens the Transaction Detail window for the selected transaction record. |
 |
Deletes the selected transaction record. |
Sales Promotion Toolbar / Ribbon Bar

The functions available are:
 |
Help - opens the appropriate page in the online help. |
 |
New Adds a new record. |
 |
Save - Saves the current entry. |
 |
Duplicate - Duplicates the current entry as a new record. |
 |
Revert - reverts the current entry back to the last time it was saved. |
 |
Delete - removes the current entry from the listing. |
 |
Print - prints the current record to the default printer. |
 |
Spell - Checks the spelling in the appropriate fields. |
Merging Sales Promotions
For example: If an 'Early Bird Subscriber- 20xx' promotion was created for each and there is no possibility of re-using them, you could merge all the old ones into the current one. The discount calculations will be lost - but the meaning - on each ticket from the past - will still be clear as it will say 'early bird subscription'.
It is suggested that you only merge promotions where the meaning is similar and they are not likely to be used again.
The steps are:
- Select a number of sales promotions that have similar meaning and/or can be considered the same thing
- Click the merge button at the top of the sales promotion list window
- Click on the sales promotion that you would like remain. All others in the list will be merged into this one promotion. You may want to pick the one that you know you used the most or the one that you like the name of best.
Default Promotion
One promotion is set as the default promotion. This is the promotion that is initially displayed in the promotion portion of the sales window when selling tickets. The name of the default promotion is listed beside the set default button on the lower left portion of the promotion window.
If no default exists, then the words "No Default" will appear beside the button.
To mark a promotion as the default, you perform the following steps:
- Choose Setup>>System Tables>>Sales Promotions.
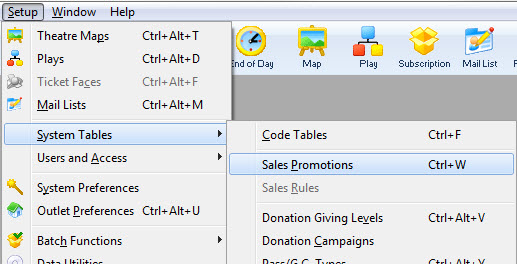
The Sales Promotion List window opens.

- Select the promotion to become the default.
Single click on a promotion to select it.
- Click the Set
 button.

The status bar displays the name of the default sales Promotion.
Removing the Default Setting
Just as a default promotion can be set, it can also be removed. To remove the default setting from a promotion follow the steps outlined below. If you just want to change the default promotion, you do not have to remove the current default. You can just set the new default the same way that was described in the section "Setting a Default Promotion".
- Select the promotion currently set to default.
Single click on a sales promotion to select it.
- Click the Clear
 button.
The bar at the bottom of the window now states No Default Sales Promotion had been selected.
Adding a Promotion
To Add a new promotion, you perform the following steps:
- Open the Sales Promotions window by clickinging Setup>>System Tables>>Sales Promotions.

The Sales Promotions list window opens.
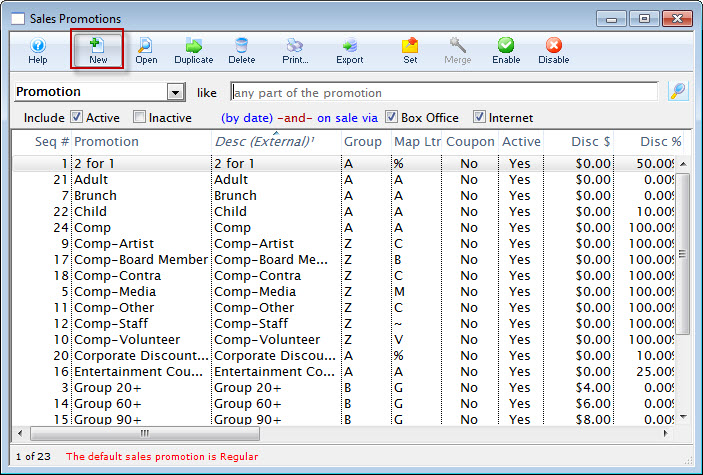
- Click the New
 button.
The Promotion Detail Window opens.
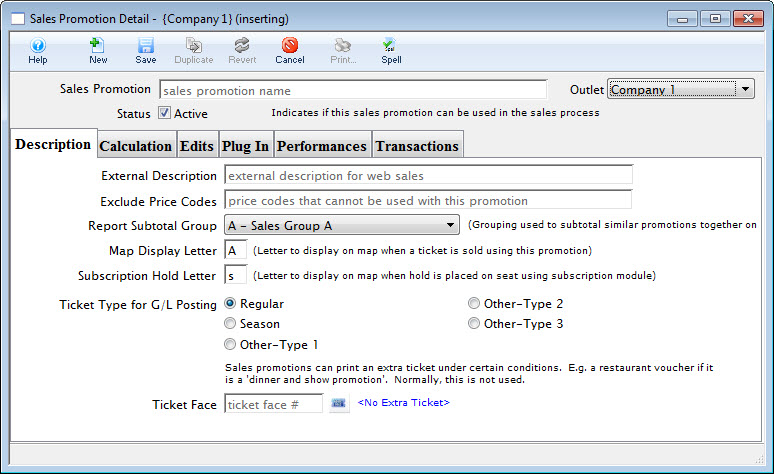
- Enter Sales promotion Name.
Try to give the promotion a name that is relatively self explanatory.
For example: If the promotion is a buy one get one free type of admission, name the promotion 2 for 1. Refer to Promotion Ideas Page for more promotion description examples.
- Enter the dates that the Promotion will be active.
The effective date is the date that the promotion takes effect, the thru date is the date that the promotion is good until. If the promotion does not have time constraints leave the date boxes empty.
- Enter Price Codes to be Excluded.
Excluded Price Codes are Price Codes that should not be effected by this Sales Promotion
- Assign the Promotion to a Report Subtotal Group.
Report Groups are a single letter or number that are used to group similar promotions together on reports. A subtotal will be printed for each group on reports. Classification of promotion codes make revenue reports more meaningful. Eg. The following groups could be used to classify your promotions:
A - Single Ticket Sales (regular, 2 for 1, General Admission).
D - Special Benefit Promotions (Dinner, Opening Gala, Development Events).
G - Group Tickets (Senior homes, Brownies).
M - Media Tickets (Critics, Editors).
S - Season Tickets (Earlybird, Season).
Z - Comp Tickets (Listed with a 'Z' so they appear last in reports)
These letters can be further defined in Code Table data.
- Select a Map Display Letter.
This is the letter that will appear on the seat in the Map
- Select the Per Ticket Fees.
This is where you can setup three levels of ticket fees. You can also decide which taxes will be applicable to those order fees. Once again clicking on the check box for that tax desired. Refer to Promotion Example Page for examples of Per Ticket Fees.
- Set Promotion Type.
Similar to the report groups, these classify similar sales promotions together. There are four possible selections to choose from. Regular Admission, Season Ticket, and three user defined fields. These promotion types are used in the same manner as the report groups.
- Click on the Calculation tab.
- Enter the Base Price Calculation.
Here is where you enter a markup and/or a discount for the promotion. You can create a discount or markup based on dollars or percentage.
For example: You can create a discount of $10.00 or 25 % off of a given ticket price. You can also create a markup of $5.00 or 15 % on a given ticket price.
You can also use the markups and discounts in conjunction with each other, such as, create a promotion that has a discount of 100 % with a markup of $7.00. This promotion used on any ticket will yield a ticket with price of $7.00.
You can also decide which taxes are applicable to the promotion. Click on the check box for the taxes that should be included.
- When complete, click Save
 .
.
This finishes the process and saves the promotion. Refer to the section on Selling Tickets for details on how to apply the promotion during a ticket sale.
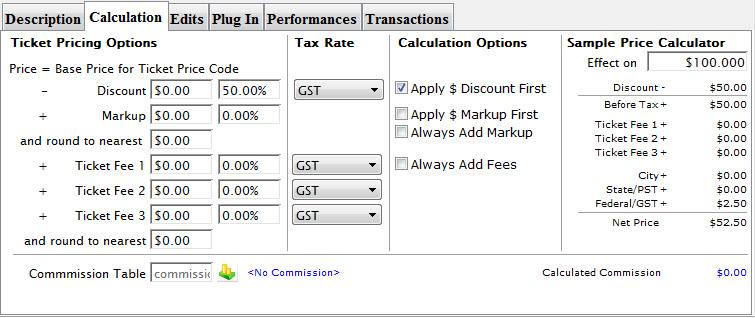
Editing Promotions
Over time, promotions can change and will need to be updated.
To update a Promotion, you perform the following steps:
- Open the Sales Promotions window by clickinging Setup>>System Tables>>Sales Promotions.

The Sales Promotions list window opens. Enter any search parameters and click the Search button to display a list of promotions that match your criteria.
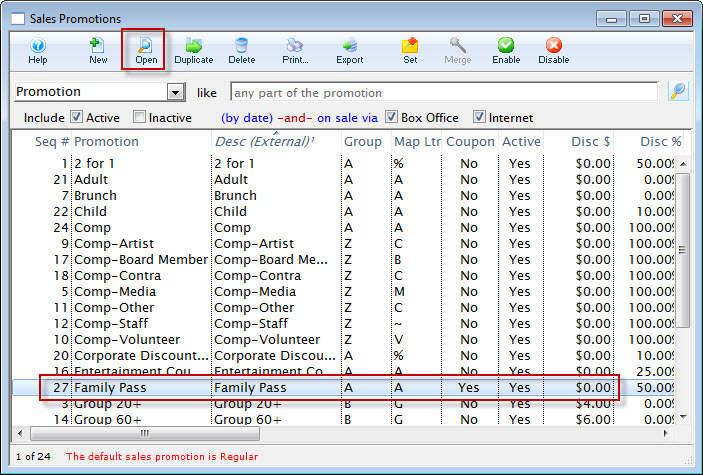
- Click on the promotion to edit.
- Click the Open
 Button.
The Promotion Code Detail Window opens with the data for the selected promotion.
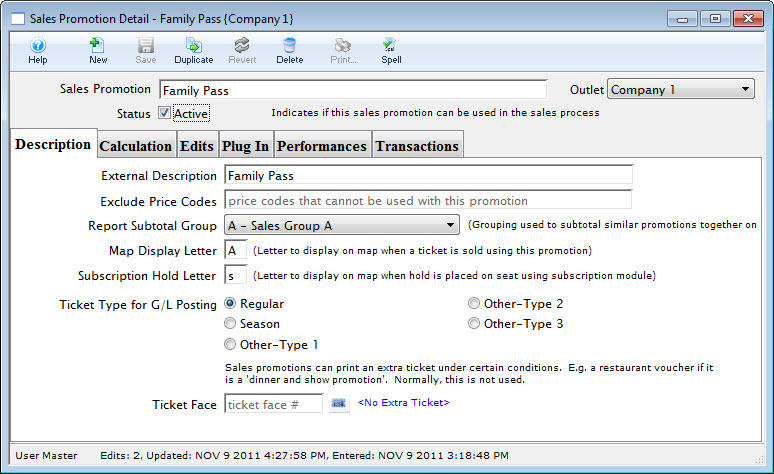
- Change data as needed.
- Click the Save
 Button.
This saves all the data you have changed. The new data will be displayed in the Sales Promotions Window.
Enable a Promotion
To Enable a batch of promotions, you perform the following steps:
- Select the promotion you want to enable.
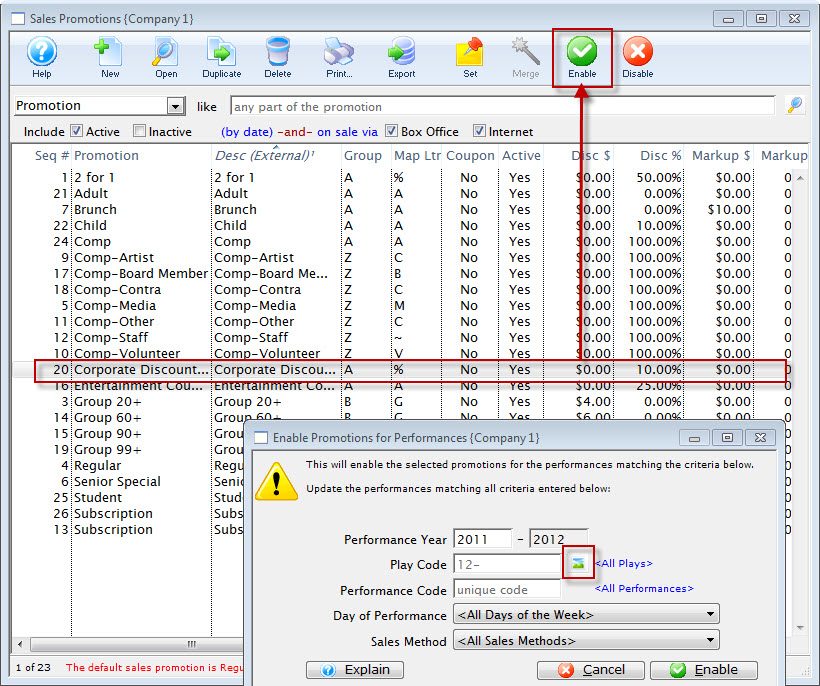
- Click the Enable
 button.
The Enable Promotions for Performance dialog opens.
- To enable for a series of performance, click the Play Code
 button.
The Play List window opens.
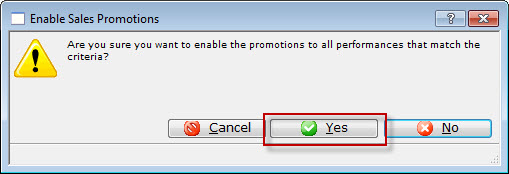
- Highlight the Event / Play you want to add the promotion to and click the Select
 button.
 - Cloose the Day of Performance from the drop down list (if the promotion is only for a specific day of the week).
- Cloose the Sales Method from the drop down list (if the promotion is only for a specific Sales Method).
- When complete, click the Enable
 button.
 - Click the Yes
 button.
|
You can not add multiple Plays / Events at the same time. They need to be added individually. |
The Enable Sales Promotion confirmation dialog opens.

Enabling a Promotion for Another Outlet
If you want to allow a performance to be sold at another outlet, a promotion code must be enabled for that outlet. To enable a promotion for another outlet, you perform the following steps:
- Open the Sales Promotion List window.
- In the search, choose the other outlet to be selling the tickets.
The list of available promotions for that outlet is displayed.
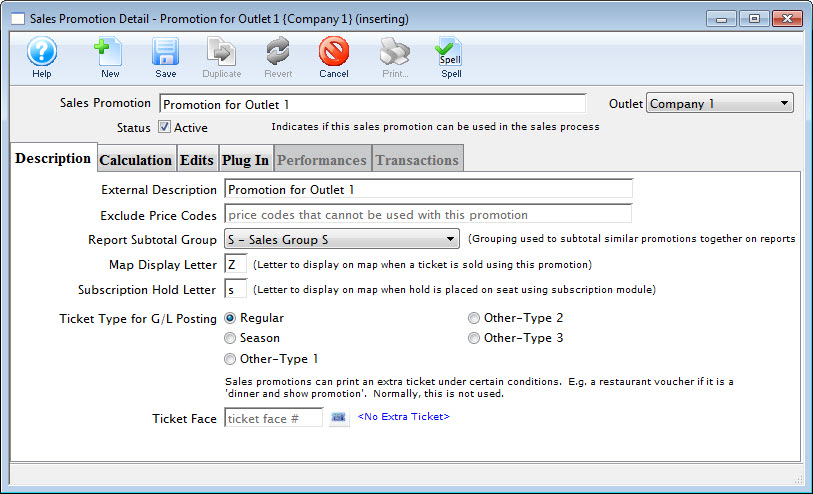
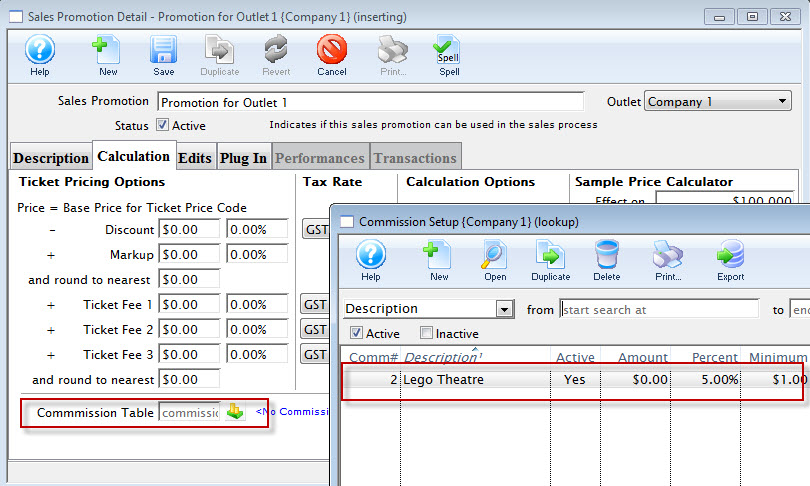
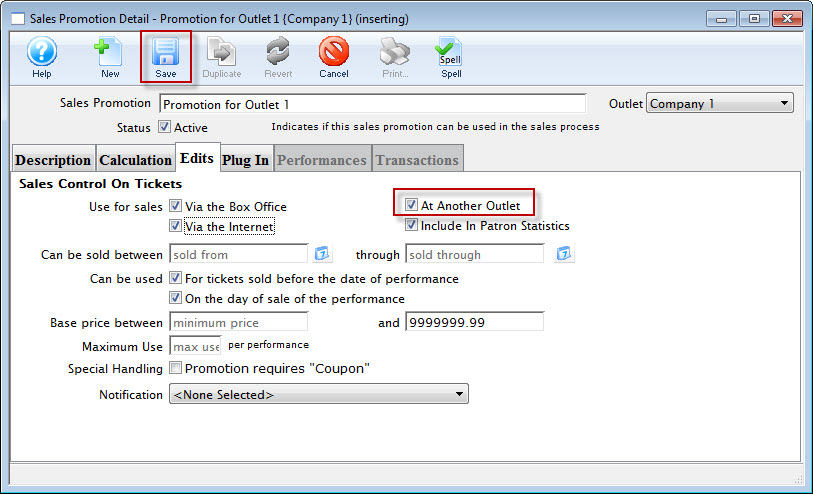
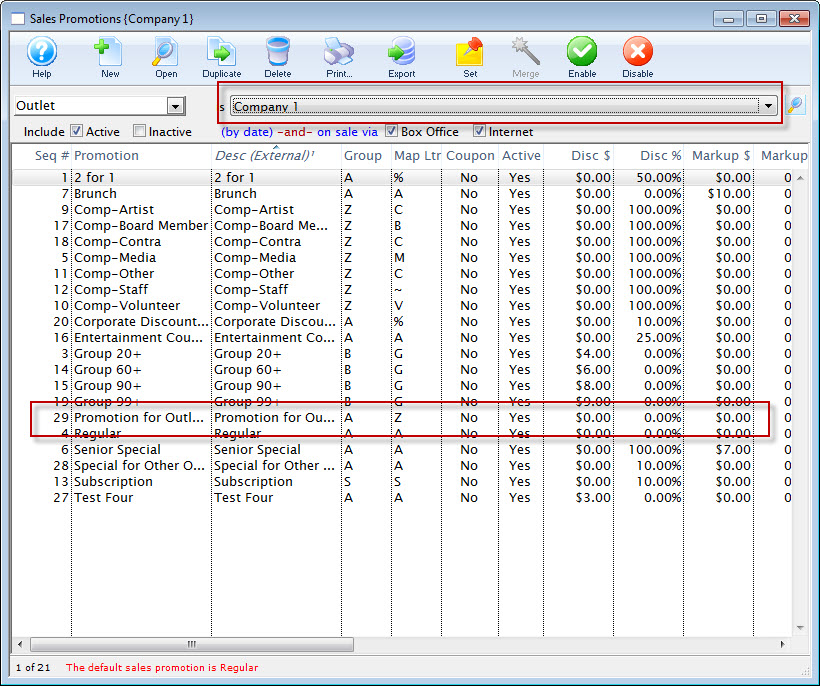
Click here for more information on opening the list window.
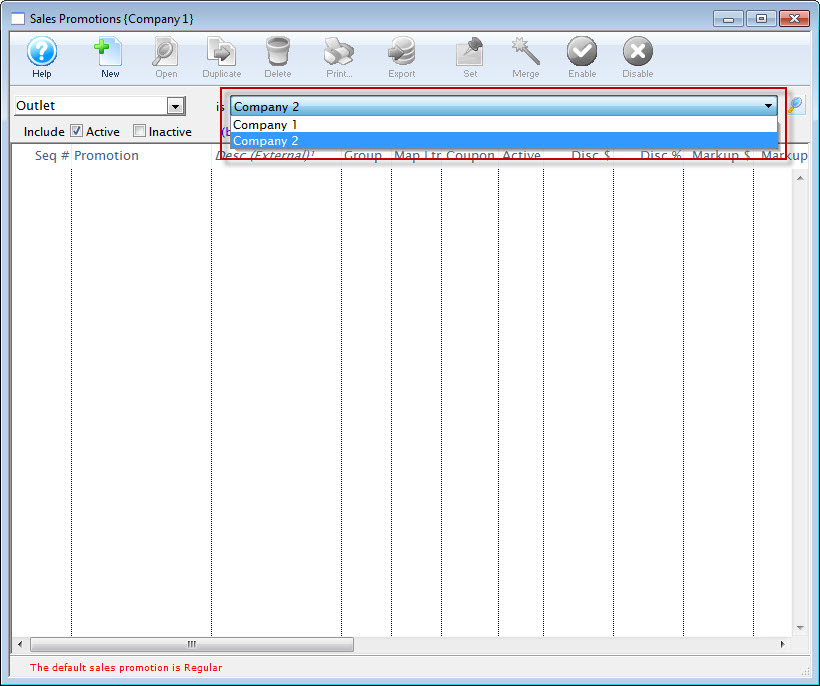
Exclude Price Codes
The Exclude Price Codes field can be used to prevent a Sales Promotion from having access to the specified prices. It's designed increase the efficiency of a Sales Promotion and prevent a ticket from being sold at the wrong price point.
- Open the Sales Promotions window by clickinging Setup>>System Tables>>Sales Promotions.

The Sales Promotions list window opens. Enter any search parameters and click the Search button to display a list of promotions that match your criteria.

- Click on the promotion you want to edit.
- Click the Open
 Button.
The Promotion Code Detail Window will open with the data for the selected promotion.
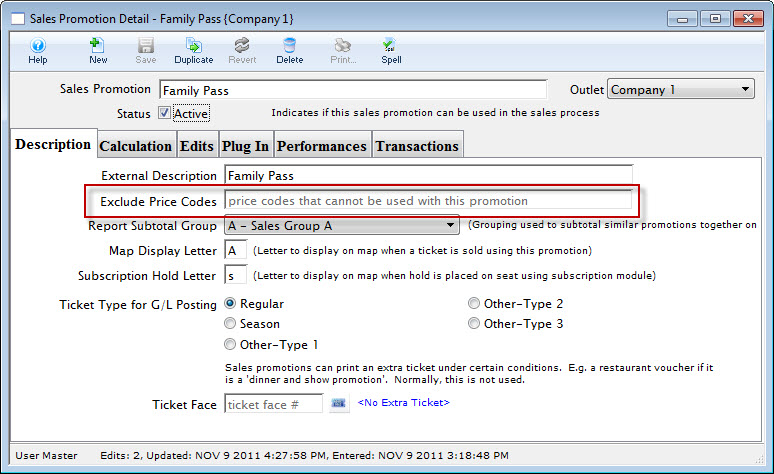
- Locate the Exclude Price Codes fields under the External Discription field.

- Enter the Price Codes to be excluded for this Promotion.
- Click the Save
 button.
Close the Promotion Detail window.
Disable Sales Promotions
Sales promotions can be enabled or disabled in a batch mode using the 'Enable' and 'Disable' menu items on the sales promotion list window.
To Disable a batch, you perform the following steps:
- Select the promotions you want to disable.
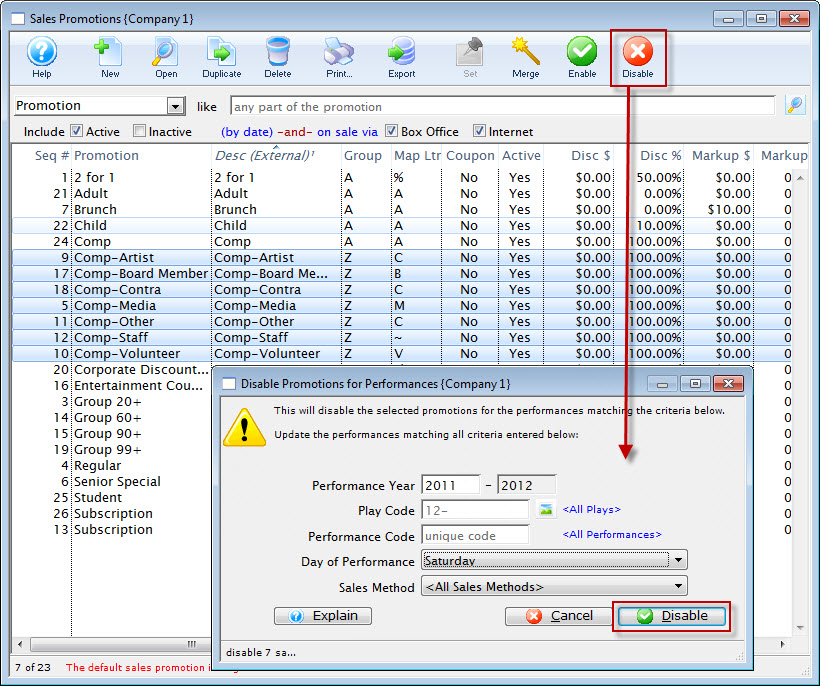
- Click the Disable
 button.
The Disable Promomotions for Performance dialog opens.
- Enter the information for the disabling of the promotions, when complete, click the Disable
 button.
The Disable Promotions Confirmation dialog opens.
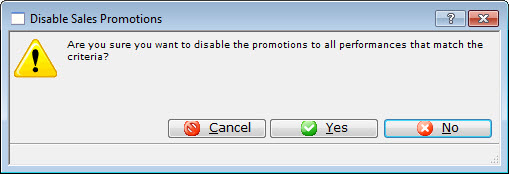
- Click the Yes
 button to disable the selected Promotions.
Deleting Promotions
If a promotion has been setup incorrectly or expired you can delete it. You cannot delete a promotion which is being used on current tickets or transactions.
To delete a promotion, you perfrom the following steps:
- Open the Sales Promotions window by clickinging Setup>>System Tables>>Sales Promotions.

The Sales Promotions list window opens. Enter any search parameters and click the Search button to display a list of promotions that match your criteria.
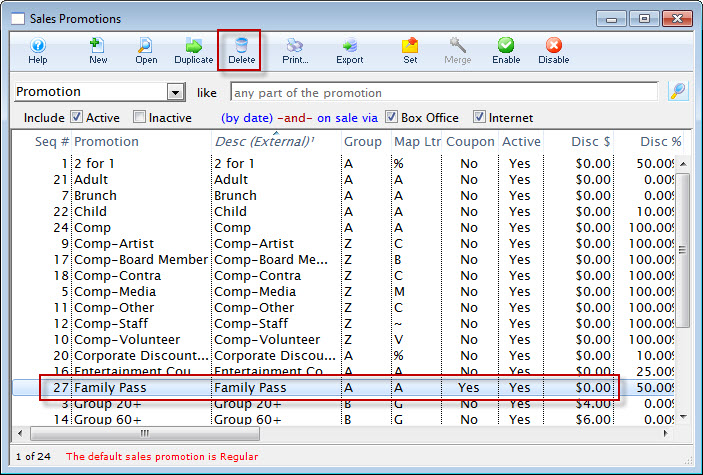
- Click on the promotion you want to delete.
- Click the Delete
 button.
Clicking the delete button opens one of the two following dialogue boxes:
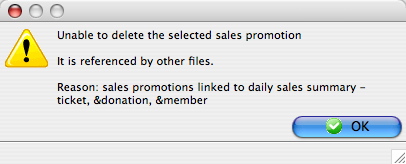
- This dialogue box opens when you try to delete a promotion code that has been used to sell tickets for an event that has not been archived, or patron transactions have not been archived.
- To delete a promotion, all events that have tickets sold with that promotion must be archived. For further information about Archiving an Event click here.
- Click OK to close the dialogue box. The promotion will remain in the database.
- This Dialogue box opens when you are deleting a promotion that has never been used or no longer has tickets or transactions referenced to it.
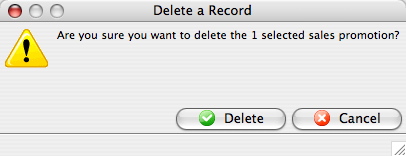
- Click the delete
 button.
The promotion will then be deleted and removed from the Sales Promotions Window.
To cancel the deletion of the selected promotion, click the Cancel
 button.
Promotional Ideas
The following examples are some ideas and suggestions, they do not have to be implemented.
Sample Sales Promotions Setup
Single Ticket Promotions (Promotion Report Group R)
- 2 for 1
- Regular
- General Admission
- Senior Special
- Member Discount
- Sponsor Discount
- Rush seating
Complimentary Ticket Promotions (Promotion Report Group C)
- Staff
- Promotional
- Media
- Volunteer
- Artist
- President
- Other
Season Ticket Promotions (Promotion Report Group S)
- 5 play
- 3 play
- Season Early
- Season Regular
- Flex Pass
Group Ticket Promotions (Promotion Report Group G)
- Group 10 +
- Group 20 +
Possible Ticket Fees
- Asset Replacement Fund
- Ticket Handling Charge
Order Fees
- Order Handling Charge
- Phone Order Fee
- Credit Card Order Fee
- Mailing Ticket Fee
Sales Rules
- Coupon Codes to give discounts to selected patrons.
- Passes and Gift Certificates to convert applicable tickets to another price.
- Custom Plug-ins to specify conversions if the plugin is programmed to use them.
Coupon codes which offer a price reduction by way of a sales promotion will require a sales rule. Memberships/Passes which convert the ticket to an average dollar per admission will require a sales rule.
Sales Rules are designed to alter the sales promotion from one that is typically used on a regular basis to another which may be restricted for use by applying a promotion conversion. Although they are not exclusive for use for online sales this is particularly useful for the self-serve online patron to offer price reductions or special rates.
Sales Rules which convert promotions are also useful in tracking the type of ticket(s) that have been purchase for any given event. By applying a Promotion Conversion you can then track how many tickets were sold using a specific coupon code or pass type within your ticket based report.
Sales Rules are accessed from the Setup Menu >> System Tables >> Sales Rules
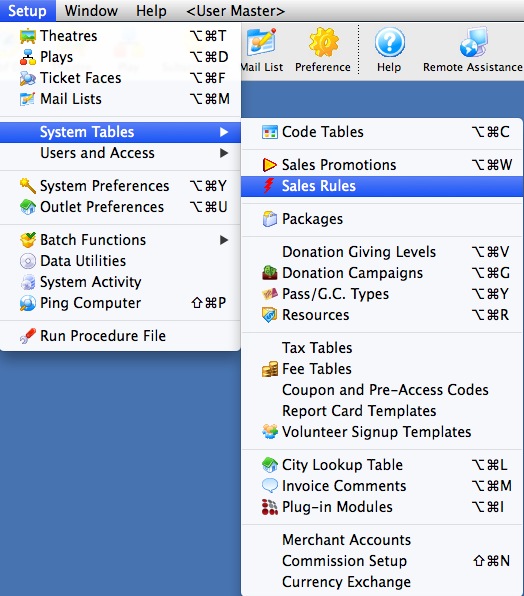
The following window will appear.
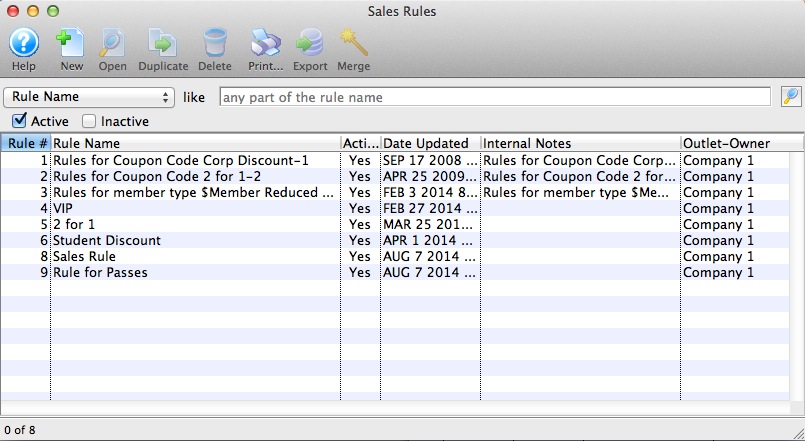
From this window you will click  to create a Sales Rule - Promotion Conversion
Sales Rules Notes
Open the sales rule list by clicking the Setup Menu >> System Tables >> Sales Rules

From the Sales Rule List window you will click  to create a sales rule with a promotion conversion.
The following window will appear.
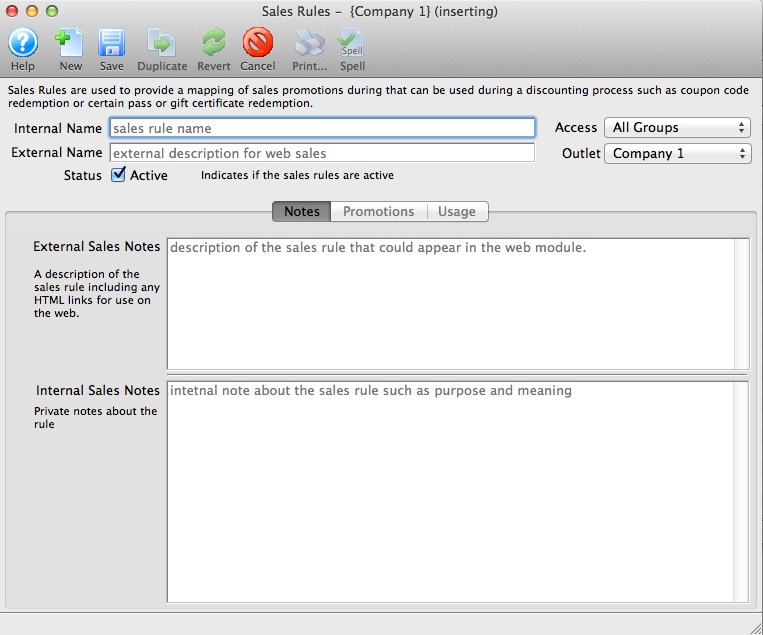
-
Enter the following data under the Notes Tab setup
- Enter the Internal name of the rule
- Enter the External name of the rule
- Enter the Enternal note of the rule
- Enter the Internal note of the rule
Sales Rule - Promotion Mappings
The meaning of the icons on the bottom of the window are:
| Inactive Sales Rule | This means that the sales rule detail line has been marked inactive. It will never be used during a sale (unless made active in the future) |
| Inactive Promotion | The 'TO' promotion is currently inactive. so, even if the 'From' promotion is selected during the sales process, and in active 'TO' promotion will render this particular sales rule unusable at the current time. |
| No Uses Left | The Sales Rule Detail has a limit on the number of uses and it appears to have been reached. If so, then this sales rule detail cannot be applied. |
| Applies to already discounted tix | Normally, a sales rule only apply to full price tickets. This indicates that the sales rule, when applied, is allowed to discount a ticket that has already been discounted (in a plug in) |
| Price Code Excluded | This can reflect one of two conditions that might cause the sales rule not to be used
|
| Promotion Date Range Not Current | This is not an error, per se. However, if the available date range on the 'TO' sales promotion is specified, and the current date is not within it, then this sales rule detail cannot be applied. |
Inserting a sales rule
Click  from the bottom left to open and add a new Sales Rule Promotion Conversion.
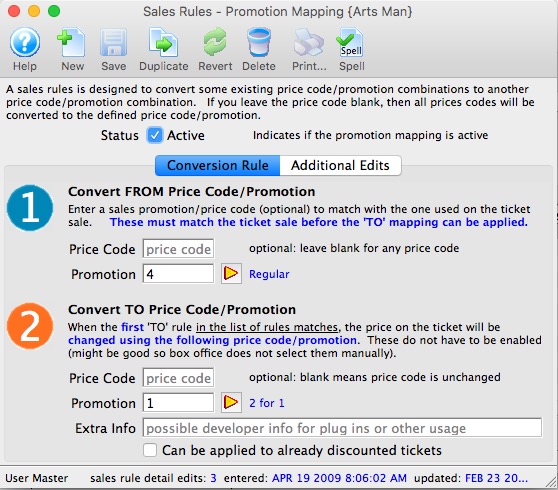
 |
Specify the price code sale promotion combination in the FROM section that, if used to sell a ticket, will be converted to the price code and promotion in the TO section.
NOTE: The FIRST price code/combo that is found in the TO section will be matched with the ticket sale. Any subsequent rules with the same price code/promtion will be ignored. NOTE: The price will change to the TO promotion regardless whether the it is enabled for the performance or not. This way, you can leave it disabled so that it can't be picked accidentally. |
Use the  to access your sales promotion list and select the promotion.
- You must have a different promotion on both the FROM and TO. Eg you can have a mapping from:
- Online Promotion 1 to subscription promotion 2 (which means translate anything online to a subscription - useful if the pass is a subscription pass
- but not from Promotion 1 to Promotion 1 (This ensures that you have good traceability in the revenues by promotion type of reports.)
- Price codes can be left blank if all prices codes are to be converted. However, you can limit which price codes are acceptable if you want. Example:
- If you specify from Price Code A to Price Code B, then only tickets with price code A will be accepted, and the price code will become 'B'
- If you specify from Price code A and leave Price code B as blank, it will not change the price code
- If you leave the from price code blank, and the to price code blank, then no attempt is made to change the price code
- Maximum Uses can be left blank if the rule is not restricted. However, you can limit the number of uses. Example:
- Enter 2 for the Maximum uses for a 2 for 1 conversion for a buy one get one promotion.
 to save the sale rule - promotion conversion.
You can now apply the sales rule to a Coupon Code or Membership/Pass
Sales Rule Conversion - Promotions Tab
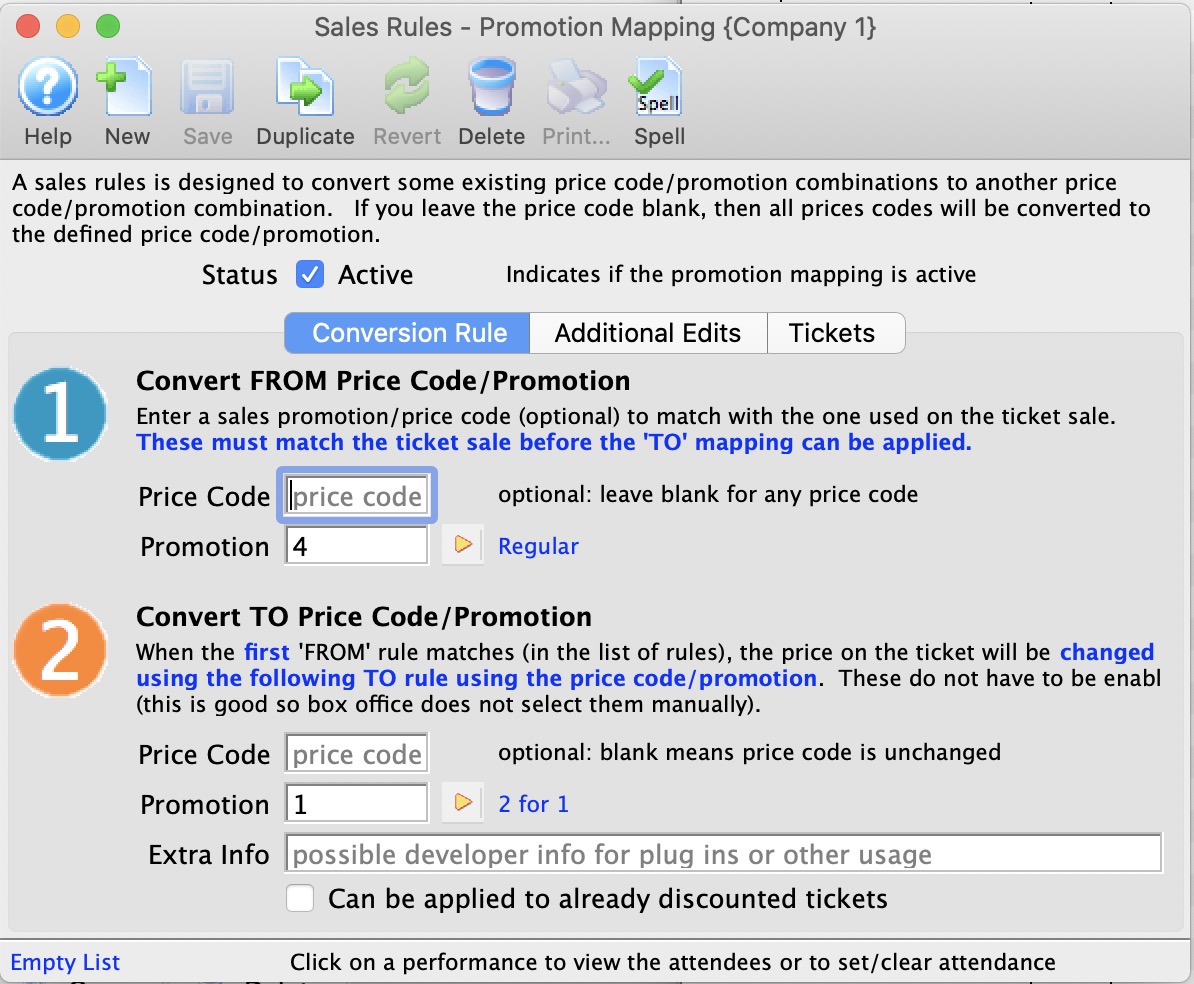
Parts of the Promotions Conversion Window
 |
Inserts a new promotion conversion for the sales rule. For more information on inserting sales rules click here. |
 |
Saves changes made to the sales rule promotion conversion. |
 |
Creates a copy of the current promotion conversion for this sales rule. |
 |
Undoes changes to the last saved point. |
 |
Deletes the current promotion conversion. For more information on deleting sales rules click here. |
 |
Checks the spelling of fields that can be typed in. |
Convert From Price Code/Promotion |
|
| Price Code | Price code that will be changed when this sales rule is used. Leave blank to allow for all price codes. |
| Promotion | Promotion that will be changed when this sales rule is used. |
 |
Opens the promotions list window in order to search for a promotion. |
Convert To Price Code/Promotion |
|
| Price Code | Price code that will be effective when this sales rule is used. Leave blank to not change the price code. |
| Promotion | Promotion that will be effective when this sales rule is used. |
 |
Opens the promotion list window in order to search for a promotion. |
| Maximum Uses | The maximum number of uses this conversion can be used for. |
| Current Uses | The current number of total tickets that this sales rule has been used for. |
| Pending Rules | The count of tickets in shopping carts where the sales rule conversion is pending usage. It will be used when the user checks out. If the user abandons the cart, this will be decremented appropriately. |
Sales Rule Conversion - Additional Edits Tab
There are two key fields on this window:
- Sort order - which describes the order in which a sales rule mapping is to be applied. When attempting to apply a mapping, Theatre Manager:
- looks at the first rule. If the promotion/price code match and the rule can be applied, it applies it
- If the first mapping cannot be applied, it goes down the list attempting each mapping in turn until one applies, or it runs out of rules
- Maximum Uses - allows you to set a maximum number of uses for this promotion mapping. You cannot exceed this number of conversions and if you hit the limit, this promotion conversion is ignored going forward. Use zero for unlimited conversions.
- Current Uses - are the number of conversions that have occurred. You can use the tickets tab to see them. Note, this number can be greater than the number of tickets if some of the tickets have been refunded.
- Pending Rules - are those that are sitting in an active shopping cart pending use on a checkout.
Sales Rules Conversion - Tickets Tab
The Tickets tab shows a list of tickets that the current sales rule conversion/promotion mapping has been applied to.
It only shows tickets that are currently sold (any that were returned will no longer appear in this list.)
- Double click on a ticket to see its detail. From there you can get to the patron, order, etc
- Use the search at the bottom to search for tickets by patron, order, and other choices
- Use the retrieved search data to print reports or export directly from from this tab.
Sales Rules Conversion - Reporting & Exporting
Ticket data from patrons who have successfully redeemed a coupon using a Sales Rule conversion can be sent directly to one of the Attendance and Front of House reports or exported out of Theatre Manager from the Tickets Tab.
To print, highlight the data from the Tickets list window and right-click to display the drop-down menu. Select Print Report option from the drop-down menu. Choose a House Report. The data highlighted will be sent as dynamic criteria for this House Report. The report will display on the screen for review.
To export, highlight the data from the Tickets list window and right-click to display the drop-down menu. Select the Export option from the drop-down menu. Choose a file format and save the file to computer for review.
 |
If there are more than one Sales Promotion conversion mapping in a Sales Rule, reporting or exporting will need to be done for EACH conversion mapping to produce a full picture of the number of patrons who have redeemed tickets using the Sales Rule. |
Copy Sale Rules Mapping to another Sale Rule window
The process is:
- Open the sales rule mapping tab that has the mappings you want to copy into another sales rule
- Open the sales rule mapping tab that you want to receive the copy of the sales rules
- Select the sales rules to be copied as per the diagram and drag them to the second window you have open
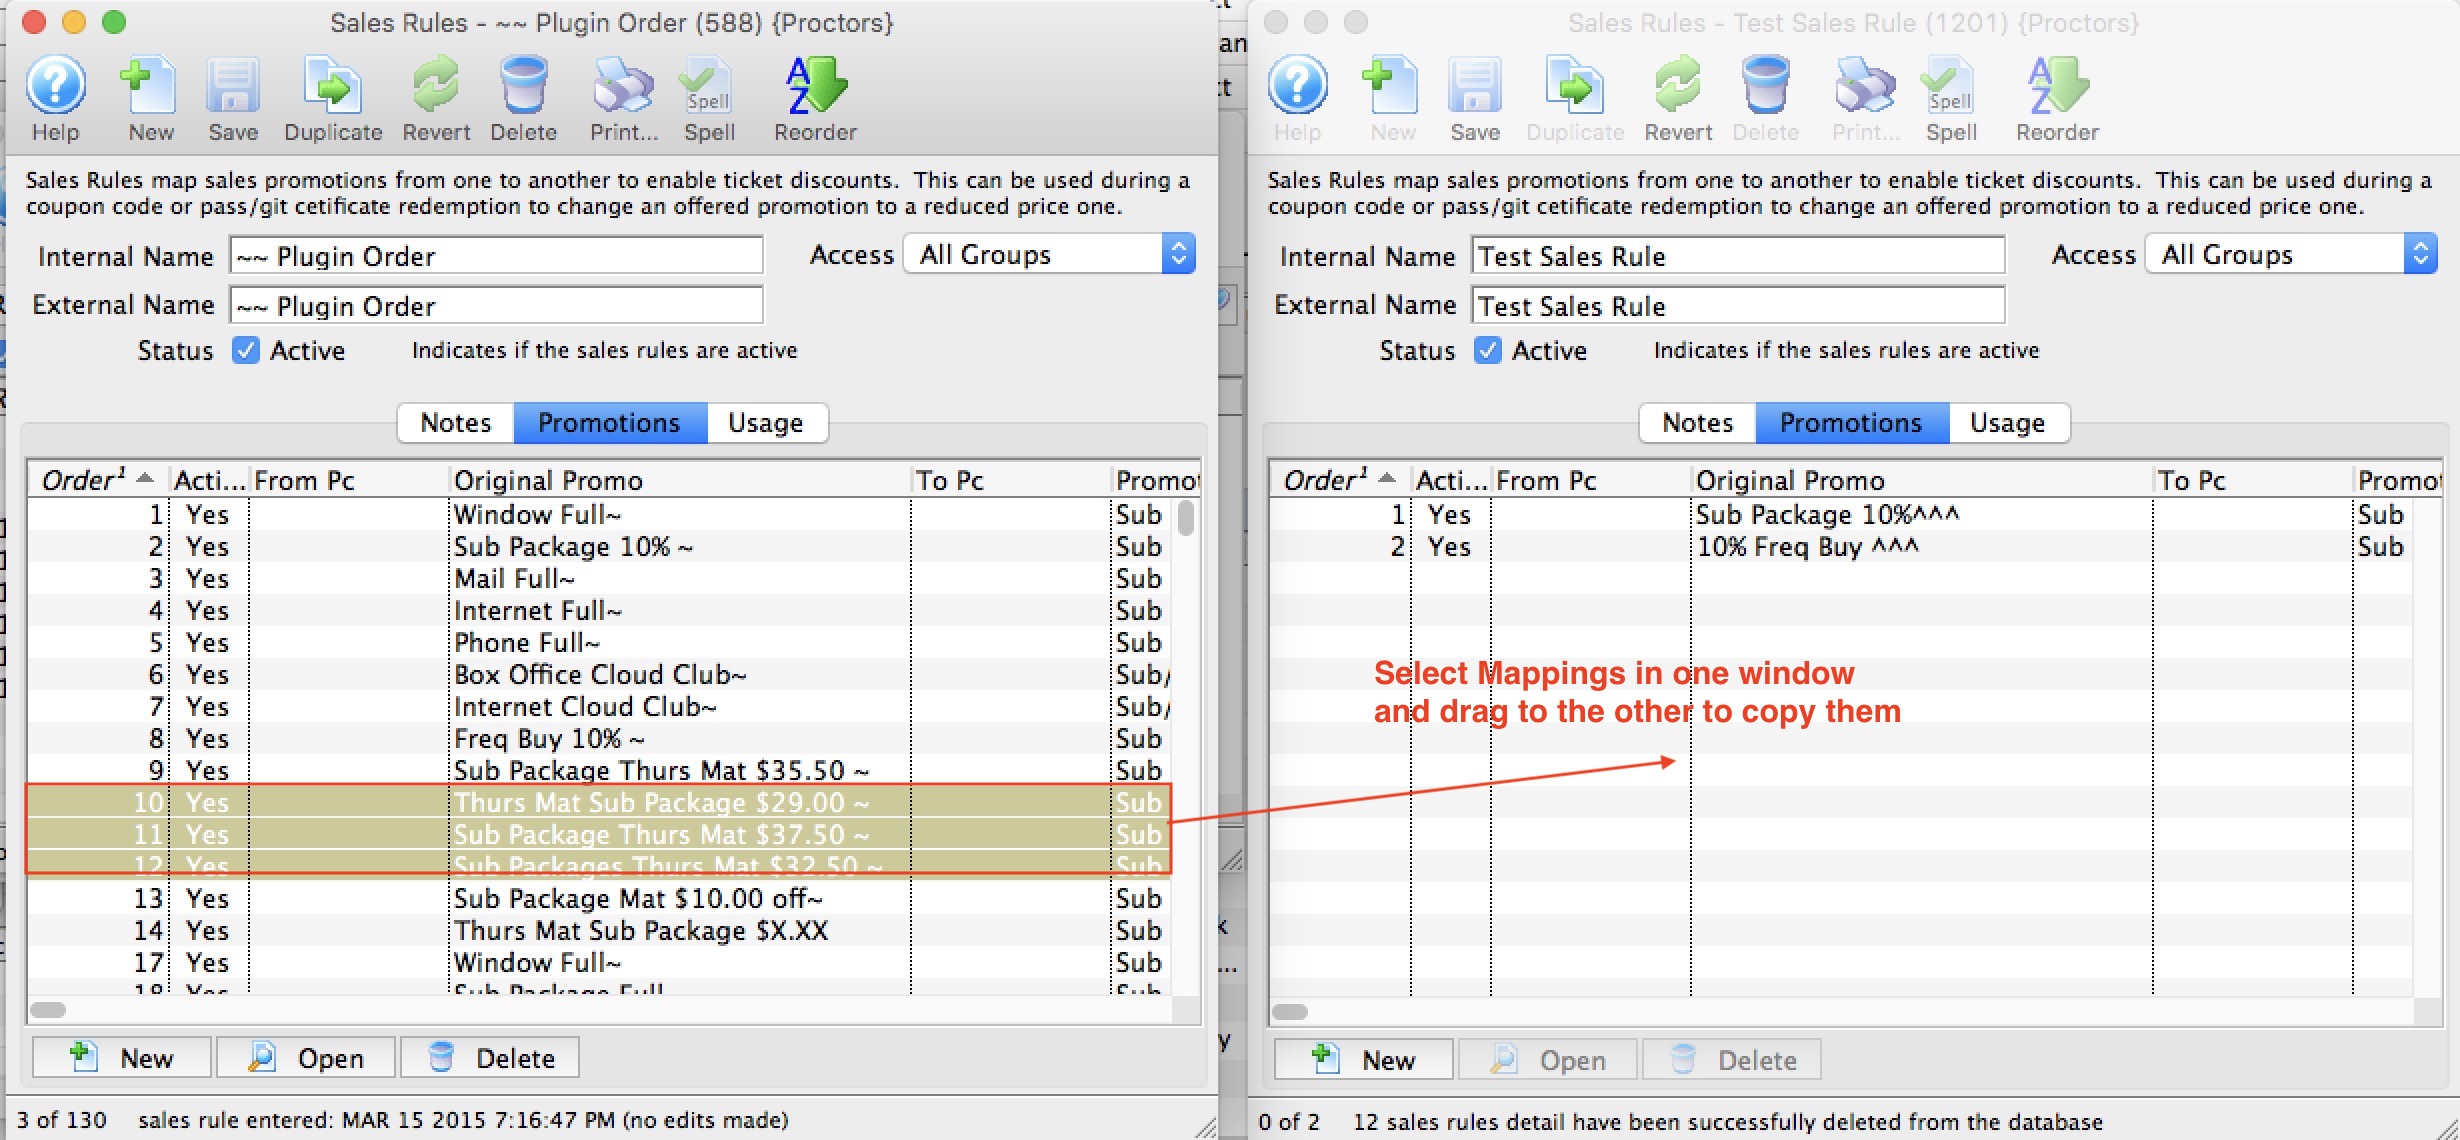
- When you release the mouse, sales promotions mappings will now be in the second sales rule as well.
Note: Sales rules must be unique. Any rules that already exist in the window you are copying to will be ignored during the copy process.
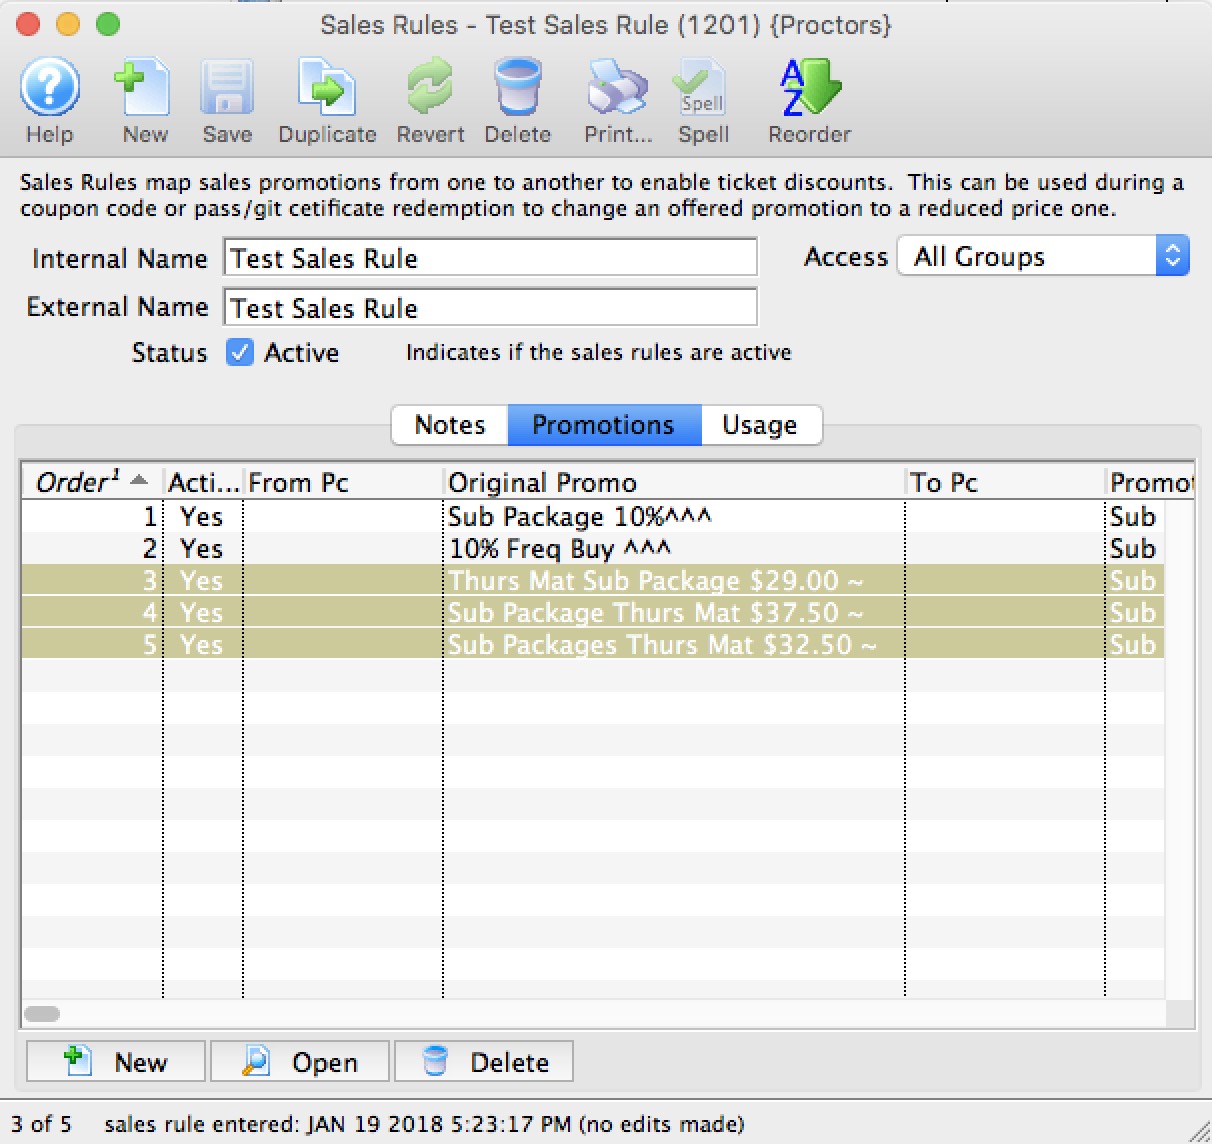
- The copied sales rules will automatically be placed last in the list and ordered to be applied last.

If you want the sales rules applied in a different order, refer to changing the sales rule mapping sort order/
Reordering Sales rules en masse
For example, you may have a rule:
- that limits conversion from regular price in section 'A' to a very special discount, limited to the first x people.
- After that, you may want a rule that converts the rest of the ticket from regular price in section 'A' to a different price
In this case, the order of the promotion mapping is clearly required to be in the same order as above. if they are not in that order, then use the mechanism below to reorder them.
Reordering the Sales Rules Mappings
- Select the sales rules you want renumbered and use the context menu to select Renumber selected sales rules
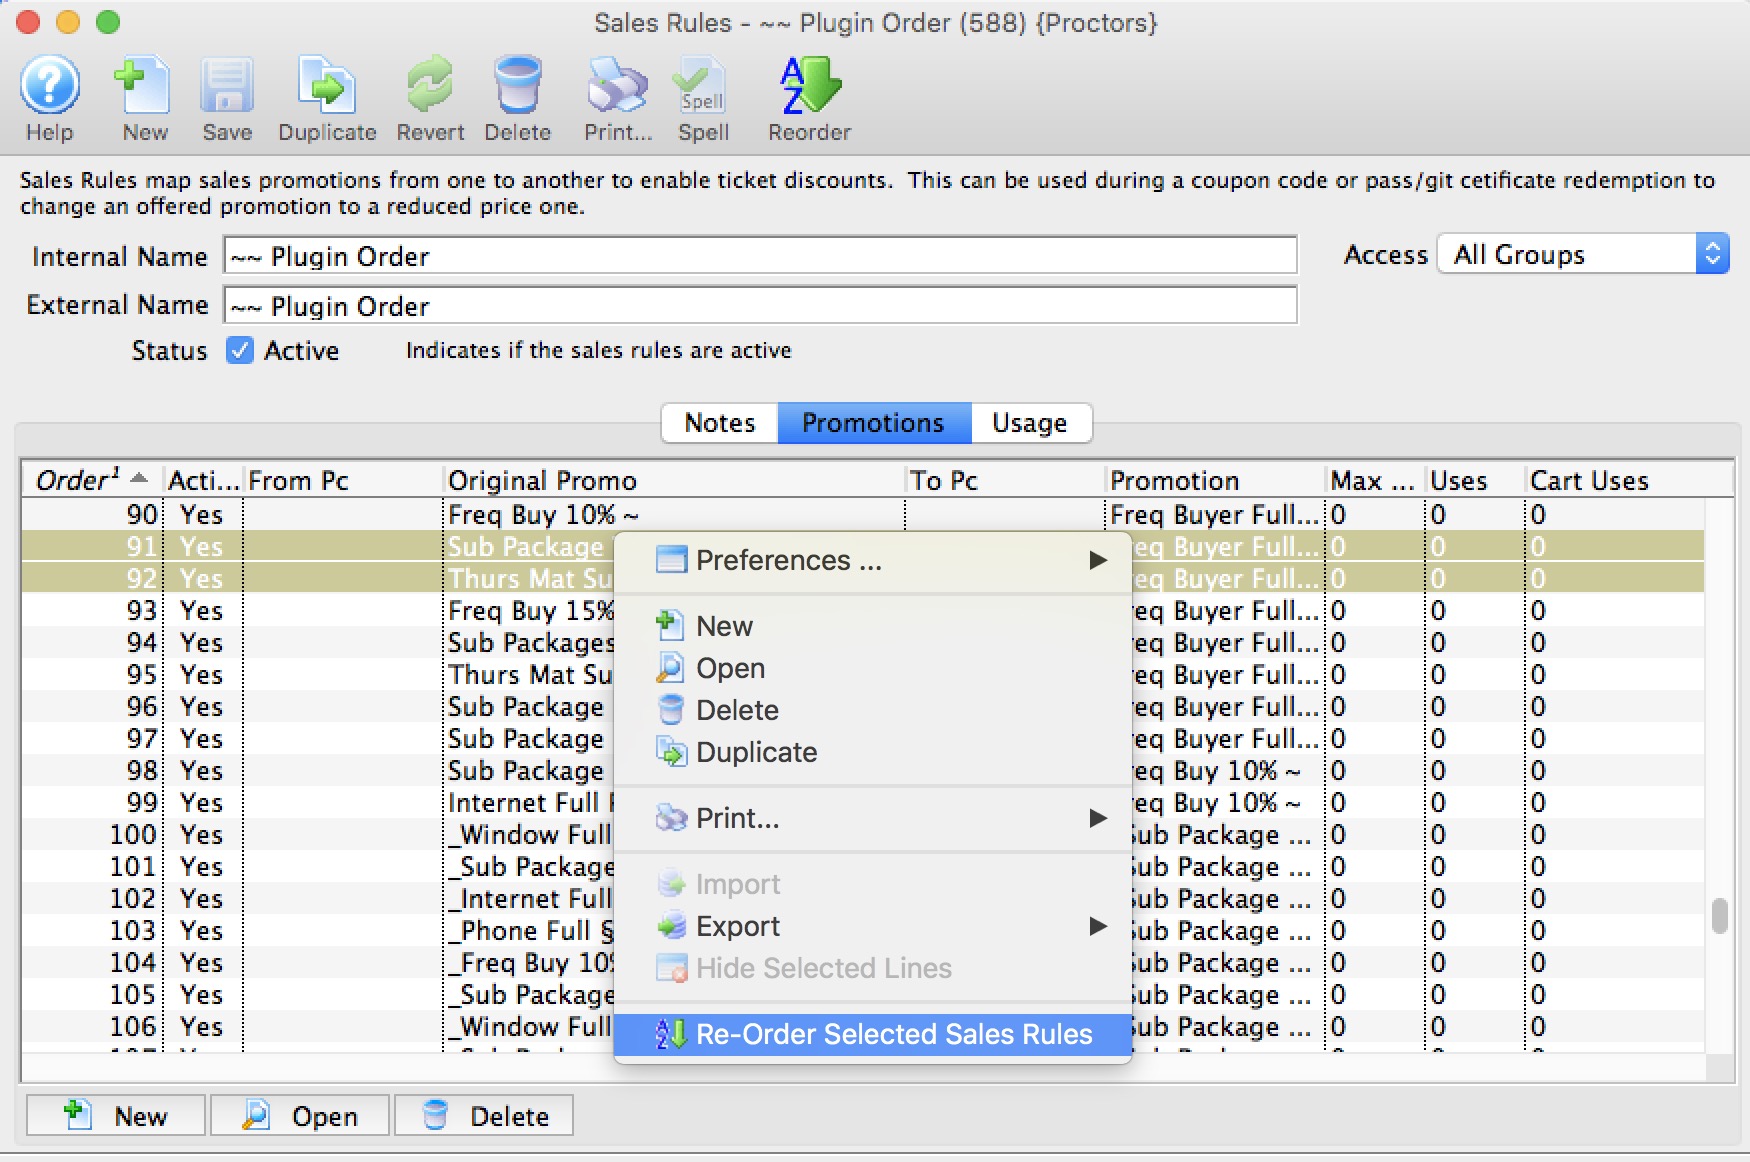
- You will be asked to provider a number to start the reordering process at. Change this number to get the sales rules numbered in the approximate area you want them.
Theatre Manager will change the Sort Order of the sales rules that are selected.
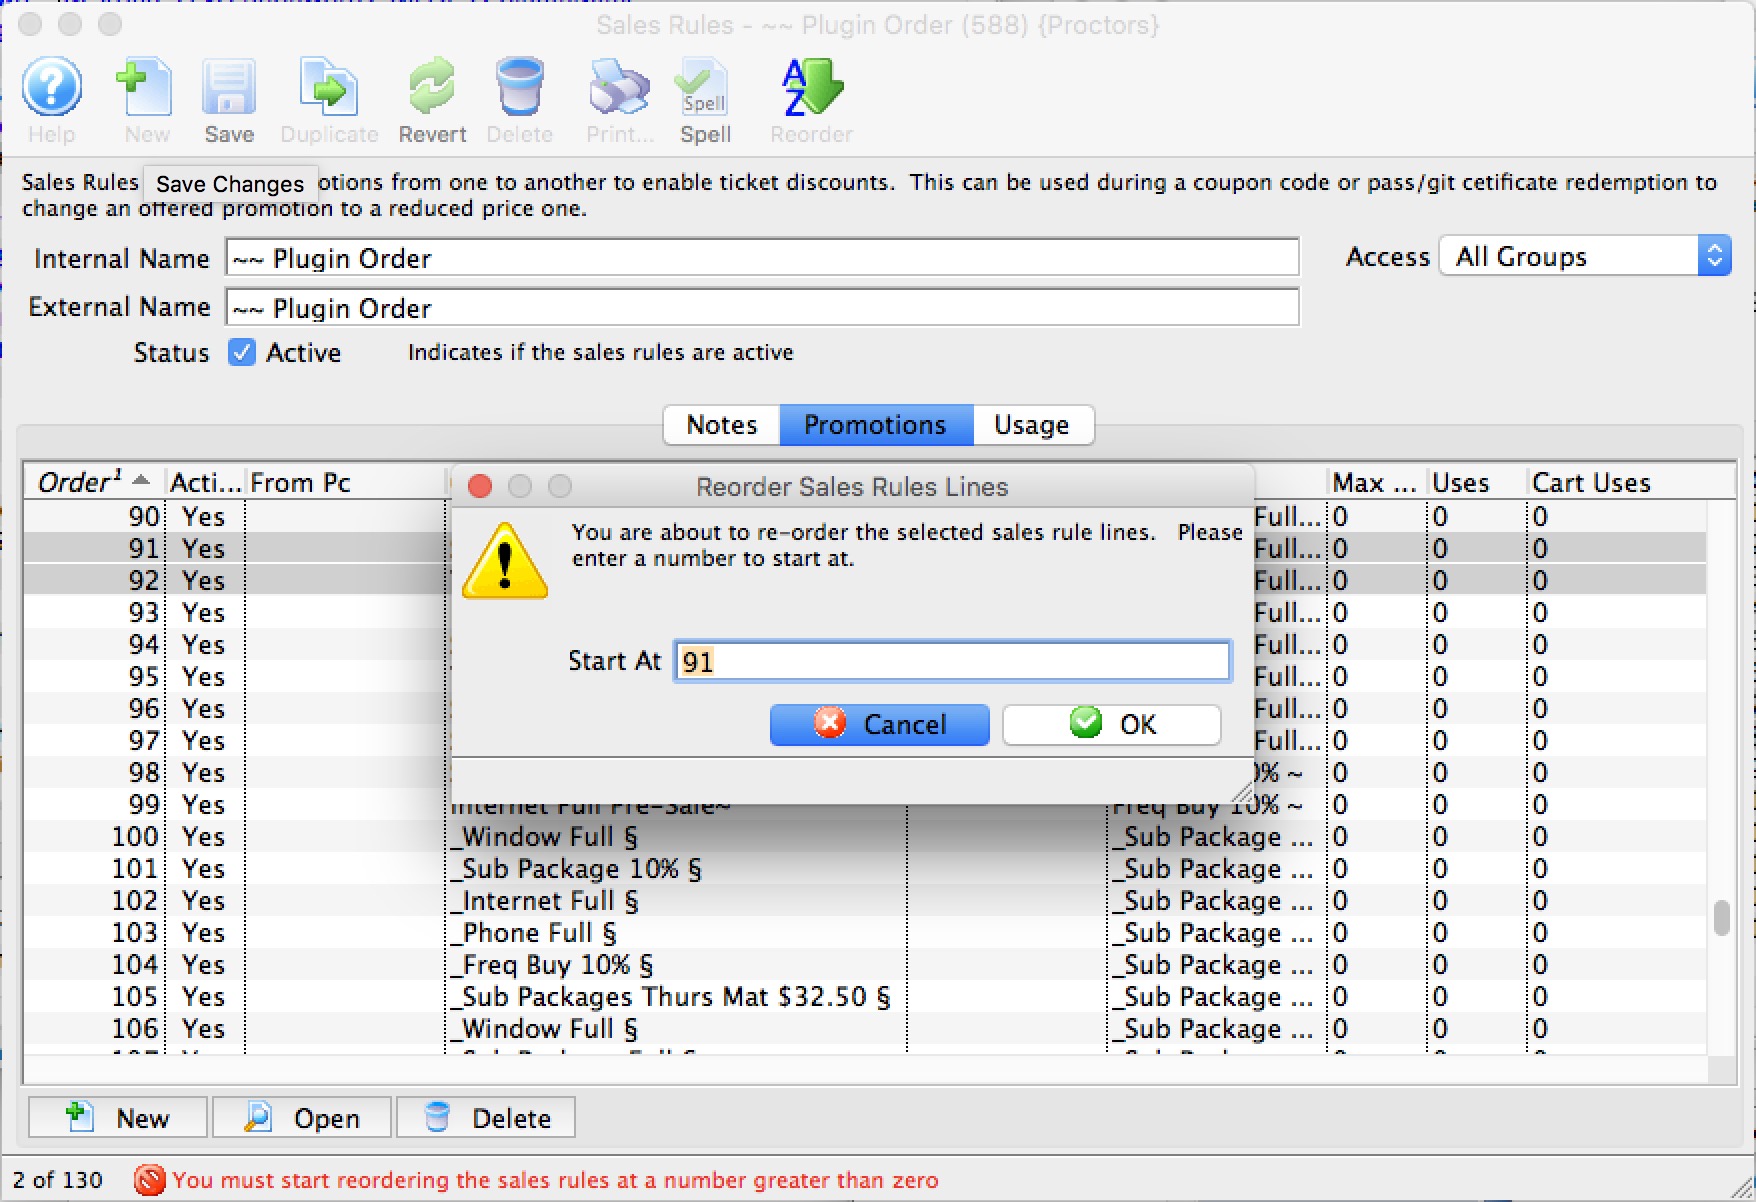
- After you have renumbered a group, you can select other sales rules mappings and renumber them with a different starting number
- Repeat this process (iteratively) as often as needed to get the sales rules into the order you want them applied.
Sales Rule Usage
The sales rule usage tab shows you which coupons and gift certificates currently use this sales rule. If you double click on one of the line sin the list, it will take you to the coupon or gift certificate using the sales rule.
Click the link to see where Sales Rules are set:
- Passes and Gift Certificates on the redemption rules tab.
- Coupons on the Sales Rules tab
Sales Rule - Deleting a Sales Rule
Once a sales rule has been created and assigned to either a Coupon Code or a Pass/GC it cannot be deleted from Theatre Manager.
Sales Rule - Merging Sales Rules
You can Merge together common sales rules to become one
Sales Rules are accessed from the Setup Menu >> System Tables >> Sales Rules

The following window will appear.

From the list select the rules you wish to merge.
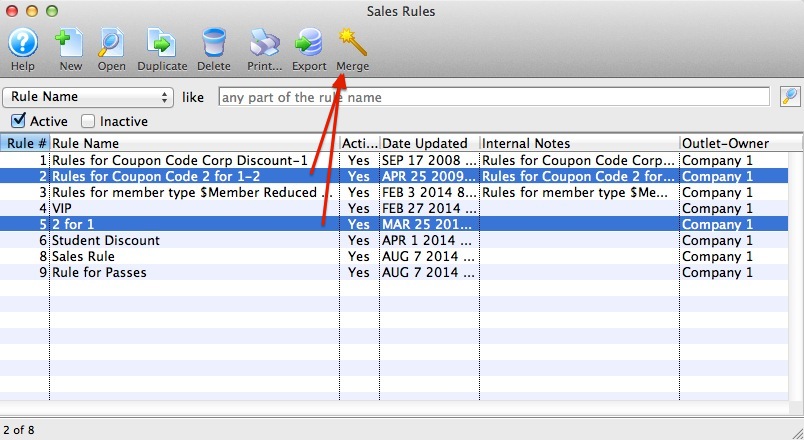
Click  and the following window will appear.
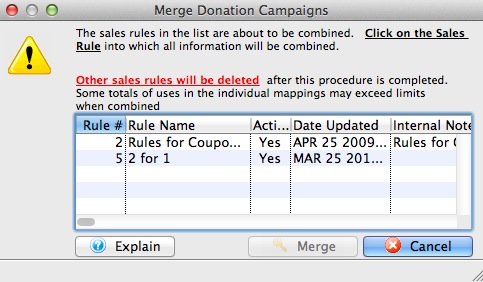
Select the Sales Rule into which all information will be combined and click 
Note that this cannot be undone.
Region Rules
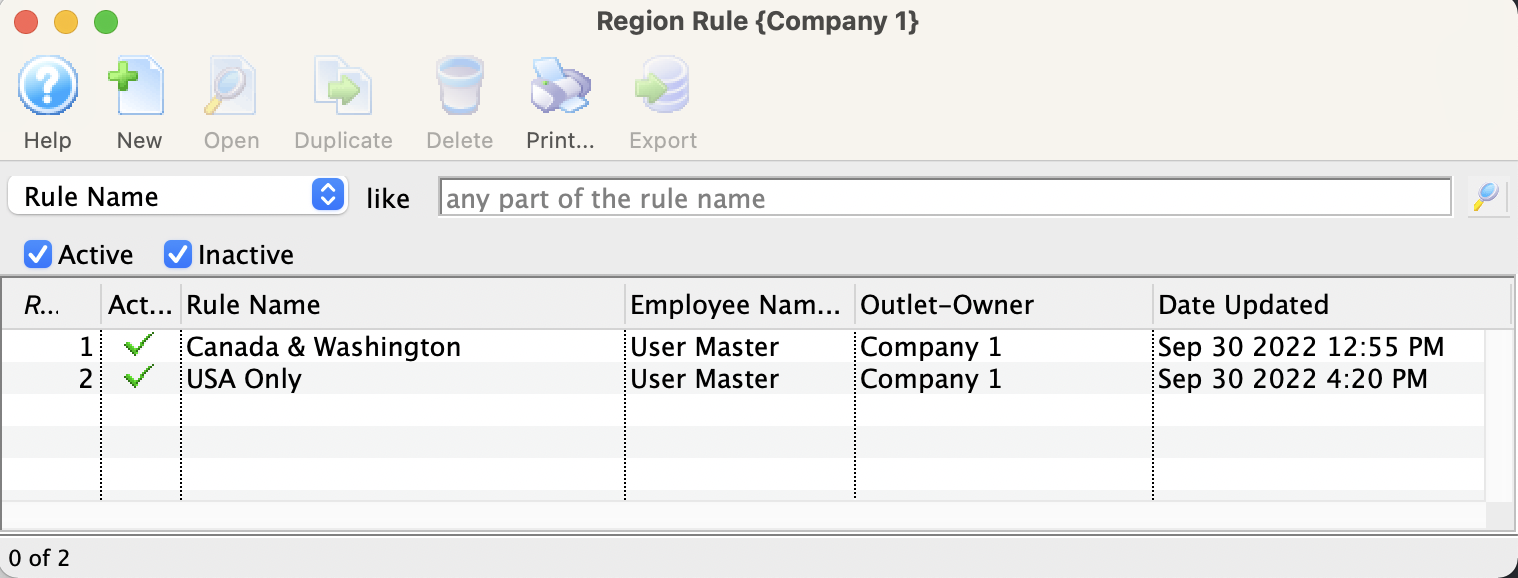
Region Rule Detail Window
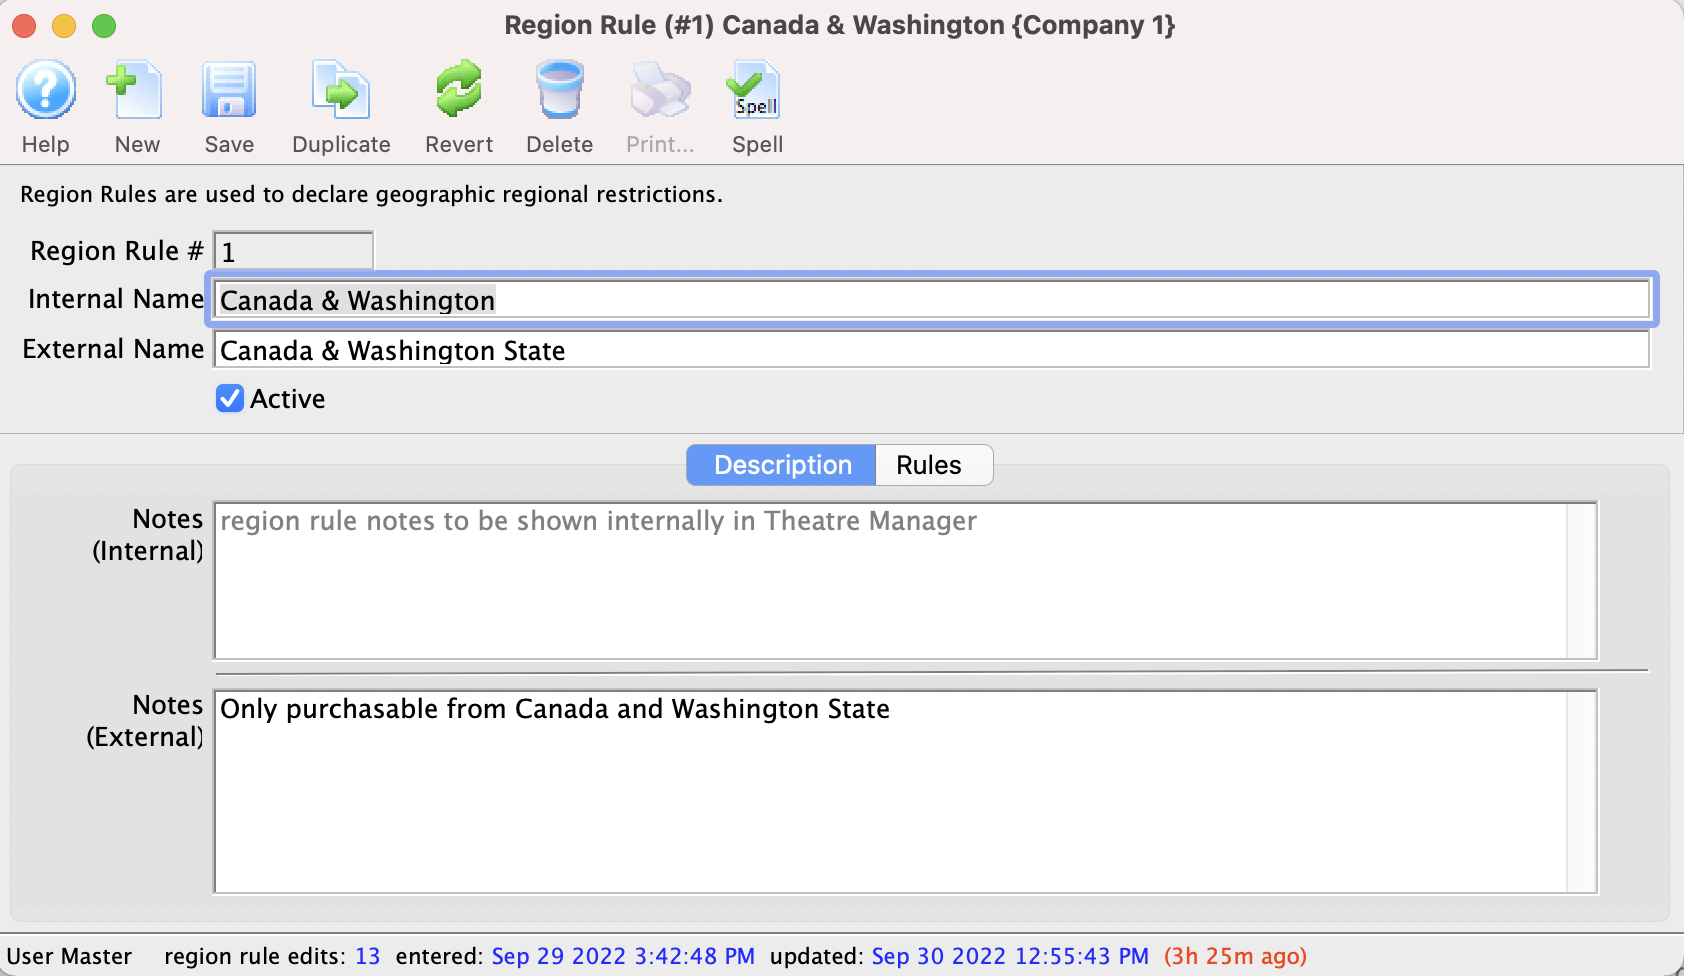
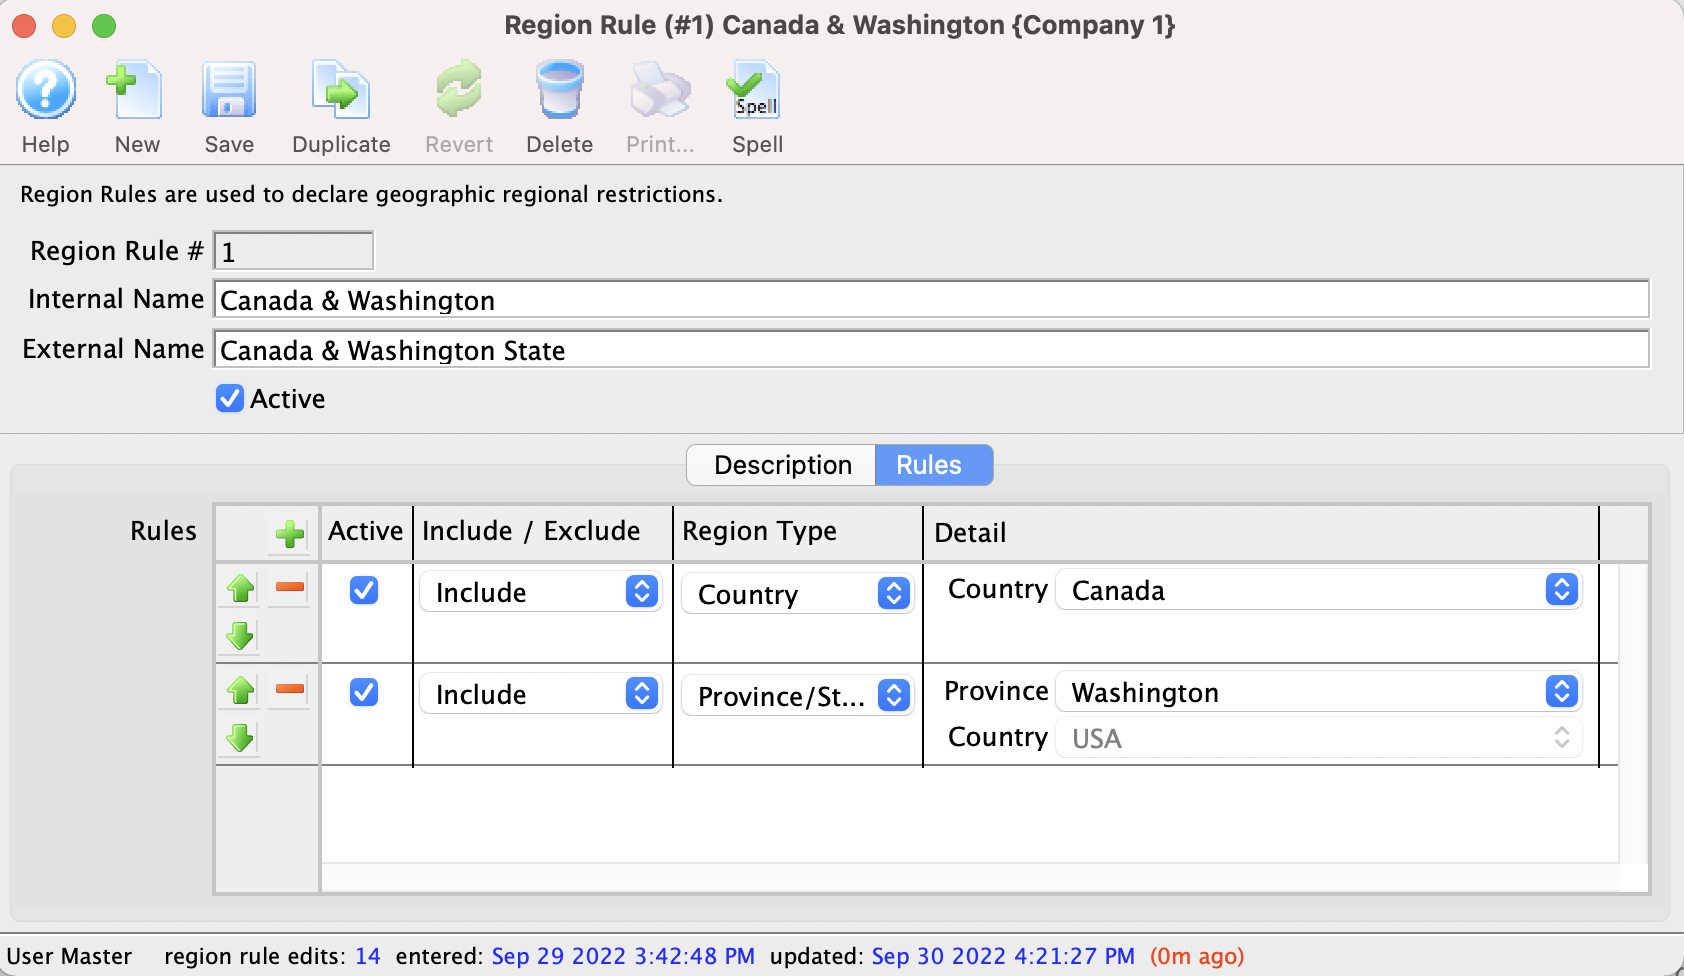
Donation Giving Levels
Donation Giving Levels are setup to allow for donations from patrons to be tracked using a giving level matrix.
The matrixes are setup through the Donation Giving Levels Window which can be accessed through the Setup >> System Tables >> Donation Giving Levels.
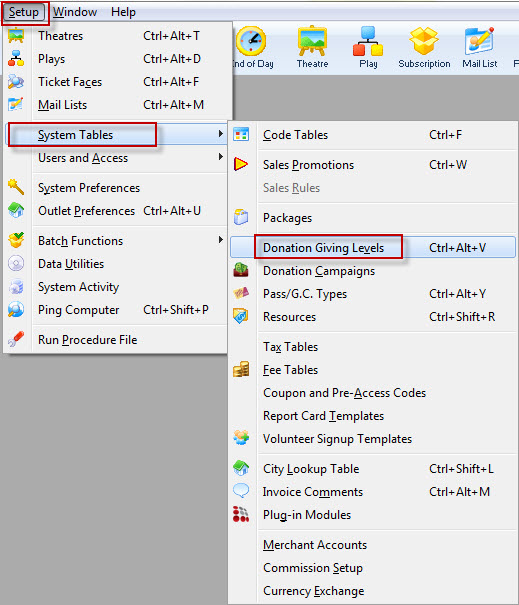
The Donation Giving Levels Window will open displaying all current Giving Level Matrixes.
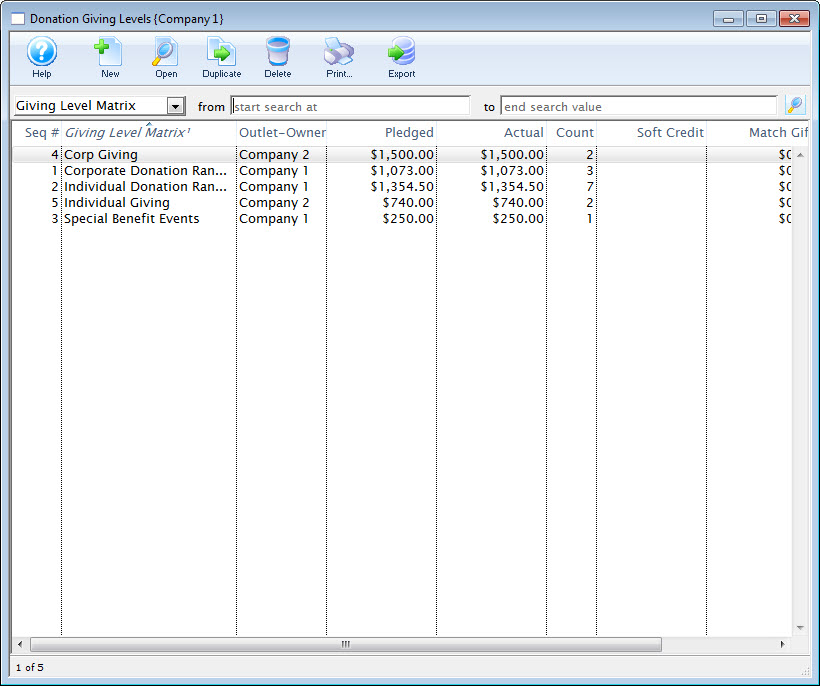
Donation Giving Levels List Window

Parts of the Donation Giving Level Window
 |
Inserts a new giving level through the Giving Level Detail Window.For more information on inserting giving levels click here. |
 |
Opens a window to edit a giving level through the Giving Level Detail Window.For more information on editing giving levels click here. |
 |
Creates a copy of the selected giving level. |
 |
Deletes a giving level.For more information on deleting giving levels click here. |
 |
Generates a report of the giving levels to the screen or default print location. |
 |
Exports the giving level list in a tab-delimited format. |
| Giving Level | The name of the level. |
| Outlet-Owner | The Outlet associated with the campaign. |
| Pledged | The pledged goal. |
| Actual | The total dollars raised to date. |
| Count | The number of pledges associated with the giving level. |
| Soft Credit | Soft Credits associated with this campaign. |
| Matching Gift | The total dollars raised as Matching Gifts. |
| Match Count | The total number of Matching Gifts. |
| Balance | The total dollars needed to meet the pledged goal. |
Creating Giving Levels
- Open the Donation Giving Levels window.
Click here to learn how to access this window.
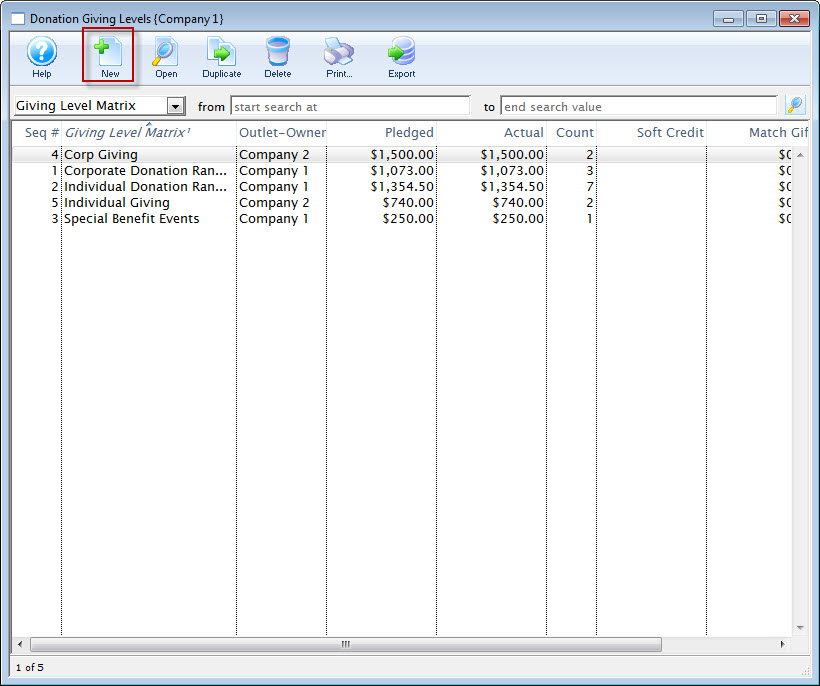
- Click the New
 button.
The Giving Level Detail window opens.
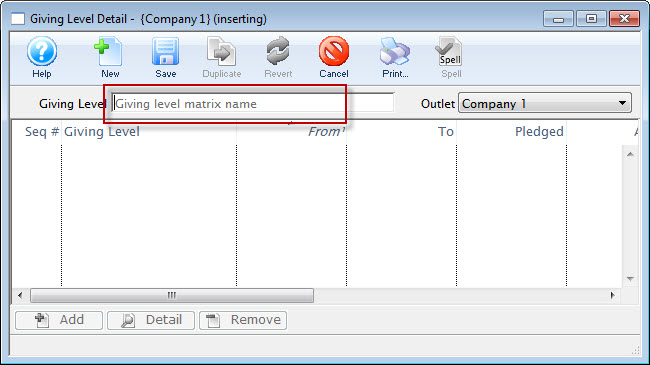
- Enter a name for the Giving Level.
- Click the Save
 button.
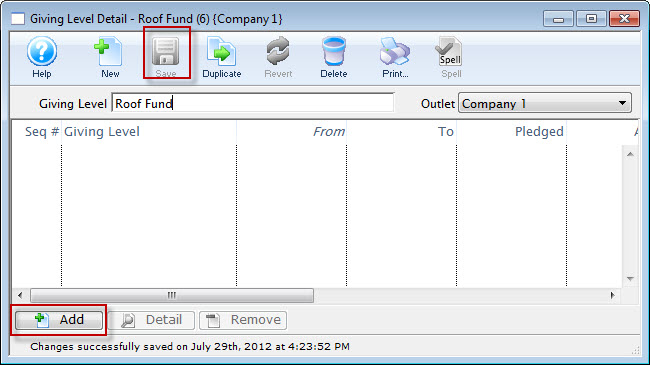
- Click the the Add
 button.
The button will become accessible once you have entered a matrix name.
The Giving Level window opens.
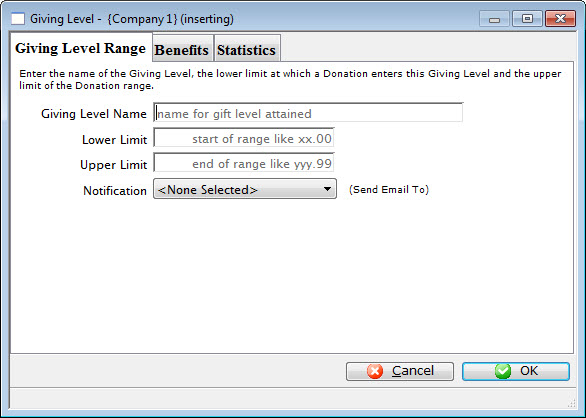
- Enter the name of the giving level.
i.e. Bronze
- Enter the lower limit of the giving level.
i.e. 1
- Enter the upper level of the giving level.
i.e. 99
- You can also select a Notification to be sent, by clicking the Drop Down List.
- On the 'BENEFITS' tab, you can:
- enter a description of the benefits associated with the giving level
- specify the non-tax-receiptable portion of the donation.
- For example, a give at the $100 level may include a dinner valued at $25, so the $25 would be entered as the non-receiptable portion
- In this way, you can assign different non-receiptable amounts and benefits at each giving level
- Click the Save
 to save the giving level.
- Repeat this procedure to add the different giving levels
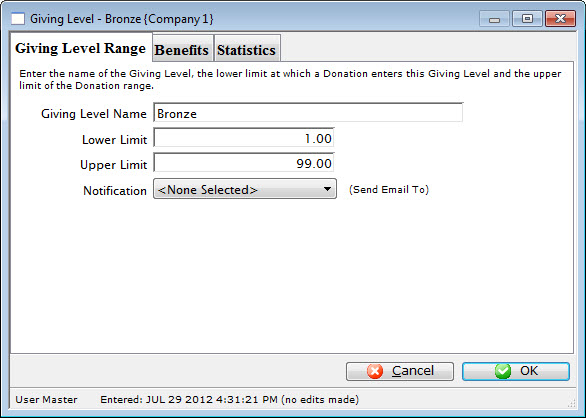
Example Matrix:
- Bronze $ 0.01 - $99.99
- Silver $ 100.00 - $499.99
- Gold $ 500.00 - $999.99
- Platinum $ 1000 - $1000000.99
Editing a Donation Giving Level Matrix
 |
The rules for creating a giving level are
|
 |
In this case, all but one of the amount ranges overlap at least one other. Overlapping means that the end of one range is the same or after the beginning of any other range (or vice versa). Often, fixing one range to not overlap, may fix others. |
To edit a Donation Giving Level matrix, you perform the following steps.
- Open the Donation Giving Level window.
Click here to learn how to access this window.
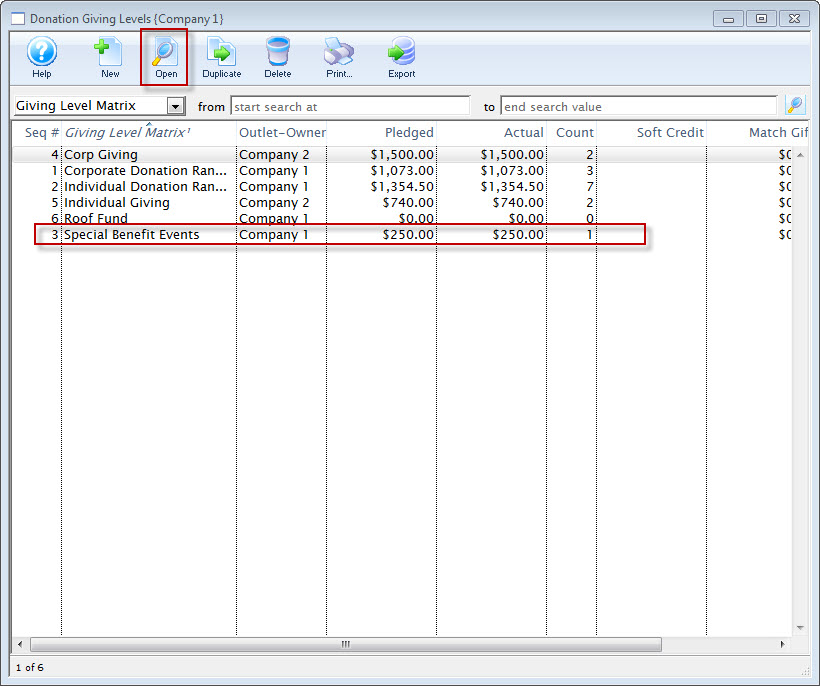
- Click on the Giving Level Matrix you wish to edit.
- Click the Open
 button.
The Giving Level Detail window opens.
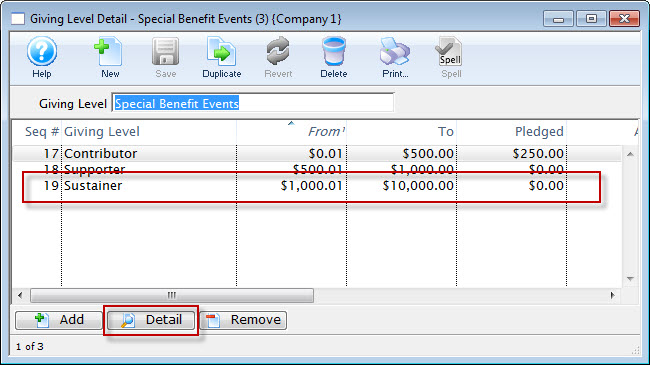
- Select the level to be edited and click the Detail
 button.
The Giving Level window for the selected level opens.
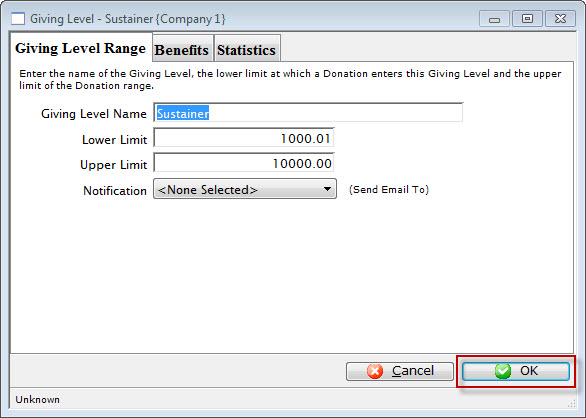
- Change the required data.
- Click the OK
 button.
The changes are saved and the new data is displayed in the Giving Level Detail Window.
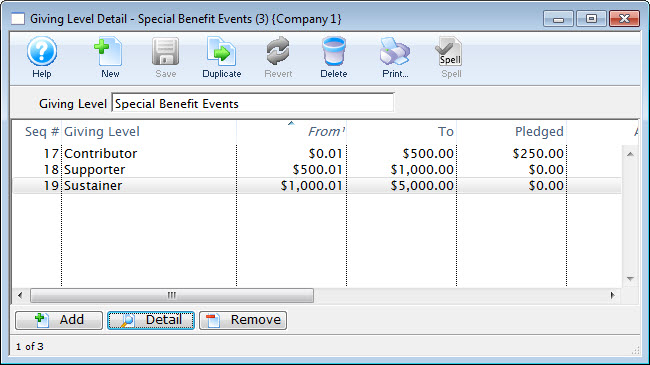
Deleting Giving Levels
Giving levels are contained in matrix. Giving levels cab be deleted as the entire matrix or a single level in a matrix. A giving level or matrix used by a donation campaign can not be deleted.
To delete a Giving Level Matrix, you perform the following steps:
- Open the Donation Giving Levels window.
Click here to learn how to access this window.
- Select the giving level matrix.
Single click on a matrix to select it.
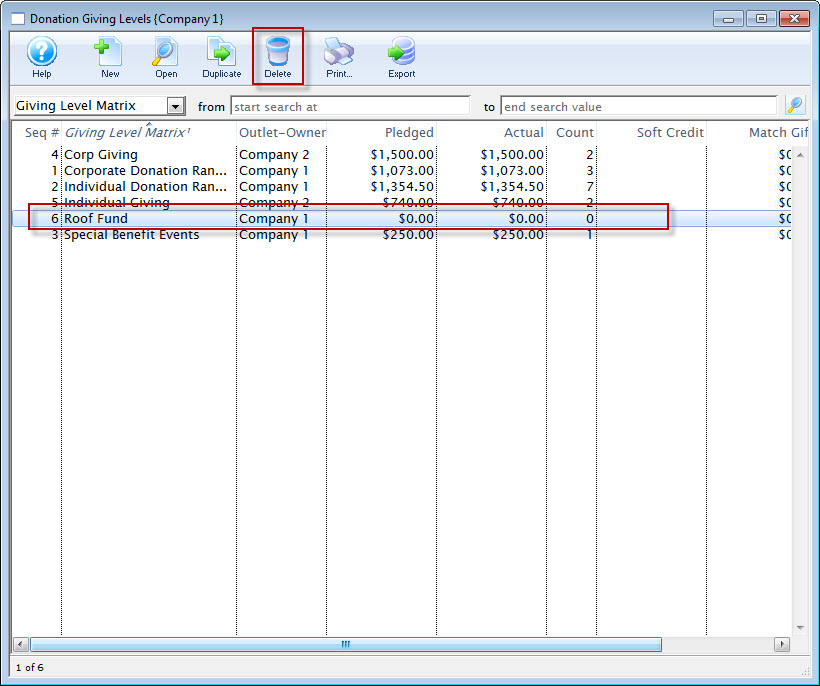
- Click the Delete
 button.
The Delete Level confirmation dialog opens.
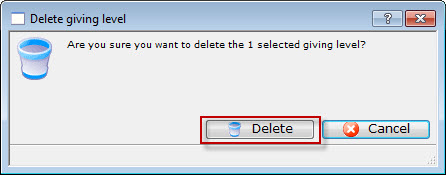
- Click the Delete
 button to delete the selected giving level matrix
Deleting a Giving Level from a Matrix
To delete a level from within a matrix, you perform the following steps:
- Open the Donation Giving Levels window.
Click here to learn how to access this window.
- Select the giving level matrix.
Do this by single clicking the value.
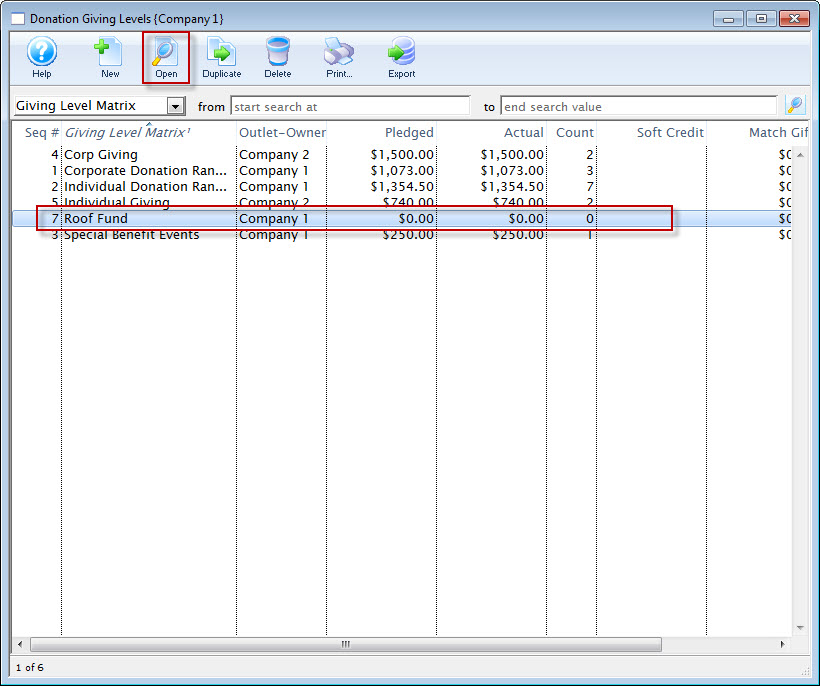
- Click the Open
 button.
The giving level detail window opens.
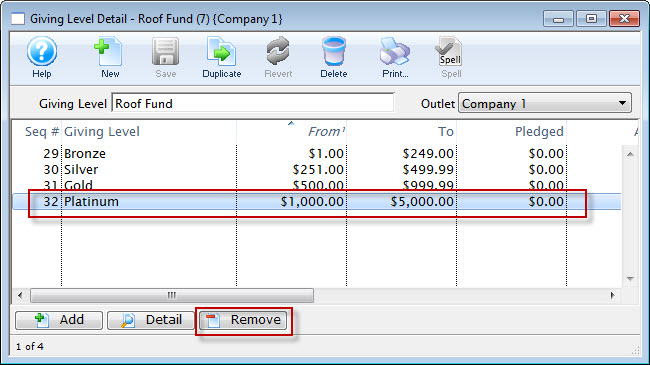
- Select the level to be deleted.
Single click on a level to select it.
- Click the Delete
 button.
The delete confrimation dialog opens.
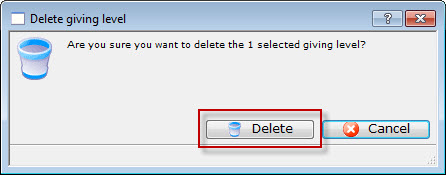
- Click the Delete
 button to delete the giving level.
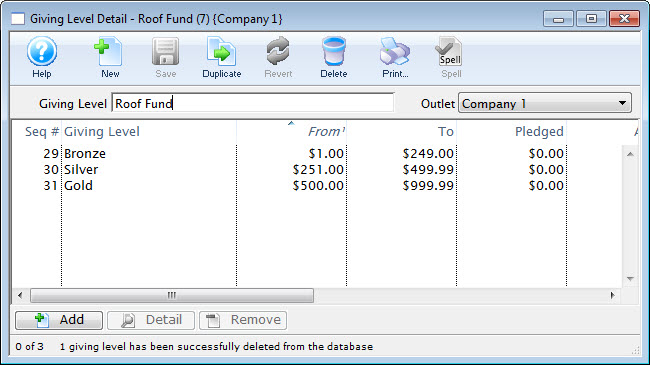
Packages
A package, within Theatre Manager, is designed to group together several items. These items are listed together and require fewer clicks to purchase.
Do not confuse Packages with Subscriptions. Subscriptions sell the same seats, on the same night, using the same pricing for a patron. Packages do not define seating location or price. They simply allow for all items within the package to be sold together as a grouping.
The Packages window is opened through Setup >> System Tables >> Packages. From this window you can add, remove and edit existing packages.
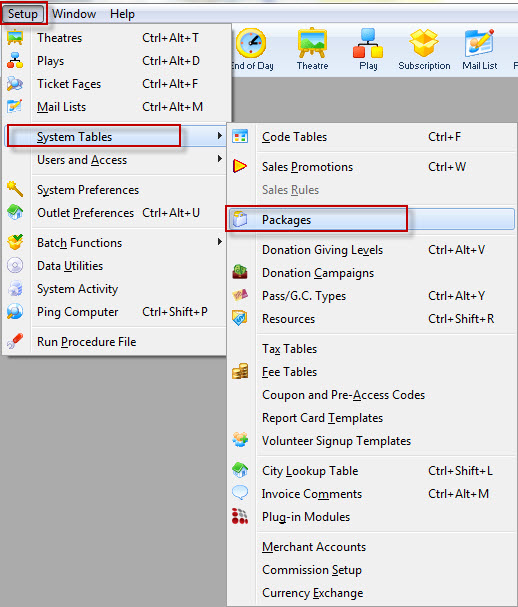
The Package List window opens. Click here for a description of the Package List window.
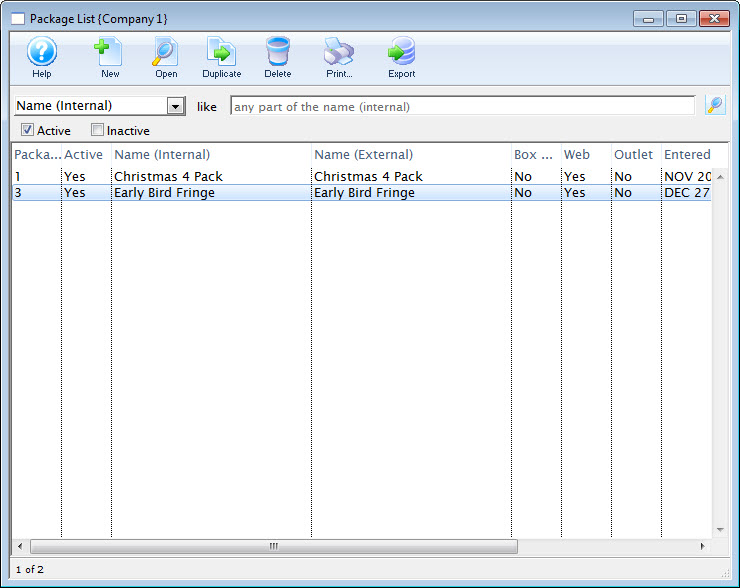
Package Setup
Creating a Package
- Open the Package List window.
Click here for more information on the Package List window.

- Click the New
 button.
The Package Detail window opens.
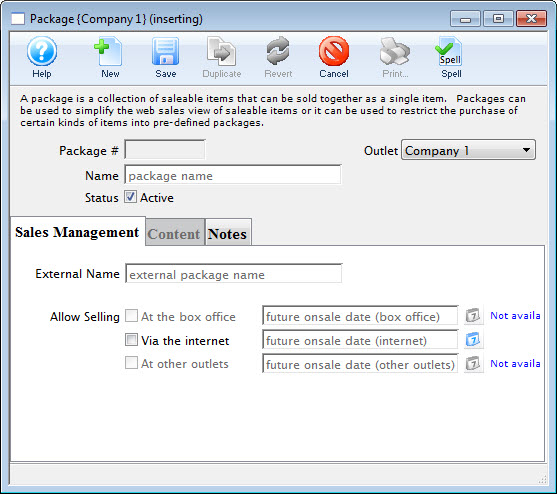
- Enter the name for the package.
- Edit the External Name.
The External Name populates automatically with the information entered in the Name field. Altering this information may not always be necessary.
- Click the Save
 button.
 - Select the
 tab.
tab.
- Add items to the package as need.
For details on adding items to a package, click here. Add as many items are are required for the package.
- Select the
 tab.
tab. - Add any external or internal sales notes, as required.
- Select the
 tab.
tab. - Check the box next to Via the Internet.
- Click the
 button.
The package is now saved to the database and can be used in online sales.
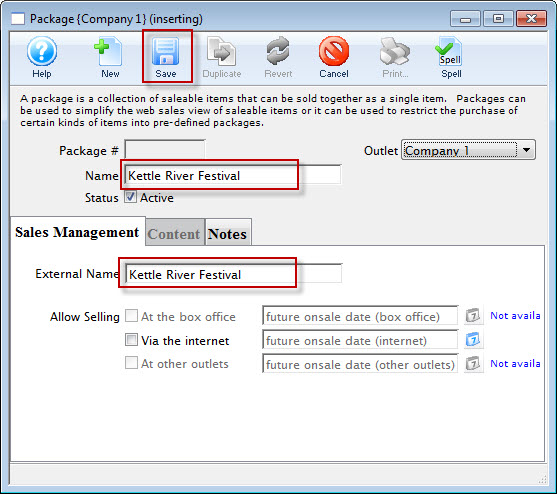
The Content tab is now available for selection.
This makes the package available online.
|
Only do this for testing the package, or when you are ready to have the package available for purchase. |
Adding Items to a Package
- Open the Package List window.

Click here to learn how to access the Package List.
- Double click on the desired package.
- Select the
 tab.
tab.
- Click the New
 button.
The Package Item Detail window opens.
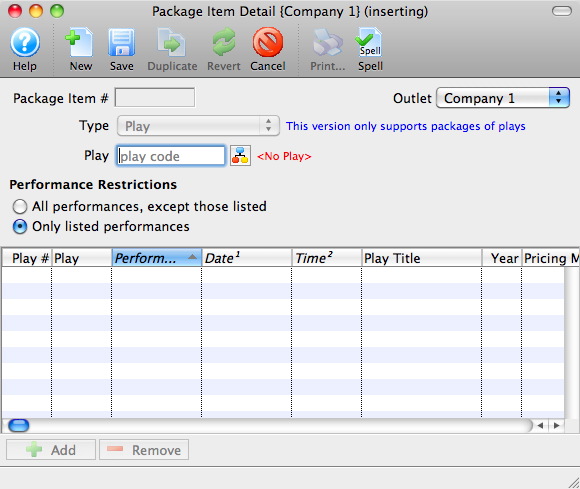
- Click the Event/Play Add
 button.
The Event List window opens.
Click here for more information on searching for Events.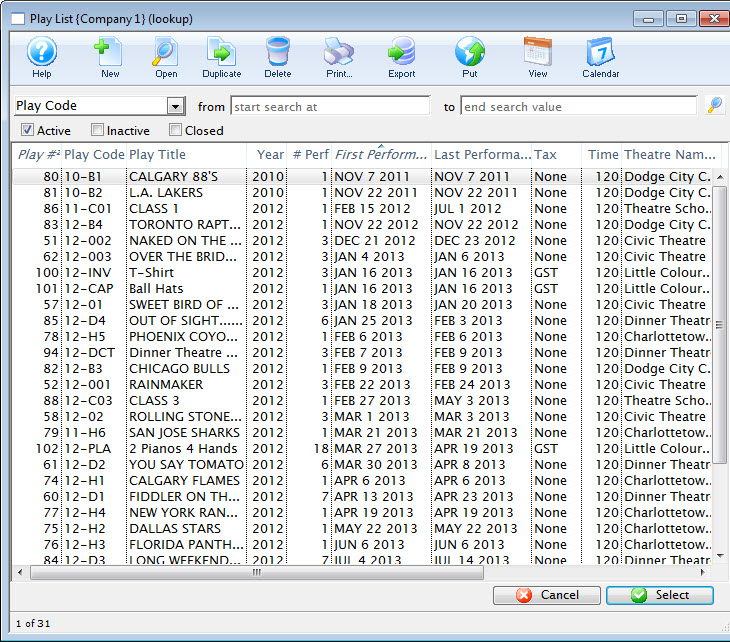
- Select the desired Event.
Single click on the event to select it. If multiple events are required for the package you must add them individually.
- Click the Select
 button.
 - Choose the desired Performance Restrictions option.
- Click the Add
 button.
The Performance List window opens.
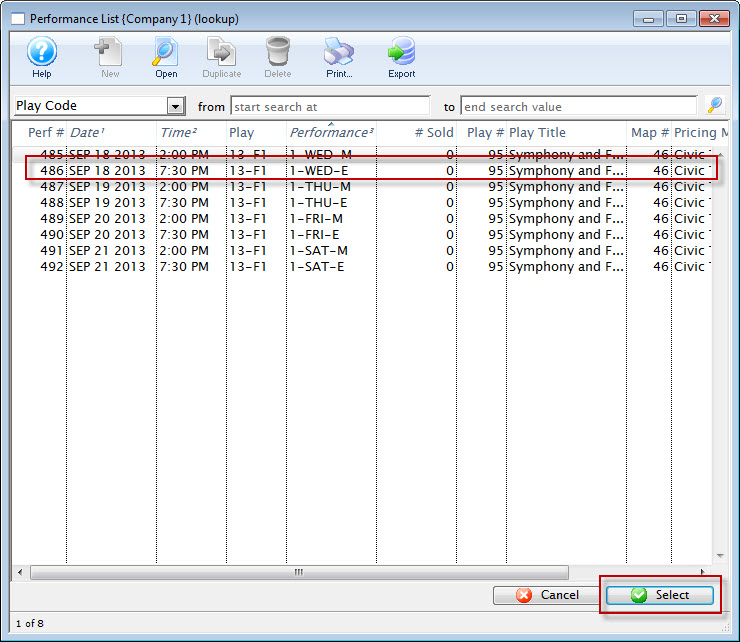
- Select the desired Performances.
Single click on a performance to select it. To select multiple performances, use the CTRL key (Windows) or the OPTION key (Mac).
- Click the Select
 button.
 - Close the Package Item Detail window.
To continue to add more performances to the package, repeat the select and Add steps.
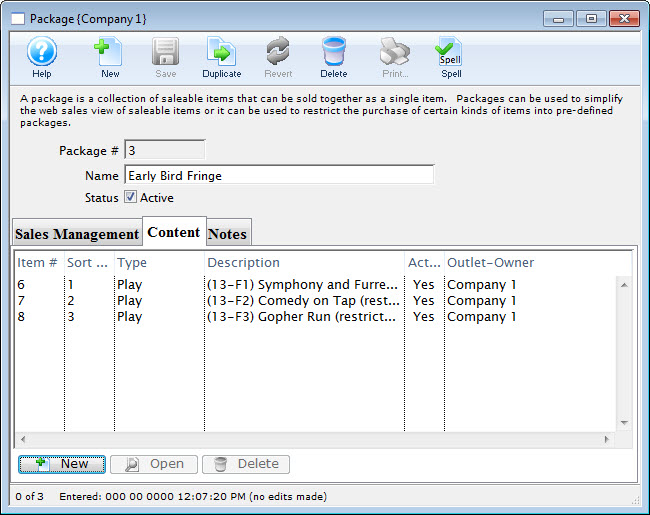
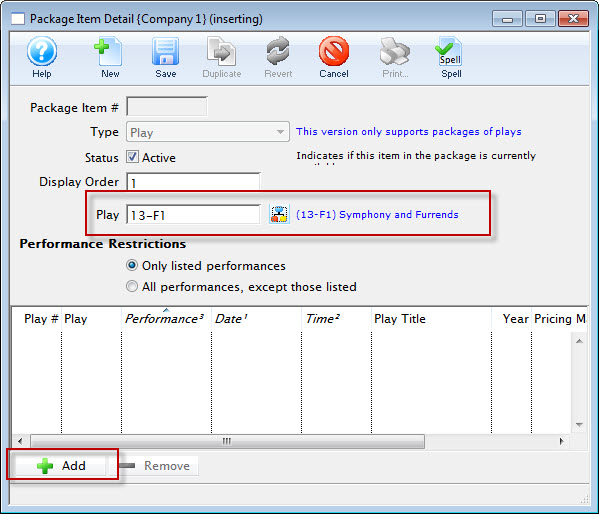
Editing a Package
- Open the Package List window.

Click here to learn how to access the Package List.
- Select the Package to be edited.
Single click on a package to select it.
- Click the Open
 button.
The Package Detail window opens.
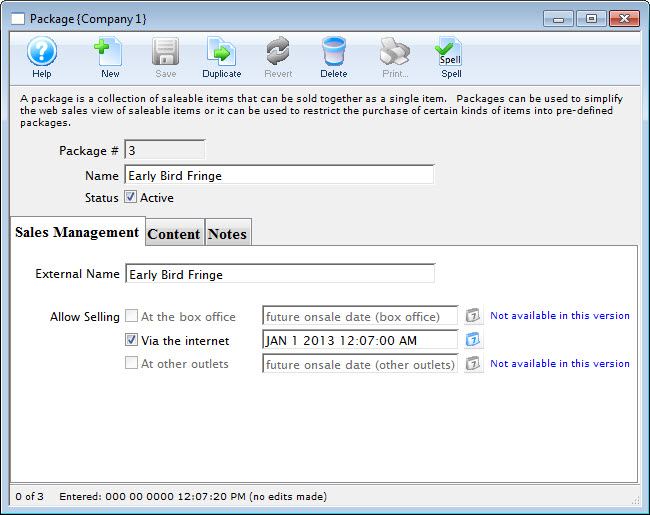
- Make changes as needed.
- Click the Save
 button.
The changes are now saved and the window can be closed.
Purchasing a Package
Packages can be sold using a direct link from an organizations main web site to the package.
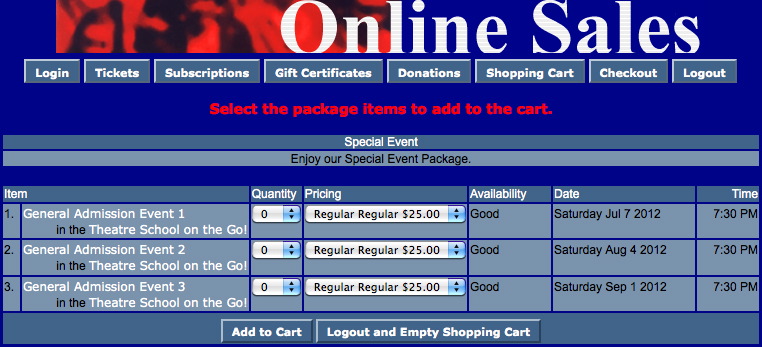
The individual performances within a package do not need to be made available for online sales. This allows you to define the performances within the package, to be available as a package only, and not as individual performances in the online sale.
Performances can be made available for single ticket sales within the online sales and still be a part of a season package.
Deleting a Package
- Open the Package List window.
Click here to learn how to access the Package List.

- Select the Package to be deleted.
Single click on a package to select it.
- Click the Open
 button.
The Package Detail window opens.

- Select the Content
 tab.
tab.

- Select the items listed in the Content tab.
- Click the Delete
 button.
The Delete Package Detail Lines confirmation window opens.
- Click the Delete
 button.
- Close the Package Detail window.
- Click the
 button.
The Delete Package confirmation window opens.
- Click the
 button.
The package is now removed from the database.
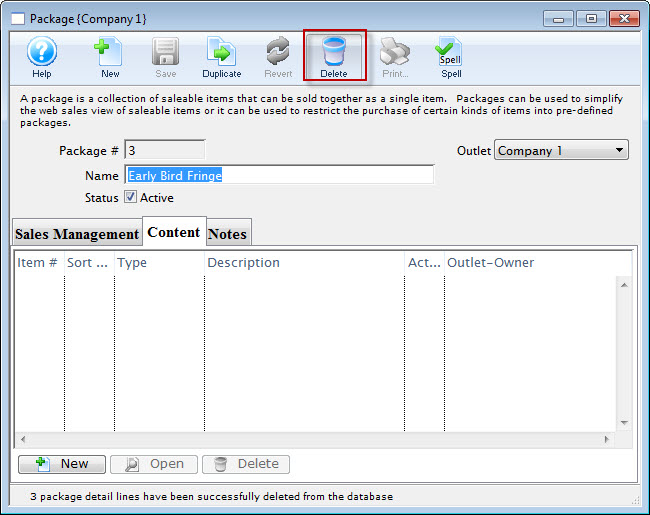
Package List Window
Parts of the Package List Window
 |
Creates a new package. For more information on inserting packages click here. |
 |
Opens the selected package for editing. For more information on editing packages click here. |
 |
Creates a copy of the selected package. |
 |
Deletes the selected package. For more information on deleting packages click here. |
 |
Generates a report of the selected packages to the screen or default print location. |
 |
Exports out a list of the selected packages in a tab-delimited format. |
 |
Options to search for packages by. |
| Like | The text used to search for a select package. |
| Package # | The unique sequence number for the package. |
| Active | Indicates the status of the package. An Active package can be made available for purchase. |
| Name (Internal) | Lists the internal name of the package. This is the name used to refer to the package with the organization. |
| Name (External) | Displays the external name of the package. This is the name seen online. |
| Box Office | Indicates is the package is available for sale at the box office. |
| Web | Indicates if the package is available for sale online. |
Package Detail Window

Parts of the Package Detail Window
 |
Creates a new package. For details on setting up a new package click here. |
 |
Saves changes made to the package detail window. |
 |
Creates a copy of the current package. |
 |
Undoes changes to the last saved point. |
 |
Deletes the current package. For more information on deleting packages click here. |
 |
This feature is not available in this window. |
 |
Checks the spelling of text within the fields displayed in the current tab. |
| Package # | The unique sequence number for the package. This is used when creating links to the package within the online sales. |
| Name | The name of the package within Theatre Manager. This name is used for internal purposes. |
| Status | Indicates the status of the package. An active package can be made available for purchase. |
 |
Opens the Sales Management tab. |
 |
Opens the Content tab. |
 |
Opens the Notes tab. |
Package Sales Management Tab
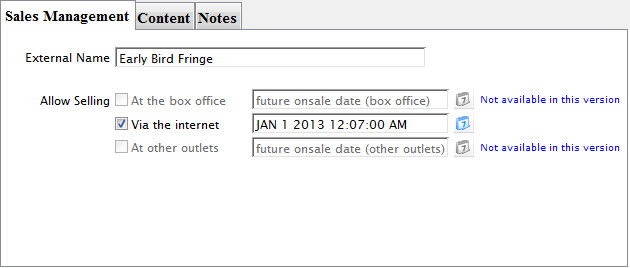
Parts of the Package Detail Sales Management Tab
| External Name | The external name of the package. This is the name displayed in the online sales. |
| At the Box Office | When checked, the package is made available for sale at the box office. The Future Onsale Date indicates the date and time the package will be available for sale at the box office. |
| Via the Internet | Checking the box indicates the package can be purchased online. When a date and time are entered into the Future Onsale Date field the package will not appear online until this indicated date. |
| At Other Outlets | Check this box to allow other Outlets to sell the package. A date and time can be entered to indicate the onsale date of the package for other outlets. |
Package Content Tab

Parts of the Package Detail Content Tab
| Item # | The unique sequence number for the item within the package. |
| Type | The type of item in the package. At this time only Events can be added to packages. |
| Description | The name of the Item added to the package. If the item is an event the event code and title are displayed. |
| Outlet-Owner | The company the item belongs to. |
 |
Adds a New Item to the package. |
 |
Opens the Package Item Detail window for the selected item. |
 |
Removes the selected Item from the package. |
Package Item Detail Window
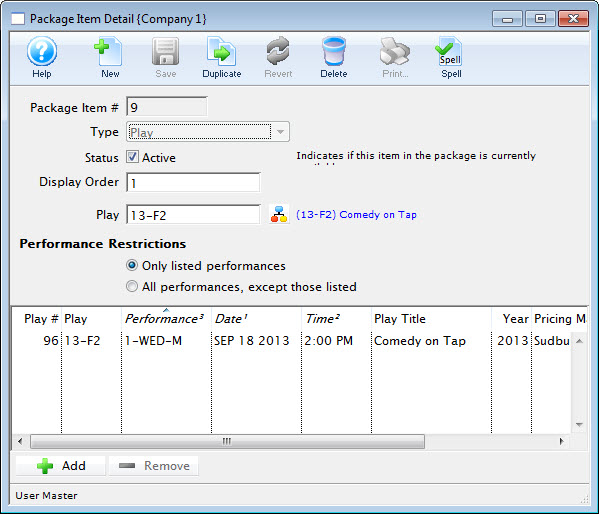
Parts of the Package Item Detail Window
 |
Creates a item to add to the package. For details on creating new items click here. |
 |
Saves changes made to the item detail window. |
 |
Creates a copy of the current item. |
 |
Undoes changes to the last saved point. |
 |
Deletes the current item detail and returns to the package detail window. |
 |
This feature is not available in this window. |
 |
Checks the spelling of text within the fields displayed. |
| Package Item # | The unique sequence number for the item within the package. This is generated by Theatre Manager. |
| Type | The item type to be added to the package. |
| Status | Checkbox indicates if the current package is active or not |
| Event | The Event to be added to the package. |
 |
Opens the Event List window. This can be used to locate the event to be added to the package. |
| Performance Restrictions | Only one option can be selected. All performances, except those listed will add all the performance for the event excluding those in the list below. Only listed performances will add only those performances for the selected event to the package. |
 |
Opens the Performance List window. This window can be used to select the desired performances for the package. The Performance Restrictions will be applied to the selected performances. |
 |
Removes the selected performance from the package. |
Package Notes Tab

Parts of the Package Detail Notes Tab
| External Sales Notes | These notes appear online and are visible to patrons during the online sales process. Often additional details regarding the package are entered here for patron reference. |
| Internal Sales Notes | Internal Sales Notes are visible within Theatre Manager only and cannot be seen by the general public. |
Donation Campaigns
Donation Campaigns are setup to track to what campaign received donations from patrons.
The campaigns are setup through the Donation Campaign Window accessed through the Setup >> System Tables >> Donation Campaigns Menu.
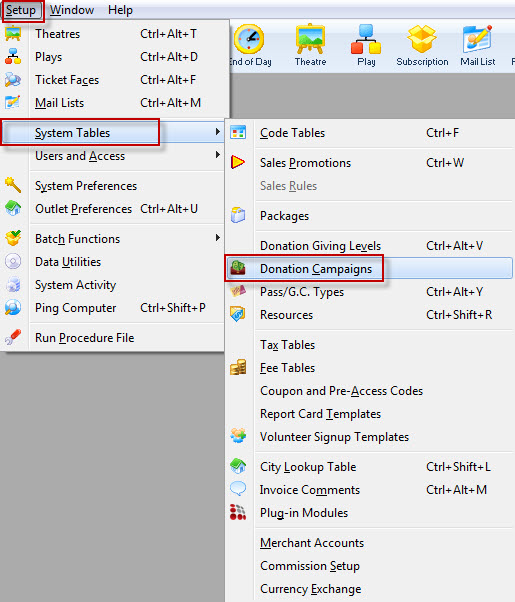
The Donation Campaign List window opens.
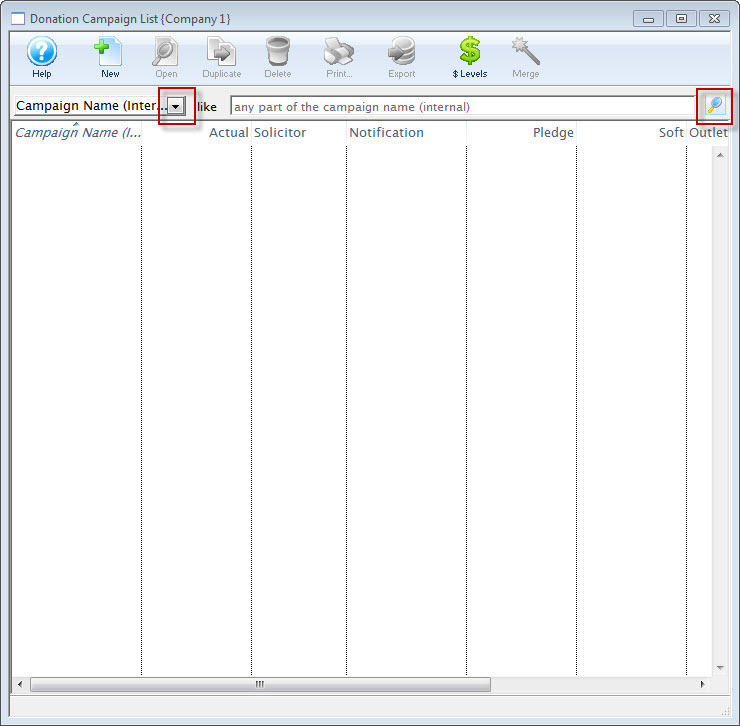
To see all the Donation Campaigns, click the Search  button.
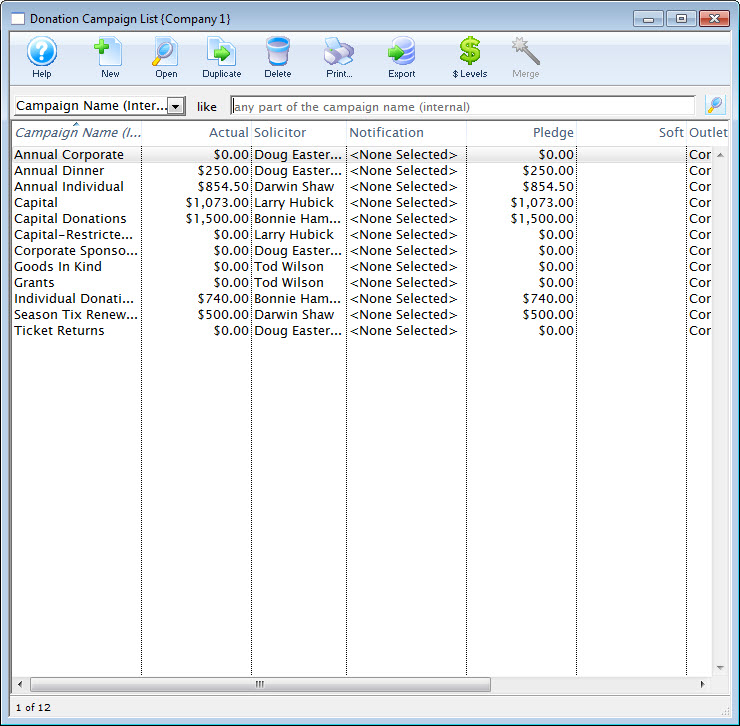
For more information on the Donation Campaign List window click here

To further refine your search, you can select from the drop down list, choose an item to search for, enter text and click the Search  button.
Donation Campaign List Window
Parts of the Donation Campaign Window
 |
Accesses the Help section for this window. | |
 |
Inserts a New campaign through the Campaign Detail Window. For more information on inserting campaigns click here. | |
 |
Opens a window to edit a campaign through the Campaign Detail window. For more information on editing campaigns click here. | |
 |
Deletes a campaign. For more information on deleting campaigns click here. | |
 |
Generates a report of donation campaigns to the screen or default print location. | |
 |
Exports out a donation campaign list in a tab-delimited format. | |
 |
Opens the Donation Giving Levels Window. For more information on giving levels click here. | |
 |
Merges two campaigns.For more information on merging campaigns click here. | |
 |
Opens the DonorSearch Analytic List Window. | |
| Category | The code table category assigned to the donation campaign for online ordering and categorization | |
| Campaign | The name of the donation campaign. | |
| Actual | Dollar value the donation campaign has collected to date. | |
| Solicitor | The main solicitor for this campaign. | |
| Notification | Message sent to inform user of activity to this campaign. | |
| Pledged | The total pledges to date. | |
| Soft | Soft Credits associated with this campaign. | |
| Outlet-Owner | The Outlet associated with the campaign. | |
| Count | The number of pledges to date. | |
| Giving Level | The giving level matrix that is being used by the donation campaign. Click here to learn how to set up a giving level matrix. | |
| Campaign Flag | Include the campaign in patron statistics tab |
Creating a New Donation Campaign
| To review Quick Reference information on Creating a Donation Campaign, You can choose | Cheatsheet |
Screencast |
Creating a Donation Campaign
To Create a new donation campaign, you perform the following steps:
- Open the Donation Campaign List window.
Click here to learn how to access this window.

- Click the New
 button.
The Campaign Detail window opens.
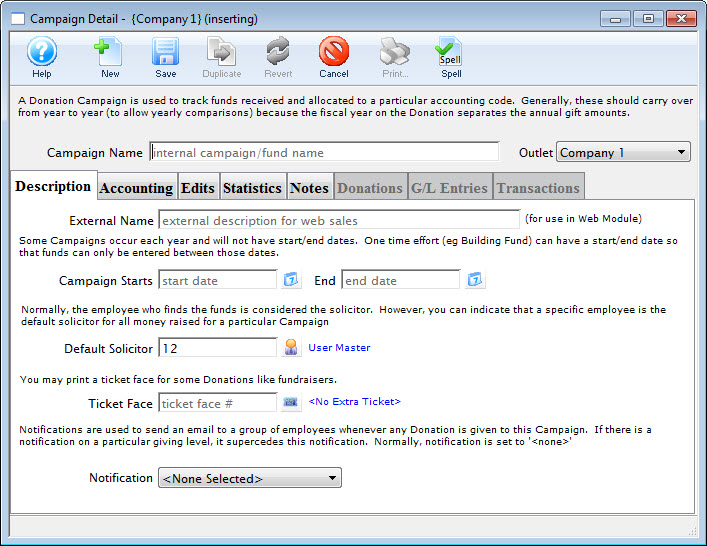
Click here for a detailed description of this window.
- Enter the name of the campaign.
- Enter the time period of the campaign.
- Enter the solicitor for this campaign.
This field is defaulted to the current user. The Employee Lookup
 button
can be used to display a list of all current Employees.
 - Select a ticket face.
This prints an extra ticket for a donation and can only be used by thermal printers.

A ticket face is usually not necessary. Only add one if: - You want to print a specific looking receipt on a ticket printer for box office donations that emulates CRA needs (the tax receipt report should be used instead)
- You like to have a sort of paper audit of donations at the box office to hand to development or finance (there are great reports for that too, meaning this isn't usually required)
- Select the Notification type.
This will send an email to whomever has been setup to receive emails based on this type of Notifications. This does not have to be entered.
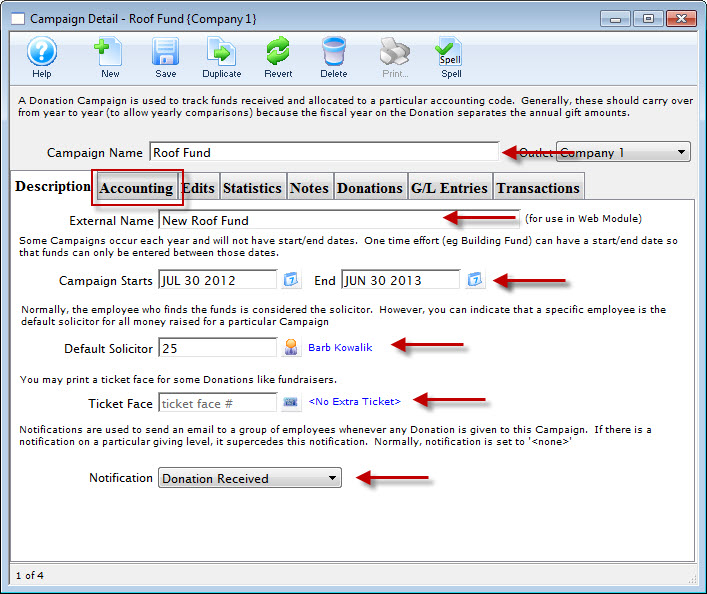
- Click the Accounting
 tab.
tab.
- Enter in the Accounting information for this campaign.
If this is a Restricted Campaign (one which deposits to a bank account OTHER THAN the Operating Account, check the Restricted Campaign box and fill in the appropriate Bank account.
Different G/L Accounts can be selected for prior fiscal years, current fiscal year, and future fiscal years. For more information on creating G/L accounts click here.
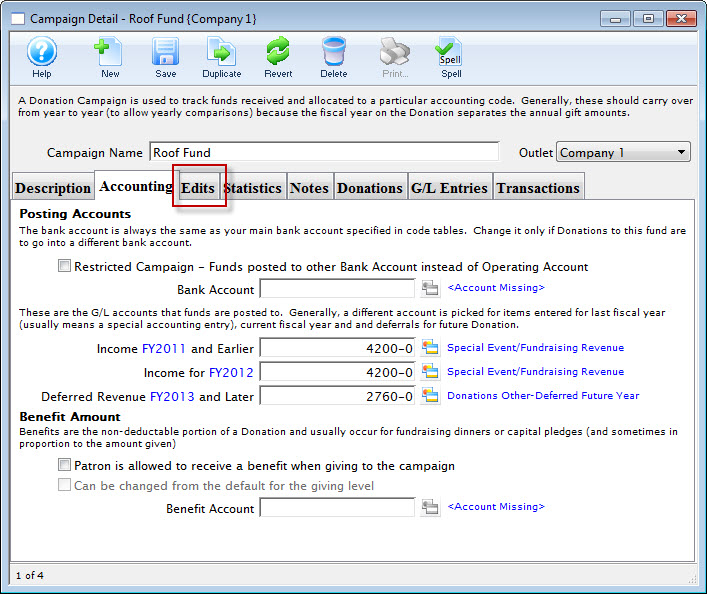
Click here for more information on this window.
- Select the Edits
 tab.
tab.
- Select the giving level matrix to use for the campaign.
Click here to learn how to setup giving levels.
- Select the access to be given to the campaign.
- Determine if a receipts should be printed for this campaign.
- Select the edit controls on the benefit amount.
- Click the Statistics
 tab.
tab.
- Enter the target amount for the campaign.
- Click the Save
 button.
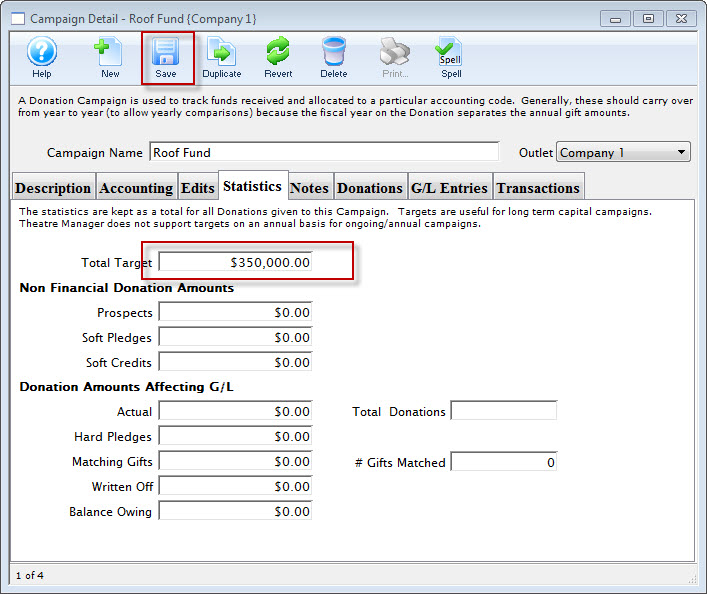
Click here for more information on this window.
- Close the Campaign Detail window.
The campaign will be saved and displayed on the Donation Campaign window.
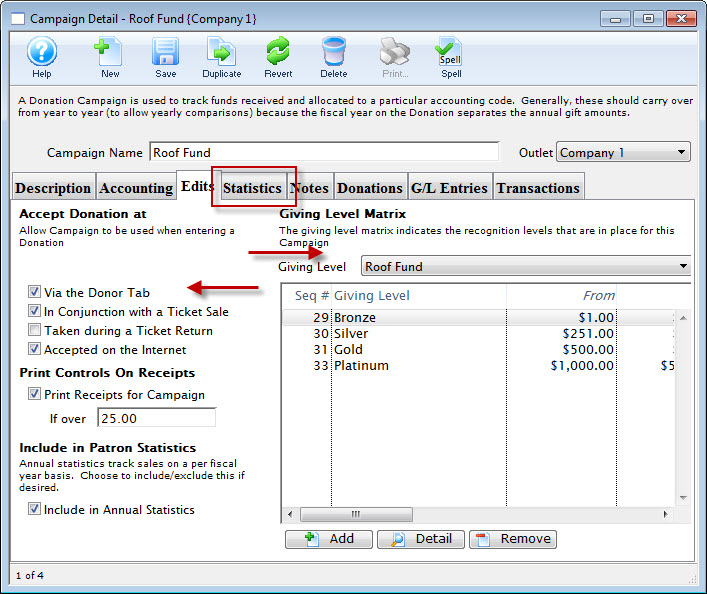
Click here for more information on this window.
Campaign Detail Window
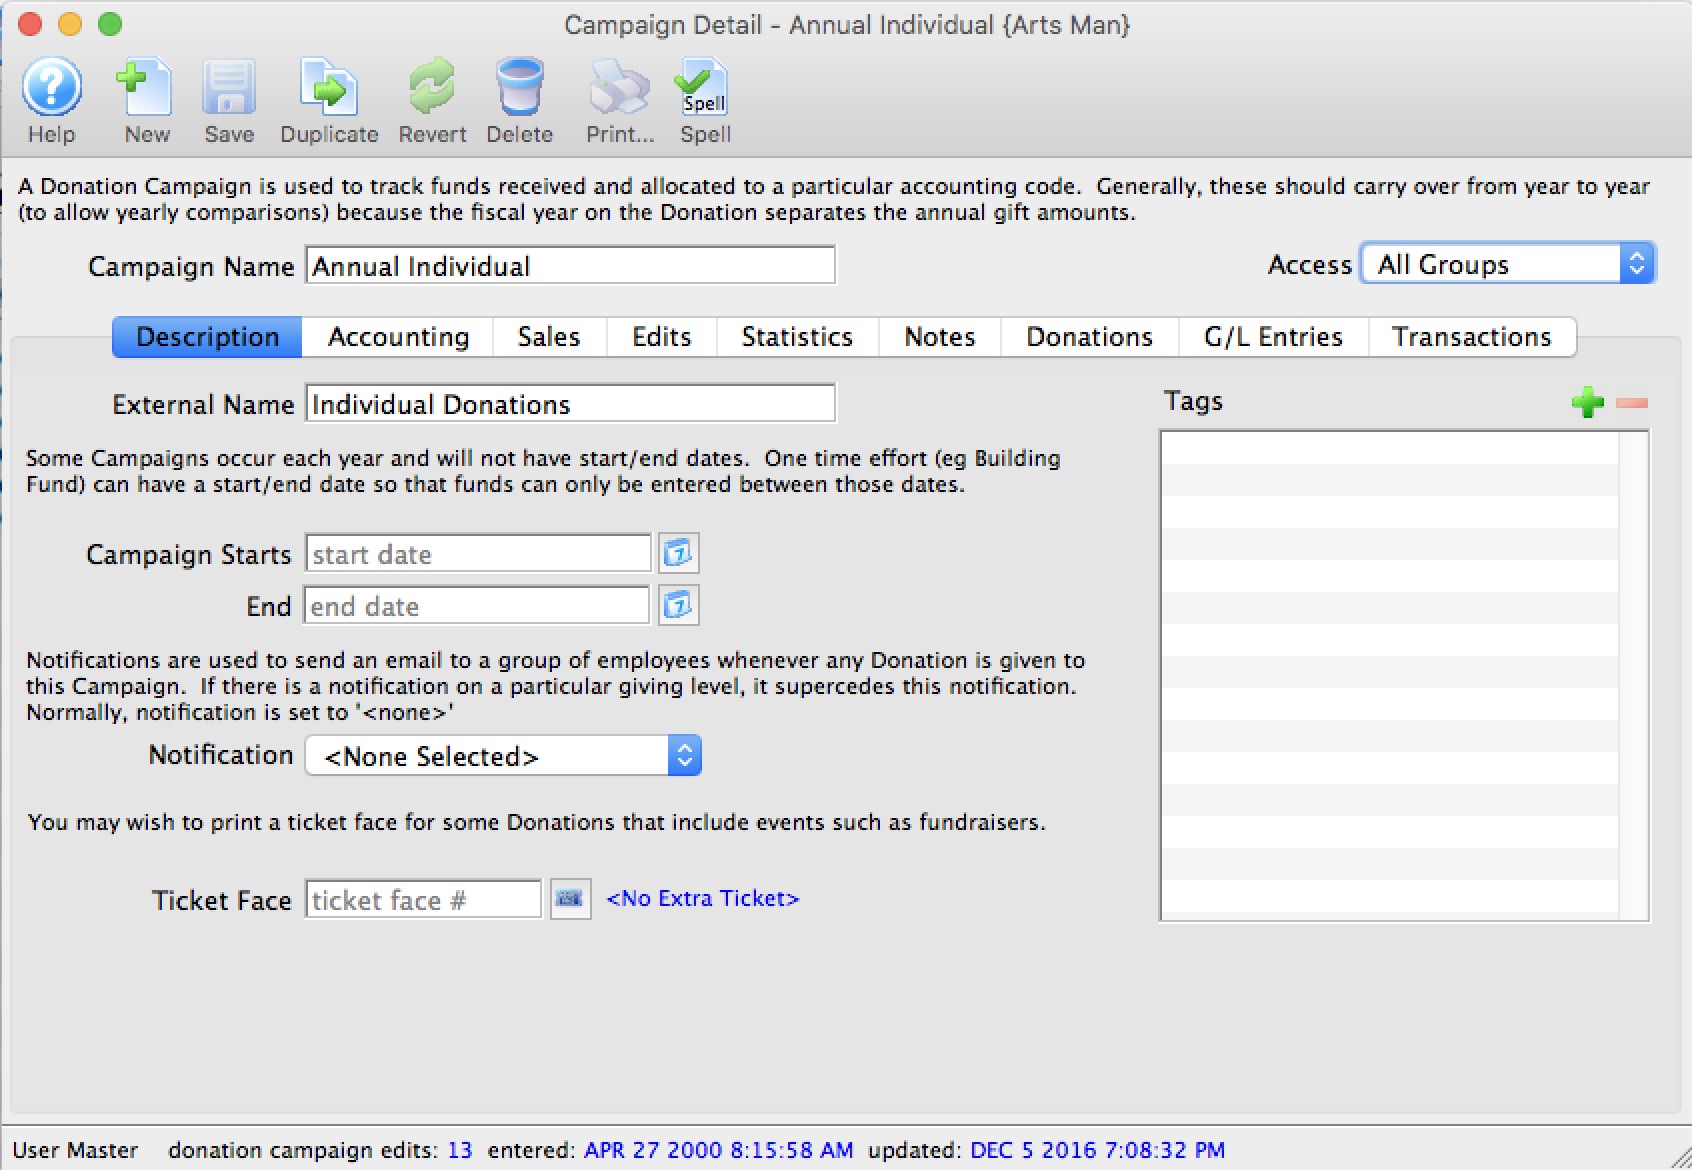
Parts of The Campaign Detail Window
 |
Opens a new Campaign Detail window to enter a new campaign. |
 |
Saves the currently open campaign. |
 |
Creates a duplicate of the currently open campaign. |
 |
Can be clicked while editing to revert back to the last time the open campaign was saved. |
 |
Deletes the Campaign currently open. |
 |
Checks the spelling in the appropriate fields. |
| Campaign Name | Enter the internal name for the campaign. |
| Outlet | Allows you to chose between any outlets avaialbe for your organization. |
| Access Groups | Specify which groups of people can access the data |
 |
The Description tab is where you enter the descriptive information about the Campaign. It is described on this page. |
 |
The Accounting tab is where you enter the Account information for the Campaign. Click here for more information about the Accounting tab. |
 |
The Edits tab is where you define where donations to the campaign can be accepted and the Giving Level Matrix. Click here for more information about the Edits tab. |
 |
The Statistics tab shows all the total donations for the selected campaign. Click here for more information about the Statistics tab. |
 |
The Notes tab lets you enter text notes for the campaign. Click here for more information about the Notes tab. |
 |
The Donations tab shows you the list of donations to the campaign. From here, you can open, delete, make payments and print the selected donation. Click here for more information about the Donations tab. |
 |
The G/L Entries tab shows you the list of G/L Entries to the campaign. From here, you can add, open and delete, G/L entries. Click here for more information about the G/L Entries tab. |
 |
The Transactions tab shows you the list of Transactions related to the campaign. From here, you can add, open and delete, Transactions. Click here for more information about the Transactions tab. |
Description Tab
| Campaign Name | The name of the donation campaign. | ||
| External Name | Name to be displayed on the internet. | ||
| Category | Assign the donation to a category that can be used to group and sort the campaigns in online web pages. These are set up in Donation Campaign Category code tables. | ||
| Campaign Starts Ends | The time period that the campaign is running. | ||
| Ticket Face | (Optionally), you can select a ticket face to be used for donations. Click the Ticket  button to open the Ticket Face List window. Select a ticket face to be printed for a donation receipt. This function can only be utilized by thermal ticket printers. button to open the Ticket Face List window. Select a ticket face to be printed for a donation receipt. This function can only be utilized by thermal ticket printers.
|
||
| Notification | The workflow notification type that you would like to be sent out for this campaign. Click here for more information on setting up Workflow Notifications. | ||
| Tags | You can add any number of tags to the donation campaign. |
Accounting Tab
Parts of the Accounting Tab
Posting Accounts |
|||
| Restricted Campaign | Generally funds are deposited to the Operating Account as setup in your Default Posting Accounts.
If you want the funds deposited to another account for this campaign, check the Restricted Campaign box and enter the correct Bank Account and transfer information below. This will cause Theatre Manager to create a general ledger clearing entry for your finance department to indicate the movement of funds via their bank interface. Refer to the example on restricted donations
|
||
| Restricted Bank Account | Restricted Bank Account for this campaign. it is normally a physically different bank account if you are tracking funds for special purposes like capital campaigns or casino/gaming accounts - as may be required by law.
Click the |
||
| Income "Prior Year in blue" and earlier. |
Prior fiscal year account for this campaign. We recommend that this be an unrecognizable account in your accounting system to prompt you to look at any posting to a prior year donation account.
The reason for a non-sensical account number is simple: posting to prior year donation accounts usually causes auditors to be concerned because the year end has been closed and audited as far as donations for prior years which have been compared to receipts issued. An account number with an account name like 'Donation posted to prior year, please investigate' is a good idea.
Click the
|
||
| Income for "Current Year in blue" | Current fiscal year account for this campaign.
Click the |
||
| Deferred Revenue for "Next Year in blue" and Later | If you wish to defer donations for a future fiscal year for this campaign, you can select a different account than the current year account. It would normally be a liability. During year end rollover, any donations entered in future fiscal years will be rolled into the earned accounts. Click the  button to open the Chart of Accounts lookup. button to open the Chart of Accounts lookup. |
||
| Patron is allowed to receive a benefit when giving to the campaign | Applies the benefit matrix from the giving level matrix to this campaign. Click here for more information on setting up benefits for donations. | ||
| Can be changed from the default for the giving level | Allows the value of the benefit to be edited during a donation. | ||
Benefit Amount |
|||
| Checkbox | Patron is allowed to receive a benefit when giving to the campaign. | ||
| Checkbox | Can be changed from the default for the giving level. | ||
| Benefit Account | Benefit general ledger account for this campaign.
Click the |
||
Changing Prior Year Donations
If you need to do it, make sure you have a discussion with your accounting staff and/or auditors first.
 |
You will be reminded of the accounting ramifications if you happen to change any one of the following items for a donation (per the image below) that was entered for any fiscal year PRIOR to this year:
|
 |
This process mentions fiscal prior year account setup in the campaign - refer to that if you need to see hour your accounts are set up and where things will post |
Changes to Campaign, Amount or Fiscal Year
If you change Campaign, Amount or Fiscal Year, you will see a messages similar to below below asking to confirm the change.
If you really want to change the prior year financial data, you will see a second message to confirm the change, as below.
If you agree to both dialogs, the donation data will be changed.
Theatre Manager will create transactions that
- Reverses the original amount, campaign and fiscal year using the account number below that relates to the donation fiscal year
- Create a new transaction for the new amount, campaign and fiscal year
Since the Government has been told about the prior year, your finance people and auditor will need to know, so that they can amend prior year. This is especially important if it is a multi year pledge that is not full paid because of the discounting for present value that need to be done on Government forms.
 |
In other words, if you need to do this, make sure your finance people know. IT may not be an issue at all.. but then again, it might be very important to know. |
Sales Tab
Accept Donation at |
|||
| Via the Donor Tab | Allow the campaign to be displayed as a choice when a donation is being entered through the donor tab on the patron window. | ||
| In conjunction with a Ticket Sale | Allow the campaign to be displayed as a chouce when a donation is being given through an order created on the ticket tab in the patron window. | ||
| Taken during a Ticket Return | Allow the campaign to be displayed when a ticket is being refunded / returned for any reason. | ||
| Accepted on the Internet | Allow the campaign to be accessed via the Internet and donations made Online. Additional option, Visible in Internet List. This allows for the selected campaign to appear in the list of available donation campaigns for patrons to give to.
|
||
| Visible in Internet List | Normally, donations campaigns available online should be visible online. There may some special purpose donations that you may create a quick-add button for that do do not want to see in list. If so, uncheck this option.
Examples might be: round up donations or quick donate on checkout window for a particular purpose. |
||
| Sort Order | Allows you to specify an online sort order for campaigns (instead of purely alphabetical). The default is a three level sort:
|
||
| Accept Post Dated Payments | If post dated payments are accepted online, indicate the final payment date. Monthly payments will be set up through to the end of the payment date. You could set the date to be end of the year to get recurring yearly payments. | ||
| At other Outlets | Allows the campaign to be accessed and donations made at other outlets. | ||
Include in Patron Statistics |
|||
| Include in Annual Statistics | Donation values will appear in patron statistics tab. | ||
Default values for a new Donation |
|||
| Fiscal year | Normally, the fiscal year on a donation defaults to your fiscal year in which the donation falls. If you enter a donation for a future year, it will take on a future fiscal year.
If you want to change the default behaviour for this donation campaign and force the fiscal year to be in the future, you can enter a future non-zero year into this field. It must be a future year (since the default of zero means the current year now and forever). And if it is always to be the next fiscal year, you will need to edit this field at year end every year. Accrual accounting (GAAP, FASB, IRS an CRA) says you should not set for future years. But sometimes auditors will allow deferral of subscription donations to the next year.
|
||
| Program Year | The default program year for a donation is the calendar year on the donation date. If you wish it to be different then set a default value into this field. It must be a future year. | ||
| Default Solicitor | The primary solicitor for the campaign. You can select or change the solicitor, by clicking on the Solicitor  button to open the Employee Listwindow to select or change a solicitor for the Campaign. button to open the Employee Listwindow to select or change a solicitor for the Campaign. |
||
Edits Tab
Parts of the Edits Tab
Print Controls On Receipts |
|||
| Print receipts for this Campaign | Allows receipts to be printed for this campaign and you may (optionally) set a minimum donation mount if desired for receipt printing.
You can choose the conditions under which you want to print tax receipts in Canada. |
||
| Email Receipt for Online Donor |
If checked and the patron donates online, a single one receipt per payment style donation receipt will be created and attached to the patron's web confirmation.
You will be warned if your company preference setup contains no: The above images should be in place to so that the tax receipt looks complete (and in Canada, contains all the required information for tax receipts).This option is not available:
|
||
| If Over A certain Amount | If an amount is entered, then any single donation that is under the specified amount will never get a tax receipt printed in the batch printing or automatic emailing of receipts.
Note: Receipts are generated for each payment towards a donation. As long as the donation is over the threshold for receipting, each payment gets a receipt. If you are expecting multiple payments, you may want to consider selecting Annual Statement Style receipts when entering the donation - to minimize any administrative burden. For example: A donation might be $100 (and entitled to a receipt). if the patron pays with post dated payments for $10.00 each, monthly, each payment will get a receipt (i.e. 10 receipts, regardless if the receipt is under the threshold). Printing the Annual Statement Receipt might be one way to reduce receipting effort if the payments are small and donations are large. |
||
| Default Tax Receipt Options |
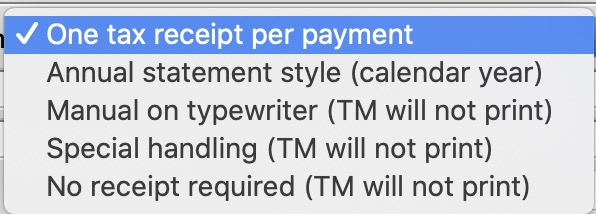 Theatre Manager has a number of tax receipt options that you can set for each donation.
You can set the default for the campaign, which will be copied to each new donation when the donation is created. |
||
Suggested Donations Online |
|
| Suggested Amounts | You can enter a list of suggested donation amounts - and if you do, then the online donation module will have buttons that let the patron quickly pick that amount as a donation - without having to enter information. The patron will always have the ability to enter a custom amount.
If you have no suggested amounts, then the patron will be required to type in a value for the donation. If you drag some of the giving levels to this list, Theatre Manager will take the minimum value in the range for that giving level and add it to the list. You might want to take most popular ranges and drag onto this field for quick entry. |
Giving Level Matrix |
|
| Giving Level | The giving level matrix that will be used for the campaign. For information on setting up a Giving Level Matrix for use here, click here. |
 |
Opens the Giving Level (inserting) window, allowing you to add more levels to the campaign. Click here for more information on adding levels. |
 |
Opens the Giving Level window, allowing you to edit the selected Giving Level. Click here for more information on editing levels. |
 |
Allows you to delete the selected Giving Level. Click here for more information on deleting a level. |
Statistics Tab
The statistics are kept as a total for all Donations to this Campaign. Targets are useful for long term capital campaigns. Theatre Manager does not support targets on an annual basis for ongoing/annual campaigns.
Parts of the Statistics Tab
| Total Target | Goal for the campaign. |
| Show on Internet | Shows the progress to date on the web pages in the internet.
|
Non-Financial Donation Amounts |
|
| Prospects | The total value of prospect donations for the campaign. |
| Soft Pledges | The total value of soft pledge donations for the campaign. |
| Soft Credits | Total value of soft credits allocated for the campaign. |
Donation Amounts Affecting G/L |
|
| Actual | Total amount received. |
| Total Donations | Total number of donations for the campaign. |
| Hard Pledges | The total pledged amount for the campaign. |
| Matching Gifts | The amount of matching gifts for the campaign. |
| # Gifts Matched | The number of matching gift donations for the campaign. |
| Written Off | The total value of donations written off against this campaign. |
| Balance Owing | Total balance owing on donations for this campaign. |
Notes Tab
Parts of the Notes Tab
| External Sales Notes | Enter any notes about the campaign that you would like patrons to see online - that might help them decide to give to this campaign. |
| Internal Sales Notes | Enter any notes about the campaign that are for staff only |
| Icon | You can drag a 200 pixel wide by 250 high image to this area - which will be shown during online sales in the list of donations |
Donations Tab
Parts of the Donations Tab
There are some actions you can do to one or more donations from the context menu that are not available on the toolbar:
- Add a payment to the donation, if it is not fully paid
- Set the program name on multiple donations if they all belong to the same patron
- Set the donation receipt type
- Make it a recurring donation
- Use the Donor search analytics features
- View the Patron record
| Status | Icon based indicators on the various aspects of the donation. |
| Order # | The order number is a reference number for the order. |
| Prog Yr | Program Year. |
| Use | Indicates the source detailing hose the donation was received. |
| First / Last & Company Name | Name of the patron making the donation. |
| Campaign Name | Name of the campaign the donation was applied to. |
| Fiscal Year | The accounting Fiscal Year the donation was made. |
| Donation Date | Date the donation was made. |
| Pledge Amount | The amount the patron pledged to this donation. |
| Actual Amount | The actual amount the patron has confirmed they will donate towards their original pledged amount. |
| Giving Level | What level of giving the donation is at. |
| Balance | Outstanding balance of the pledged amount remaining to the paid. |
| Total Receipted | The amount of the donation that has been issued paayment/receipts. |
| Soft Credit | The total amount of Soft Credits that have been applied to the donation. |
| Program Name | How the patron would like to be recognized on the program. |
G/L Entries Tab
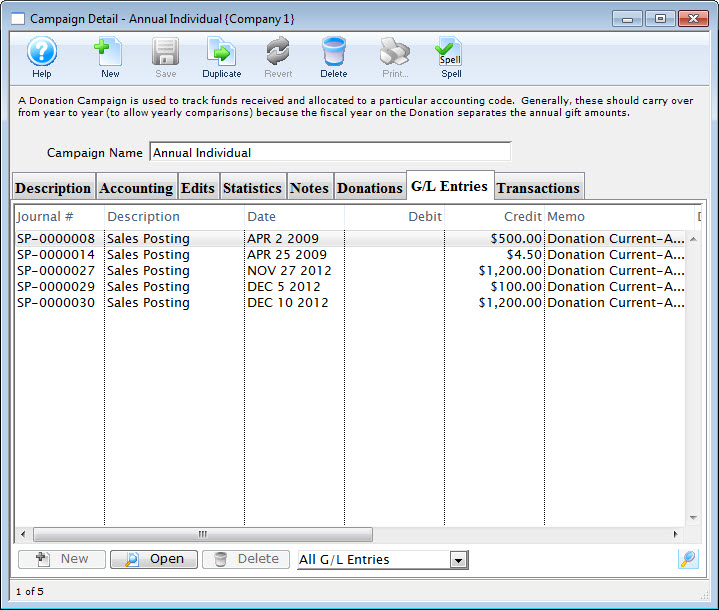
Parts of the G/L Entries Tab
| View Selection Drop-down (set to All G/L Entries in the example) | Choose which entries you want to see in the list and then click the  lookup button to view the list. The default is All G/L Entries. lookup button to view the list. The default is All G/L Entries. |
| Journal # | The unique Journal # for the entry |
| Description | The type of journal entry it is (ie. Sales Posting) |
| Date | The posting date for the entry. |
| Debit | The Debit amount of the entry (if applicable) |
| Credit | The Credit amount for the entry. |
 |
Not available. |
 |
Opens the selected entry for viewing/editing. |
 |
Not available. |
Transactions Tab
The Transactions tab allows you to view the specific details surrounding the audit transactions of the selected campaign.
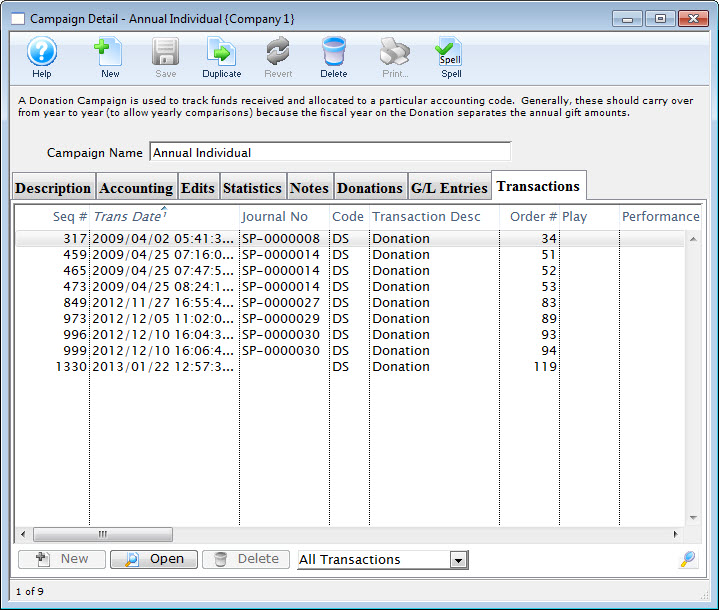
| Seq # | The transaction reference number. |
| Trans Date | Date the transaction took place |
| Journal No | Journal Entry reference number. |
| Code | Theatre Manager reference code used to determine the type of transaction. |
| Transaction Desc | Brief description of what the transaction was. |
| Order # | Reference number used to tract the components of the order. |
Delete a Campaign
- Open the Donation Campaign window.
Click here to learn how to access this window.

- Click on the campaign you want to delete.
The campaign must not be tied to any transactions in order to be deleted.
- Click the Delete
 button.
A Delete confirmation dialog opens.
- Click the Delete
 button.
The donation campaign has now been deleted.
Editing a Donation Campaign
- Open the Donation Campaign window.

Click here to learn how to access this window.
- Select the campaign you wish to edit.
Single click on a campaign to select it.
- Click the Open
 button.
The Campaign Detail window opens.

- Change the required data.
- Click the Save
 button.
The changes are saved and the new data is displayed in the Donation Campaign window.
Merging Donation Campaigns
- Open the Donation Campaigns window.

Click here to learn how to access this window.
- Select the campaigns to merge.
Do this by holding <CTRL> (Windows) or <OPTION> (Mac) as you click the campaigns.
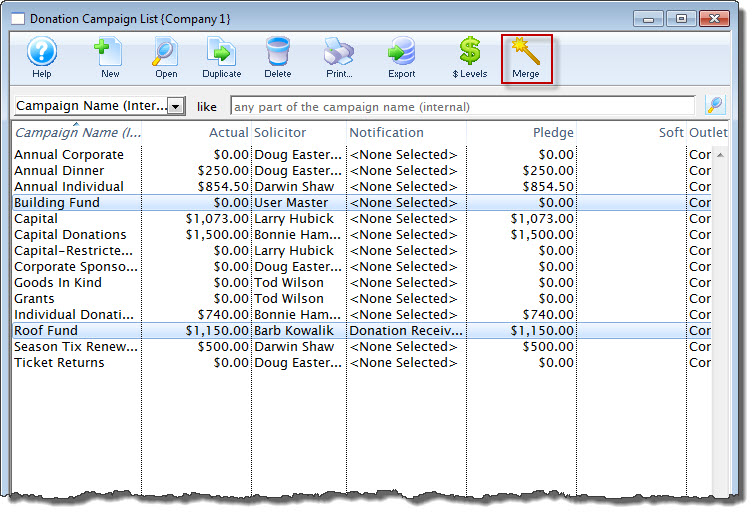
- Click the Merge
 button.
The Merge Donations window opens.
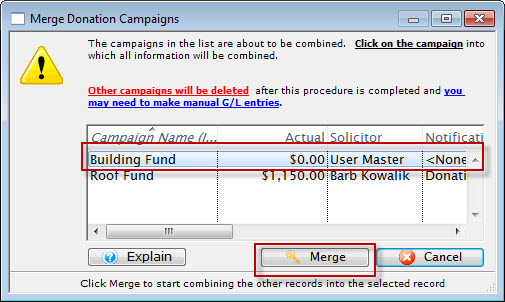
- Choose the Campaign the others are to be combined into.
- Click the Merge
 button.
A merge confirmation dialog opens.
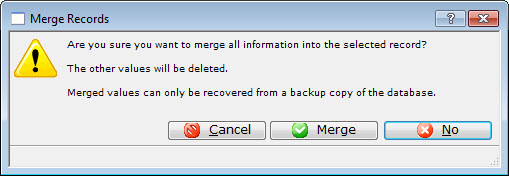
- Click the Merge
 button.
The campaigns are merged and displayed in the Donation Campaigns Window as the campaign you chose to merge the files into.

Other Campaigns are deleted after the procedure is complete 
If the campaigns were going to different GL entries in your accounting system, you may want to make a manual GL entry in your accounting system to reflect the merged numbers.
Membership, Pass, G/C Types
Passess, Gift Certificates and Memberships are bought by a patron and may (depending on your company) entitle them to a monthly newsletter, advanced ticket purchases, or discounts on ticket sales. Memberships can also be setup to allow a set number of free admissions with purchase. Gift Certificates are purchased for a dollar denomination and then given to another patron who can use the gift certificate as cash to purchase tickets for a performance. Passes can be setup to provide free admissions to a predefined number of performances; as well passes can be setup as "Average cost per Admission" the pass is purchased for a set price and allows x number of admissions. when the pass is redeemed Theatre Manager will override the price code and change the price to the denomination of the pass.
Setting up Pass G/Cs and Memberships is performed throughout the Pass G/C Member Types Window. The window is accessed through the Setup >> System Tables >> Pass G/C Types Menu
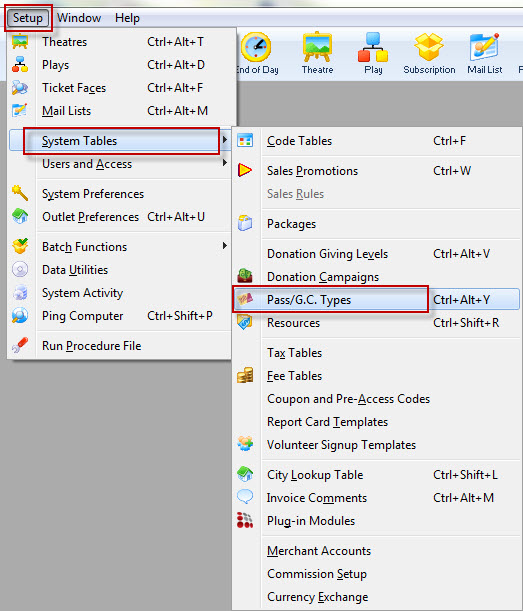
The Member Types Window opens.
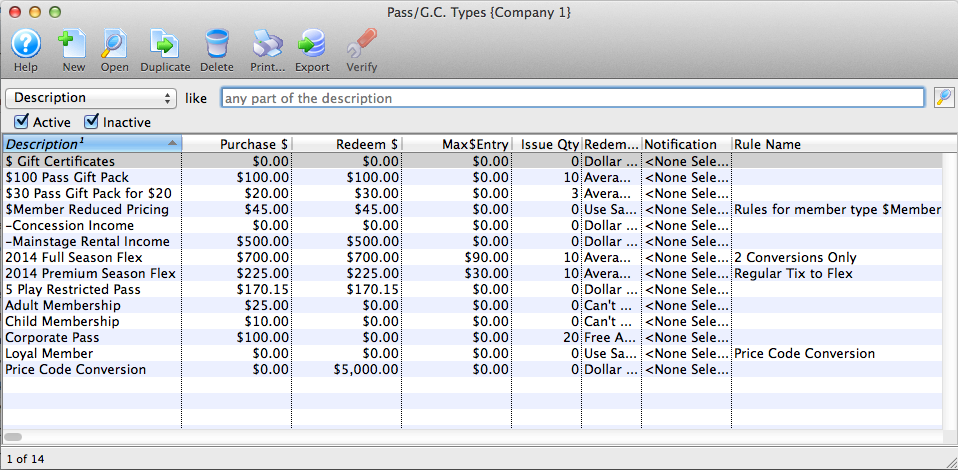
Click here for a detailed description of this window.
Finding a Pass G/C Type
To Find Types, you perform the following steps:
- Select Setup >> System Tables >> Pass G/C Types Menu.

The Member Types Window opens.
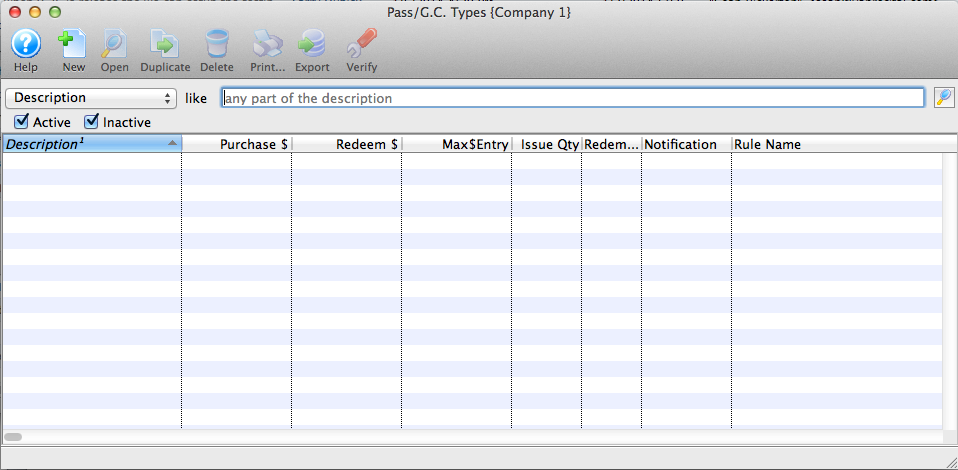
- To refine your search, you can choose from the drop down list, turn off or on the Active/Inactive flags, enter text in the description box and click the Search
 button.
Or leave blank and click the Search
 button for a complete list of Memberships.

The results which fit your parameters will be displayed.

To access a membership double-click it.
Pass G/C Types List Window
Through this window you can add, edit, delete, view the details and verify Pass G/C types.

Parts of the Pass G/C Types List Window
 |
Accesses the Help section for this window. |
 |
Inserts new Pass G/C type. For more information on inserting Pass G /C/ types click here. |
 |
Edits the selected Pass G/C type. For more information on editing Pass G/C types click here. |
 |
Copies the selected Pass G/C type. |
 |
Deletes the selected Pass G/C type Click Here to learn how to delete member types. |
 |
Generates a report of the Pass G/C types to the screen or default print location. |
 |
Exports a list of Pass G/C types. |
 |
Verifies the selected Pass G/C type. For more information on verifying member types click here. |
| Description | Description of the Pass G/C type which will be displayed in all Pass G/C pull down menus. |
| Purchase $ | Dollar value of the Pass G/C type at time of purchase. |
| Redeem $ | Dollar value representing how much of the Pass G/C has been redeemed/used (or the value of items for which it has been used) |
| Issue Qty | Number of this Pass G/C type to be sold. |
| Redemption Method | Method of redemption for the selected Pass G/C type. For more on the redemption methods, click here. |
| Notification | Lists any workflow notifications that have been setup for this Pass/G.C. |
| Rule Name | Lists any Sales Rules that may be associated with this Pass/G.C. |
Creating a Membership, Pass, Gift Certificate
|
|
"Membership" is a broad term meaning "Gift Certificates," "Flex Passes," "Vouchers," "Other Income" or a variety of other forms. Since the name of the field is customizable, some organizations may retain the term "Membership," while others change it to reflect their own terminology such as "GC/Pass," "Gift Certs." or even "Other Income." The nomenclature in your database may be different than "memberships." |
Memberships are often seen as a payment method, as in a Gift Certificate or Flex Pass. They are used to exchange value from the membership to a ticket purchase. For example, a Gift Certificate can be purchased, and exchanged at a later date (used as a payment method) for tickets or other items for sale. Similarly, a Flex Pass is purchased, and exchanged for tickets at a later date.
Memberships can also denote affiliation with a group, such as a Symphony League, Actors Club.
And finally, Memberships can also be a methodology for getting payments for non-ticket/non-donation items into Theatre Manager such as rental income, playbill advertising, and concession income.
For more information on determining the membership type that best suits your needs click here.
To Create a new Pass, Gift Certificate or Membership, you perform the following steps:
- Go to the Setup Menu >> System Tables >> Pass G/C Types (remember, yours may be called "Pass," "GC/Pass," "Gift Certificates" or some other name).

The Pass G/C Types window opens.
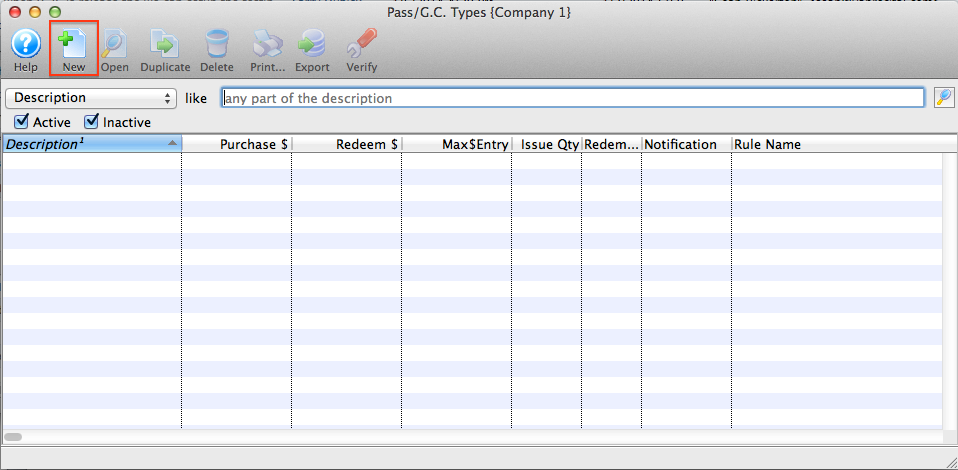
- Click the New
 button.
The Pass G/C Detail window opens for entry.
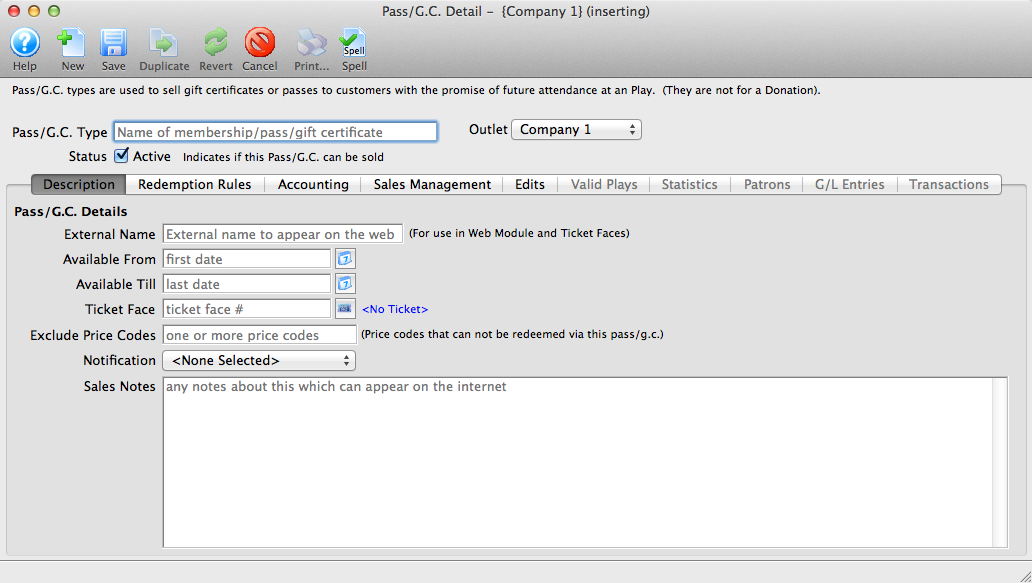
- Give the Membership an INTERNAL name that you will know the membership by within your organization.
You will have an opportunity to change the EXTERNAL name (the name by which your patrons will know this membership) on the Description tab.
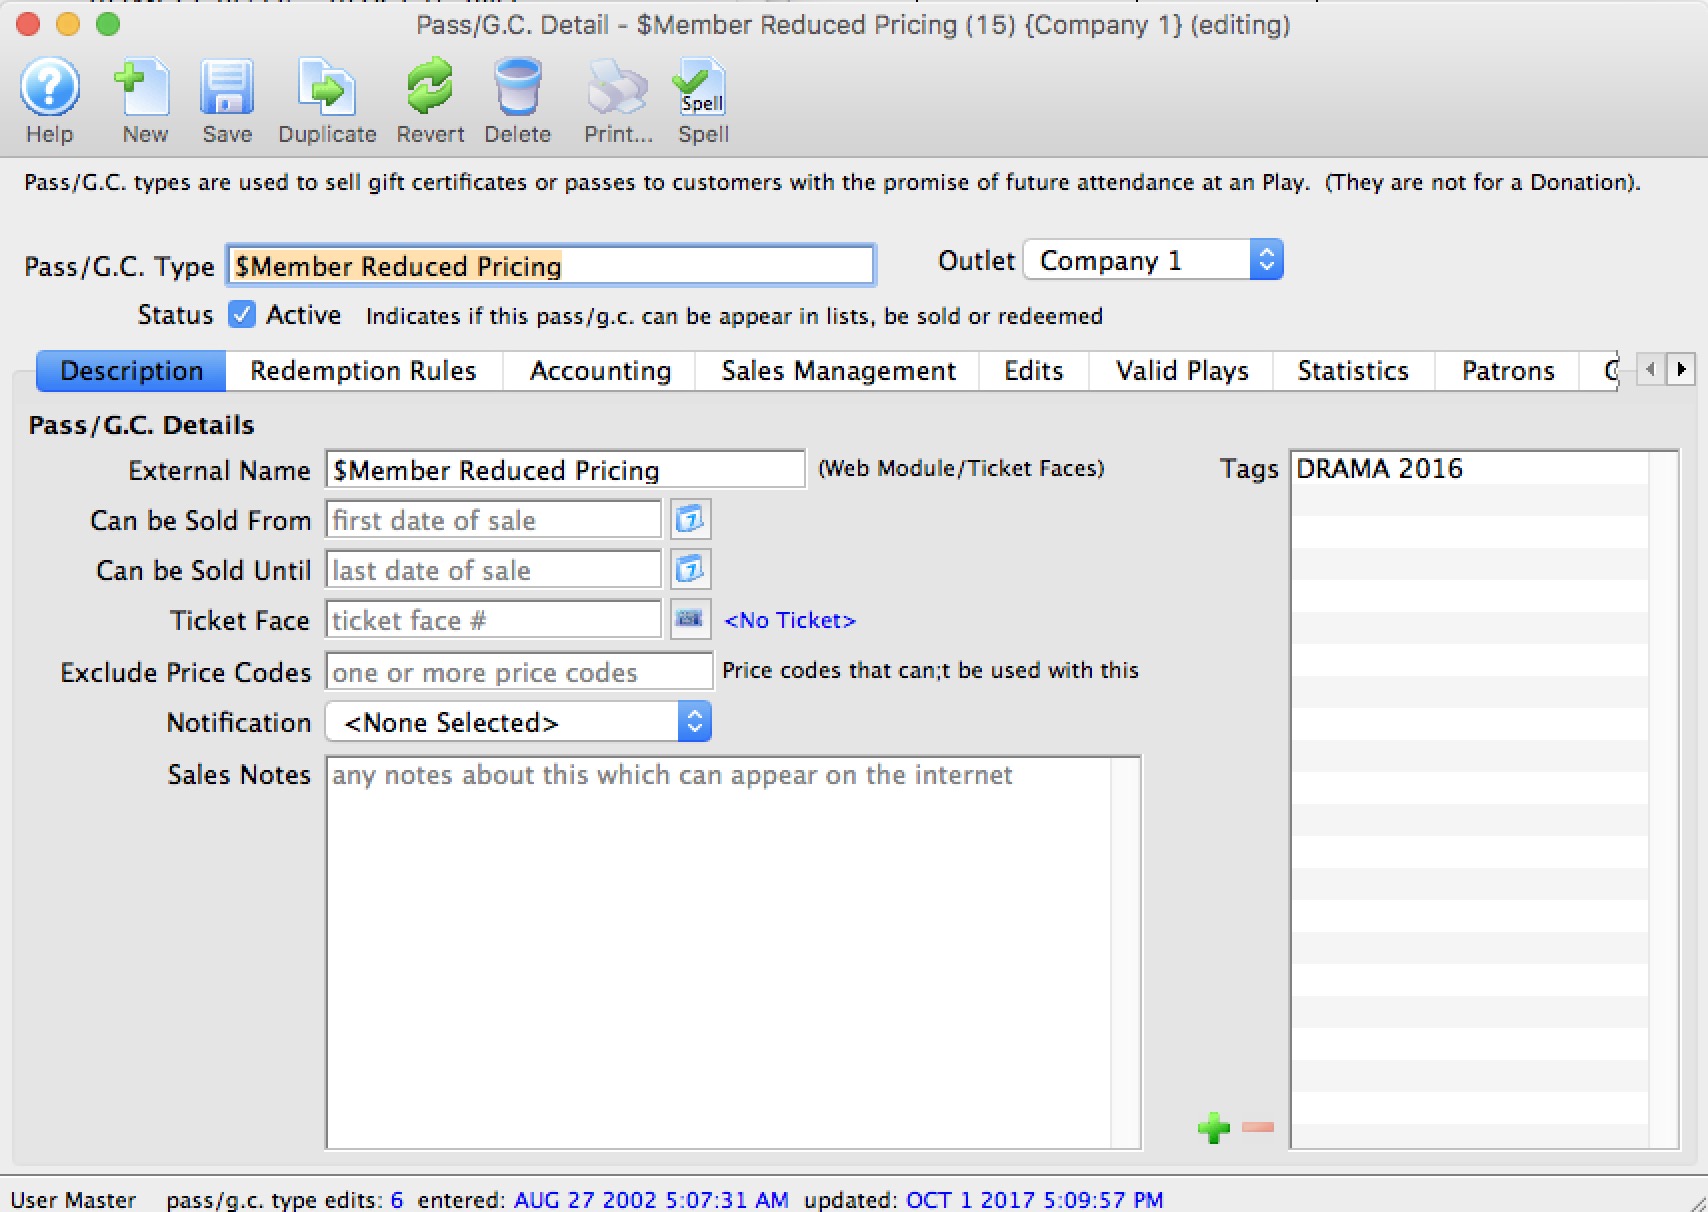
- Proceed to each tab in the Membership Setup.
Description Tab
Parts of the Description Tab
| Pass GC Type | Internal Name used during the sales process at the box office - which may be different than the external name. |
| Category | Select a category for the pass or gift certificates. These are created in the Member Category code table. The categories are used to group similar pass types for display on the pass/gift certificate sales web page. |
| Access Groups | Specify which groups of people can access the data |
| Active | A pass or gift certificate must be marked active in order for it to be sold or redeemed. Refer to the compete list of redemption rules.
If you no longer wish to sell passes/GC's, but still allow redemptions, enter a final date that they can be sold that is prior to today. |
| External Name | Name by which the patrons will know this membership (this name appears on the web). |
| * Available From | Date and time the membership will be available for sale. |
| * Available Till | Date and time the membership will no longer be available for sale. This does not mean "redeemable" until. |
| * Ticket Face | The ticket face that will be used for this membership. If a ticket is to be printed for this membership, then the ticket coding must be based on Member Data. |
| * Exclude Price Codes | If, during the redemption of this membership, any specific Price Codes in the Event Setup are to be unable to be used by this Membership, then those Price Codes need to be listed here. |
| * Notification | If an internal email notification is to be sent when this particular membership is sold, it must be indicated here. |
| * External Sales Notes | Enter notes regarding what this Membership/Pass/GC is for and it will appear in the online notes beside each pass/gc. This as a marketing opportunity to communicate with your online patrons. |
| * Internal Sales Notes | Notes regarding what this Membership/Pass/GC for internal use only. |
| * Tags | You can add any number of tags to the membership type. |
* indicates an optional field
Redemption Rules Tab
The Redemption Rules tab controls how the pass works and how it can be redeemed. There are 5 different types of Memberships that can be created in Theatre Manager. Each one serves a specific purpose, yet remains flexible in the parameters you determine. The 5 types are:
- Free Admission
- Dollar Value
- Average Dollar Per Admission
- Can't Buy A Thing
- Use Promotion
 |
While a pass seems like something you are selling, it really is, first and foremost, a payment method.
People buy passes or gift certificates with the expectation that they can redeem them. After all, it is their money. Some passes can be limited to the amount of money that can be redeemed, after which Theatre Manager will require and up-charge. |
 |
Most passes and gift certificates should be tax exempt (but may include the total intended redemption value that includes taxes)
At time of sale, the value of the entire value of the pass is generally deferred in a liability account. When a portion of it is used to pay for tickets, the ticket will have the actual taxes payable calculated that the time of the sale of the ticket -- and the passes redemption value covers the entire cost of the ticket. Tax is never allowed on a 'Dollar Value' or an 'Average Dollar Admission' type of pass to enforce those rules |
Method of Redemption |
|||
| Free Admission |
Free Admission is simply that - a "free admission." If you are giving away a ticket to an event in a radio giveaway or an auction, you can create a Free Admission pass. This allows the recipient to exchange the free admission pass for an admission ticket to any event. You can limit the events applicable to the pass in the "Valid Plays" tab of the Membership setup.
Special Considerations:
|
||
| Dollar Value | A Dollar Value pass is essentially a Gift Certificate. If the patron gives you $50 to use at a later date, then redeems the pass to purchase tickets, it should be set up as a Dollar Value.
Special Considerations:
|
||
| Average Dollar Per Admission | This is more commonly known as a "Flex Pass" where a patron purchases a pack of "x" admissions for "y" price. The Flex Pass is then redeemed for tickets on whatever schedule the patron wishes. The parameters can be set such that the patron can use one, some or all admissions on the same performance. Average $ per Admission passes (or better known as "Flex Passes") are rapidly becoming more popular than the traditional "all-in" subscriptions. Special Considerations:
|
||
| Can't Buy A Thing | This is used as a true membership such as a Symphony League, Community Players, or other membership group. This can also be used to track sales that are merchandise, concessions, advertising sales, rental fees or other miscellaneous forms of income.
Special Considerations:
|
||
| Use Promotion | This pass type is designed to allow pass holders reduced admission prices for a specific time period. When this pass is used, the price of the tickets changes from their original promotion to something else using the sales rules mapping. Examples of this membership type are:
|
||
Redeemable ByThere are four options for who can redeem the pass or gift certificate. |
|||
| Purchaser only | Only the patron who purchased the pass will be able to redeem it. This is good when you wish to limit the pass to the owner alone.
Online Redemption Rules:
|
||
| Any Household Member | Any member of the same household can redeem the pass. This is good for a flex pass where you may want it redeemable by the patron, their spouse or any other members of the household.
Online Redemption Rules:
|
||
| Any Patron (Visible to Purchaser) | This pass can be redeemed by any patron in the database. This type of redemption is good for Gift Certificates or Raffle/Give-Away vouchers where you do not know the final user at the time of the sale.
Online Redemption Rules:
|
||
| Any Patron (Not Visible to Purchaser) | This pass can be redeemed by any patron in the database. This type of redemption is good for Gift Certificates or Raffle/Give-Away vouchers where you do not know the final user at the time of the sale.
Online Redemption Rules:
|
||
Redemption Options for PassesDepending on the type of Membership, you may be able to specify certain parameters about how it operates. The available fields will grey out or become available as appropriate. |
|
| # of Passes Issued | For Free Admission or Avg $/Admission, you can indicate how many passes will be issued with this membership. The number can be zero, as long as on the EDITS tab, you indicate that the value can be changed during purchase. |
| Purchase Amount |
The cost of this membership. The value can be set to zero as long as one of two conditions
are met on the EDITS tab. Either:
|
| Redeemable Amount | The value of the pass during the redemption process. This is usually the same as the Purchase Amount, however can be different. For example, you may have a "Holiday Gift Certificate" where the Redeemable Amount is higher than the Purchase Amount. To achieve this, set the Purchase Amount at $1, and the Redeemable Amount at $1.10. This will increase your Gift Certificate value to 10% more than the Purchase Amount. |
| Sales Rules | Sales Rules are mappings for converting one Sales Promotion to another Sales Promotion. They can be really useful when redeeming gift certificates online to show how the origina price was changed. |
Internet Options for Pass or Gift Certificate RedemptionAt your discretion, you may choose to make some Memberships redeemable online. For example, a Flex Pass holder or Gift Certificate owner may be able to redeem their Membership for tickets online. |
|||
| Redeem via the Internet |
This checkbox indicates whether the selected Membership can be redeemed online. If enabled:
|
||
| Renew via Internet | If the Membership is renewable (applies to "Can't Buy a Thing" and "Use Promotion" only), this checkbox indicates if the pass is renewable online. | ||
Redeemable via Internet Options
- Must be fully prepaid for. This is the default option and means that the pass or gift certificate must be paid for by the patron before it can be used online. This includes making postdated payments towards the value of the pass.
- Might be unpaid. If this option is selected, it means that a patron can redeem the pass or gift certificate online before it is even paid for. Enabling this option requires that the employee has the function security enabled for Payments - use pass that has not been fully paid for'

This option exposes you to Risk and is not recommended. If a pass or gift certificate is not paid for and the patron uses it to see a show, you risk being left with a receivable that the patron might never pay for after seeing the show. In effect, it means you gave away a comp ticket unwillingly.
Accounting Tab
The Accounting tab determines where the funds go to during a sale, and are drawn from during the redemption.
|
If the method of redemption is Average $/Admission or Dollar Value Gift Certificate. taxes will be ignored as GAAP treatment is to defer taxes on financial instruments until the time of redemption via a ticket purchase. At that time, taxes on the ticket are taken from the value of the redemption. You may want to include taxes in the total cost. |
Parts of the Accounting Tab
Tax Rate to Apply |
|
| Tax Rate | A drop down to select the tax rate applied to this membership. If there is no tax rate for this membership, then select "None." |
Default Fiscal Year |
|
| Fiscal Year | Normally, passes and gift certificates are sold for the fiscal year that you are currently in. If this is the case, leave this field blank.
However, sometimes there is a time where you are selling passes now for a future fiscal year. If that is true, enter the future fiscal year that the pass is for (normally the next year). When selling the pass, TM will use the default fiscal year for the pass, or the current fiscal year of the venue, whichever is greater. This prevents defaulting to a prior fiscal year. |
General Ledger Accounts |
|
| Income for FY20xx and Earlier | For many membership types (Free Admission, Dollar Value, Average Dollar Per Admission), the income account is normally a liability account. As the membership is sold, the liability goes up. As the membership is redeemed, the liability goes down. |
| Deferred Revenue FY20xx and Later | If the usable redemption period of a membership or gift certificate falls within the upcoming year, rather than the current fiscal period, you may want to consider deferring the revenue in a liability account. During data entry of the pas/G.C., you will need to specify the future fiscal year. If you do this, then revenue will be rolled over into the current year during year end rollover. |
| Benefit Expense Account | If there is a difference between:
For example, if you have a holiday Gift Certificate promotion where if you buy a Gift Certificate for $100, but receive a redeemable value of $110, you will want to attribute the $10 expense to the marketing GL line. Use of this membership benefit amount ties back to the Redeemable Amount on the Type tab. |
| Unearned Income Write-Off Account | If the membership expires (as set in the Edits tab), then any unearned income will be moved to the GL account indicated here when the pass is manually written off. |
Sales Management Tab
Parts of the Sales Management Tab
Allow pass/g.c. to be Purchased |
|
| Via Member tab on the patron screen | This option allows the membership to be sold using the BUY button on the patron record on the MEMBER tab. |
| In conjunction with a ticket sale | This option allows sales staff to sell the membership using the Member tab on the left-hand side of the Order Window during the ticket sale process. |
| As a ticket refund ("store credit") | This would be selected if the membership is a voucher that is issued to a patron to rectify customer service situations. Instead of issuing a cash refund, a voucher/pass/gift certificate may be issued for a future ticket purchase. |
| Via the internet | This option allows the membership to be sold online. |
| Visible in Internet List | Normally, pass/GC types available online should be visible online. There may some special purpose ones that you may create a quick-add button for that do do not want to see in list. If so, uncheck this option. |
| Sort Order | Allows you to specify an online sort order for pass/GC types (instead of purely alphabetical). The default is a three level sort:
|
| Accept Post Dated Payments | If you wish to offer a payment plan for this Membership online, indicate the final payment date in this field. |
Include in Patron Statistics |
|
| Include in Annual Statistics | Checking this option will include sales of this membership when generating annual patron statistics reports. |
Icon for TicketTrove/Web |
|
| Icon | Place any 200x250 pixel image there which will appear online in the pass/gift certificate web sales page that you can create a direct link to via eblasts or from other web sites or web pages. |
Pass/G.C. Management for Other Outlets |
|
| Sales Rules at Other Outlets | If you have the Outlet Edition of Theatre Manager, you may choose to allow sales of a particular pass/g.c at other outlets. If so, you will be able to select which outlets may or may not be able to sell a specific pass/g.c. |
| Redemption Rules at Other Outlets | If you have the Outlet Edition of Theatre Manager, you may choose to allow redemption of a particular pass/g.c at other outlets. If so, you will be able to select which outlets may or may not be able to redeem a specific pass/g.c. |
Edits Tab
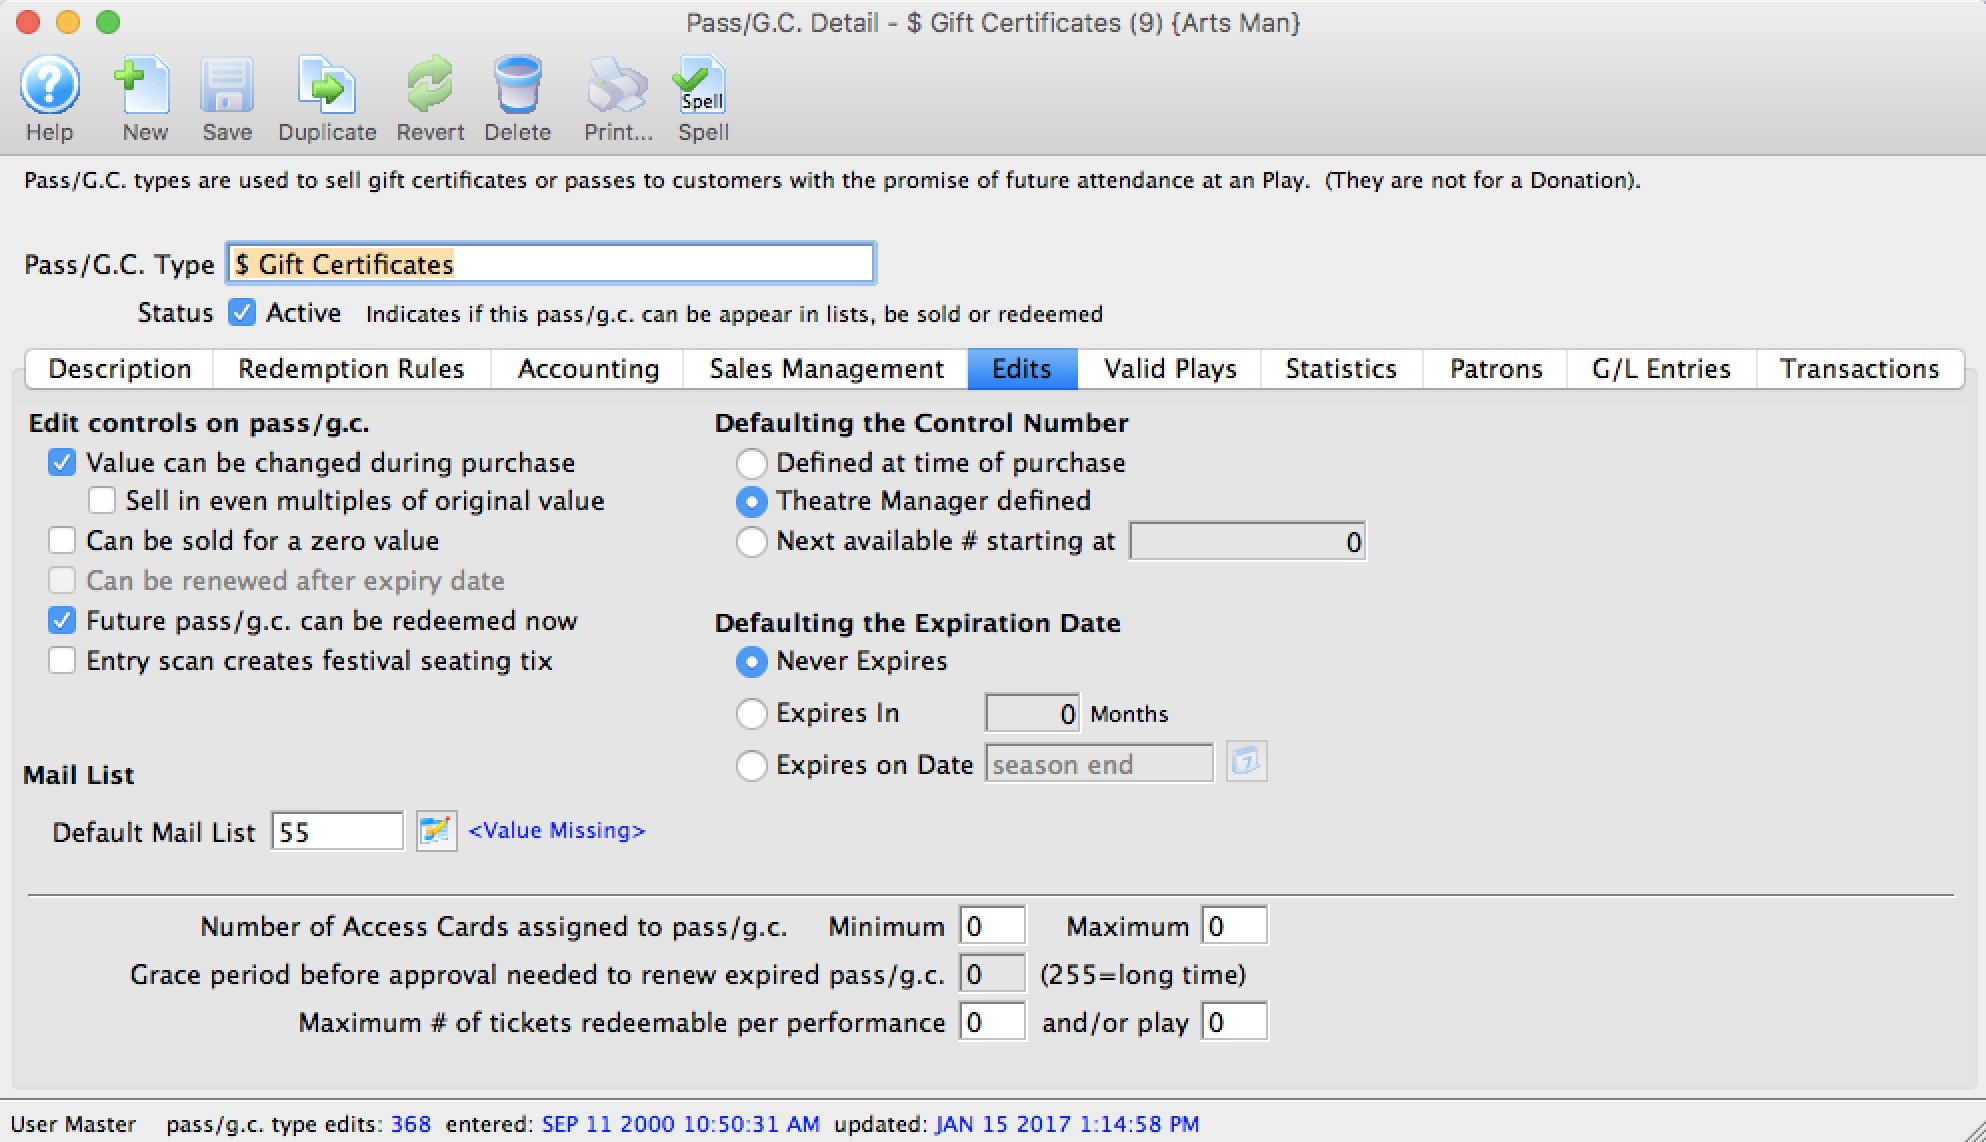
Parts of the Edits Tab
Edit Controls on Pass G/C |
|
| Value can be changed during purchase | Allows the employee selling this membership to change some values (such as those set in the Redemption Rules tab or the pass expiry date) during the sale. This is important if you have set your Gift Certificates to sell for an unspecified dollar amount. You will need to change the $0 amount to the amount the patron wished to purchase the gift certificate for. |
| Sell in even multiples of original value | If the membership has a specified value, checking this option allows the membership to be sold only in even multiples (1, 2, 3...) of the original value. When an employee purchases multiples of the member type it will increase the quantity of memberships by the number of multiples purchased. The number of admissions will also be increased by the same number of multiples purchased. A Flex Pass, for example, may cost $30 for 2 admissions. By selecting this option, you can sell 4 admissions for $60, or 6 for $90, but not 3 for $30 or 2 for $25. |
| Can be sold for a zero value | If the membership is to be given away or "comped" (for example a "free admission" or a Radio Giveaway Voucher), then this option must be selected. |
| Can be renewed after expiry date | Only available for "Can't Buy a Thing" and "Use Sales Promotion" as they are the only true membership types (as opposed to admission based memberships). This option allows the membership to be renewed after the expiration date defined when the membership was sold. |
| Future memberships can be redeemed now | If a membership is Season Year specific (i.e. a patron purchases a Flex Pass for the 20xx season), this option allows the redemption of this pass prior to the start of the season. |
| Entry scan creates festival (General Admission) seating tix | If your site employs ticket scanners for audience entry control, scanning this membership card will create a festival (General Admission) ticket. There is no need for the bearer of this kind of membership to stop by the box office. They only have their membership scanned during their entry to a festival or General Admission event, and Theatre Manager will register a sale to that membership. |
Default Mail List
You can add a patron to a mail list based on purchase of a type of pass. The patron will:
|
|
| Mail List | Enter or lookup an option mail list that should be associated with the patron account when the pass or gift certificate is purchased. |
Defaulting the Control NumberA Control Number is a number associated with a membership that Theatre Manager uses to identify and track the specific membership within the system. ONE of the following options must be selected for the membership. |
|
| Defined at time of purchase | This option allows the seller to manually define the Control Number used for the membership. This is typically employed when there are pre-printed membership cards or magnetically encoded gift cards that already have a Control Number on them. |
| Theatre Manager Defined | Theatre Manager will assign the next number in sequence to the membership. This option must be used if the membership is to be sold online. | Next available # starting at | This option allows your organization to serialize the Control Number. For example, you can indicate that all Gift Certificates start at 100,000, while 2011 Flex Passes start at 11,000. This allows for easy recognition by sales staff as to the original purpose of the membership |
Defaulting the Expiration DateAn expiration date indicates when the membership will no longer be redeemable. ONE of the following options must be selected for the membership. |
|
| Never Expires | Indicates that the membership will never expire. In most U.S. states and all of Canada, Gift Certificates must be set to "Never Expire." Please contact your local revenue agency for laws governing your Province/state. |
| Expires in xx Months | This allows the membership to be used on a "rolling" basis. It will expire xx months from the purchase date. | Expires on Date | This option allows the membership to expire on a specific date, such as the end of the season year. Popular for Flex Passes, it prevents the previous year's unused admission from being carried over to the current year. |
Other fields on the Type tab |
|
| Number of Access Cards assigned to membership | Like a hotel asking how many room keys you want, Access Cards can be assigned to a specific membership allowing more than one patron to use the membership. For more information on Access cards click here. Leaving the values at 0 allows one card to be issues for a membership. |
| Grace period before approval needed to renew expired membership | If the membership is renewable ("Can't Buy a Thing" or "Use Sales Promotion" only) then you may indicate the number of months after expiry where the membership can be renewed without a Master User override. If engaged, this is typically set to 1 or 2 months. For example, if you plan to increase the membership price from one year to the next, you may wish to offer a grace period for the old price to those who have recently expired memberships. | Maximum # of tickets redeemable per performance and/or event | Indicates the maximum number of times this membership can be used within a single performance or event. For example, if the membership is a flex pass for 5 admissions, how many admissions can be used in a single performance? In order to encourage diversity of attendance, some organizations choose 1 performance, while others are happy for patrons to attend a single event, using all 5 admissions at once. By default, the setup allows the maximum number of admissions to be used within a single performance. |
Valid Plays Tab
In addition, there is an option to allow over-riding the event settings when each individual pass/GC is sold. If checked, then the events in the pass/gc Valid Events list takes precedence.
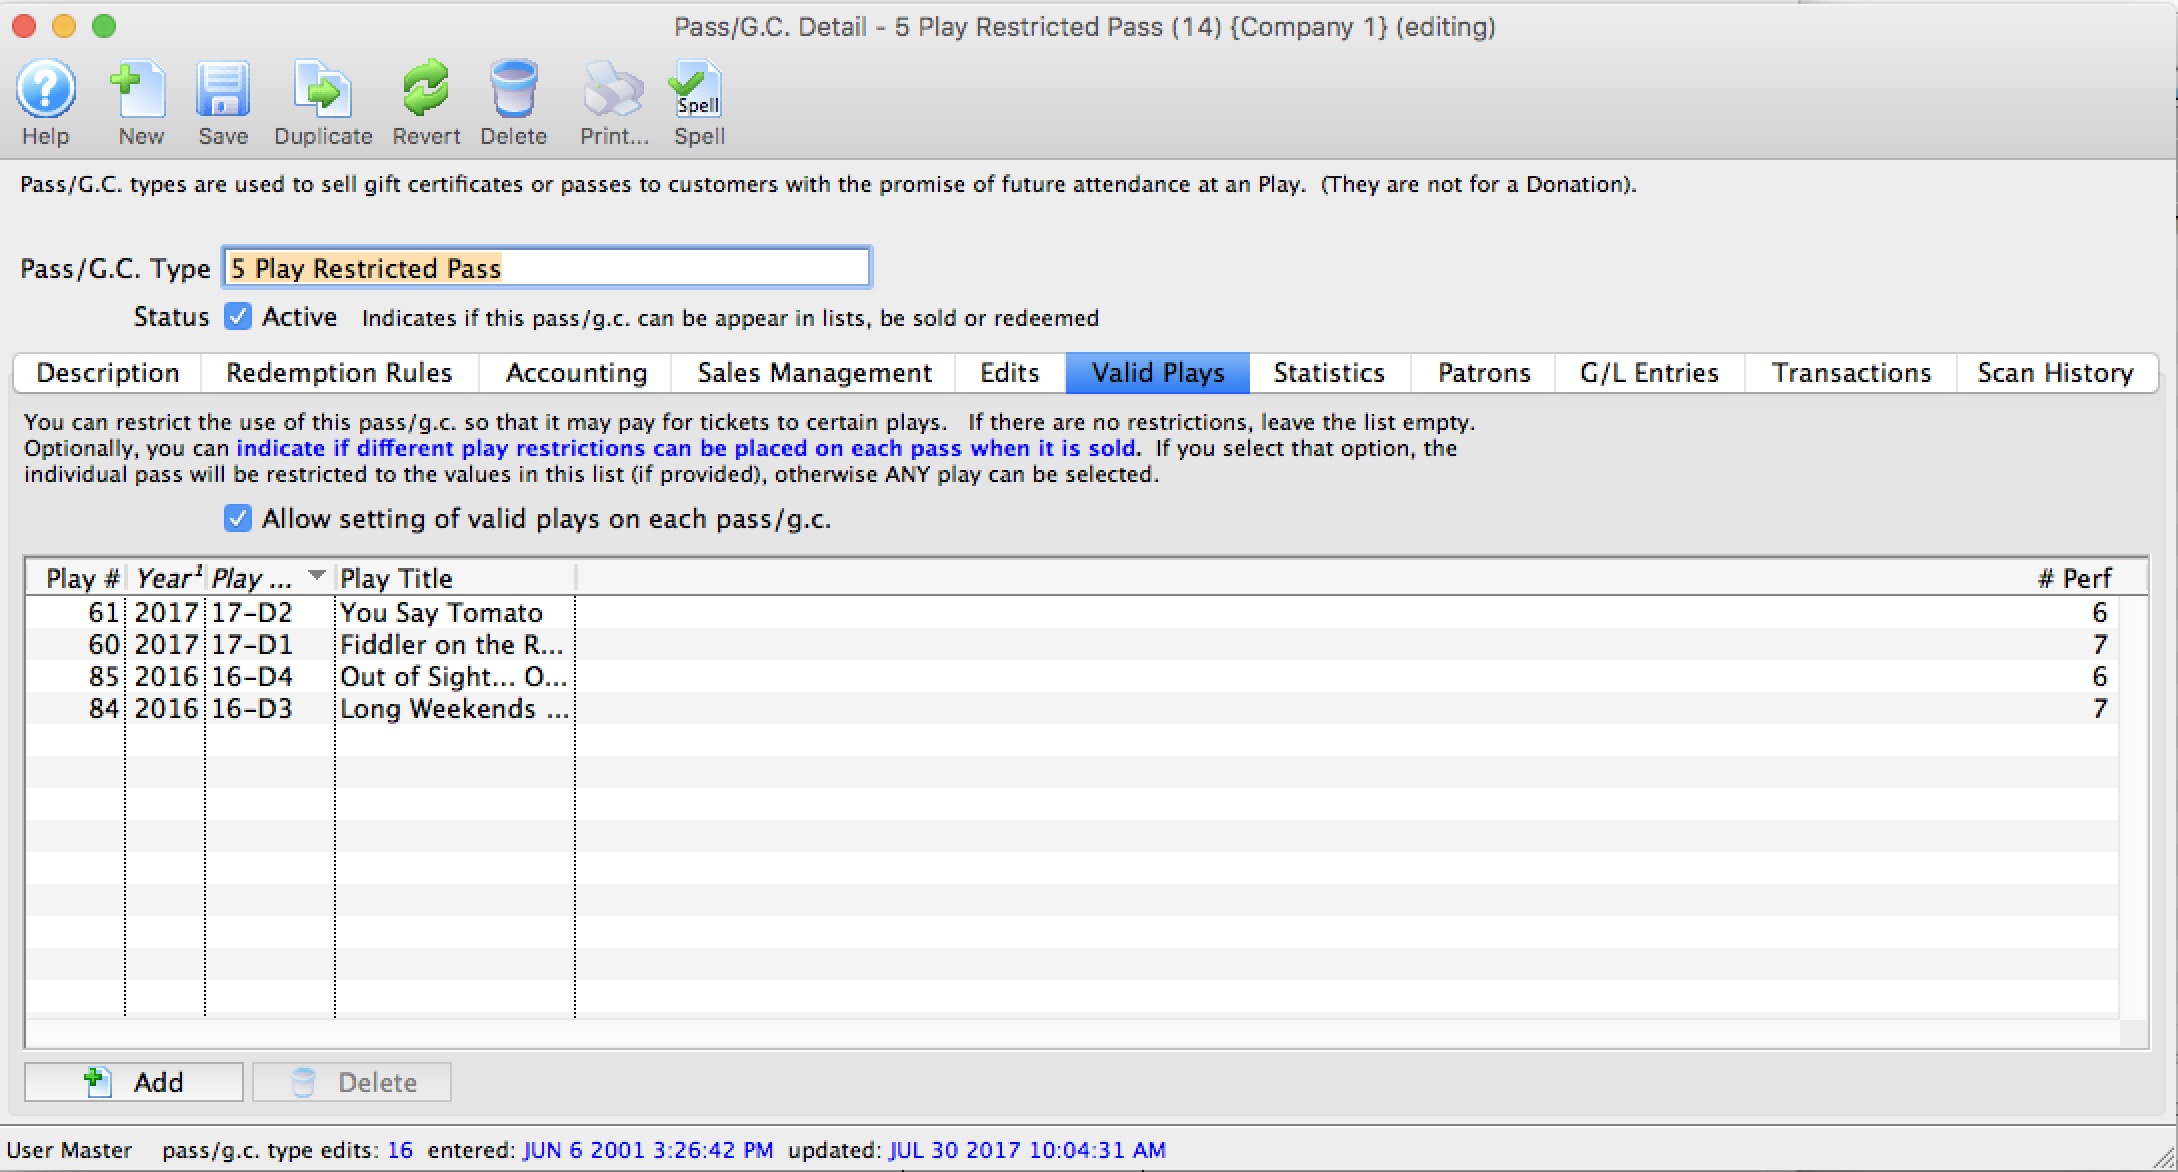
Parts of the Valid Plays tab
| Allow Setting Valid Plays | Normally, this list indicates which events that any patron holding a valid instance of this pass is able to use it for -or- the list is bank so that the pass can be used for any events.
However, if you Allow Setting Valid Plays on each Pass/GC, it means that at the time when a pass/gc is sold to a patron, you can over-ride the events in the list and specify a subset of the above (or completely different set) as per the rules below When the flag is enabled:
|
| Play # | Sequence number of the event within Theatre Manager. |
| Year | Season year of the event. |
| Play Code | The Event Code as defined in the Event Setup. |
| Play Title | The title of the event as defined in the Event Setup. |
| # Perf. | Total number of performances for this event. |
 |
Allows you to add an event / play to the list. |
 |
Deleted the selected play/event from the list. |
To Add an Event / Play to the list, you perform the following steps:
- Click the
 button.
The Event List (lookup) opens.
- Click the
 icon to generate a list of events.
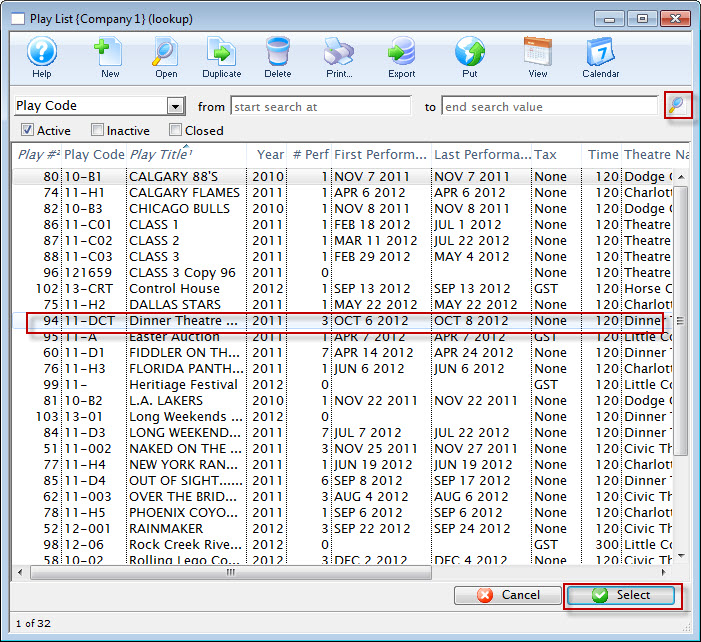
- Highlight the events you want to allow for this membership.
- Click the
 button.
 - Continue adding events as appropriate.
Statistics tab
The Statistics tab displays a listing, year by year of the number of passes issues and redeemed and their value. This is a helpful "at-a-glance way of seeing what your organization has in terms of membership liability.
Patrons Tab
The Patrons tab shows you the Patrons associated with the selected Pass G/C and Membership.
Parts of the Patrons tab
| Status | The status of their Pass G/C. | ||
| Order # | The Order number of the Pass G/C. | ||
| Year - Fiscal | The fiscal year the pass g/c was purchased. | ||
| First Last and Company Name | The patron who purchased the pass g/c. | ||
| Control # | A Control Number is a number associated with a membership that Theatre Manager uses to identify and track the specific membership within the system. A control number must be assigned with each membership, and is defined in the EDITS tab of the Membership Setup. | ||
| Purchase $ | The amount (in dollars) of the pass g/c purchased in the order. | ||
| Issued Pass Amount | The amount (in dollars) of the value of the pass g/c. | ||
| Issued Qty. | The number of admissions in the purchased pass. | ||
| Remain $ | The amount (in dollars) remaining on the pass g/c. | ||
| Remain Qty. | The remaining number of admissions left on the pass/g.c. | ||
| Date Renewed | The date the pass was renewed or purchased. | ||
| Expiry Date | The date the pass/g.c. is no longer valid. | ||
 |
Opens the Detail window for the selected Pass G/C for editing. Click here for more information on editing Memberships, Passes and Gift Certificates | ||
 |
Deleted the selected pass g/c, membership from the list and places a refund on the order. | ||
 |
Opens the payment window for the order the pass g/c, membership is attched to.. | ||
| Write Off | If you select a number of the passes in the list and use the write off function against the passes, then any with a remaining balance or quantity will be written off and GL entries created to move the unused portion to unearned income. | ||
| Extend |
If you need to extend the expiry date for a number of passes at one time due to some unforeseen reason, you can:
|
||
 |
To refine your search for the correct pass g/c, membership, you can choose from the top down list, enter text and click the Search  button. button. |
G/L Entries tab
Parts of the G/L Entries tab
| Journal # | The specific journal number associated with the G/L entry. |
| Description | Whether the entry is a Sales Posting, Deposit Posting, or manual G/L entry |
| Date | Date the G/L entry took place |
| Debit | The debit amount associated with the G/L entry. |
| Credit | The credit amount associated with the G/L entry. |
| Memo | A single memo line, generated by Theatre Manager to indicate in the ledger the purpose of the entry. |
| Date Posted | The date the entry was posted to the G/L. |
Transactions Tab
Parts of the Transactions Tab
| Seq # | The transaction reference number. |
| Trans Date | Date the transaction took place. |
| Journal No | Journal Entry reference number. |
| Code | Theatre Manager reference code used to determine the type of transaction. |
| Transaction Desc | Brief description of what the transaction was. |
| Order # | Reference number used to track the components of the order. |
| Type | Type of pass/g.c or transaction that is referenced. |
| Description of Entry | Details of the transaction. |
| Debit | The debit amount of this transaction. |
| Credit | The credit amount of this transaction. |
| Total | The net effect of the transaction. |
 |
Opens the selected transaction displaying the transaction details window. |
Edit Pass G/C and Memberships
To edit an existing Pass/g.c., you perform the following steps:
- Open the Member Types window.
Click here to learn how to access this window.
- Select the Pass/g.c. you want to edit.
The Pass detail window will open.
Click here for a detailed description of this window.
- Edit the data as needed.
- When you have completed your changes, click the Save
 button.
The changes will be saved. Clicking the Revert
 button will abort any changes you made to the member type.
Verifying Passes, G/Cs and Memberships
This function is for future development. It is currently not an available option in Theatre Manager.
You use Verify to change the setting on sold passes, G/Cs and Memberships to the new settings of that Type. This function should be used only on the recommendation of a support technician in proper authority.
- Open the Membership Types window.
Click here to learn how to access this window.

- Select the member type to verify.
Single click a member type to select it.
- Click the Verify
 button.
The following confirmation window will open.

- Click the Yes
 button to continue.
The Member type has now been verified.
Deleting Pass G/C and Membership Types
Pass, G/C and Membership types can only be deleted if they have not been purchased by a patron.
To delete a Type, you perform the following steps:
-
Open the Member Types Window.
Click here to learn how to access this window.
- Select the Member Type to be deleted.
Single click on a Member Type to select it.
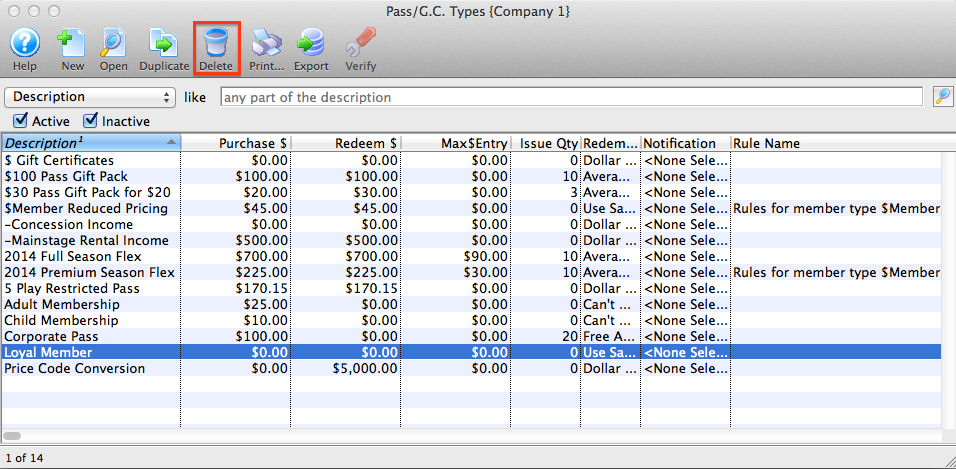
-
Click the Delete
 button.
If the record can NOT be deleted the following dialog opens.
If a record CAN be deleted, the following delete confirmation dialog opens.
-
Click the Delete
 to confirm the deletion.
The type is removed from the Member Types Window.
Online Discount Suggestions
 |
The example below shows how to set up a gift certificate where the patron receives a 10% discount on the purchase cost. You can make it valid or any amount the patron purchases, or limit to a single purchase value. |
- Create a new Pass in Theatre Manager.
- Under the Redemption Rules Tab sent the Redeemable Amount to be the value of purchase. In the example:
- the Redeemable Amount is $10.
- In the Purchase Amount field set the value to be 10% less than the Redeemable Amount. In the example the Purchase Amount is $9, 10% less than the $10 Redeemable Amount.
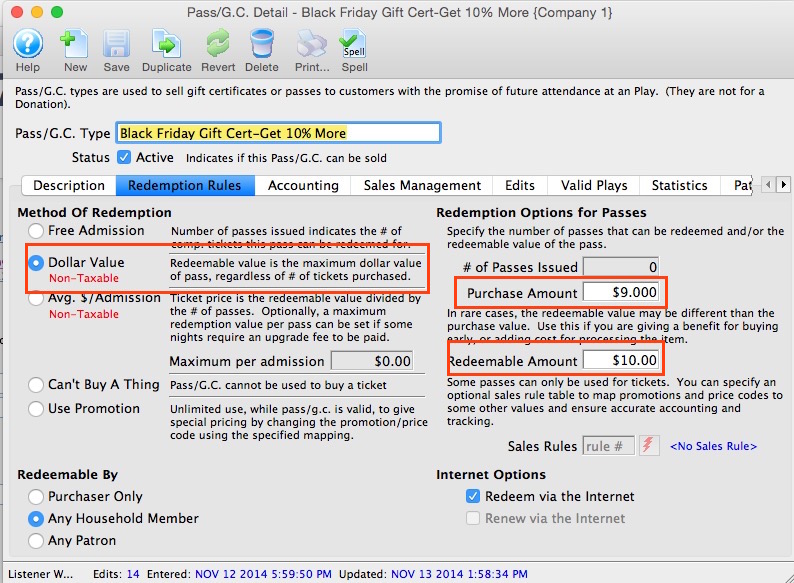
- Under the Accounting Tab set the Redemption/Expense Account to be the GL Account where the difference between the Purchase Amount and Redemption Amount should be posted.
- In the Edits Tab check the box for Value can be changed during purchase.
By allowing the value to be changed Theatre Manager will calculate a 10% discount on the Pass based on the Purchase and Redemption amounts in the Redemption Rules tab. The difference between these two amounts will be posted to the GL Account outlined in the Redemption/Expense Account field in the Accounting tab.
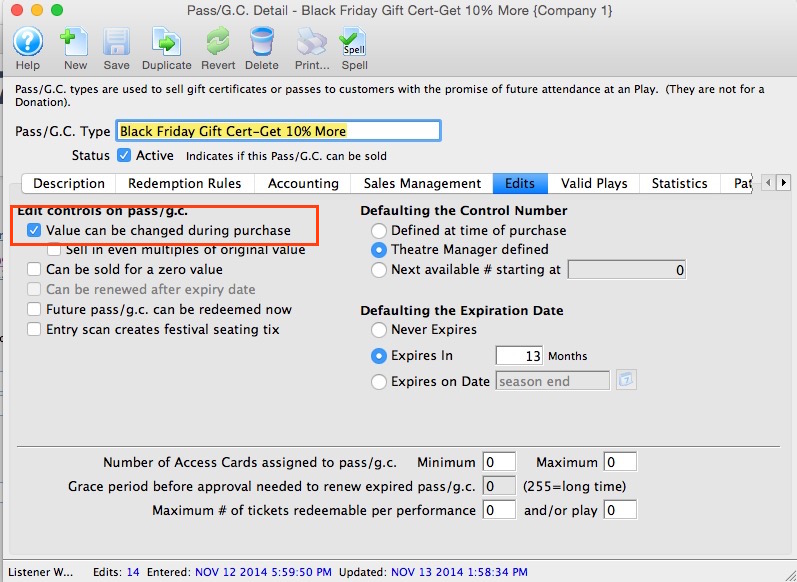
Resources
Tasks are a major feature of Theatre Manager's newest versions and the Facility Management module. For more information about the Facility Management module click here. To read more specifically about tasks and their place within Facility Management, click here.
This section shows how to set up an organization's resources for use within tasks. A resource can be anything from a consumable item (like paper cups or candy bars for concession), to reusable items like tables and chairs, to rooms for rent, or even employees or volunteers whose time can be considered a resource for a task (and billed to clients using the Facility Management billing/invoicing feature). Resources can be as broadly or narrowly defined as you decide you need them to be.
To open the Tast Resource setup, you perform the following steps:
- Choose Setup >> System Tables >> Resources.
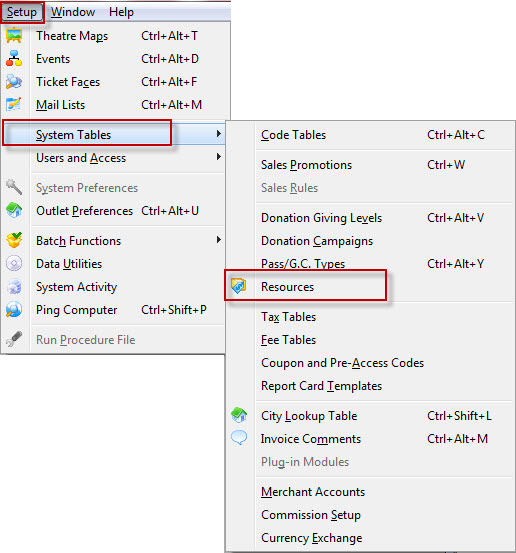
The Resource List window opens to the All resources tab.
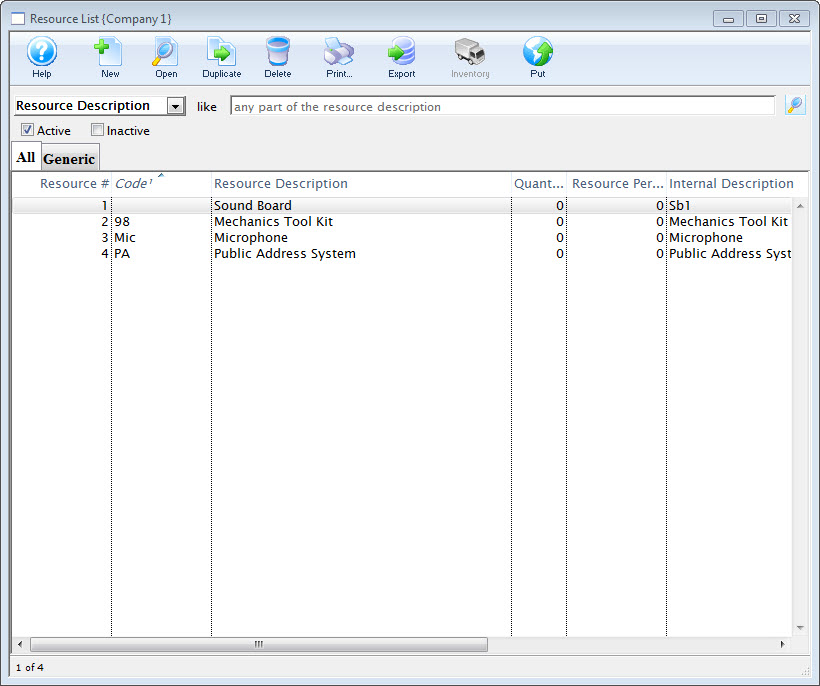
For more information about the List window for Resources, click here.
Resources List Window

Parts of the Resource List Window
Click on a link to learn more about the features.
 |
Accesses the Help section for this window. |
 |
Inserts new Resource. For more information on inserting resources click here. |
 |
Edits the selected Resource. For more information on editing resources click here. |
 |
Copies the selected Resource. |
 |
Deletes the selected Resource. Click here to learn how to delete resources. |
 |
Generates a report of the resources to the screen or default print location. |
 |
Exports a list of resources. |
 |
Click to add inventory for the selected Resource. Opens the Pricing and Inventory Tab. |
| Description | The name of the Resource as setup in the Description Tab. |
| Active/Inactive Checkboxes | When checked, will pull a list of either Active or Inactive Resources (or both). |
 |
Shows a list of All Resources. |
 |
Shows a list of Resources that have been designated Generic Resources. |
 |
Custom tabs are added in the System table Facility Resource Groups, Click here to go to the Resource Groups help page. Resource Groups are categories for different types of Resources. The default setting in Theatre Manager is the Generic group. Other groups can be added as needed. |
| Table Columns | |
| Resource # | The unique number in the database assigned to that particular resource. |
| Code | The unique Resource Code assigned to the particular resource. |
| Description | The name of the resource. |
| Quantity | The quantity of the specific resource listed in the database. |
| Internal Description | The internal description for the resource (shows only inside the Theatre Manager application). |
Generic Tab
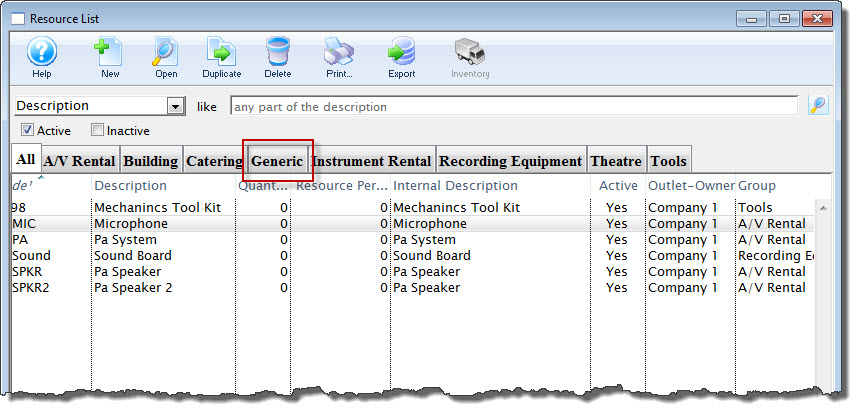
Resources can be grouped under different headings. The default heading in Theatre Manager is the Generic Resource.
Additional groups can be added in Setup >> System Tables >> Code Tables >> Facility Resource Groups. Click here for more information about adding a group in the Facility Resource code table.
Custom Tabs
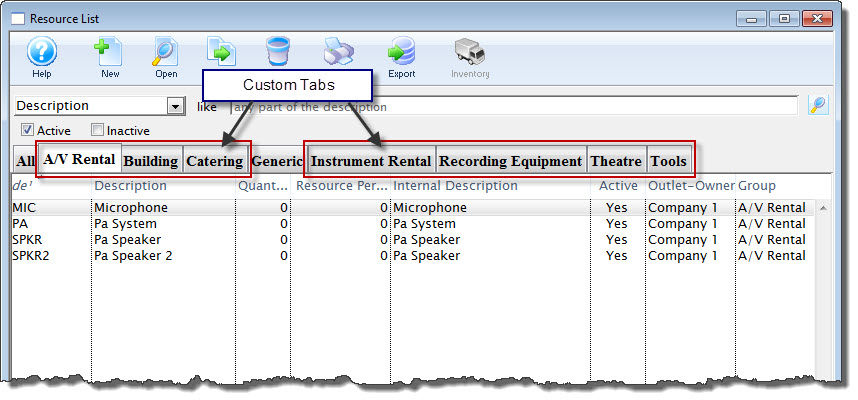
Additional groups can be added in Setup >> System Tables >> Code Tables >> Facility Resource Groups. Click here for more information about adding a group in the Facility Resource code table.
Resource Detail Window
The Resource Detail Window is where all of the specific information about a resource and it's usage is put into the Theatre Manager database.
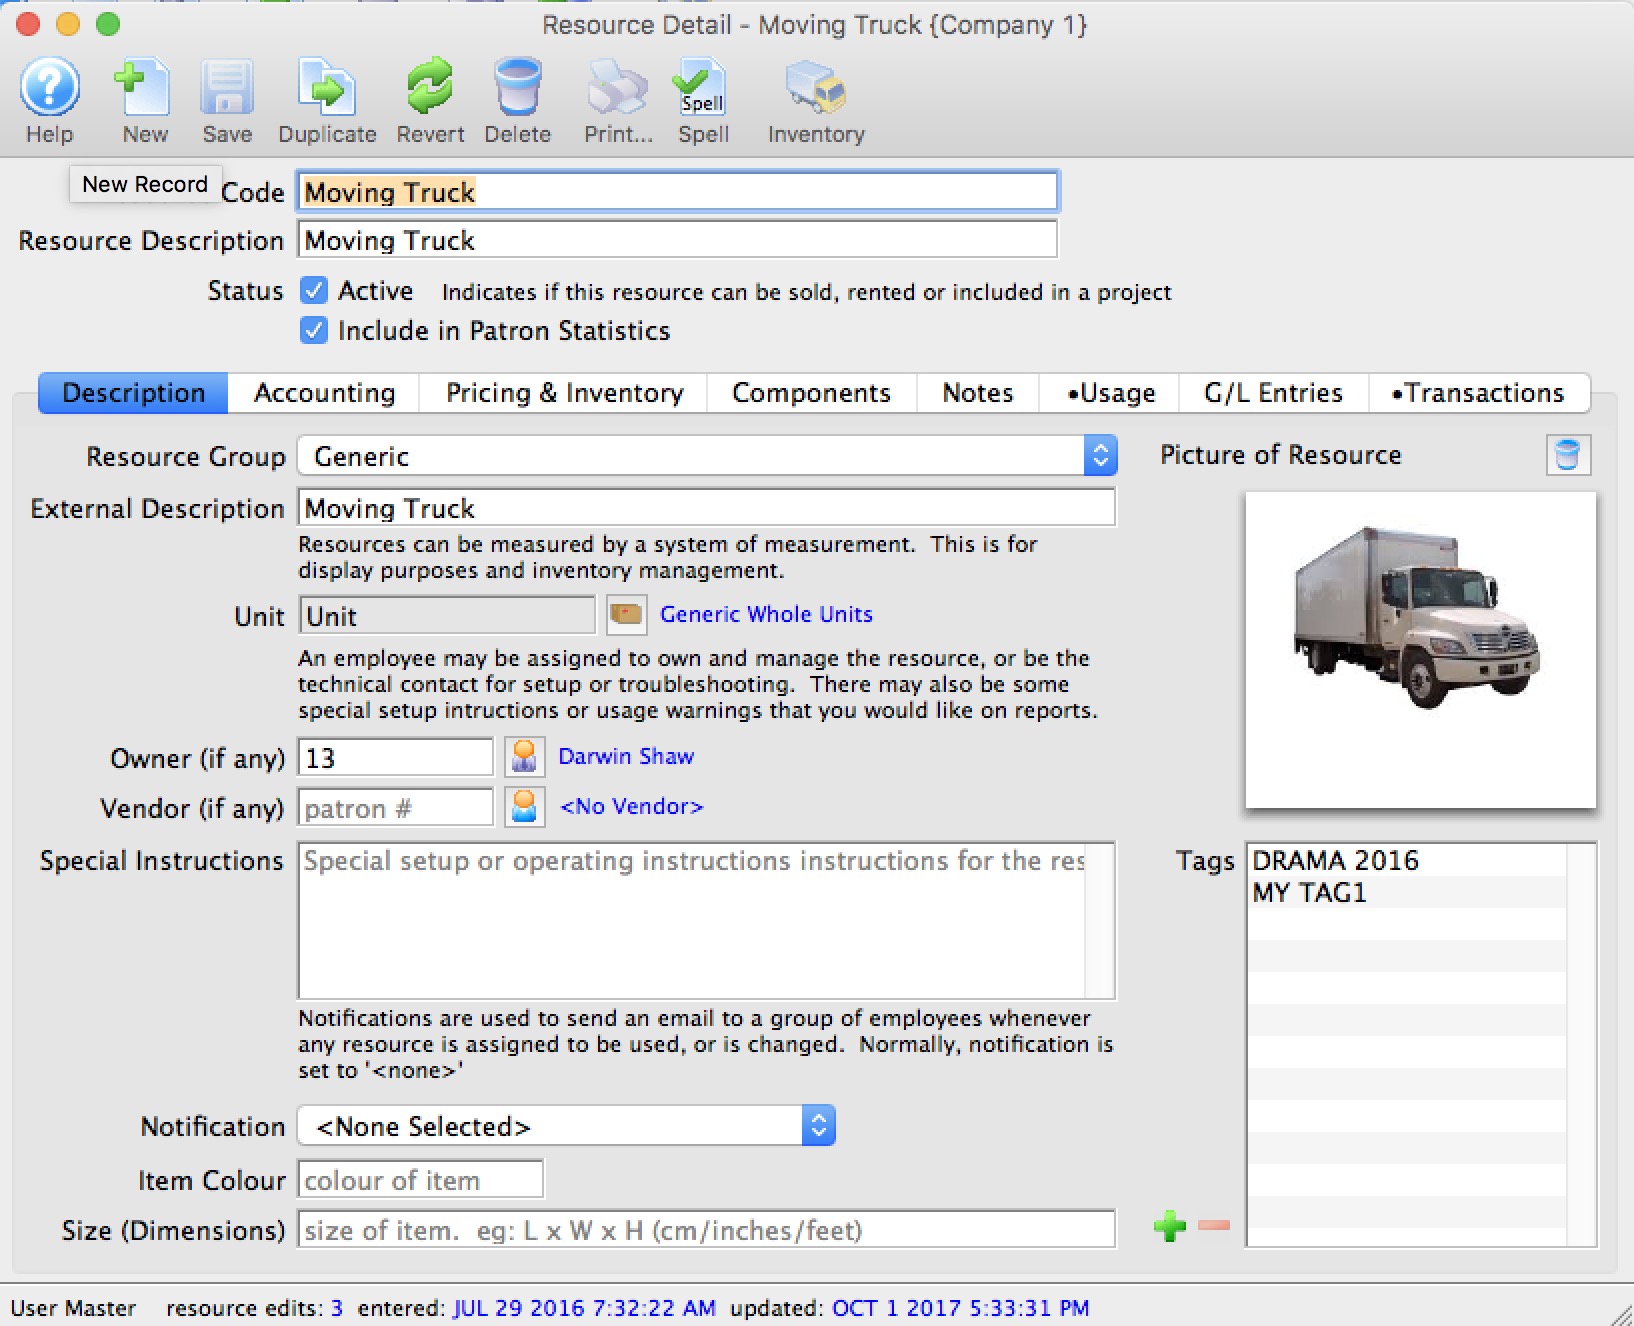
The following pages describe in detail the different tabs of the Resource Detail Window.
Description Tab
Parts of the Description Tab
 |
Accesses the Help section for this window. |
 |
Inserts a new Resource. For more information on inserting resources click here. |
 |
Saves changes made to the selected Resource |
 |
Copies the selected Resource. |
 |
Undoes any changes made to the last saved point. |
 |
Deletes the selected Resource. Click here to learn how to delete resources. |
 |
Generates a report of the resources to the screen or default print location. |
 |
Does a spell check of the record. |
 |
Click to add inventory for the selected Resource. Opens the Pricing and Inventory Tab. |
| Resource Code | A unique code assigned to the specific Resource (similar to an Event Code, for example). |
| Outlet | The outlet to which a Resource belongs (for organizations using Outlet Edition of Theatre Manager). |
| Resource Description | The internal name of the Resource that will show in the Resource List Window and elsewhere in Theatre Manager. |
| Status Box | When checked, the Resource will be marked as an Active resource in lists. |
| Resource Group | The Resource Group to which a resource belongs. Theatre Manager's default Resource Group is "Generic." Click here, for information on how to add another group or groups. |
| External Description | the name of the resource that is viewable by the general public. |
| Picture of Resource | You can drag and drop an image from your computer into the Picture box. You are limited to a graphic less than 500k. Click here, for more information on adding an image. |
| Unit | The unit of measure for the resource for use in inventory management. |
| Owner | If the resource is owned (or managed), you can include that person by using the patron lookup button  and searching for the owner/manager in the database. and searching for the owner/manager in the database. |
| Vendor | The preferred Vendor from whom to obtain the resource (if applicable) |
| Special Instructions | Include any special or important information about the resource in the Special Instructions field. |
| Notifications | Notifications can be set to alert employees about usage of resources if desired. |
| Item Colour, Size and Picture | Item colour and size description may also be included. You may also drag a picture into the picture field if you'd like. |
| Tags | You can add any number of tags to the resource. |
Accounting Tab
Parts of the Accounting Tab
| Deferred Accotning | For each resource, you can indicate if expenses and income should be deferred.
Even if you select deferred revenue accounting for the resource, it only comes into effect if the resources is attached to a project that is marked to defer revenue on the project's accounting tab. |
Expense Accounts |
|
| Expense Tax Code | The tax rate that applies to the purchase of the resource. |
| Deferred Liability | A liability account as set up in the Chart of Accounts to be used with this resource when it it purchased for later sale. |
| Earned Expense Account | An expense (or cost of goods) account as set up in the Chart of Accounts to be used with this resource when it it purchased for later sale. |
Income Accounts |
|
| Sales Tax Code | The sales tax rate used when selling/renting the resource. |
| Deferred Asset | The deferred income account - usually an asset to track future work (from the Chart of Accounts) to be used when this resource is sold or rented. |
| Income Account | The income account (from the Chart of Accounts) to be used when this resource is sold or rented. |
Resource Sales Options
Pricing and Inventory Tab
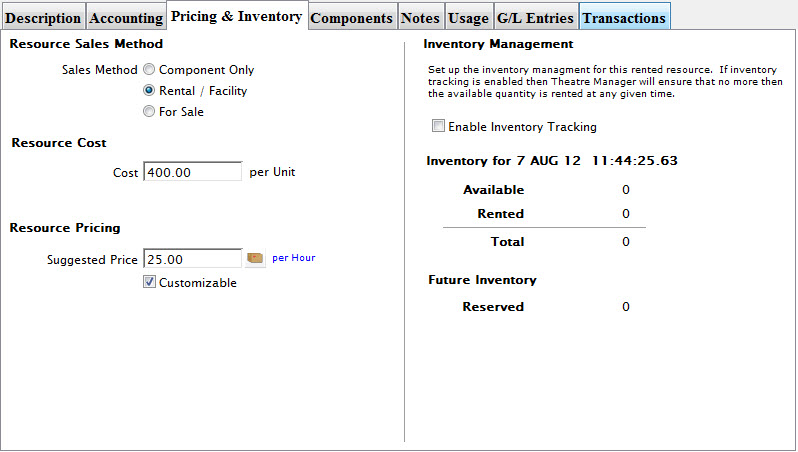
Parts of the Pricing and Inventory Tab
| Sales Method |
The three options are:
|
| Resource Cost | The replacement cost per unit of the resource (unit is set up on the Description Tab). |
| Resource Pricing | The suggested amount is how much should be charged per use of the resource. Usage is defined by the lookup button to the right of the entry field (in the example, it's set to Per Day). |
| Customizable checkbox | When checked, the Suggested Price can be changed when the resource is used. |
| Inventory Management | |
| Enable Inventory Tracking checkbox | Sets up the inventory management for this rental resource. If inventory tracking is enabled, then Theatre Manager will ensure that no more than the available quantity is rented at any given time. Click here to see how to Add Inventory Tracking. |
Enabling Inventory Tracking
Tracking inventory allows you to specify the number of units available. If tracking is not on, Theatre Manager assumes the number of units available are unlimited. To start tracking inventory for the selected resource, perform the following steps:
![]()
- In the Pricing and Inventory window, click to enable Inventory Tracking.
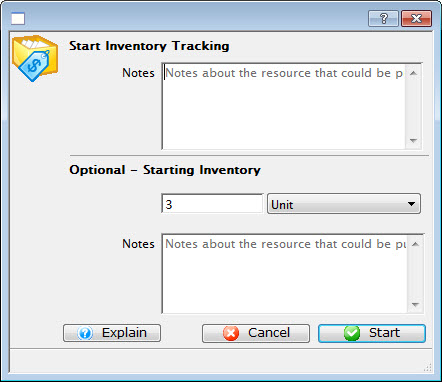
If required, enter Notes about the inventory modification.
Optionally - You can enter the number of units to track.
- To start inventory tracking, click the Start
 button.
The inventory number appears on the Pricing and Inventory tab and in the Resource List.
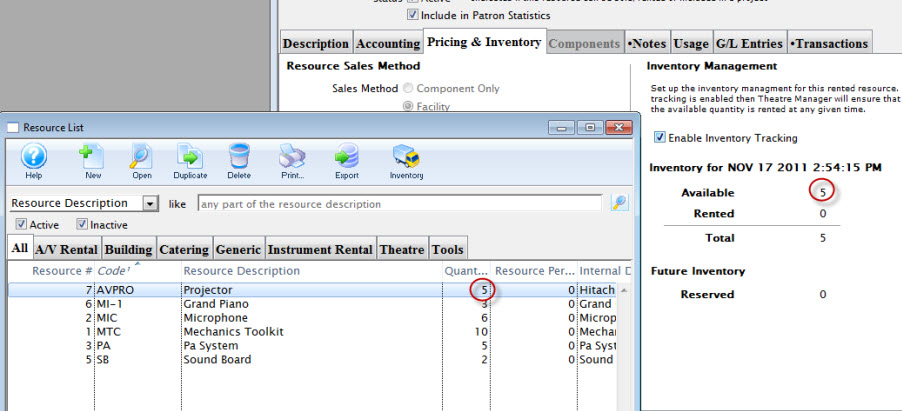
Adjusting Inventory Tracking
Removing Inventory Tracking
You can disable the tracing of a particular resource. To remove tracking for the selected resource, perform the following steps:

- In the Pricing and Inventory window, click the check box
 to disable Inventory Tracking.
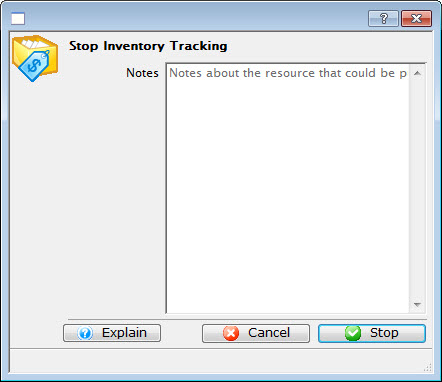
If required, enter Notes, such as a reason the tracking was disabled (for example, the particular unit has been replaced).
- Click the Stop
 button.
Components Tab
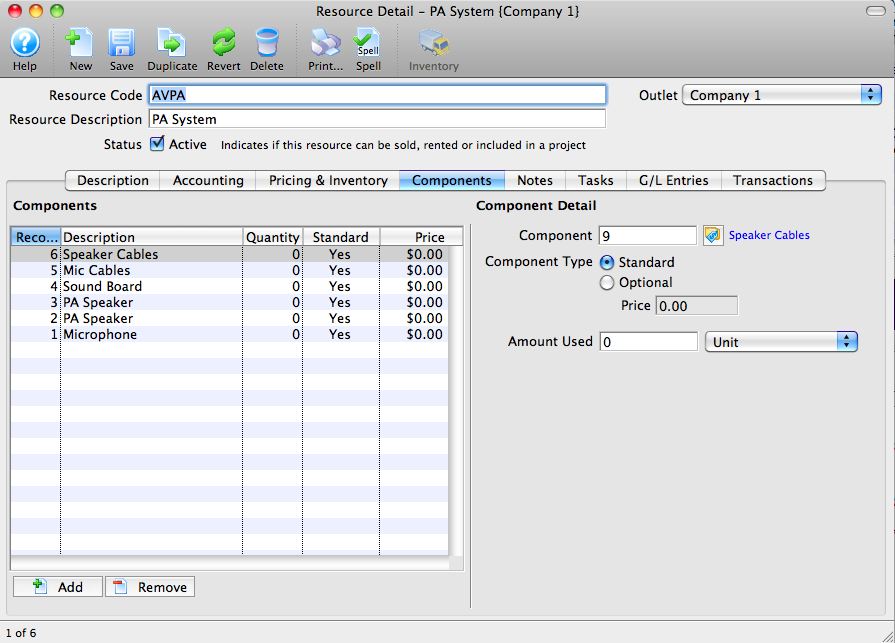
The Components Tab can be used for those resources which may require the use of various components (a PA System in the example). It is not a required tab for resource setup.
Parts of the Pricing and Inventory Tab
| Components List | Add or remove components to/from a resource here using the  Add or Add or  Remove buttons at left under the list. Remove buttons at left under the list. |
| Component Detail | This section on the right side applies to the currently selected component resource on the component list on the left. In the example, the selected component is Speaker Cables, so the items under Component Detail apply to Speaker Cables as they are being used as a component of the PA System (the current selected Resourse) |
| Component | The currently selected component resource. |
| Component Type | Component resources are either a Standard part of the current Resource, or an Optional part of the Resource as designated here. |
| Amount Used | Set here how many units of the selected component resource are to be used in the instance of the current Resource. |
Notes Tab
In the notes tab, you can enter any internal notes about this particular resource. The Notes tab is not a mandatory field to fill out when setting up a Resource.
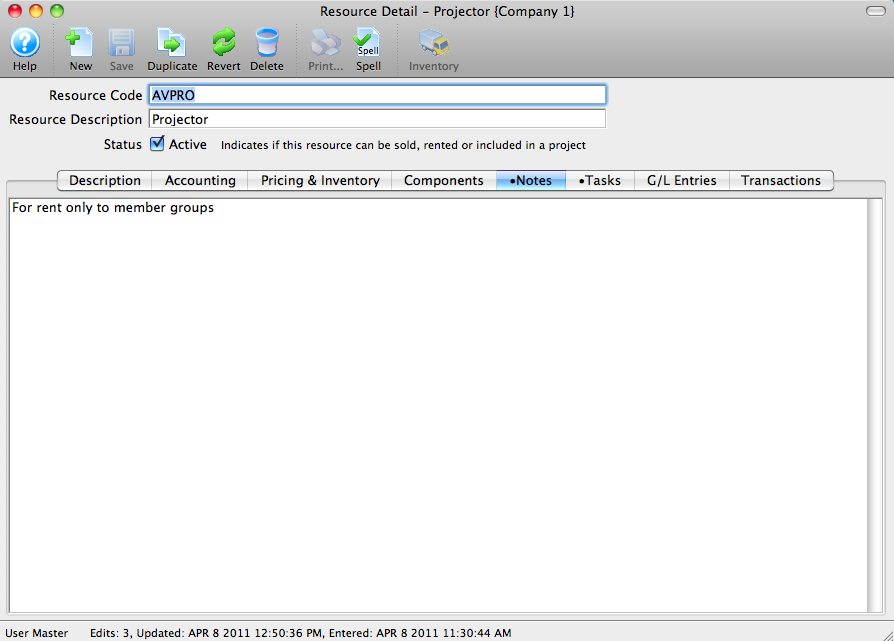
Usage Tab
Parts of the Usage Tab
| Task # | The unique number in the database assigned to the particular task. |
| Rental Start Date | The start date for the rental of the respurce. |
| Rental Expected End Date | The ending date for the rental of the resource. |
| Description | The name or description as it appears on the calendar. |
| Quantity | How many of the current resource are set for use. |
 |
The New Button is grayed out on this tab as it is not possible to add usage to a Resource. |
 |
Opens the selected Task Resource Detail window in order to edit the resource details as they pertain to that task. |
 |
Deletes the resource from the Task. |
 |
Opens the selected Task for editing. |
 |
Drop-down that allows searching the Task list for All Resources, by Task Description, or by Task Begin Date. |
G/L Entries
G/L Entries
Transactions Tab

Transactions
- The Transactions tab shows each transaction associated with the resource. This tab and the G/L Entries tab will be populated as you use the resource and has no set up requirements.
Adding Resources
A Resource can be any tangible item you wish to sell through Theatre Manager. They may be a space/room rental, a concession item like food and drink or merchandise like CD's, DVD, clothing and more. The break down of resources can be as broad as a concession snack or as granular as a specific t-shirt size. The scope depends on the level of inventory tracking you engage Theatre Manager to do.
 |
You can have direct links to inventory (like t-shirts) from any web page. |
Adding a Resource
- Click Setup >> System Tables >> Resources.
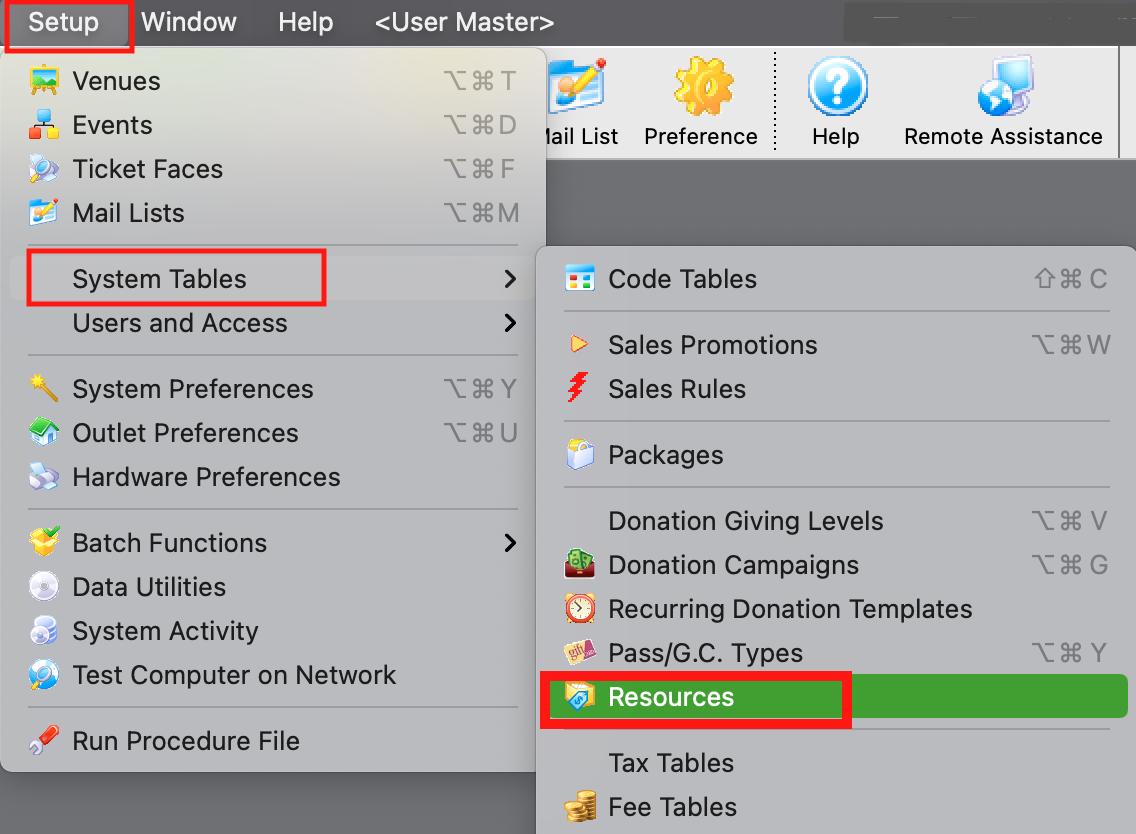
The Resource List window opens.
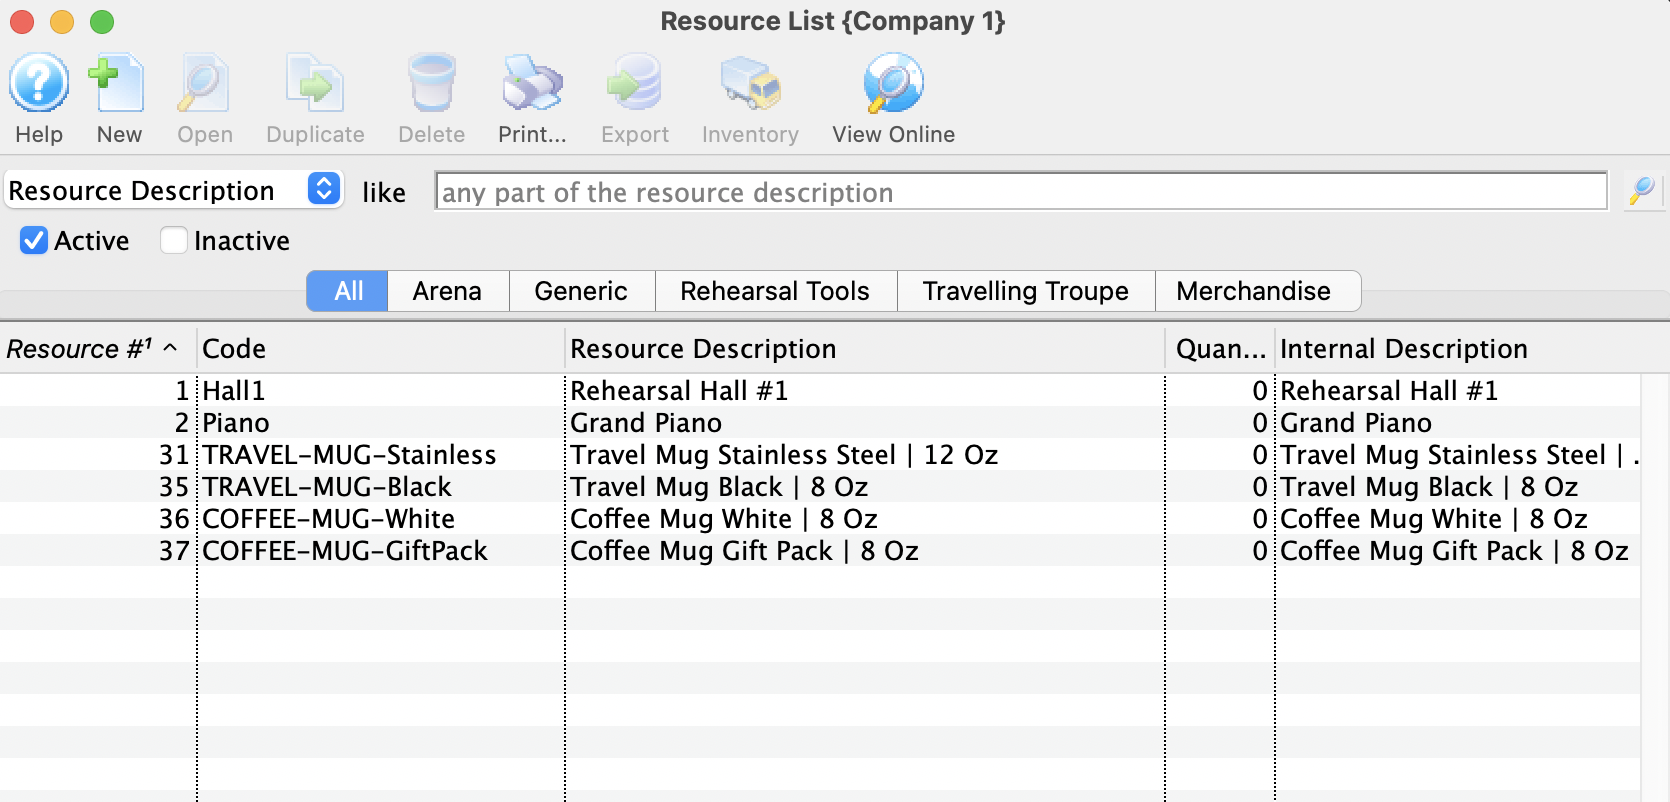
For more information on Resource List, click here.
- Click the New
 button at the top of the window.
The Resource Detail Window opens to the Description tab.
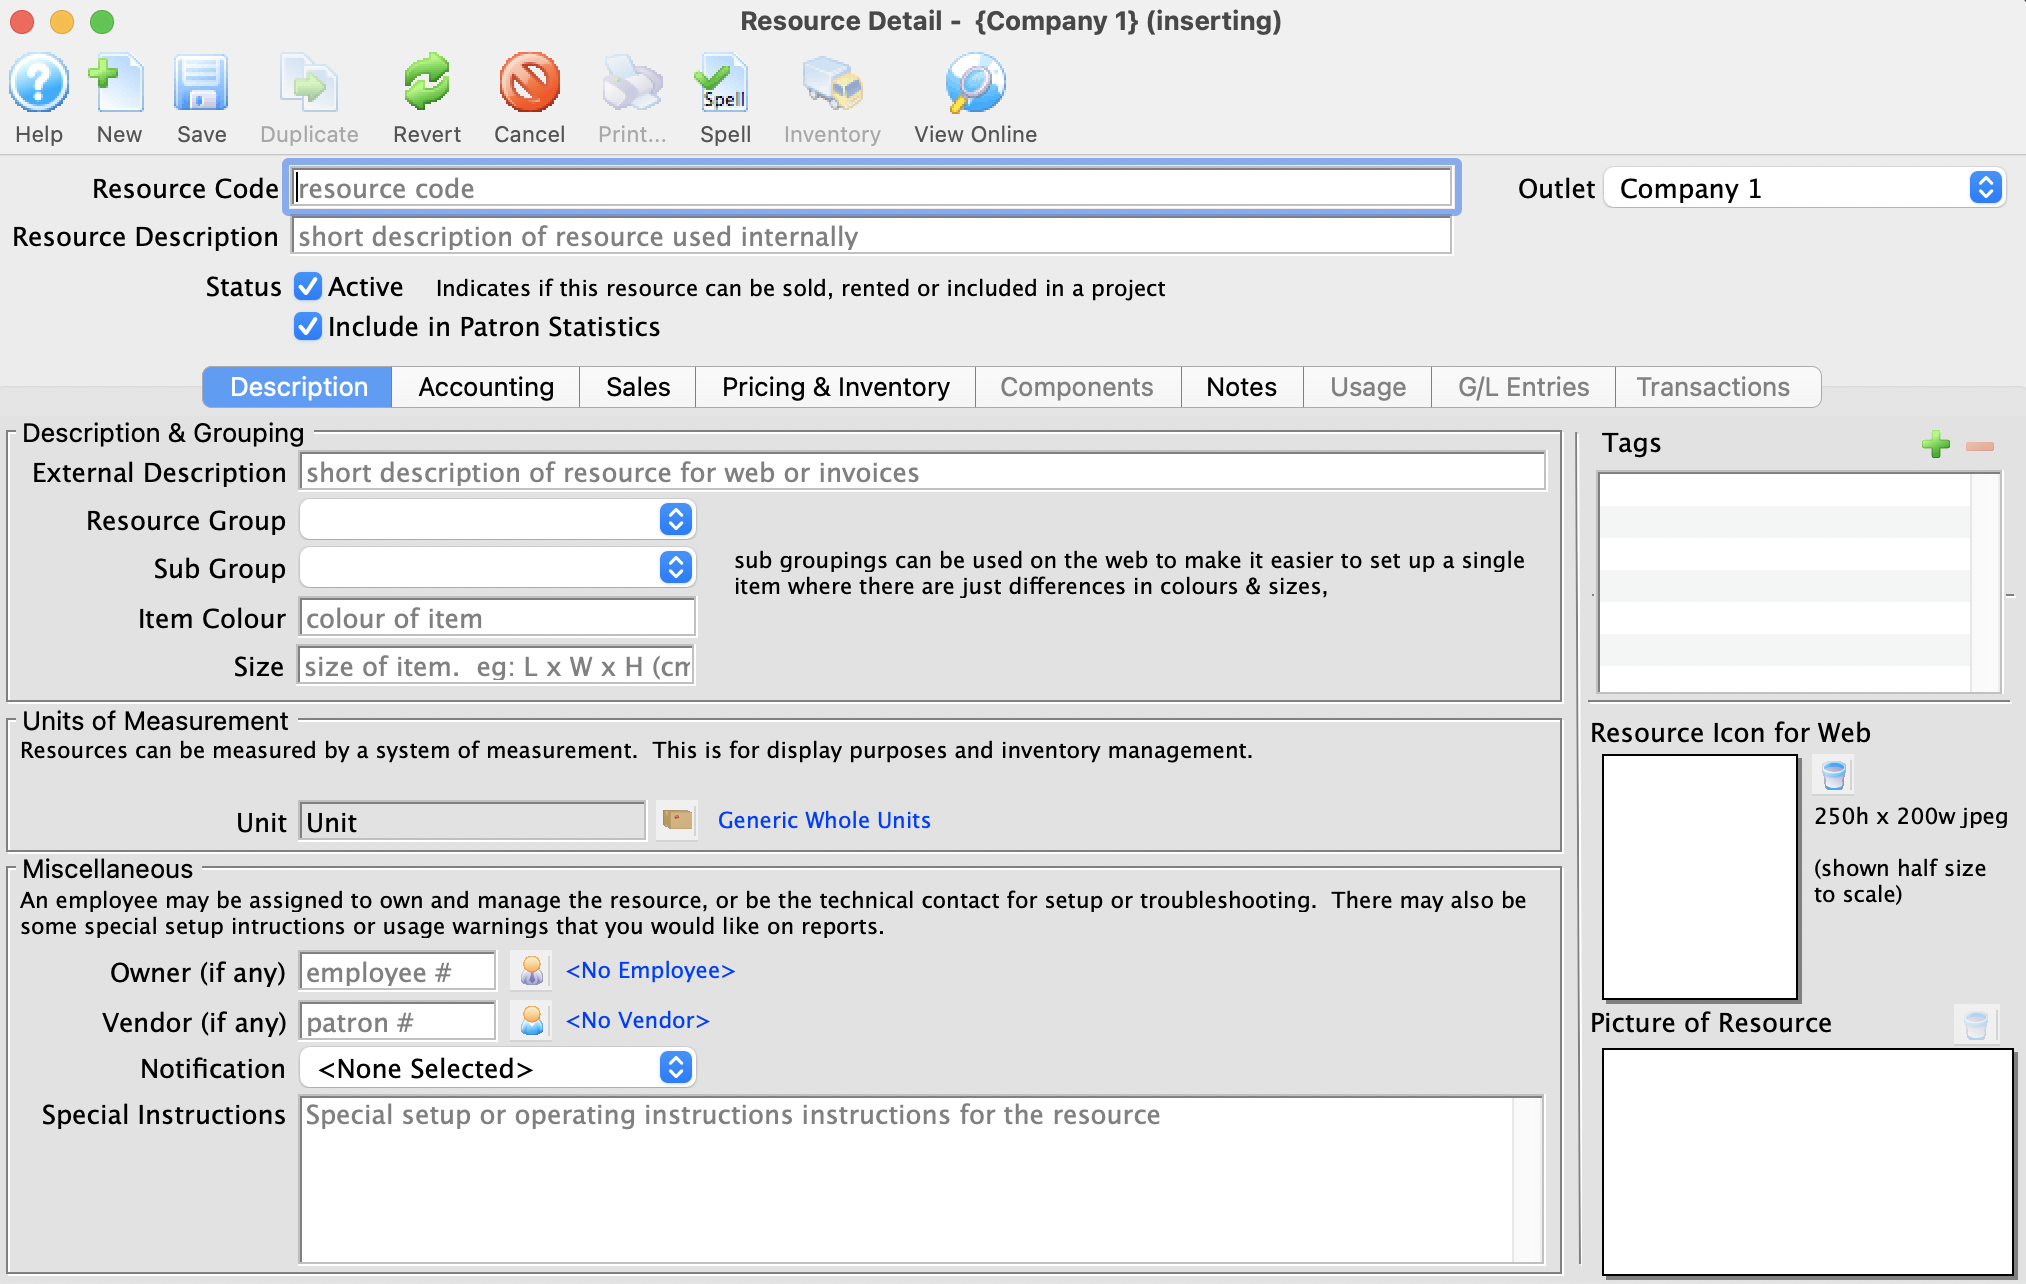
For more information on Description tab, click here
- Enter a Resource Code.
Resource Codes are abbreviated shorthand that help quickly identify and sort items. For example, a Coffee Mug Gift Basket might be represented as MUGGIFTBSK.
- Enter a Resource Description.
The Resource Description is the internal name of the resource and will show in lists and on reports in Theatre Manager.
- In the Description tab enter the External Description for the resource.
This will be the name that appear on Invoices and is displayed online to the general public.
- Select a Resource Group from the drop down.
A Resource Group can be used to indicate a collection of like items. Examples might be a concession group for all concession items, a specific t-shirt design to group together individual size resources or a physical location to group spaces for rent in a venue. For more information on setting up Resource Groups, click here.
- Add a picture to the Resource Icon for Web field by dragging and dropping the image.
- Select the Accounting tab
For more information on the Accounting tab, click here.
- Enter the Expense Tax Code, Deferred Liability and Cost of Goods GL Accounts.
Expense Accounts will not effect your End of Day or GL Reports. They are added for future implementation to help with the expense side of reporting and inventory.
- Enter the Sales Tax Code, Deferred Asset and Income Account GL Accounts.
- Select the Sales tab.
For more information on the Sales tab, click here.
- In the Accept Resource at area indicate where the Resource is to be sold.
- In Conjunction with a Ticket Sales - Allows item to be sold at the Box Office
- Accept on the Internet - Allows item to be sold online
- Visible in Internet List/Grid - Allows item to be sold and displayed online
- Select the Pricing & Inventory tab.
For more information on the Pricing & Inventory tab, click here.
- Select For Sale bullet in the Resource Sale Method section of the page.
- Enter the retail value of the resource in the Suggested Price field.
If tax is to be charged on the item the Suggested Price should be the retail value less tax. Tax will be added on top of this price based on the Sales Tax Code selected in the Accounting tab.
- Select the Notes tab.
For more information on the Notes tab, click here.
- Insert text into the External Sales Notes field.
This is where marketing language is inserted and is made visible online to patrons. This text appears online in a highlighted box next to the Resource Icon for Web image from the Description tab.
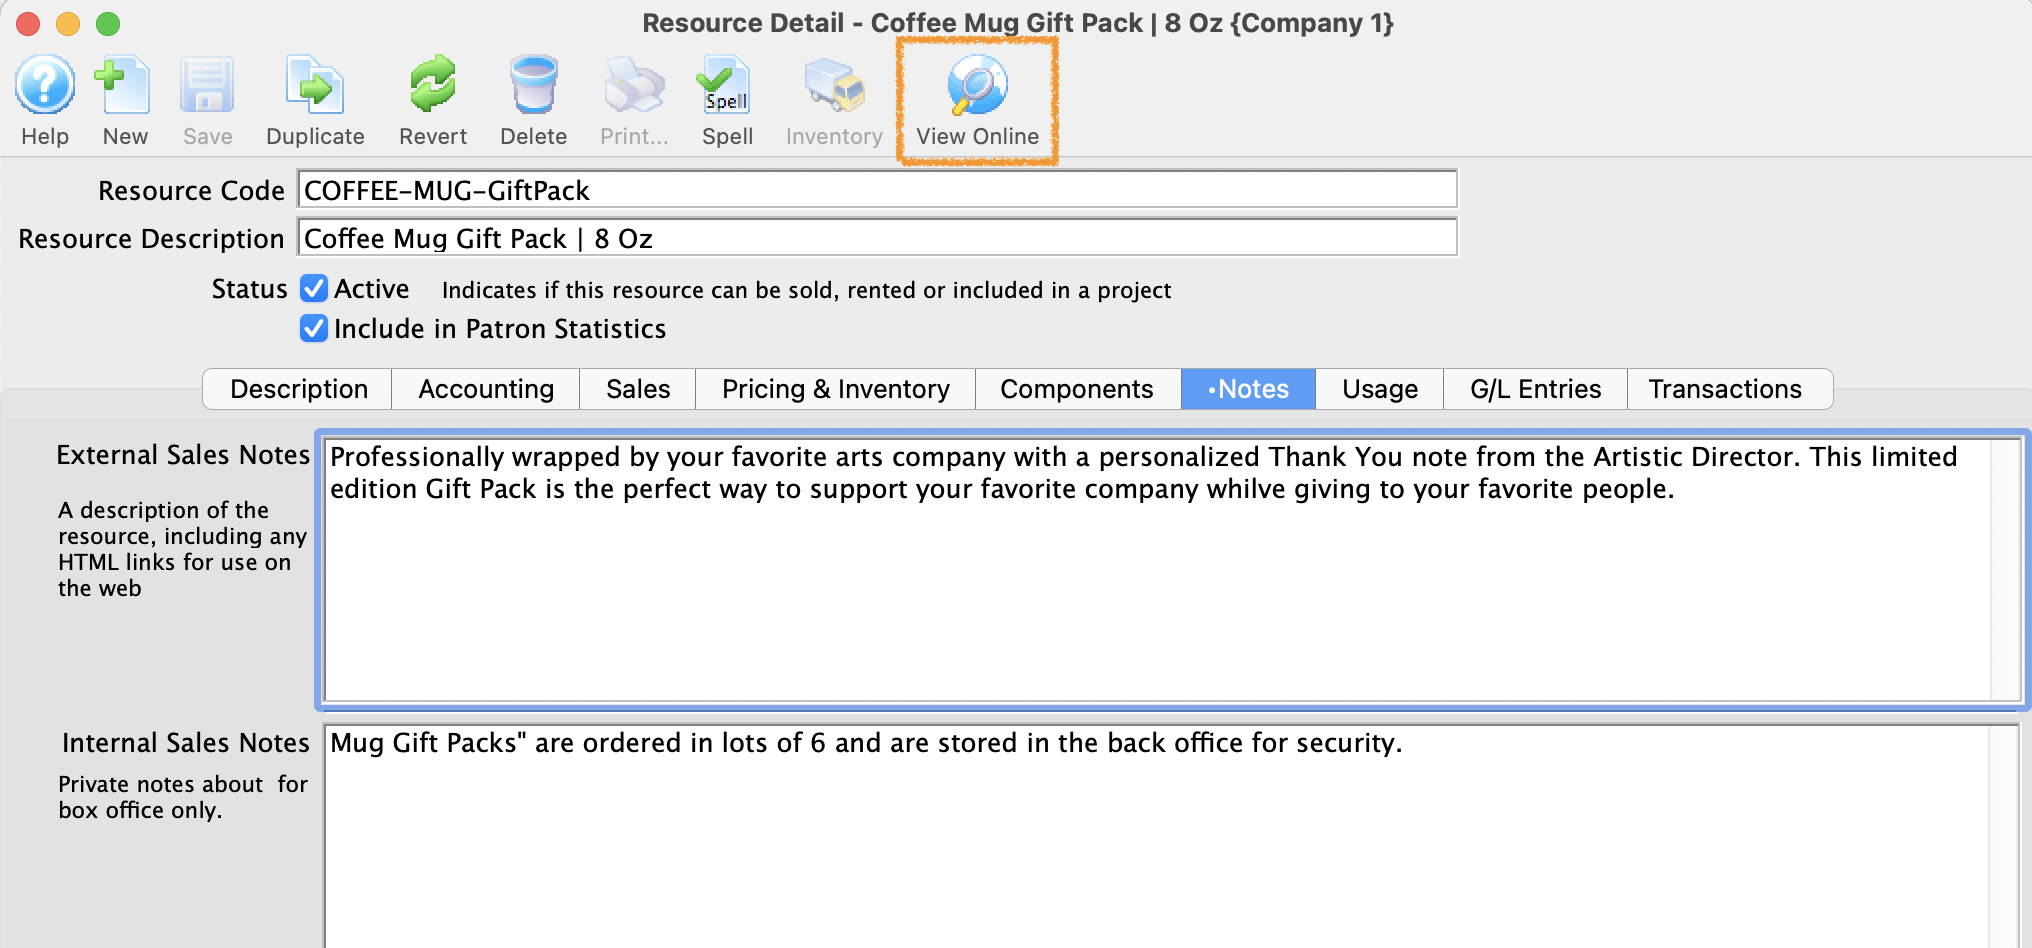
 |
To access Merchandise items online a "Merchandise" or "Shop" button may need to be added to the Navigation Bar if not previously added. For instructions on how to edit the Navigation Bar click here. |
|
|
|
Editing a Resource
- Click Setup >> System Tables >> Resources.
The Resource list Window opens.
Click here for more information on the Resource List window.
Highlight a Resource from the list by single-clicking on it.
- Click the Open
 button.
The Resource Detail window opens.
Click here for more information on the Resource Detail window.
- Edit the information for the Resource as required.
- Click the Save
 button.
Delete a Resource
- Click Setup >> System Tables >> Resources.
The Resource List Window opens.
Click here for more information on the Resource List window.
- Click the Delete
 button.
The Delete Confirmation dialog opens.
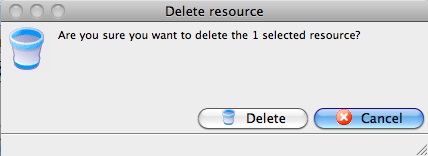
- Click the Delete
 button.
The Resource Record is deleted.
Highlight a Resource from the list by single-clicking on it.
Tax Tables
The Tax Rates Window can be accessed through the Setup >> System Tables >> Tax Tables menu. The tax table displays all current taxes which have been setup for use with Theatre Manager. From the window you can also insert, edit and delete taxes.
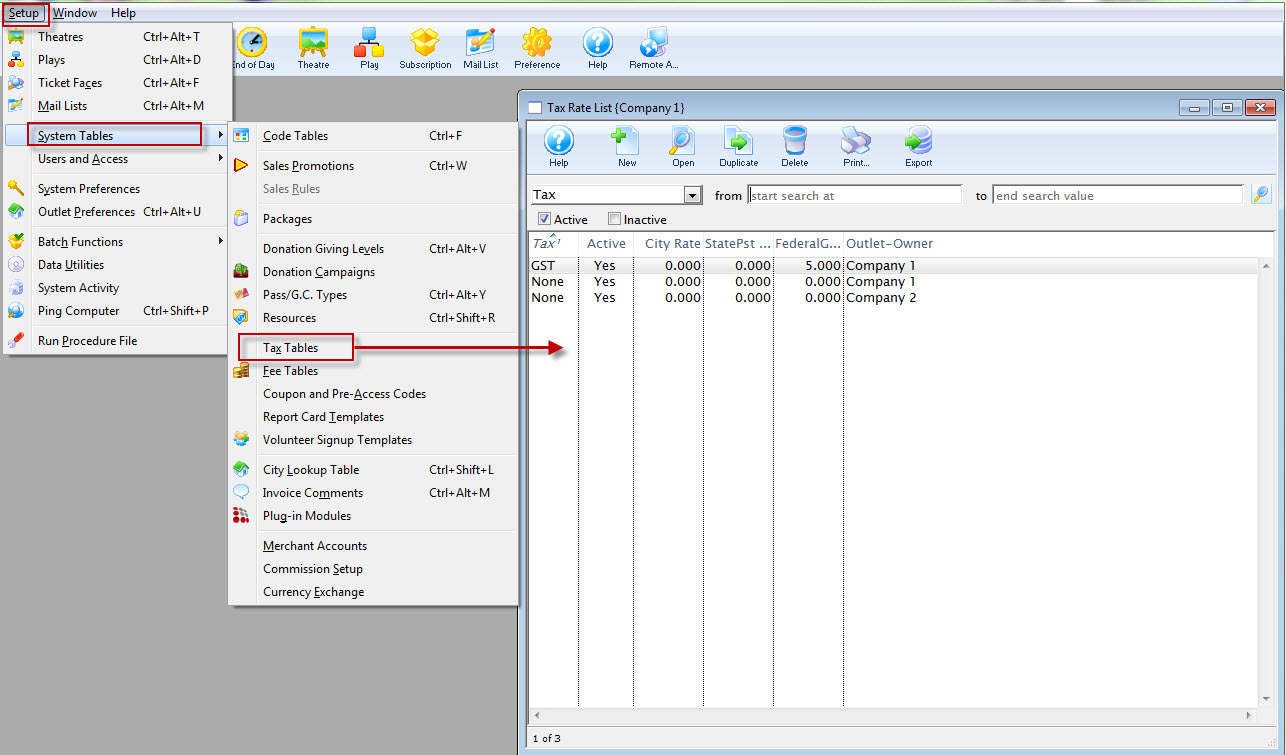
The Tax Rates List window opens.
Click here for more information on the Tax Rates List.
Tax Rate List
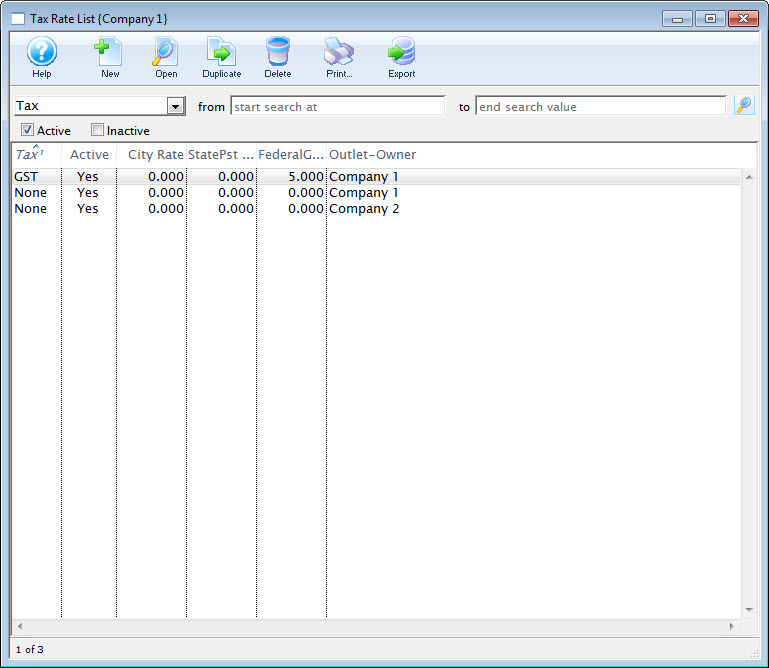
Parts of the Tax Rate List Window
Accesses the Help section for this window. |
|
Inserts a new Tax Rate. For more information on inserting tax rates click here. |
|
Edits the selected Tax Rate. For more information on editing tax rates click here. |
|
Copies the selected tax rate. |
|
Deletes the selected Tax Rate. Click here for more information on deleting tax rates. |
|
Generates a report of the tax rates to the screen or default print location. |
|
Exports a list of tax rates in a tab-delimited format. |
|
Tax |
The name of the tax. |
Active |
Will show either Yes the tax rate is active for use or No it is not Active for use. |
City Rate |
The portion of the tax rate that applies to City or municipality tax. |
State/PST Rate |
The percentage rate of the tax that applies to State or Provincial taxes. |
GST/Federal Rate |
The portion of the tax rate that applies to Federal or GST taxes. |
Tax Rate Detail Window
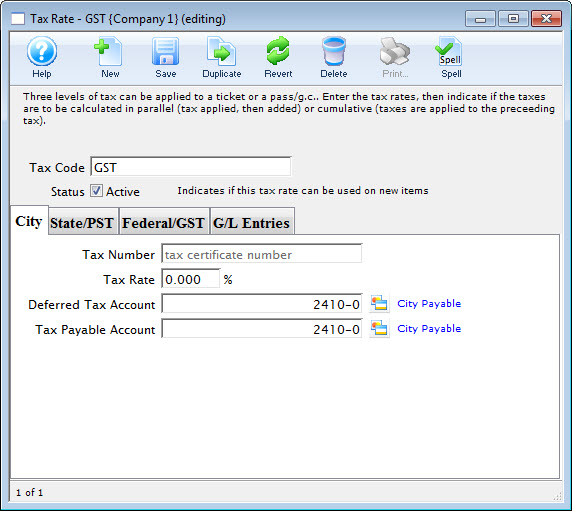
Parts of the Tax Rate Detail Window
Inserts new Tax Rate. For more information on inserting tax rates click here. |
|
Saves changes made to the selected Tax Rate. |
|
Duplicates the selected Tax Rate. |
|
Undoes changes to the last saved point. |
|
Deletes the selected Tax Rate. For more information on deleting tax rates click here. |
|
Tax Code |
Name of the tax rate. |
Setup for the City or Municipal portion of the tax code. For more information on this tab, click here. |
|
Setup for the State or Provincial portion of the tax code. For more information on this tab, click here. |
|
Setup for the Federal or GST portion of the tax code. For more information on this tab, click here. |
|
List of the G/L journal entries for each instance of the tax code's usage. For more information on this tab, click here. |
|
The names for the City, State/PST, and Federal/GST tabs can be set in Setup > System Preferences > Appearance Tab to reflect whichever is the suitable option. Our examples here show both names - but depending on your location, you may set them appropriately. More information can be found here. |
City Tax Tab
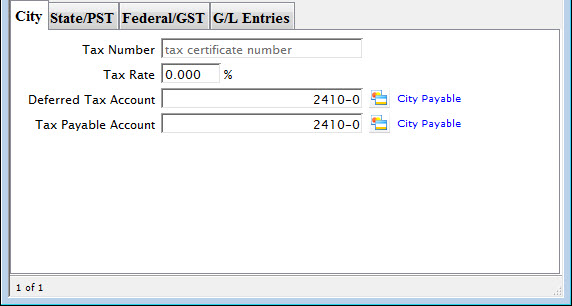
Parts of the City Tax Tab
Tax Number |
Your organization's tax ID number for City taxes. |
Tax Rate |
The percentage of the tax rate that applies to City taxes. |
Deferred Tax Account |
Deferral account number from your Chart of Accounts for the City tax. For more information about the Chart of Accounts in Theatre Manager, click here. |
Tax Payable Account |
Liability account from your Chart of Accounts for the City tax. |
State/PST Tax Tab
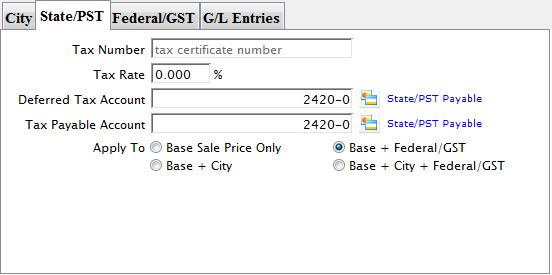
Parts of the State/PST Tax Tab
Tax Number |
Your organization's tax ID number. |
Tax Rate |
The percentage of the tax rate that applies to State or PST taxes. |
Deferred Tax Account |
Deferral account number from your Chart of Accounts for the State/PST tax. For more information about the Chart of Accounts in Theatre Manager, click here. |
Tax Payable Account |
Liability account from your Chart of Accounts for the State/PST tax. |
Apply To Base Sale Price Only |
When selected, this option will apply the percentage set above to only the base price of the ticket or pass (parallel method). |
Apply To Base + City |
When selected, this option will apply the percentage set above to the base price plus the City price set in the City Tab(cumulative method). |
Apply To Base + Federal/GST |
When selected, this option will apply the percentage set above to the base price plus the Federal/GST tax set in the Federal/GST Tab(cumulative method). |
Apply To Base + City + Federal/GST |
When selected, this option will apply the percentage set above to the base price plus the City tax and plus the Federal/GST tax (cumulative method). |
Federal/GST Tax Tab
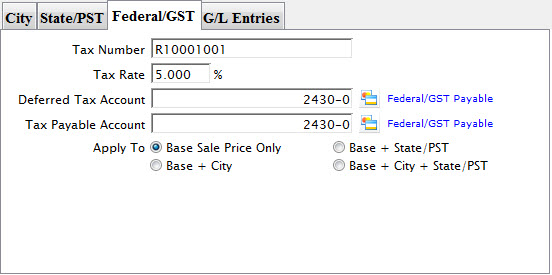
Parts of the Federal/GST Tax Tab
Tax Number |
Your organization's tax ID number. |
Tax Rate |
The percentage of the tax rate that applies to Federal or GST taxes. |
Deferred Tax Account |
Deferral account number from your Chart of Accounts for the Federal/GST tax. For more information about the Chart of Accounts in Theatre Manager, click here. |
Tax Payable Account |
Liability account from your Chart of Accounts for the Federal/GST tax. |
Apply To Base Sale Price Only |
When selected, this option will apply the percentage set above to only the base price of the ticket or pass (parallel method). |
Apply To Base + City |
When selected, this option will apply the percentage set above to the base price plus the City price set in the City Tab(cumulative method). |
Apply To Base + State/PST |
When selected, this option will apply the percentage set above to the base price plus the State/PST tax set in the State/PST Tab(cumulative method). |
Apply To Base + City + State/PST |
When selected, this option will apply the percentage set above to the base price plus the City tax and plus the State/PST tax (cumulative method). |
G/L Entries Tab
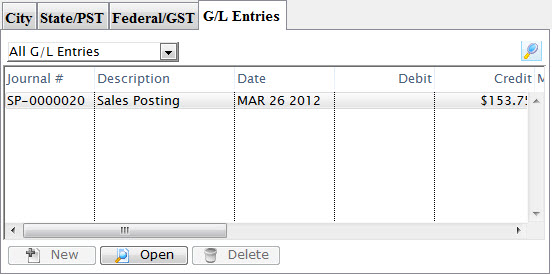
Parts of the G/L Entries Tab
View Selection Drop-down (set to All G/L Entries in the example) |
Choose which entries you want to see in the list and then click the |
Journal # |
The unique Journal # for the entry |
Description |
The type of journal entry it is (ie. Sales Posting) |
Date |
The posting date for the entry. |
Debit |
The Debit amount of the entry (if applicable) |
Credit |
The Credit amount for the entry. |
Not available. |
|
Opens the selected entry for viewing/editing. |
|
Not available. |
Inserting a Tax Code
To add a Tax Code, you perform the following steps:;
- Click Setup >> System Tables >> Tax Tables.

The Tax Rate List window opens.
Click here for a description of this window.
- Click the New
 button.
The Tax Rate Detail Window opens.

Click Here for a detailed description of this window.
- Enter the Tax Code name.
This is the name that will be displayed anywhere the Tax Code can be selected.
- Enter the tax number in the City tab.
- Enter the Tax Rate percentage that applies to City taxes for the overall rate.
- Click the Lookup
 button next to the Deferred Tax Account field.
The Chart of Accounts Lookup window opens.
- Select the G/L account the city tax should be applied to.
- Click the Lookup
 button next to the Tax Payable Account field.
The Chart of Accounts Lookup window opens.
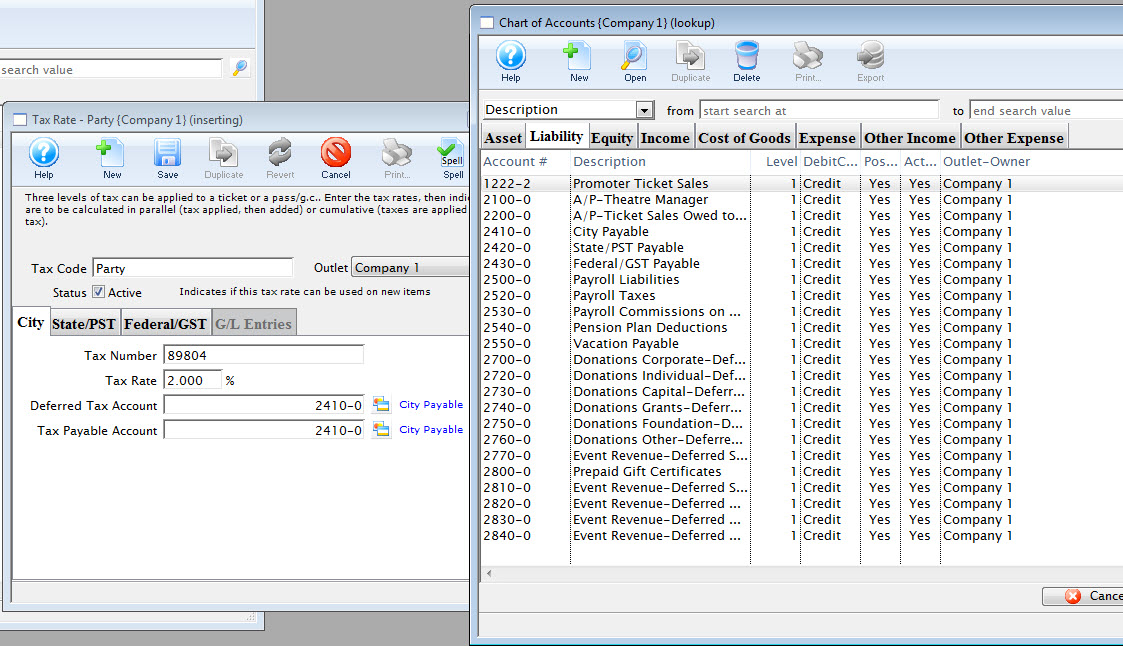
- Select the G/L account the city tax should be applied to.
- Select the State/PST
 tab.
tab.
Click here for more information on the State/PST Tax Tab.
- Enter the tax number in the State/PST tab.
- Enter the Tax Rate percentage.
- Click the Lookup
 button next to the Deferred Tax Account field.
The Chart of Accounts Lookup window opens.
- Select the G/L account the State tax should be applied to.
- Click the Lookup
 button next to the Tax Payable Account field.
The Chart of Accounts Lookup window opens.
- Select the G/L account the State tax should be applied to.
- Select the Federal/GST
 tab.
tab.
Click here for more information on the Federal Tax Tab.
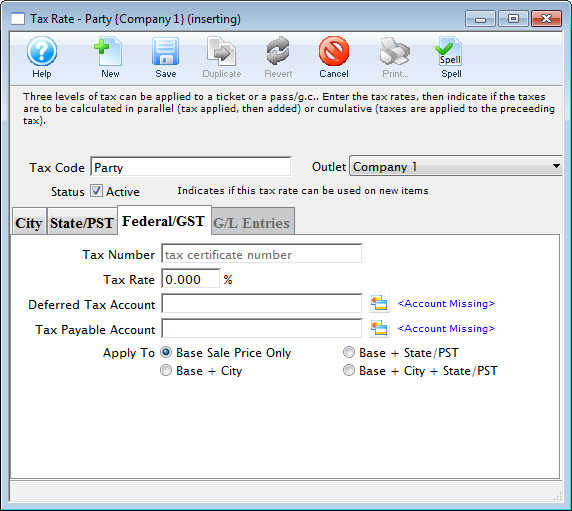
- Enter the tax number in the Federal/GST tab.
- Enter the Tax Rate percentage.
- Click the Lookup
 button next to the Deferred Tax Account field.
The Chart of Accounts Lookup window opens.
- Select the G/L account the Federal tax should be applied to.
- Click the Lookup
 button next to the Tax Payable Account field.
The Chart of Accounts Lookup window opens.
- Select the G/L account the Federal tax should be applied to.
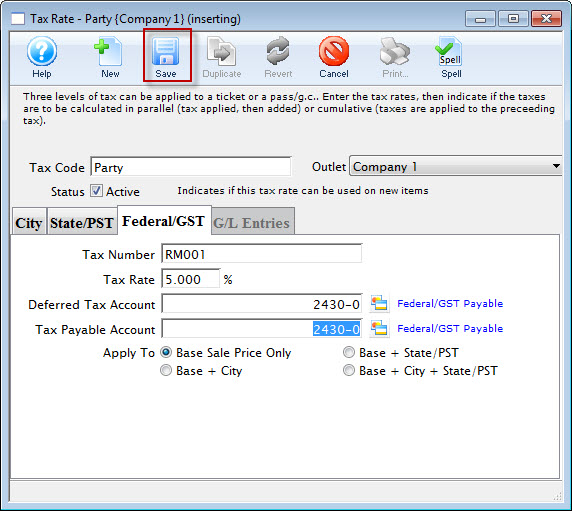
- Click the Save
 button to save the tax.
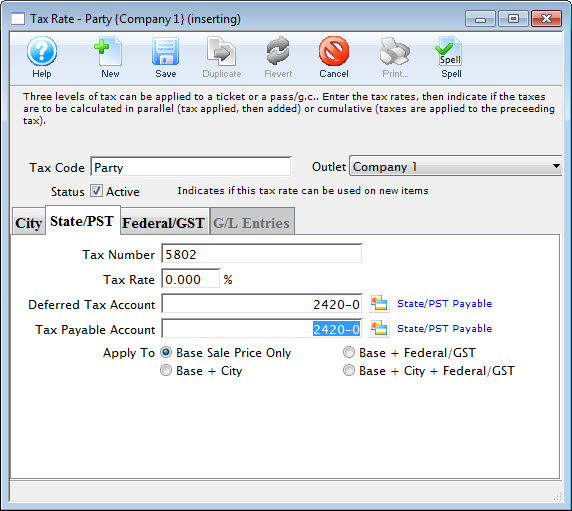
Editing Tax Codes
- Click Setup >> System Tables >> Tax Tables.

The Tax Rate List window opens.
Click here for a description of this window.
- Select the tax code you wish to edit.
Do this by single clicking on the value.
- Click the Open
 button.
The tax rate detail window will open with the data for the selected tax code.
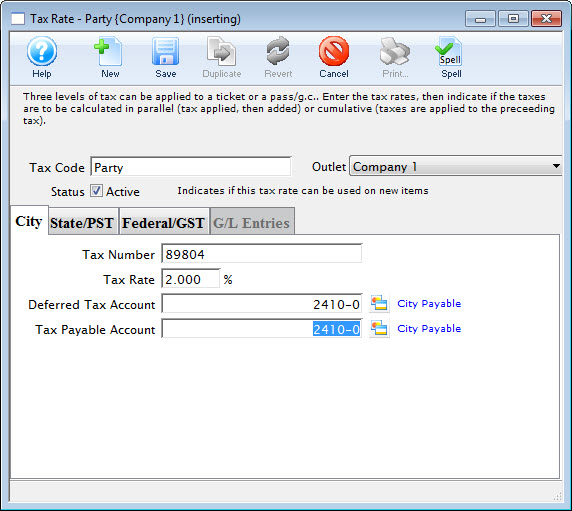
- Change data as required.
- Click the Save
 button.
Deleting a Tax Code
Tax Codes can only be deleted if they have not been used for any transactions in Theatre Manager.
- Click Setup >> System Tables >> Tax Tables.

The Tax Rate List window opens.
Click here for a description of this window.
- Select the tax code to delete.
Do this by single clicking on the value.
- Click the Delete
 button.
- Click the Delete
 button.
The Delete confirmation opens.

Fee Tables
The Fee Type window is opened through the Setup >> System Tables >> Fee Tables.
The Fee Table window opens.
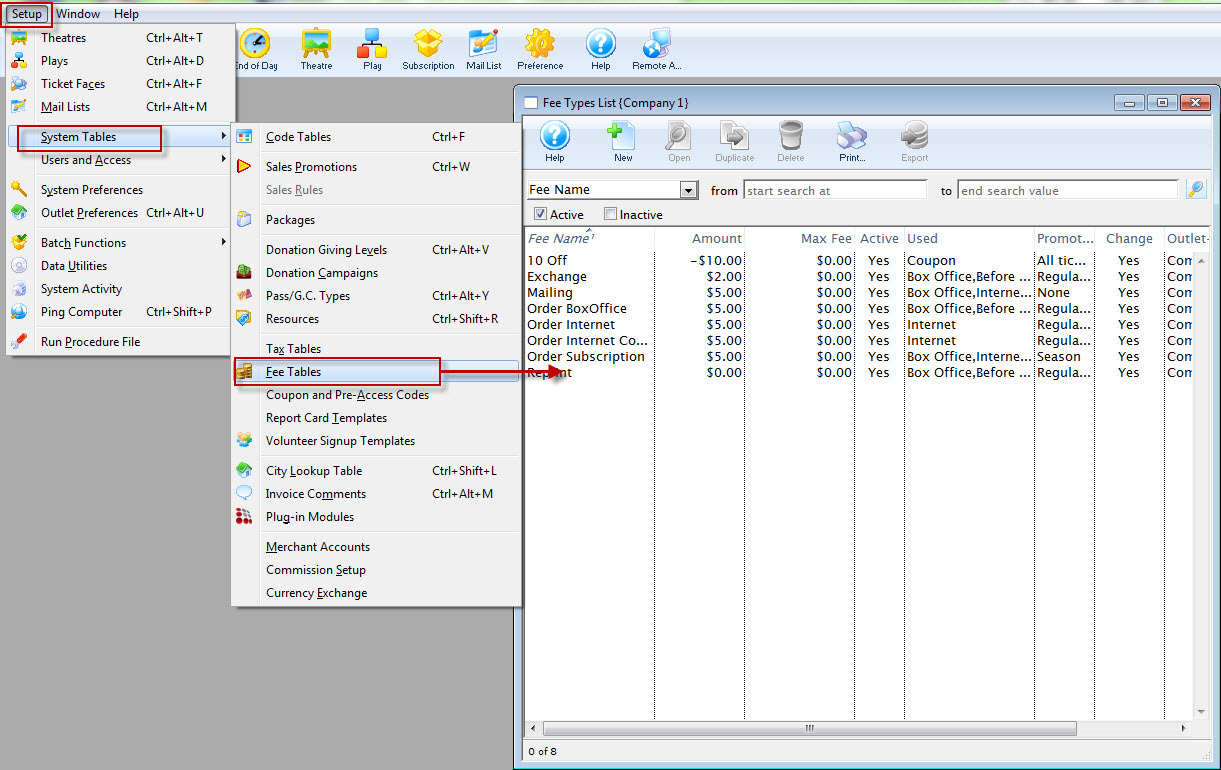
From this window you add, remove and edit Fee Tables.
Fee Type Detail Window
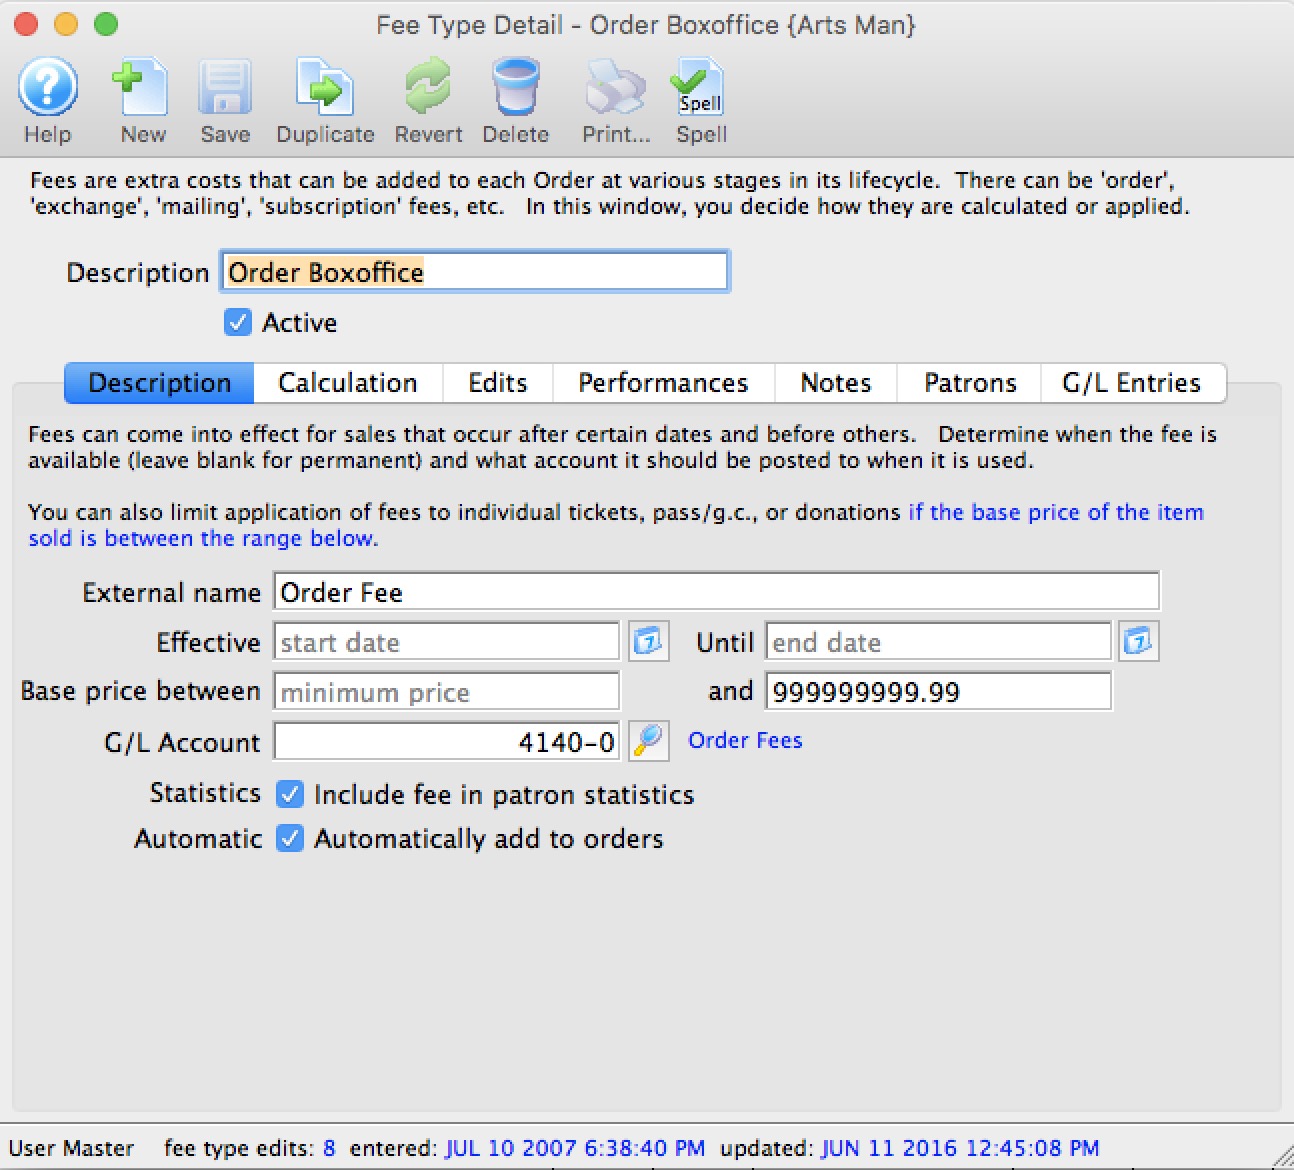
Parts of the Fee Type Window
 |
Accesses the Help section for this window. |
 |
Inserts a new fee. For more information on inserting fees click here. |
 |
Saves changes made to the fee. |
 |
Creates a copy of the current fee. |
 |
Undoes changes to the last saved point. |
 |
Deletes the current fee. For more information about deleting fees, click here. |
 |
Not yet available in this window. |
 |
Checks the spelling of fields that can be typed in. |
| Description | Name given to the fee. |
| Outlet | Outlet responsible for the fee. |
| Status | When checked the fee is active and can be used. |
 |
Details about the fee. For more information on the description tab click here. |
 |
Calculations for the fee. For more information on the calculation tab click here. |
 |
Rules of the fee. For more information on the edits tab click here. |
 |
An optional list of performances to which the fee can be applied. For more information on the performances tab click here. |
 |
An optional list of member types to which the fee can be applied. For more information on the member types tab click here. |
 |
Sales notes about the fee. For more information about the notes tab click here. |
 |
G/L entries for the fee. For more information on the G/L entries tab click here. |
Description Tab
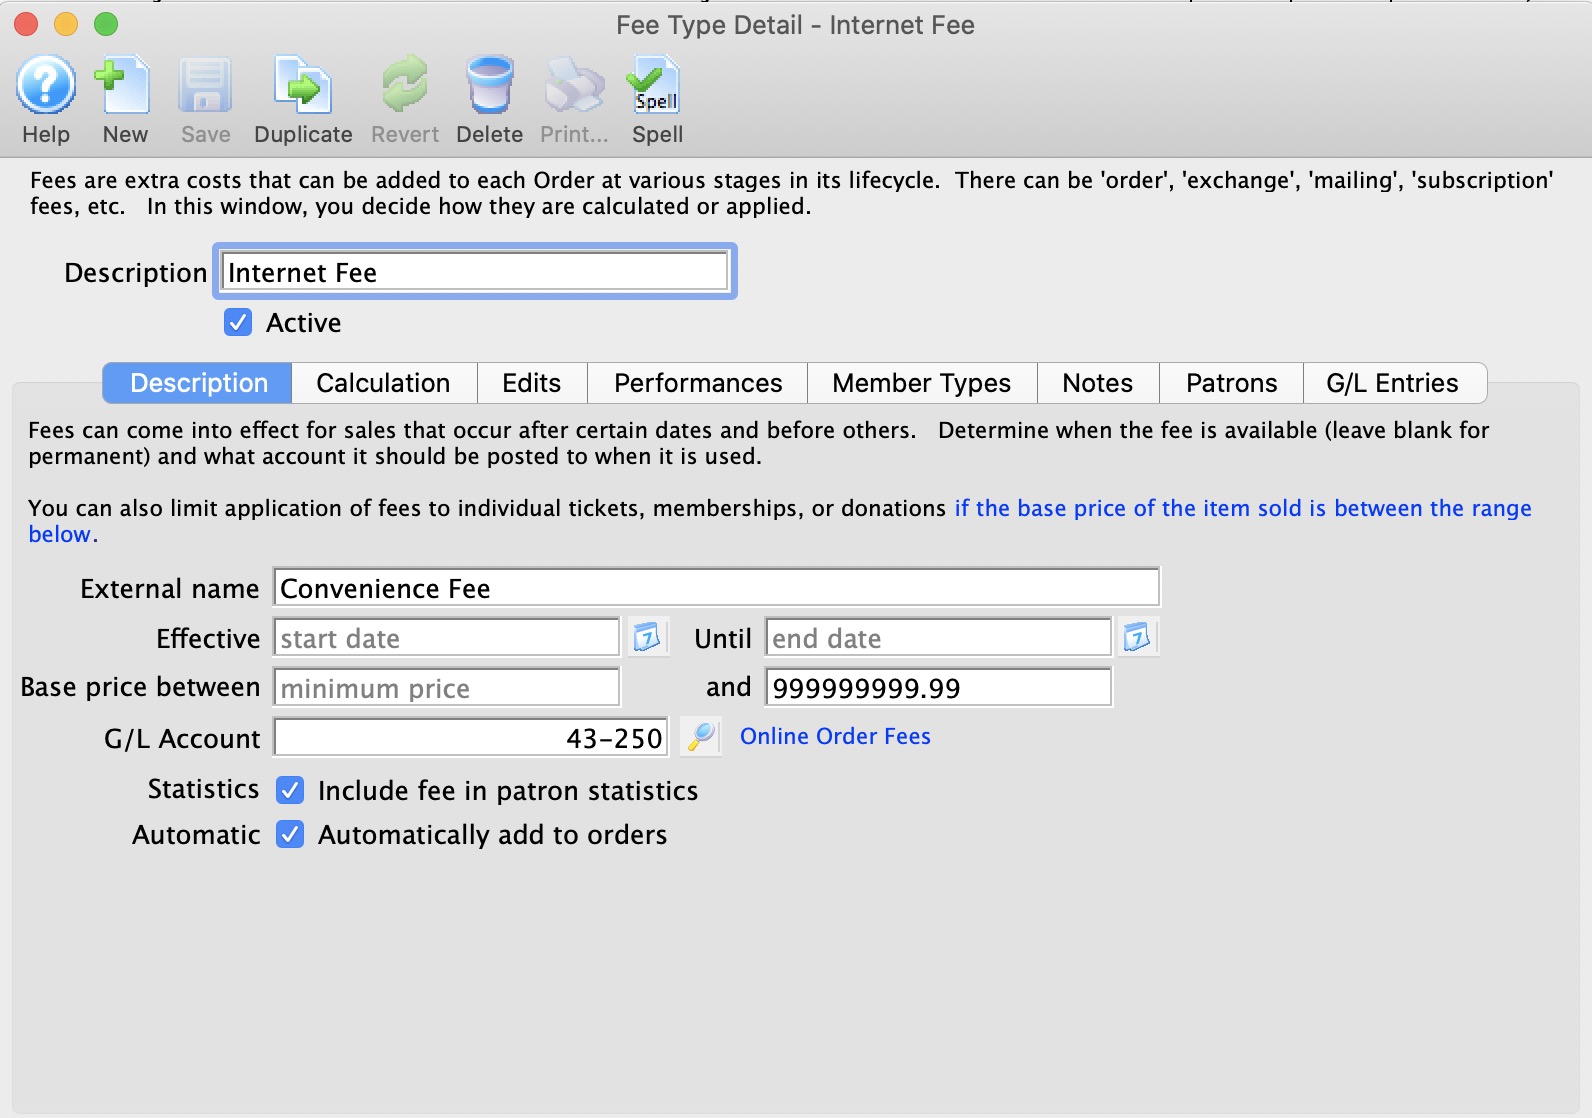
Parts of the Description Tab
| External Name | Name of the fee as it will appear on the internet or a ticket face. |
| Effective Unitl | If there is a range of dates during which you want the fee to be applied, enter a start and ending date.
|
| Base Price Between | Ordinarily, the fee will apply to any item in the shopping cart, regardless of price. however, if you want the fee to only apply to tickets (or donations or passes) that have a base price valued between $x.xx and $y.yy, then enter the range of prices. This allows you to structure non-refundable box office fees to vary, based on the price of the item.
Note: the price that is checked is the base price and all taxes, fees and discounts are ignored when evaluating if the fee is valid or not. This might be beneficial use of fees for Road House style venues. |
| G/L Account | General ledger account to apply this fee to - which is normally an income account |
 |
Search button to access a list of G/L accounts. |
| Statistics | Fee will be included in the patron statistics. |
| Automatic | Fee will be added to the order automatically based on the edit controls in the edits tab. Some fees cannot be marked as 'auto-add':
|
Calculation Tab
Parts of the Calculation Tab
Default Fee Amounts |
|
| $ Amount | Value of the fee prior to tax calculations |
| Per Order | Fee is applied once to the order. |
| Per Item | Charge the fee in a multiple of the number of items purchased. |
| Percentage | Set a percentage for the fee of either the total order or the items in the order, based on the radio button choice above, rather than a flat dollar amount. |
| To Maximum | Maximum amount to be charged for this |
| Allow fee to be changed | Fee can be edited at the time of purchase |
Tax Setting |
|
| Tax Rate | Tax rate to be applied to this fee |
Sample Price Calculator |
|
| Value of Applicable items | Enter a test value for the items in an order or cart to see how the Fee calculator would work. |
| Number of Applicable items | Enter a test number of items in the order or cart that the fee would be applied for a number of items in the cart or order. |
| Fee Amount | The value of the fee based on the number and value of applicable sample items. |
| City | Value of the city tax based on the tax rate and Effect on fee of |
| State/PST | Value of the State/PST tax based on the tax rate and Effect on fee of |
| Federal/GST | Value of the Federal/GST tax based on the tax rate and Effect on fee of |
| Net Fee | Shows what the net fee would be based on the calculations |
| Value plus fee | The value of the applicable items plus the fee for the total cost |
 |
Subtracts the tax from the fee amount to help you decide how to adjust fees if you want them without tax. |
Edits Tab
- Depending on which you pick on the right side of this screen, some options will disappear.
- On the left side, you can only make the fee apply to one of the three groups. For example, if the fee applies to a payment source, it cannot apply to a ticket purchase and vice versa.
Parts of the Edits Tab
Allow fee to be used during |
|
| Coupon Code | Fee is tied to the use of a coupon code at checkout. |
| New Sale | Fee is applied to a New Sale. |
| Modify | Fee is applied when an order is modified. |
| Exchange | Fee is tied to either:
|
| Refund | Fee is tied to a refund. | Allow fee to be used when entering by: |
| Box Office | Applies fee when ever a ticket is sold by the Box Office. |
| Before Event / Pay What You Can | Applies fee when ever a ticket is sold before event/pay what you can. |
| Development | Applies fee when ever a ticket is sold by Development. |
| Internet Sale (added by Patron) | Applies fee when ever an item is purchased by the Patron through your web sales module |
| Internet Sale (added by Staff/Volunteer) | Applies fee when ever an item is sold by the Staff (volunteer) to the Patron as part of the manage sales process for courses and such |
Only apply fee to the following items: |
|
| Tickets | Applies fee when ever a ticket is sold. |
| Regular Admission | Fee is applied to any tickets sold using regular admission accounting. |
| Season Ticket | Fee is applied to any tickets sold using season ticket accounting. |
| Other-Type 1 | Fee is applied to any tickets sold using other-type 1 accounting. |
| Other-Type 2 | Fee is applied to any tickets sold using other-type 2 accounting. |
| Other-Type 3 | Fee is applied to any tickets sold using other-type 3 accounting. |
| Pass / G.C. | Applies fee when ever a Pass or G.C. is purchased. |
| Donation | Applies fee when ever a Donation is purchased. |
| Resource/Inventory/Merchandise | Applies fee when ever a resource (inventory item or merchandise) is purchased. Currently only applicable for online sales |
| Payments at Specific Sources | Applies fee when purchaced at Any Source. |
| Internet / Web Sales | Applies fee when purchased online. |
| Telephone Order | Applies fee when purchased through a Phone Order. |
| Mail Order | Applies fee when purchased via Mail Order. |
| Patron Present | Applies fee when the Patron is at the Box Office. |
| Patron wants items mailed at Box Office | Applies fee only when the Order Ticket Handling Option is set to Mail To Patron. |
Performances Tab
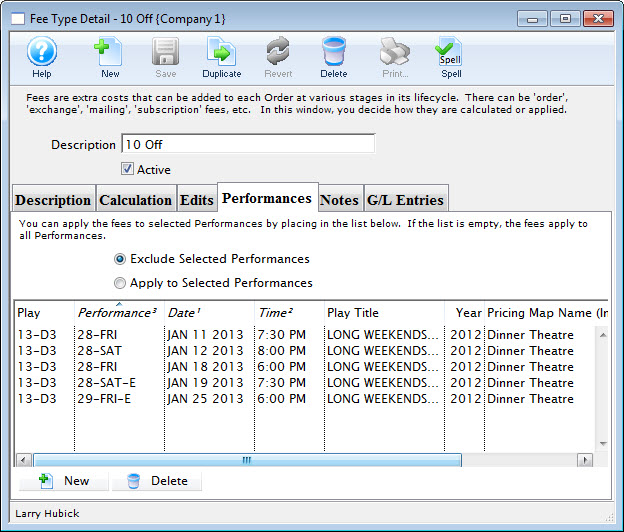
Parts of the Performances Tab
 |
Leaving this list blank will default to the fee being applicable to all performances. |
 |
You are limited to about 750 performances which is more than you should need in a year. If you need more than that, either:
|
| Exclude Selected Performances | When selected, the fee will be excluded from the performances listed. |
| Apply to Selected Performances | When selected, the fee will apply to only the performances listed. |
| Play | The Seq # of the event(s) in the list. |
| Performance | The performance(s) code for the events in the list |
| Date | The date of the performance(s). |
| Time | The time of the performance(s). |
| Play Title | The full title of the event(s) |
| Year | The fiscal year of the play(s) |
| Theatre Name | The name of the theatre that the coupon can be used for. |
 |
Opens the performance lookup list window to allow the selection of performances. |
 |
Delete the current selected performance from the list. |
Member Types Tab
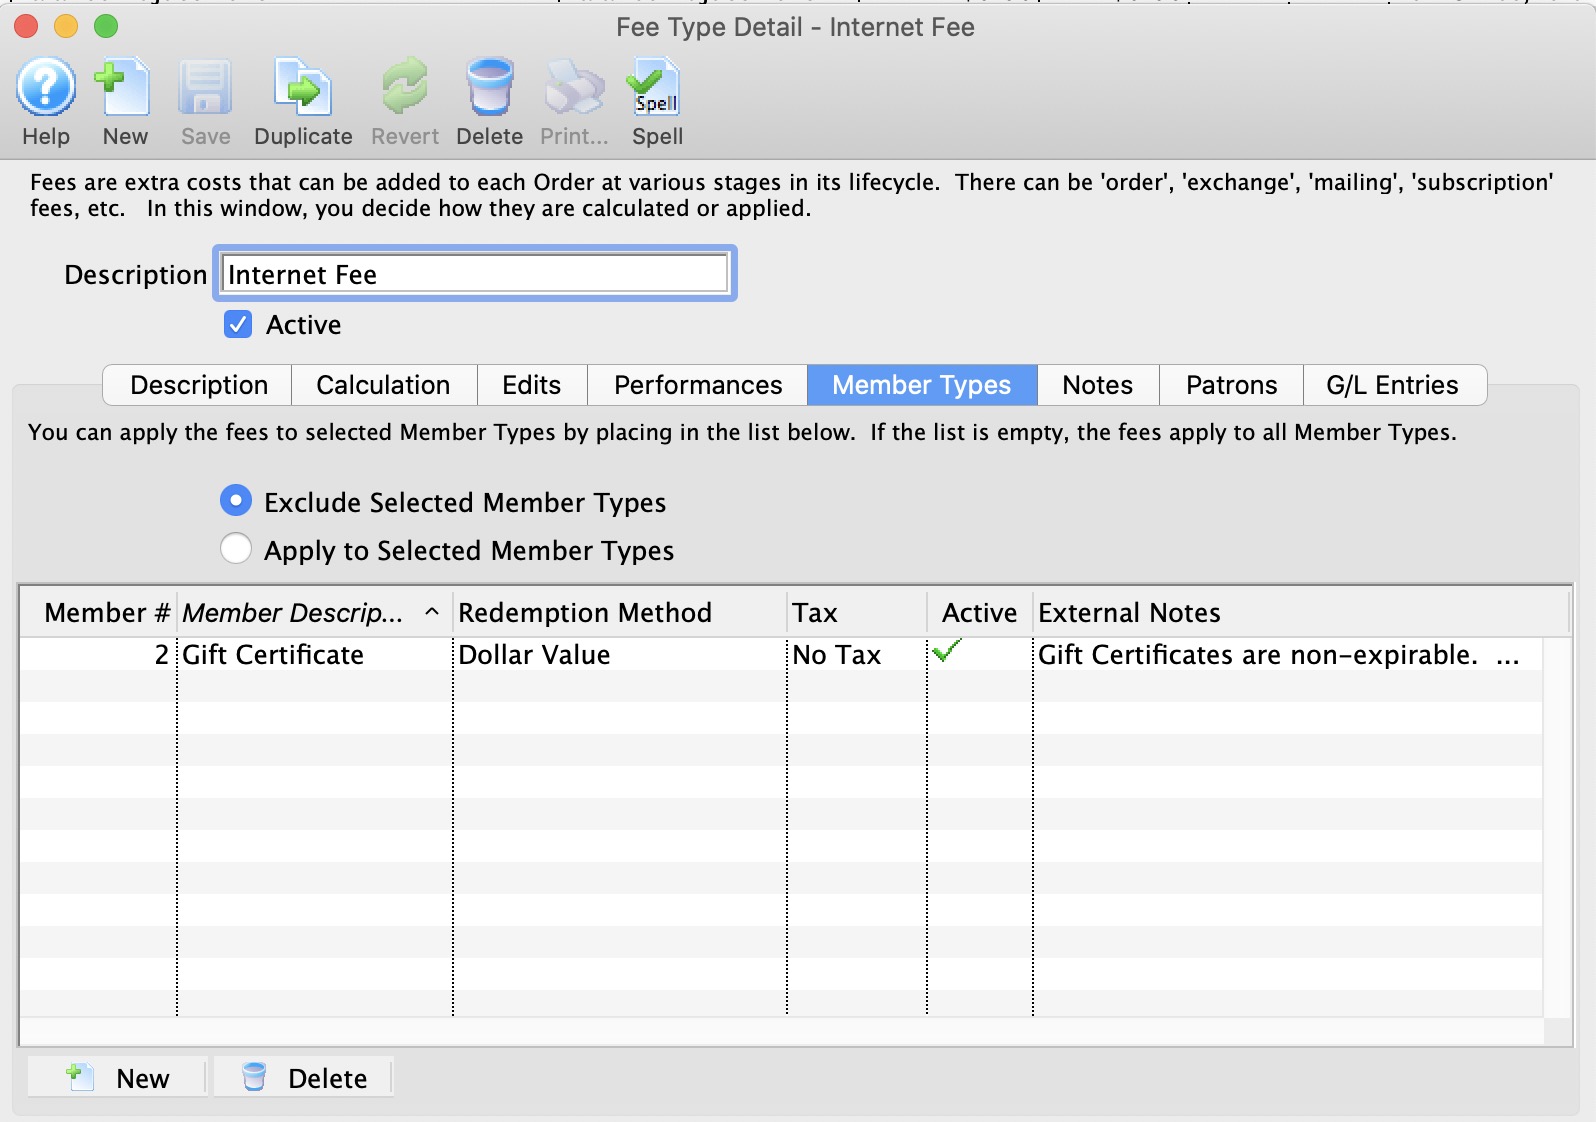
Parts of the Member Types Tab
 |
Leaving this list blank will default to the fee being applicable to all memberships. |
| Exclude Selected Member Types | When selected, the fee will be excluded from the member types listed. |
| Apply to Selected Member Types | When selected, the fee will apply to only the member types listed. |
| Member # | The Seq # of the member types(s) in the list. |
| Member Description | Internal Name used during the sales process at the box office - which may be different than the external name. |
| Redemption Method | The method of redemption for the membership. |
| Tax | The tax rate applied to this membership. |
| Active | The status of the membership. |
| External Notes | Notes regarding what this membership is for and may will appear online for the patron to read. |
 |
Opens the member type lookup list window to allow the selection of member types. |
 |
Delete the current selected member type from the list. |
Resources Tab
Notes Tab
Enter notes in this tab that pertain to the usage of this particular fee. Notes are for internal use only.
Patrons Tab
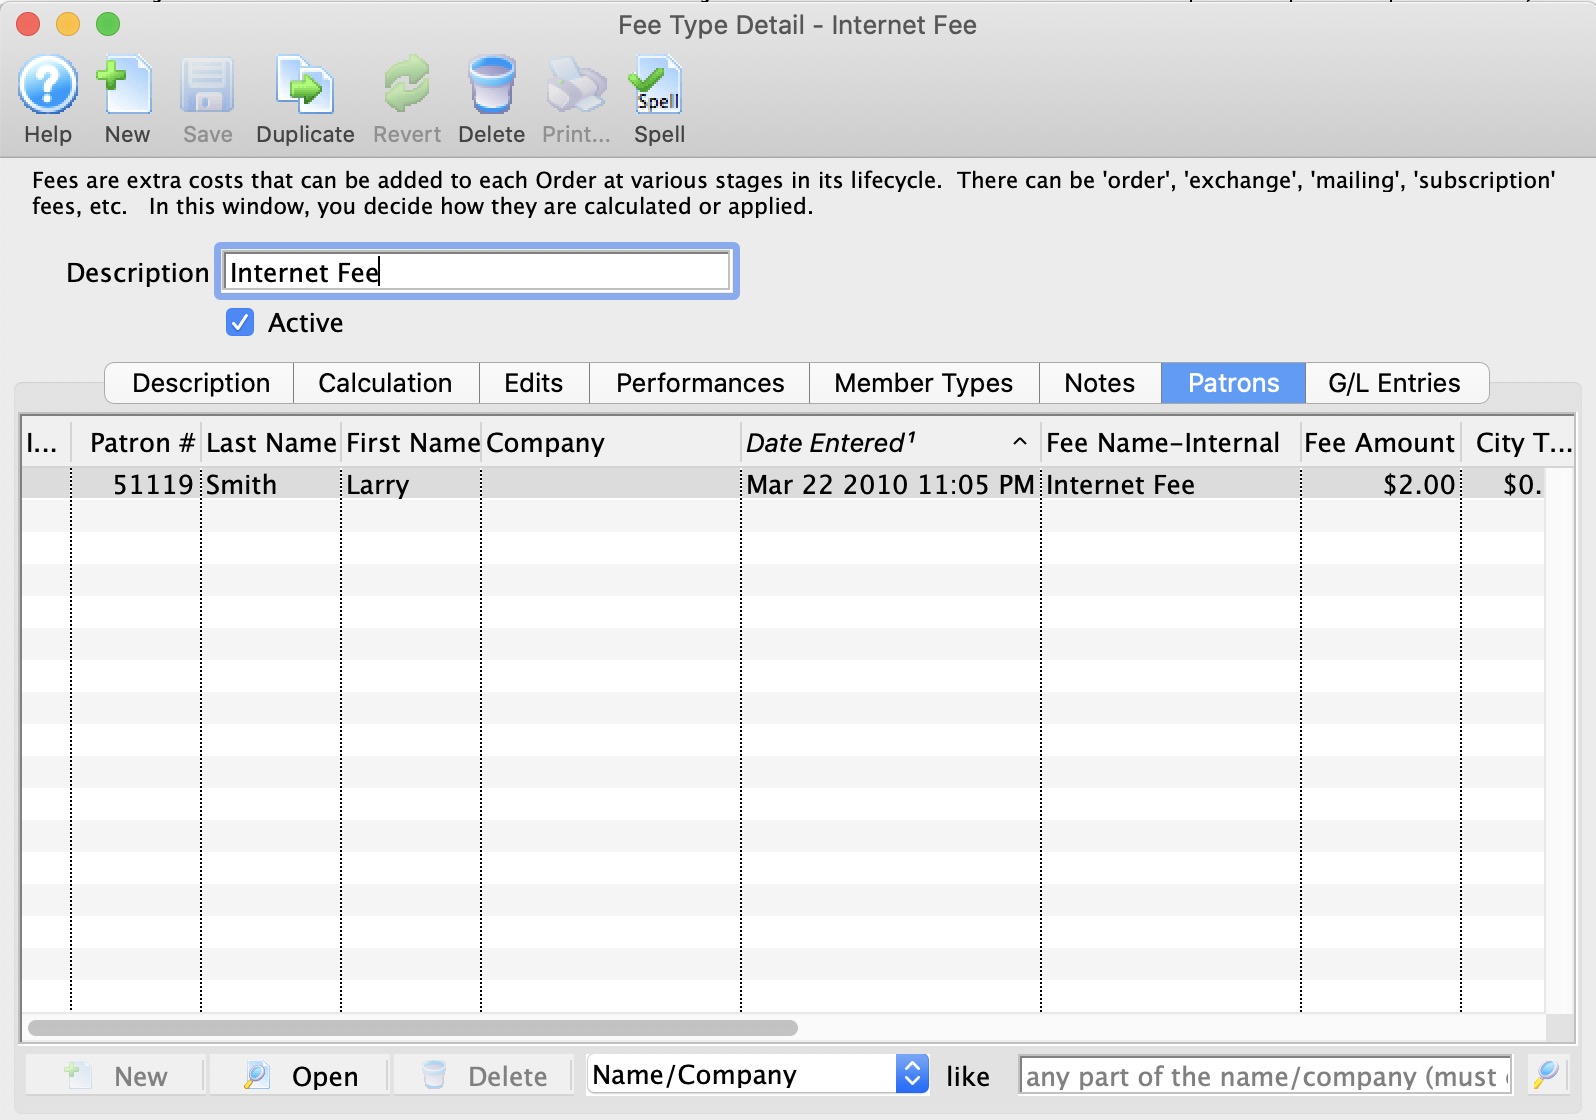
As patrons incur this fee, each instance of the fee's usage will be recorded in the Patrons Tab for your reference.
G/L Entries Tab
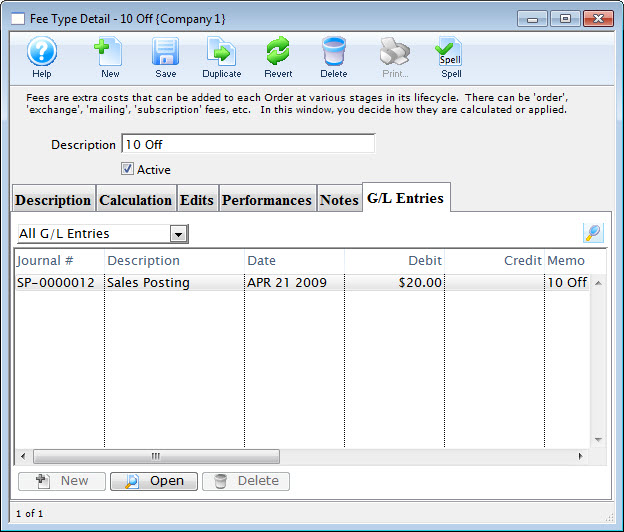
As journal entries are created and posted, each instance of the fee's usage will be recorded in the G/L Entries Tab for your reference.
Fee Table Usage
This tab indicates where the fee has been associated with a process such as:
- Mailing fee, print at home fee, or will call fee (all in company preferences)
- Payment rounding fee (in code tables)
- Coupon or pre-access code fee
Creating a New Fee
To create a new fee Type. you perform the following steps:
- Open the Fee Types List.
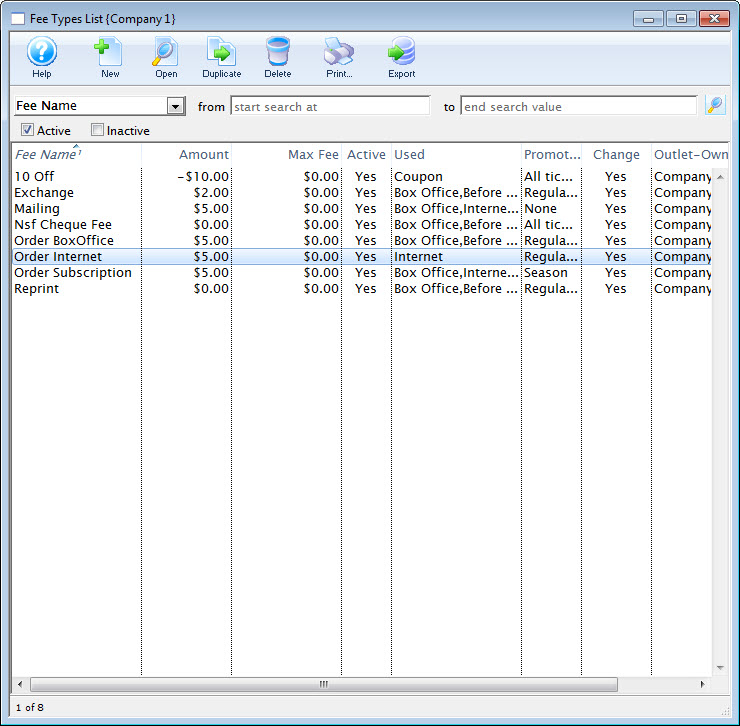
Click here to learn how to access the Fee Types List. - Click the New
 button.
The Fee Type Detail window opens.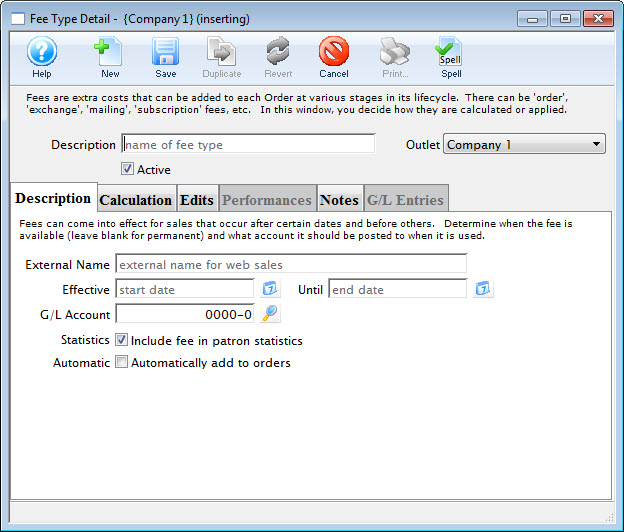
- Enter the Fee Type Description.
- Enter the description details as needed.
For more information on the description tab click here. - Click the Calculation
 tab.
tab.
- Enter the calculation information as needed.
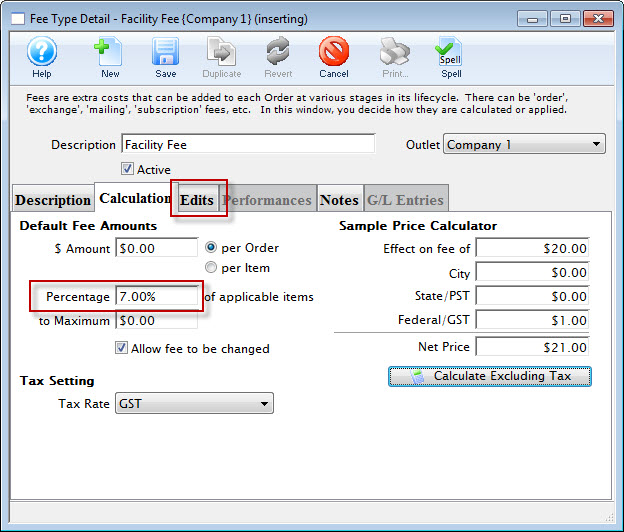
For more information on the calculation tab click here. - Click the Edits
 tab.
tab.
- Enter the edit preferences as needed.
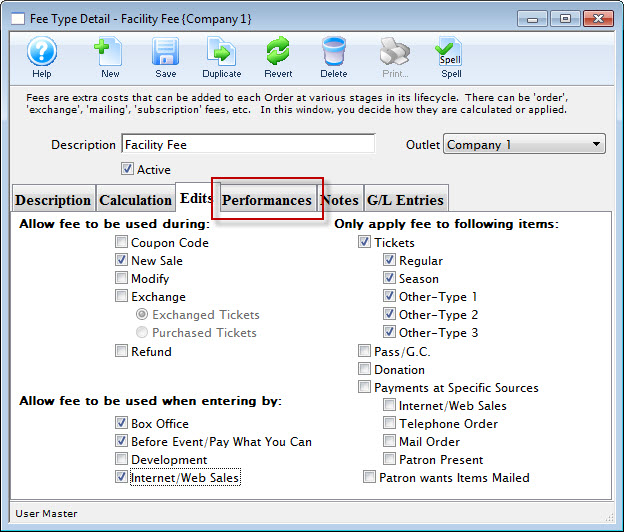
For more information on the edits tab click here. - Click the Performances
 tab.
tab.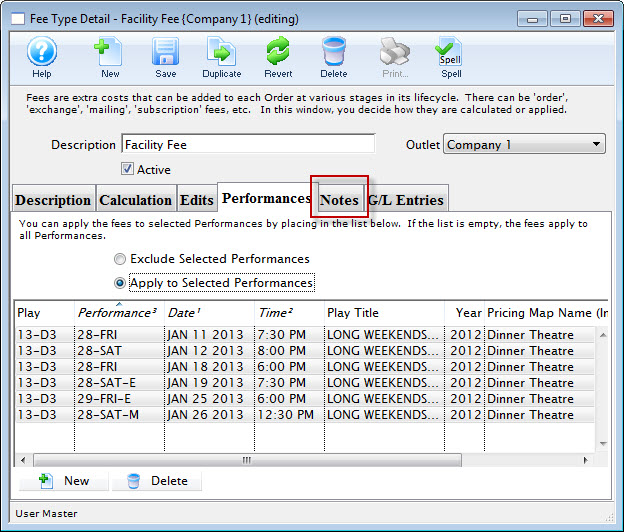
- Enter the Performances as required.
- Choose The Exclude Selected Performances to ensure the fee in NOT applied to the performances you select.
- Choose Include Selected Performance to ensure the fee is applied to ONLY the selected perdomances between the dates entered on the Description tab.
For more information on the performances tab click here.
- Click the Notes
 tab.
tab.
- Enter notes as needed.
For more information on the notes tab click here. - Click the Save
 button.
The fee is now saved and to be applied to future orders.
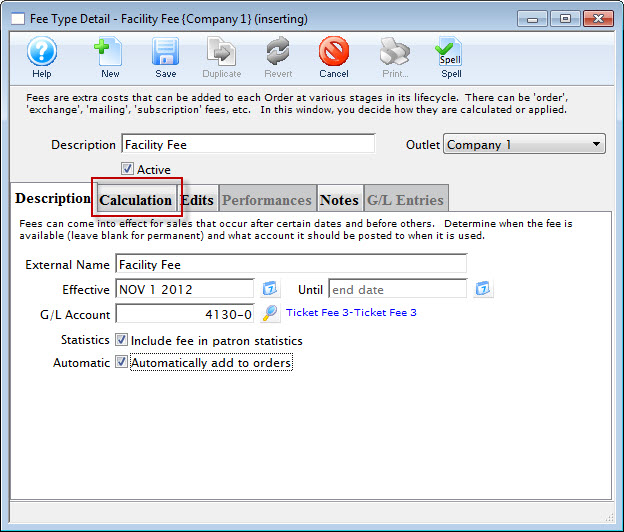
Editing a Fee Type
- Open the Fee Types List window.
Click here to learn how to access the Fee Types List.
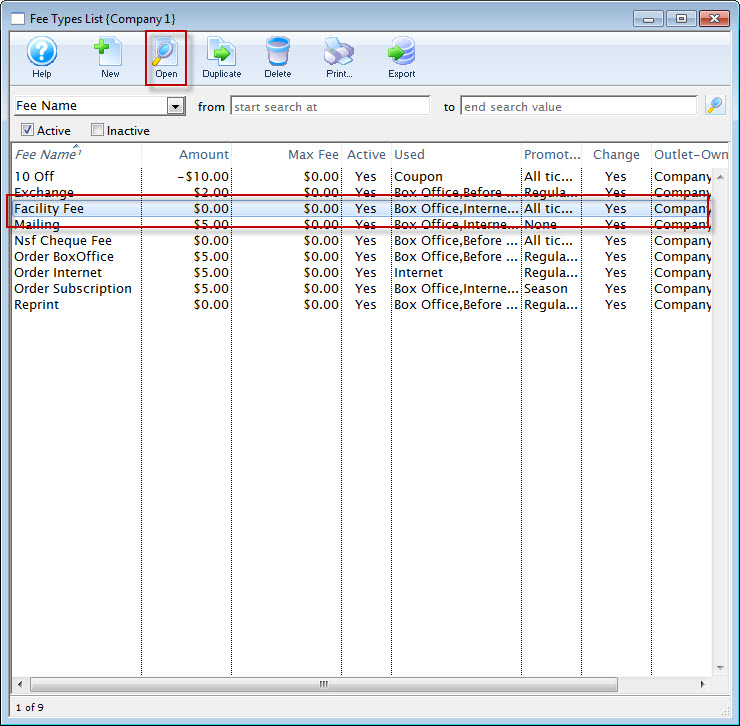
- Select the Fee to be edited.
Single click on a fee to select it.
- Click the Open
 button.
The Fee Type Detail window opens.
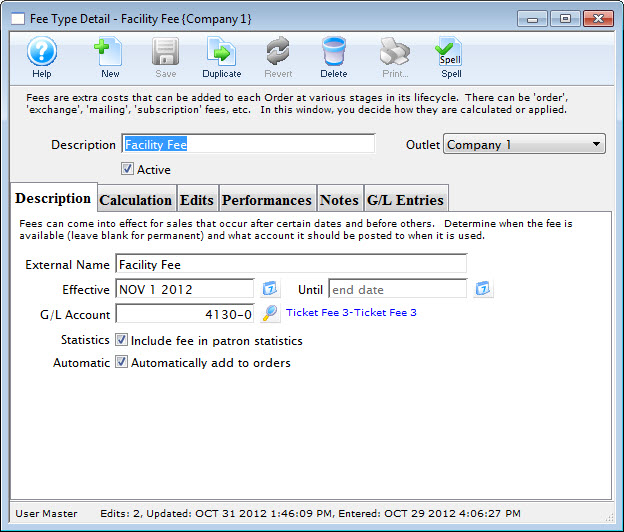
- Make changes as needed.
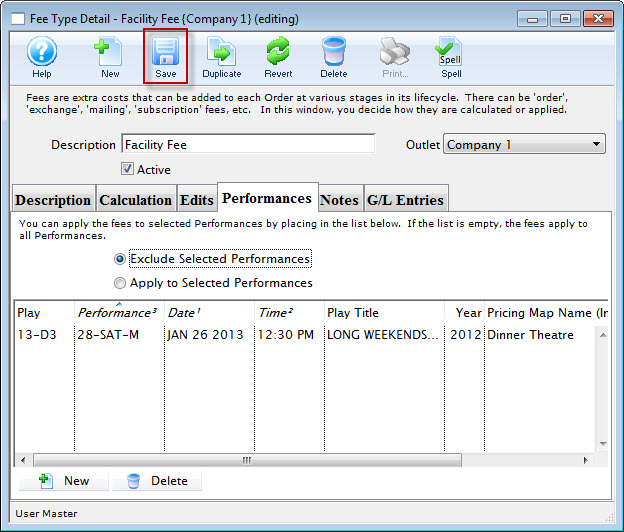
- Click the Save
 button.
Deleting a Fee Type
- Open the Fee Types List window.
Click here to learn how to access the Fee Types List.
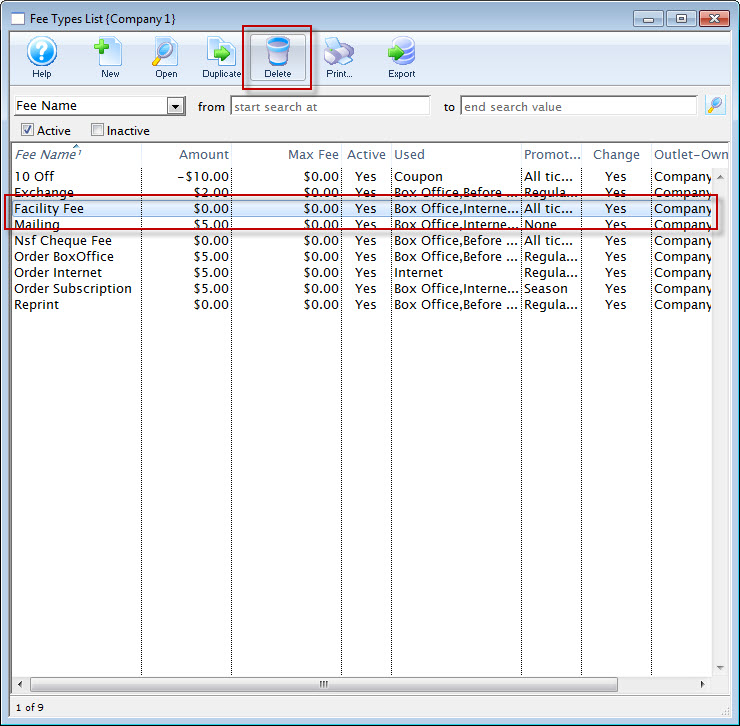
- Select the Fee to be deleted.
Single click on a fee to select it.
- Click the Delete
 button.
A Delete Record confirmation window opens.
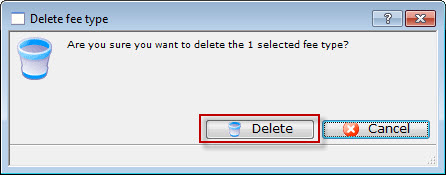
- Click the Delete
 button.
The fee is now removed.
Order discounts (negative fees)
 |
The use of negative fees and the ability to change it from the default discount requires a special permission set for the employee in the function tab of employee setup, per the image to the right.
This in the column 'window' and look for Fees - to allow the user to Enter a negative value for a fee (i.e. discount). |
The example below highlights some of the things you might need for setting up a negative order fee. There are variations such as if subscribers get an automatic discount vs tuition discounts that would not be automatic.
Example for Tuition Fee Discount
Key settings for a negative fee like tuition refund would be:
Description Tab (highlighted below)
- Give it a name like Tuition Refund for tracking purposes
- Use an account that appropriately identifies the refund in your accounting system.

Since it is a refund, it is probably an expense account or cost of goods. Please discuss with your accountant for the proper account number for tracking purposes. - Be sure that Do not automatically add to orders is unchecked if you want to add the fee manually such as Tuition Refunds. Click it for automatic order discount such as for Subscription Sales.
Calculation Tab (highlighted below)
- Make it a per order fee
- Allow the fee to be changed if you are going to be prorating the tuition refund based on number of classes attended.
- if your tuition is taxable, then the fee should also be taxable at the same rate. Most often tuition is not taxable.
Edits Tab (highlighted below)
- Apply fee to actions: Modify (optionally Exchange and Refund)
- Apply fee at Box office only
Coupon and Pre-Access Codes
- A discount on a certain show to a target market segment
- Access to that event before it goes on sales to the public - or that is never on sale to the general public
Examples of marketing activities that are supported
- Amex front of the line. The performance must be tagged as only accepting AMEX for a period of time.)
- A one time mailing discount for subscriber purchases online - for their tickets
- Automatic access to events based on a patron classification (mail list) once the patron logs in so you know that the access code cannot be passed around the internet - the recipients can be identified up front
- A wide ranging discount (eg 2 for 1) if a special coupon code is entered - including limiting the number of uses of that sale promotion within a section of the venue
- Scaled discounts based on the first x people get '10%' in an area, the next Y people get '5%' based on sales rules
- Limited access to subscribers to an add on show after the fact. The general capability can be extended (using plugins) to any people that satisfy a dynamic set of criteria such as donors in the past 6 months to certain campaigns that also have bought other specific events.
- and much more - refer to the explanation of each window.
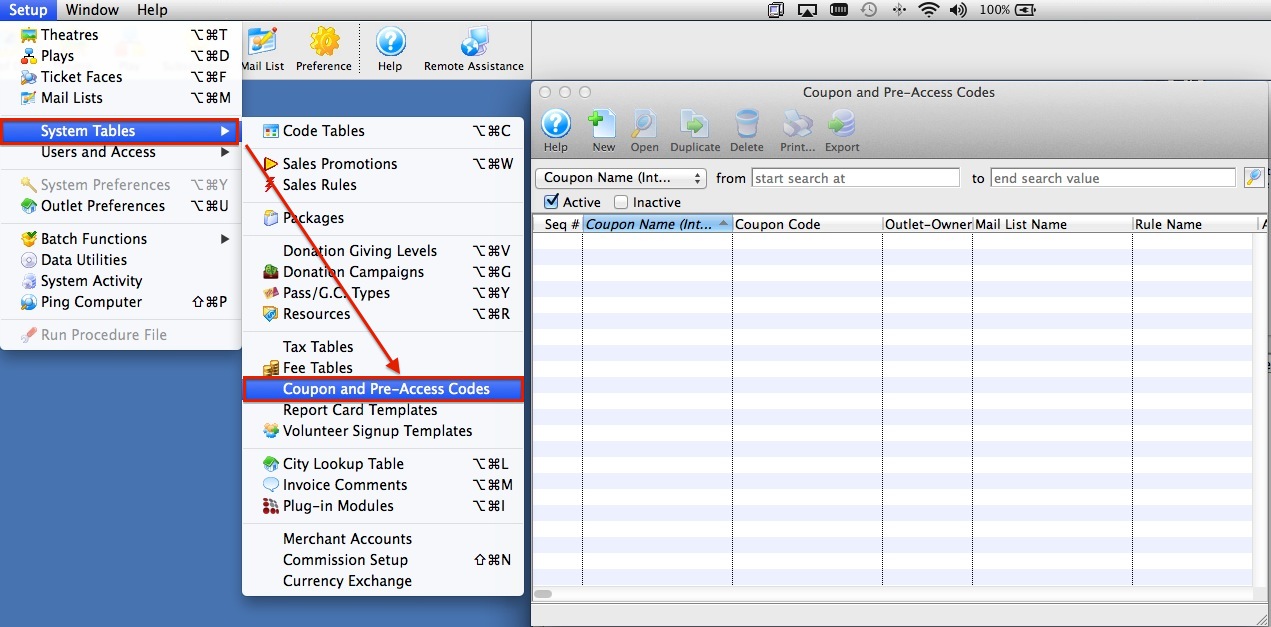
From this window you can add, remove and edit Coupon Codes.
Coupon Codes List Window
Parts of the Coupon Code List Window
 |
Inserts a new coupon code. For more information on inserting coupon codes click here. |
 |
Opens the selected coupon code for editing. For more information on editing coupon codes click here. |
 |
Creates a copy of the current coupon code. |
 |
Deletes the current coupon code. For more information on deleting coupon codes click here. |
 |
Generates a report of the coupon codes to the screen or default print location. |
 |
Exports out a list of the coupon codes in tab-delimited, comma delimited and two Excel formats. |
 |
Options to search for coupon codes by, including the Coupon Name (Internal), Coupon Code, whether the coupon is Active, and which Outlet it is available for. |
| From | Starting point for the search. |
| To | Ending point for the search. |
| Coupon Name | Name of the coupon code. |
| Coupon Code | Name of the verbal code used to enact coupon as payment. |
| Outlet-Owner | Outlet responsible for the fee. |
| Mail List Name | Displays the name of the mail list the coupon is restricted to. |
| Start Date | Date that the coupon is available for use. |
| End Date | Date that the coupon is unavailable for use. |
| Max. Uses | Maximum number of times that the coupon may be used before becoming inactive. |
| Current Uses | Current number of times that the coupon has been used. |
Coupon Codes Discount Detail Window
Coupons are used to enable pre-access to tickets and/or cause a discount on tickets during the checkout process. The intention is a code may be mailed or given to a group of patrons who may, at checkout on the web or at the time of payment at the box office, specify the coupon code and get tickets or receives a discount if there are any uses left on them.
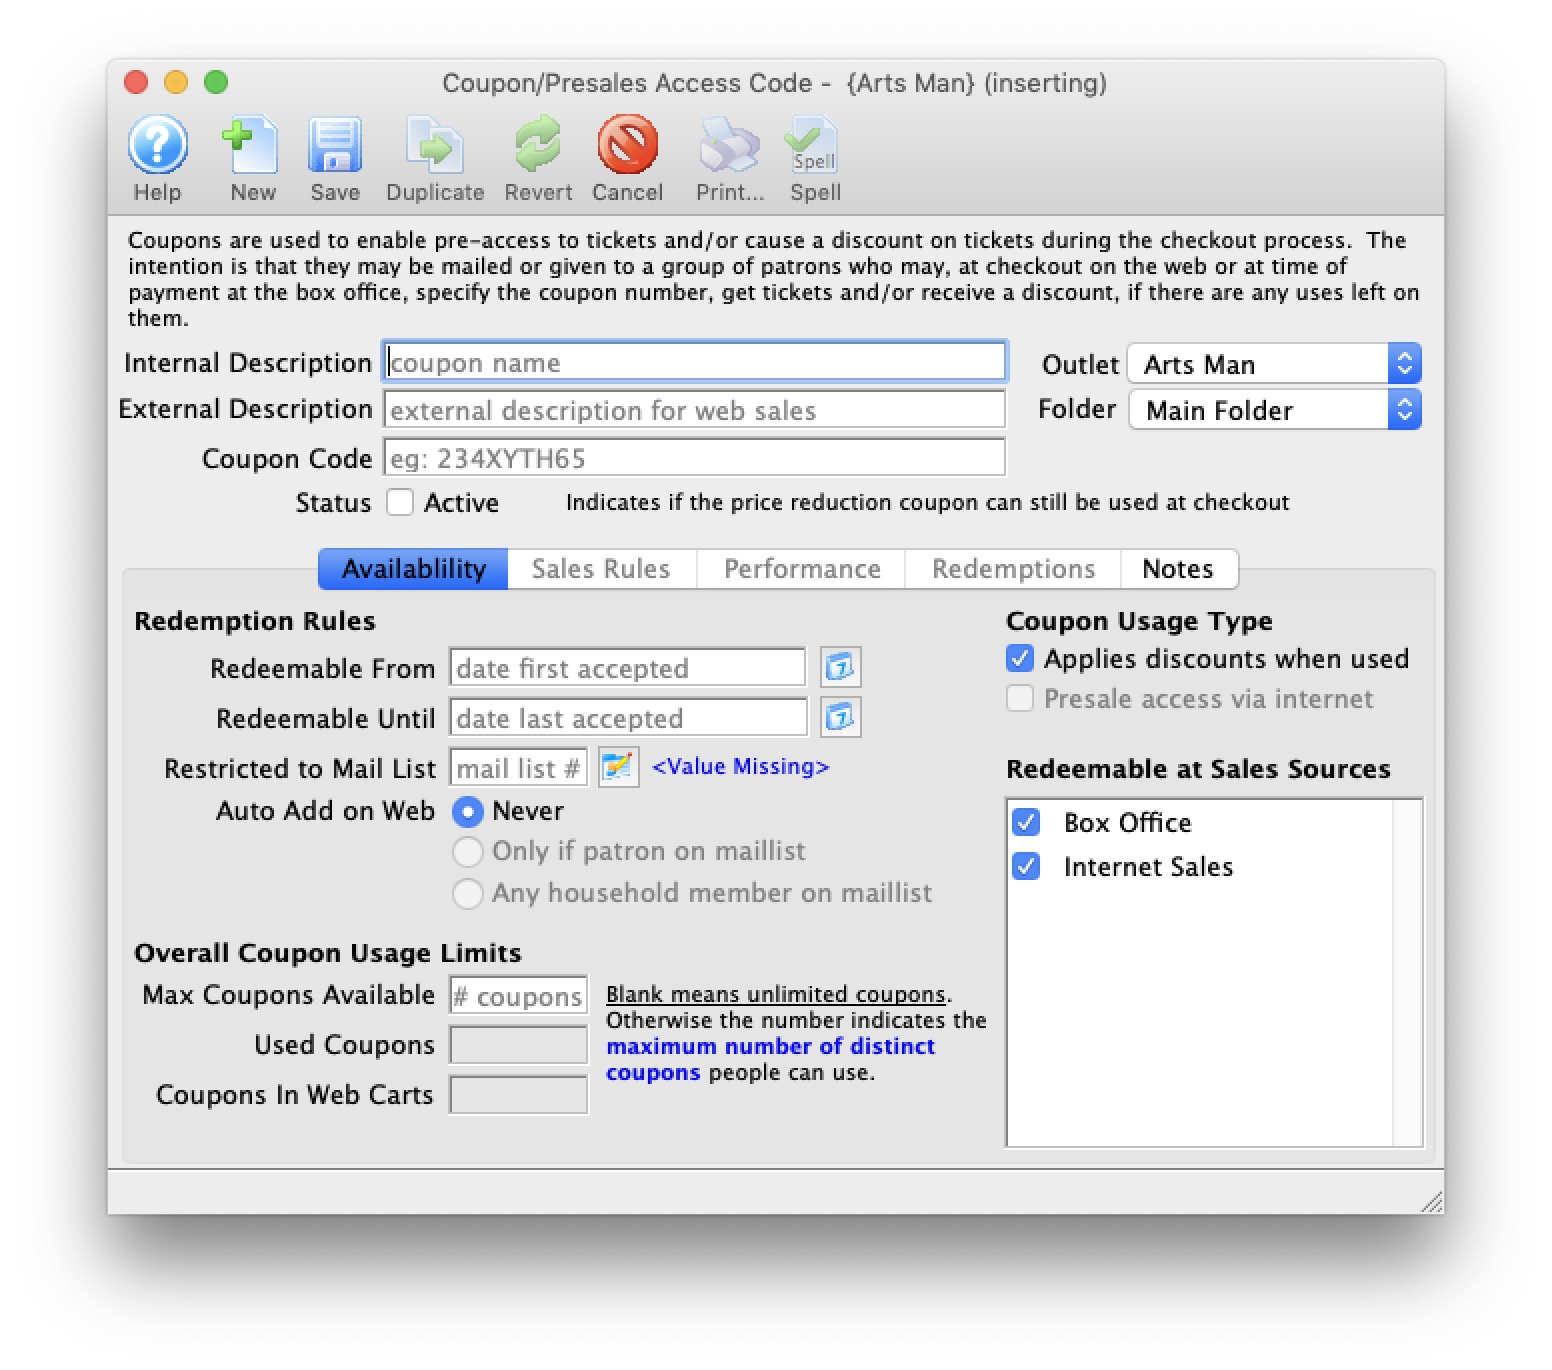
Parts of the Coupon Code Discount Detail Window
 |
Inserts a new coupon code.
|
 |
Saves changes made to the coupon code. |
 |
Creates a copy of the current coupon code. |
 |
Undoes changes to the last saved point. |
 |
Deletes the current coupon code. For more information on deleting coupon codes click here. |
 |
Checks the spelling of fields that can be typed in. |
| Internal Description | Internal name given to the coupon code. |
| External Description | External name given to the coupon code to be displayed on web. |
| Coupon Code | Verbal code used by patrons to enact coupon code as a form of payment. |
| Status | When checked the coupon is active and can be used. |
| Folder | You can assign a folder name to the coupon code so that you can search by that if you wish. |
 |
Details about the coupon code. For more infomation on the Availability Tab click here. |
 |
Promotions for the coupon type. For more information on the Promotions Tab click here. |
 |
Applicable performances for the coupon. For more information on the Performances Tab click here. |
 |
List window of patrons and orders that have used the coupon code. For more information on the Redemptions Tab click here. |
Availability Tab

Redemption Details |
|
| Redeemable From | Date that the coupon is available for use. |
| Redeemable Until | Date that the coupon is no longer available for use. |
 |
Accesses a calendar to select dates. |
| Restricted to Mail List | Coupon is only available to members of selected mail list. Any other patron who tries to use the coupon will be told that it is invalid. |
 |
Accesses the Mail List Lookup window to select Mail List. | Auto Add on Web | If a mail list is specified for the coupon, you can decide how the coupon gets into the patrons cart. Choices are:
|
Coupon Usage Type |
|
| Applies discount when used | Check this box if this coupon code could apply a discount to tickets via sales rules tab or orders (using a one time discount) |
| Presale access via internet |
If you provide a list of performances in the performance tab, then:
|
Overall Coupon Usage Limits |
|
| Max Coupons available | The number of times that this coupon can be used before it becomes inactive. Leave blank to disable this feature. |
| Used Coupons | The current number of times that this coupon has been used. |
| Coupons in web carts | The number of coupons currently in shopping carts. |
Redeemable At Sales Sources |
|
| Box Office | Check this box if this coupon can be used in conjunction with a sale at the Box Office. |
| Internet Sales | Check this box if this coupon can be used in conjunction with a Web Sale. |
Sales Rule Tab
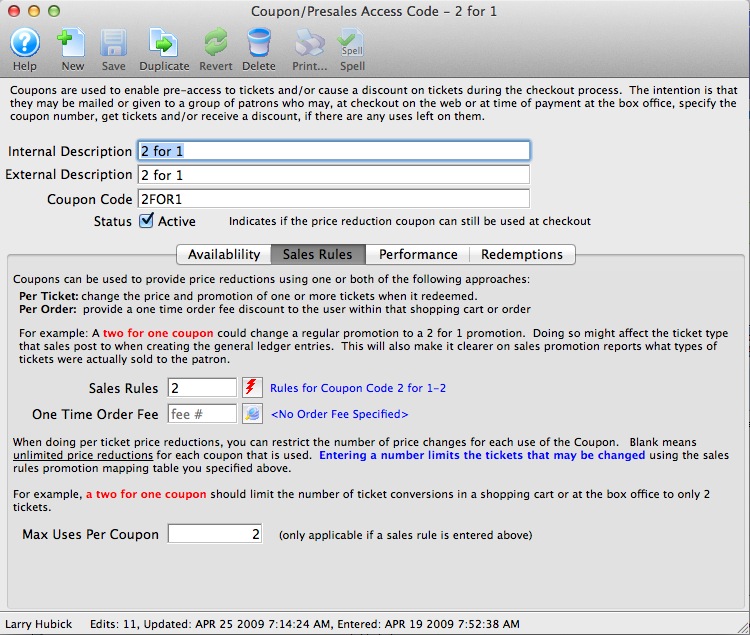
Parts of the Sales Rules Tab
| Sales Rules | The rule which will be applied to convert the tickets from one promotion and/or price code to another. For information on sales rules promotion conversion, click here |
 |
Opens the Sales Rule list in order to select a sales rule. |
| One Time Order Fee | Order fee applied to the coupon. | Max Use per coupon | Maximum number of tickets per order that this coupon can be used to receive a discount. |
Performance Tab
Parts of the Performance Tab
| Event/Play # | The # of the event/play(s) the coupon can be used for. |
| Event/Play | The name of the event/play(s) that the coupon can be used for. |
| Performance | The performance(s) that the coupon can be used for.
When the patron enters the pre-access coupon online, then any event in the list of performances will be displayed in the performance list to make it easier to select the events. Immediately after the pre-access coupon is entered, the other events will disappear for this one time only -- effectively making the pre-access coupon a quick filter to the events. In addition, the coupon shows in the shopping cart with a button to let the patron show the events again. For performances that are in the permitted list:
|
| Date | The date of the performance(s). |
| Time | The time of the performance(s). |
| Event/Play Title | The full title of the event/play(s) that the coupon can be used for. |
| Year | The fiscal year of the event/play(s) that the coupon can be used for. |
| Theatre Name | The name of the theatre that the coupon can be used for. |
| Perf # | The performance number. |
 |
Opens the performance lookup list window to allow the selection of performances that the coupon is valid for. |
 |
Delete the current selected performance from the list of valid performances for the coupon. |
Redemptions Tab
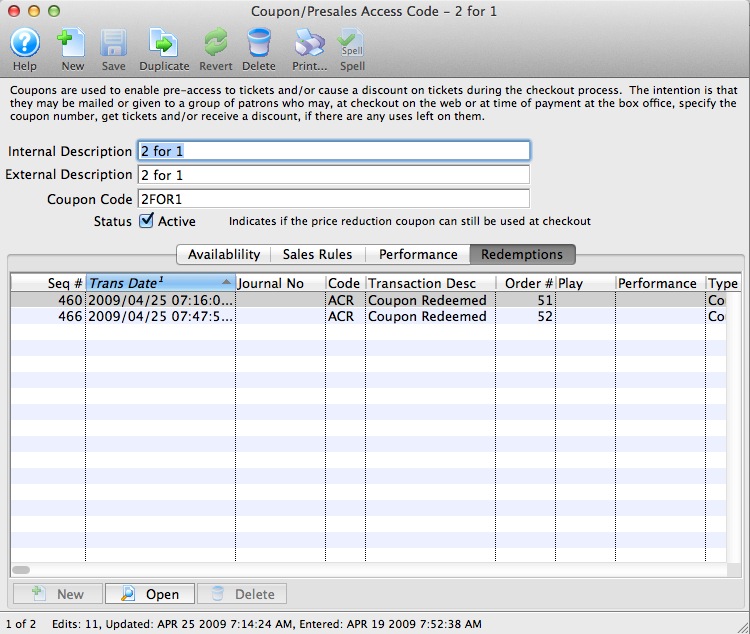
The redemptions tab displays a list of every instance when the coupon was redeemed.
|
The Redemptions tab will show Coupon redemptions only. Pre-Sale access only allows access to an event and is not tracked within the code. Pre-Sales access is best tracked by Sales Rule, Promotion Conversion
For more information and sales rules - promotion redemptions click here. Pre-sale access can be limited to members of a Mail List by selecting the Mail List on the Availability tab. |
Notes Tab
The Notes Tab of a Coupon or PreAccess Code is where content regarding the code can be placed. The field accepts plain text or HTML code. Text from this field appears on the ticketing site beside the Coupon or PreAccess Code in the web cart. This is a great marketing opportunity to communicate with your online patrons.
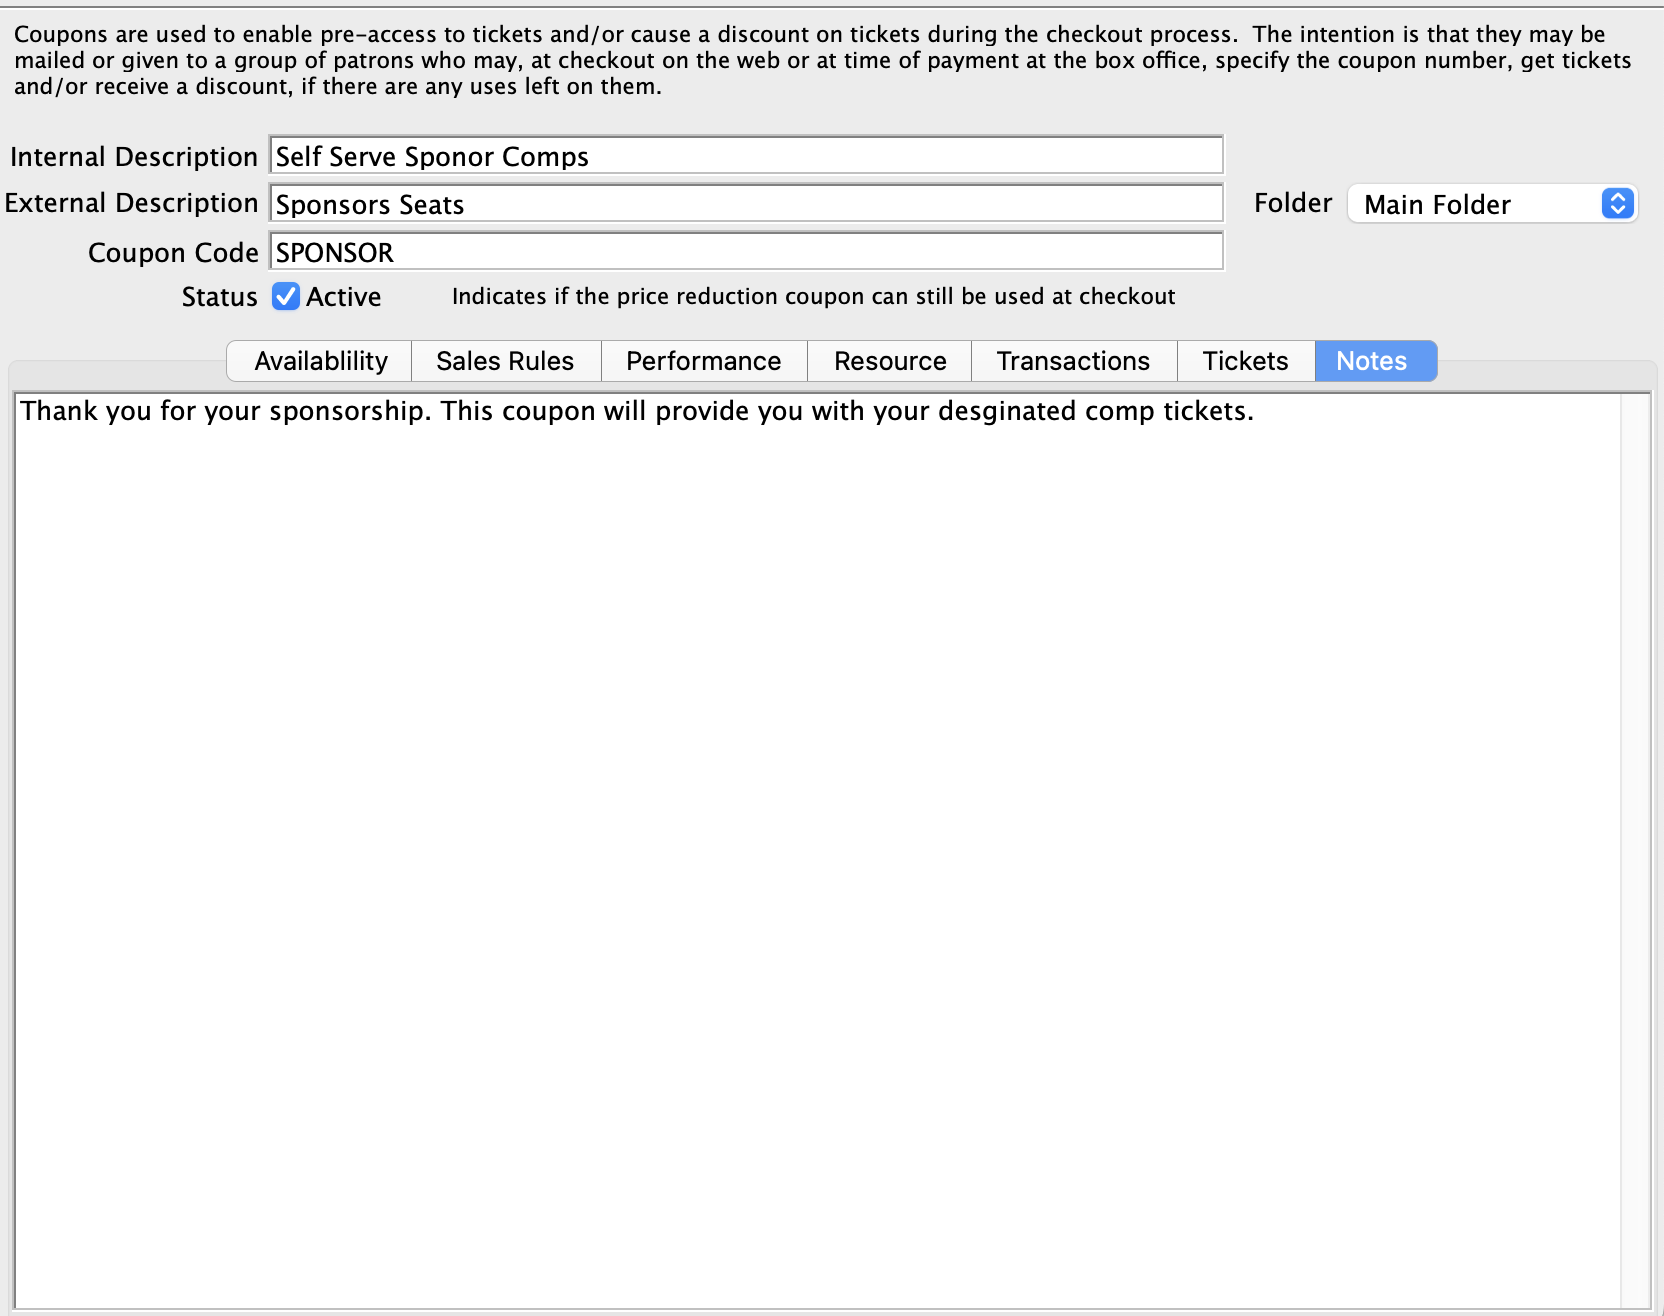
Resources Tab
Implementing Coupon Codes
For further information on creating a coupon for discounts, click here.
With Restricted Access Codes, please be aware of the following:
If...
- on the availability tab if you set your Max Coupons to 10
- on the promotion tab set you set the max use per coupon to 2
- and in the promotion conversion detail you set the Maximum Uses to be 20 ( 20 tix max ).
The following occurs
- If everyone only buys 2 tickets per order, the coupon will remain available for all 10 coupons available.
- If someone buys 4, only two ticket will be affected by the coupon.
- If you reach either the 10 coupon threshold or the max uses of 20 no more discounts will be offered.
The following topics indicate how to implement coupon codes for redemption and/or presales access within Theatre Manager
Creating a Coupon Code for Ticket Discounts
Using Theatre Manager, you can create Ticket Discount coupon codes.
|
You can create coupon codes for both ticket discounts and presale access. For more information on creating coupons for presale access, click here. |
With Restricted Access Codes, here is an example of restricting the coupon to 10 coupons of 2 redemptions for a maximum of 20 tickets:
- on the availability tab if you set your Max Coupons to 10
- on the promotion tab set you set the max use per coupon to 2
- in the promotion conversion detail you set the maximum Uses to be 20 ( 20 tix max ).
The following occurs
- If everyone only buys 2 tickets per order, the coupon will remain available for all 10 coupons available.
- If someone buys 4, only two ticket will be affected by the coupon.
- If you reach either the 10 coupon threshold or the max uses of 20 no more discounts will be offered.
To create a Coupon Code for Ticket Discounts, you perform the following steps:
Click here to learn how to access the Coupon Codes List window.
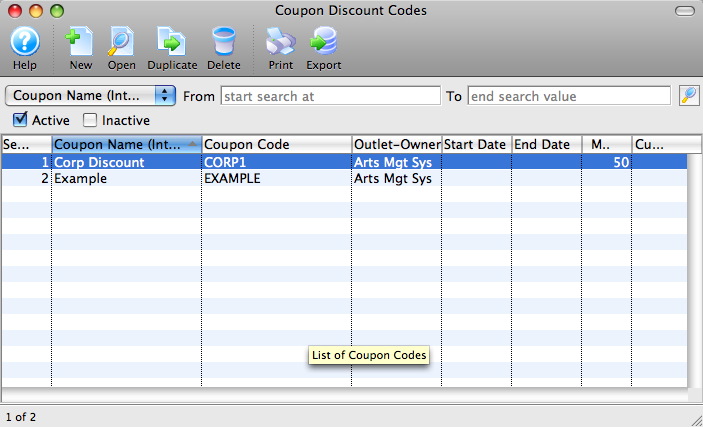
- Click the New
 button.
The Coupon Code Discount Detail window opens.
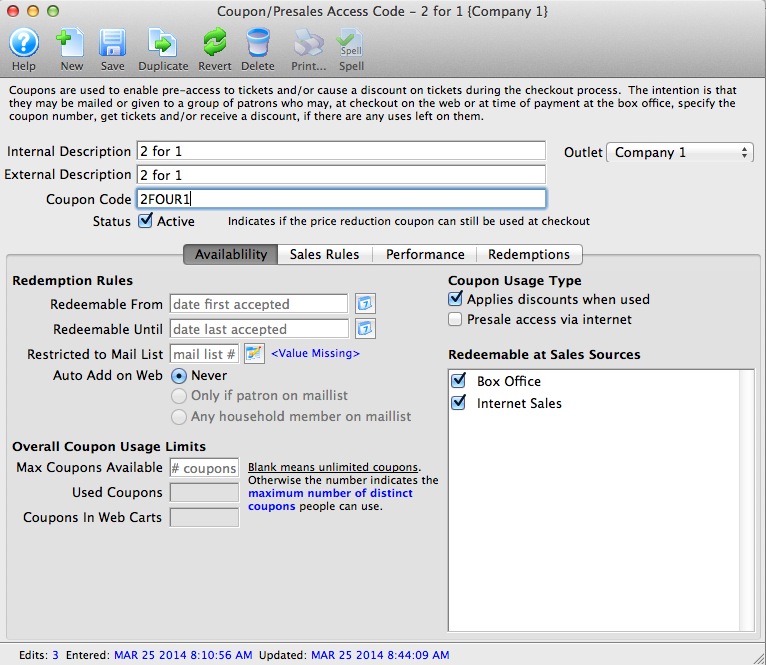
- Enter the Coupon Code Description.
The internal description will only be displayed in Theatre Manager and the external description will be displayed for web sales.
- Enter the code that the Patron will use to receive the coupon discount in the Coupon Code box.
Example: 2FOUR1
- Enter the availability dates detail as needed. ( blank for unlimited )
For more information on the availability tab click here.
- Add a Mail list if restricting the coupon to only patron on a particular Mail List.
Leave blank if coupon is unrestricted and can be used by any patron
- Select option for Auto Add
- Check Coupon Usage Type
Note that the default on insert is Applies discount when used
- Click the Save
 button.
The promotion, performance and redemption tabs are now available.
- Click the Promotions
 tab.
tab.
For more information on the promotions tab click here.
- Click the New
 button and create a promotion conversion.
For more information on promotion conversions click here.
- Click the Performance
 tab.
tab.
- Click the New
 button.
For more information on the performance tab click here.
The Performance List Lookup window opens.
- Select the performance(s) that the coupon will be used for.
To select multiple performances, use the CTRL key (Windows) or the OPTION key (Mac).
- Press the Select
 button.
- Click the Save
 button.
The Coupon Code has now been created. Click here for more information on editing a Coupon Code or click here for more information on deleting a Coupon Code.
- Click the New
Creating a Coupon to Add/Remove an Order Fee (Online)
|
You can create coupon codes for both order fees and presale access. For more information on creating coupons for presale access, click here. |
- Create the order fee.
Click here for more information on creating fees.
- Ensure the fee you create has the option checked to be allowed to be used during coupon code.
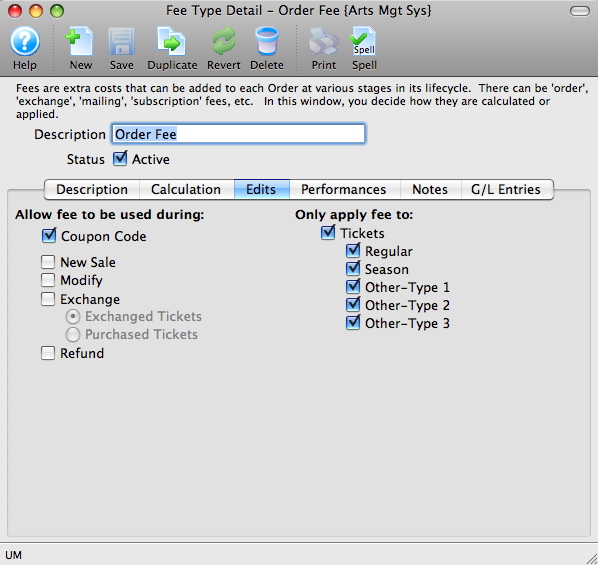
- Open the Coupon Codes List window.
Click here to learn how to access the Coupon Codes List window.

- Click the New
 button.
The Coupon Code Discount Detail window opens.
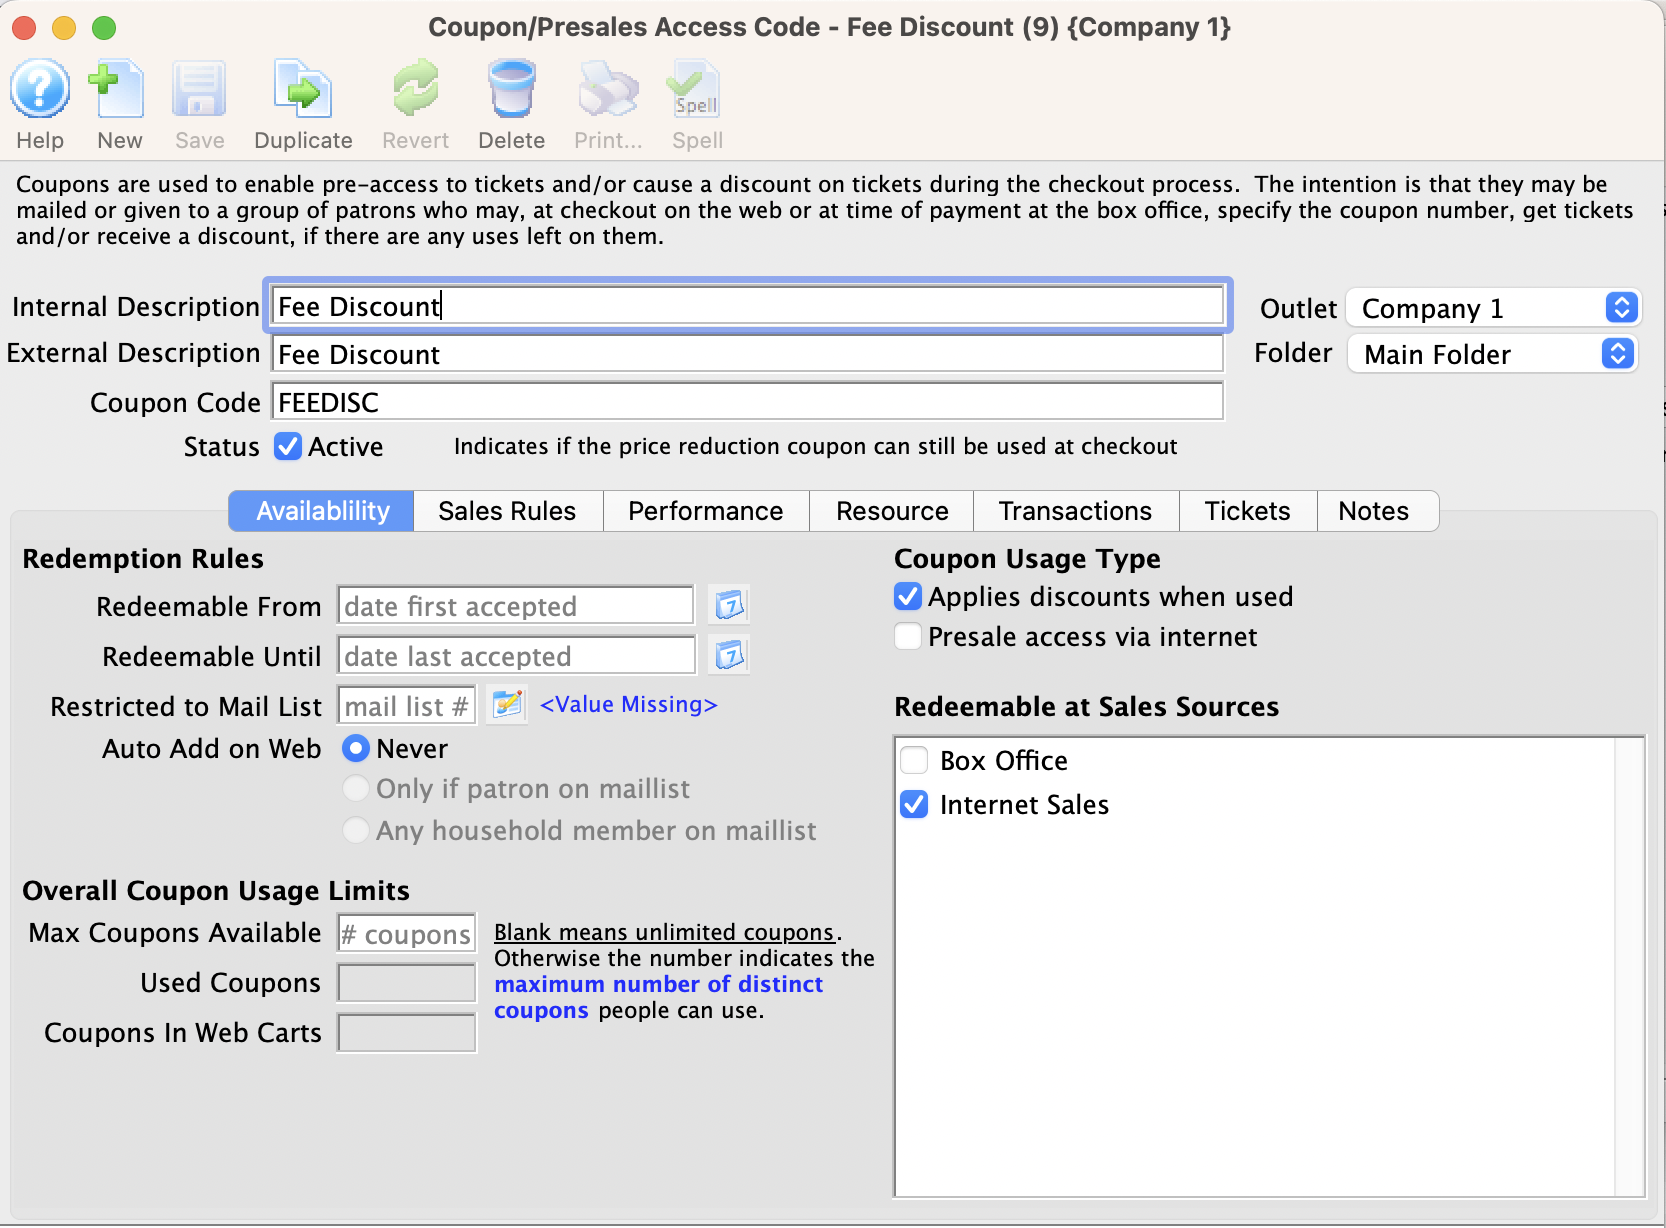
- Enter the Coupon Code Description.
The internal description is displayed in Theatre Manager and the external description is displayed for web sales.
- Enter the code the Patron will use to receive the coupon discount in the Coupon Code box.
- Enter the order fee number in the One-Time Order Fee Field/Box.
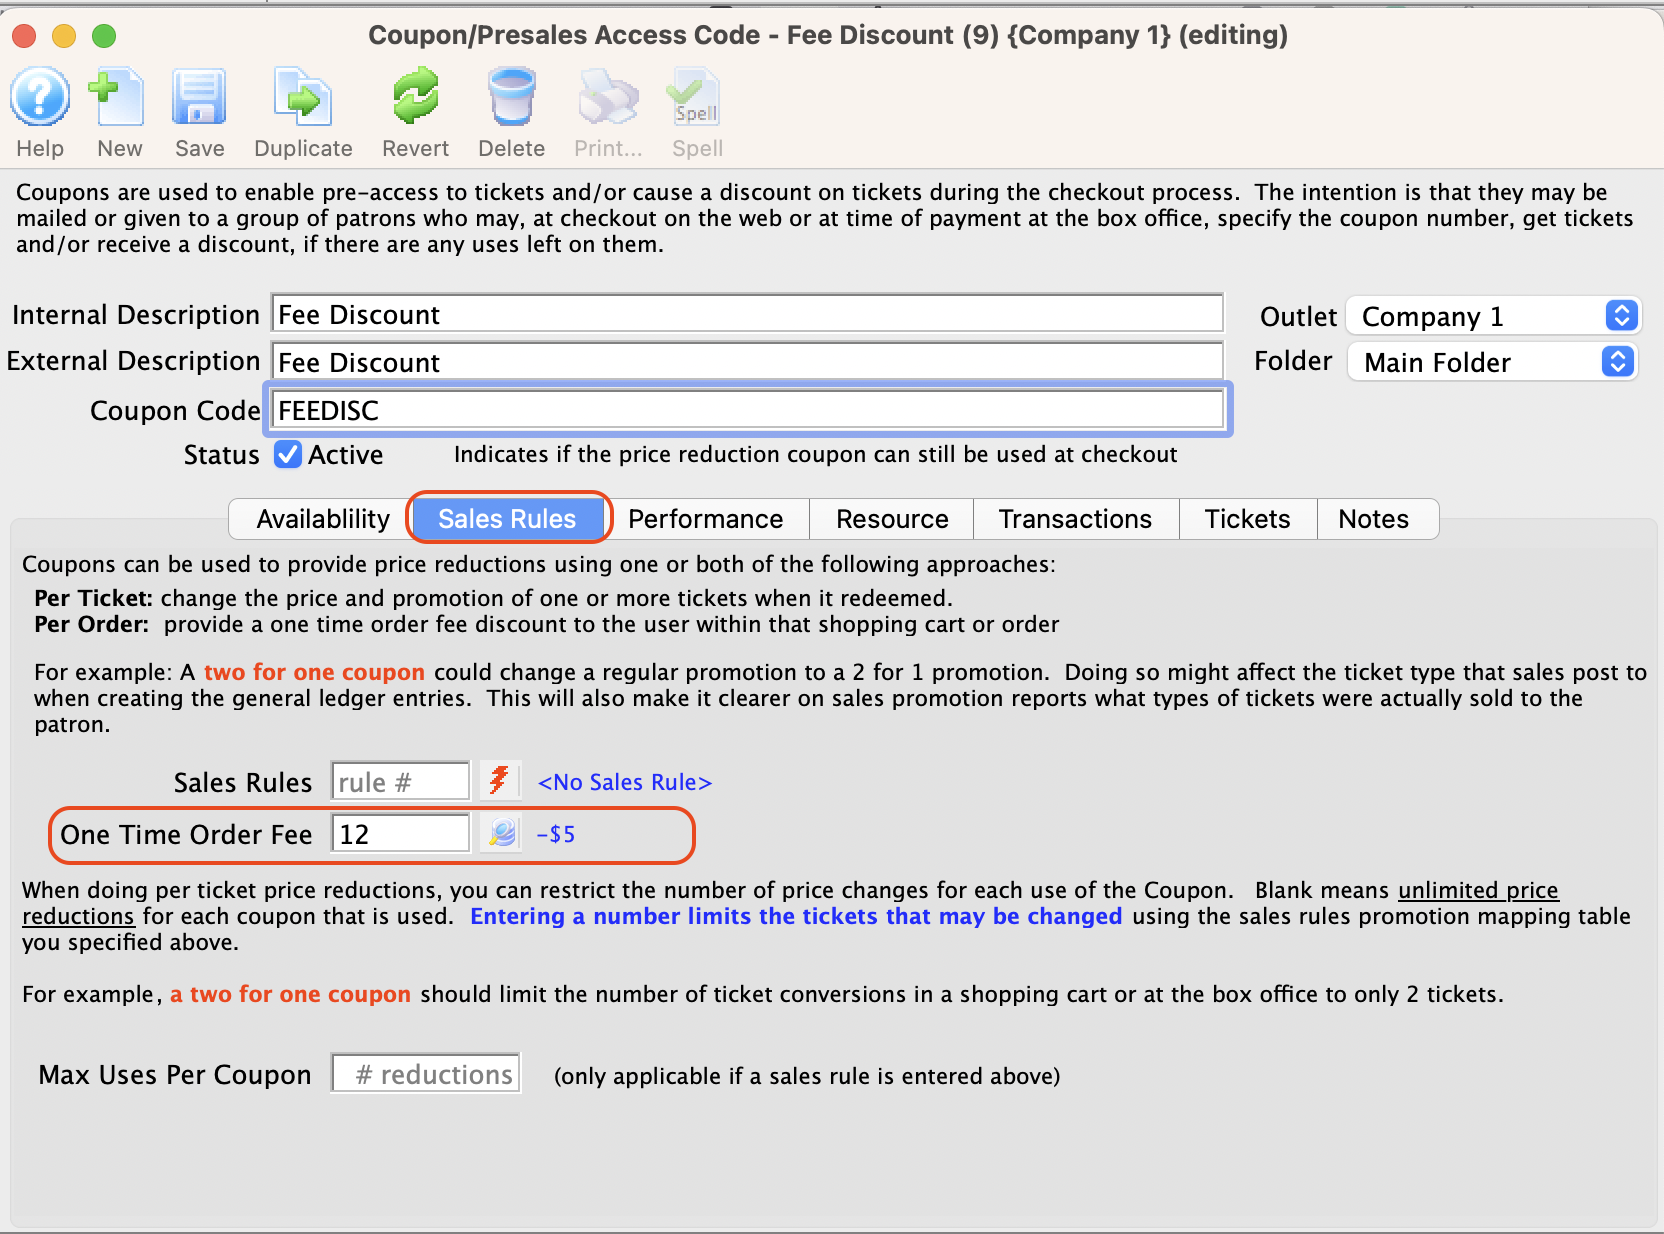
You can search for the order fee by pressing the Search
 button.
The fields described above, are the only fields required to be filled out on the Availability tab for the order fee coupon to work. The other fields do not apply or are optional. For more information on the Availability tab click here.
- Click the Save
 button.
The promotion, performance, and redemption tabs are now available.
- Click the Performance
 tab.
tab.
- Click the New
 button at the bottom of the window.
For more information on the Performance tab click here.
The Performance List Lookup window opens.

- Select the performance(s) the coupon will be used for.
To select multiple performances, use the CTRL key (Windows) or the OPTION key (Mac).
- Press the Select
 button.
- Click the Save
 button.
The Coupon Code has now been created. Click here for more information on editing a Coupon Code or click here for more information on deleting a Coupon Code.
Creating a Coupon for Presale Access
 |
You can set-up coupons to be used both presale access, as well as ticket discounts or order fees. For more information on:
|
- Ensure the performance has a future onsale date.
- Go to Events/Plays
- Select the Event/Play
- Click on the Performances tab
- Double-click on the performance
- Click on the Sales Management tab
- Input future on sale dates for the internet and/or box office. (if you want people to buy online, you need to enter a date for at least online sales -- box office could always be on sale)
- Save

Make sure that there is a sales promotion on each performance that allows it to be bought online Click here for more information on Events/Plays and Performances.
- Open the Coupon Codes List window.

Click here to learn how to access the Coupon Codes List window.
- Click the New
 button.
The Coupon Code Discount Detail window opens.
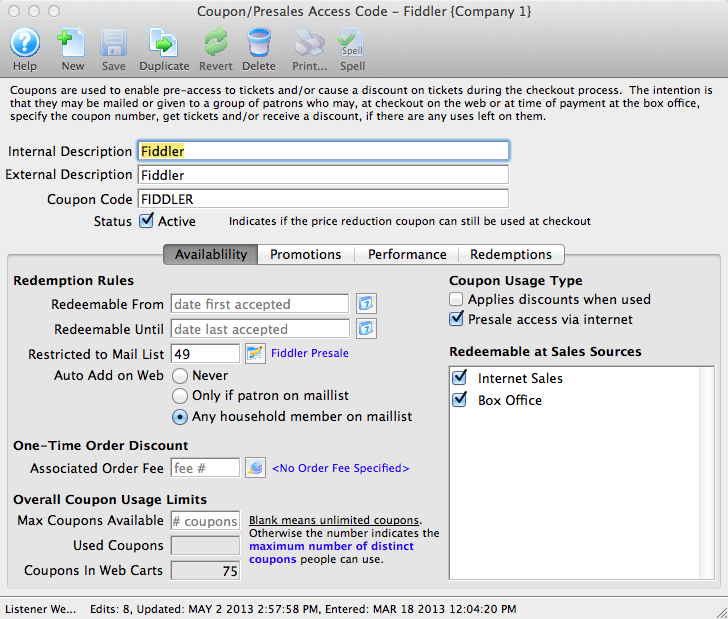
- Enter the Coupon Code Description.
The internal description will only be displayed in Theatre Manager and the external description will be displayed for web sales.
- Enter the code that the Patron will use to receive the coupon discount in the Coupon Code box.
This code can be manually entered by patrons on the web, or manually at the box office. If the coupon is 'auto-add' on web, then a mail list must be supplied to limit the distribution and the coupon will only be added to the cart if the user logs in.
- Enter the availability Redeemable date (optional)
The dates and times you enter will be before the future onsale date you entered in Step 1. You only need this if you want to limit the dates that the coupon will be available to use. If you want the coupon to work right away, leave the dates blank.
- Indicate if the coupon should auto-add on the web (optional)
This is handy for pre-sales access where if the patron logs in, the coupon code will automatically add to the cart for only the patron or anybody in the household. If that occurs, they can see performances that others cannot see without doing much more than logging in.
- Set the Coupon Usage Type
A coupon can be used to apply discounts to tickets that are purchased -or- to only provide access to specific performances in advance of general sale on the web -or- a coupon can perform both those features simultaneously.
- Click the Save
 button.
The Presale access via internet field, promotion, performance and redemption tabs are now available.
- (optional) If you want to limit the coupon to specific patrons, enter a mail list number in the Restricted to Mail List field.
- Place a check in the Presale access via internet box.
- Place a check in the Redeemable at Sales Source - Internet Sales box.

The fields described above are the fields required to be filled out on the Availability tab in order for the presale coupon to work. The others do not apply or are optional. For more information on the availability tab click here. - Click the Performance
 tab.
tab.
- Click on the New
 button at the bottom of the window.
For more information on the performance tab click here.
The Performance List Lookup window opens.

- Select the performance(s) that the coupon will be used for.
To select multiple performances, use the CTRL key (Windows) or the OPTION key (Mac). The selected performances will need to have the future onsale date set as in Step 1.

If a performance does not have a check in "Allow Selling - Via The Internet" under Event >> Performance Tab, if it is added to the Coupon Code Performance Tab, online ticket selling will still be available. Online selling will only be available until the future onsale date, when tickets go on sale to the public. - Press the Select
 button.
- Click the Save
 button.
The Coupon Code for Presale Access has now been created and can be used online.
Enabling Coupon as a Payment Method
If you do not see Coupon listed as a payment method type on the payment method drop down, it will need to be activated.
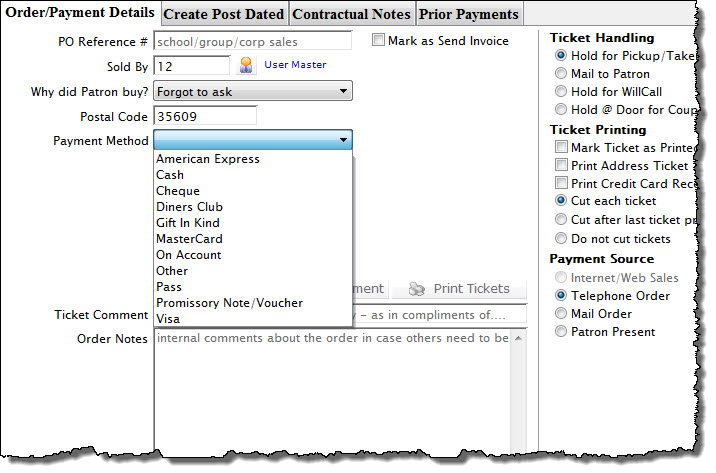
To set Coupons up as a payment method, you perform the following steps:
- Choose Setup >> System Tables >> Code Tables to access the code table window.
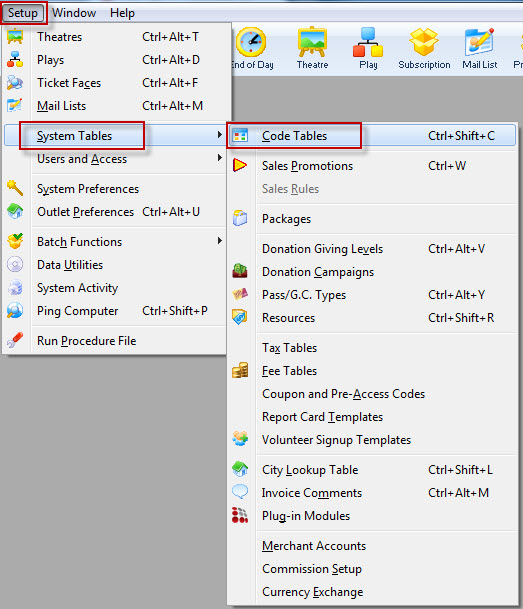
The Code Table window opens.
- Select Payment Methods in the Code Table list.
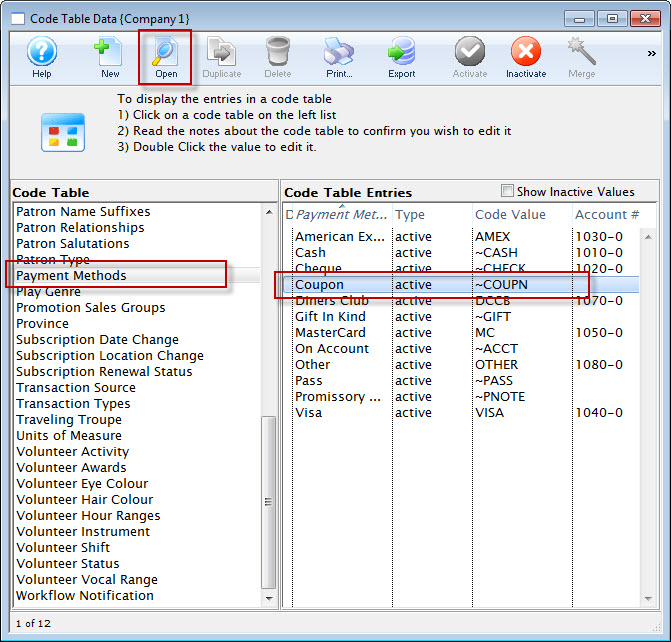
For more information on Code Table Payment Methods, click here.
- Double-click on Coupon in the Code Table Entries list.
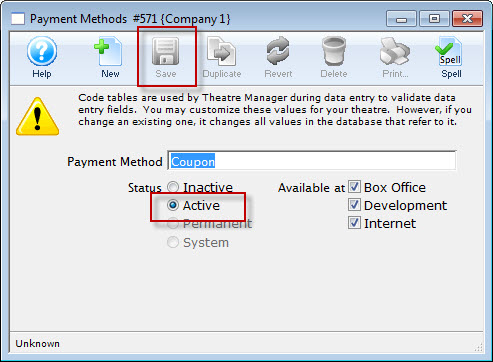
- Set the coupon to be Active.
- Select the coupon availability.
Select whether the coupon payment method will be available as a payment method at the Box Office, Internet Sales, Development or a combination of the three.
- Click the Save
 button.
 - Close the detail and code table list window.
Coupon is now be available as a payment method.
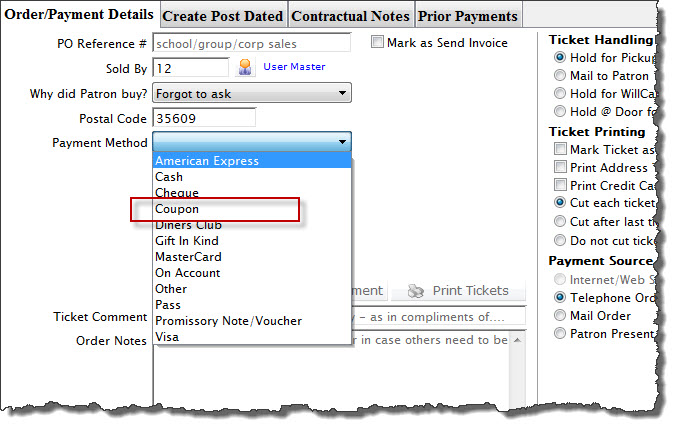
Using Coupons at the Box Office
Coupon codes can be redeemed at the box office provided box office is selected under the coupon code's availability tab. For more information on the Availability Tab, click here.
- Access the Payments
 window during the order before the payment is to be made.
For more information on accessing the payment window, click here.
- Select Coupon as the Payment Method.
Coupon # and Coupon Quantity Boxes will now be displayed.
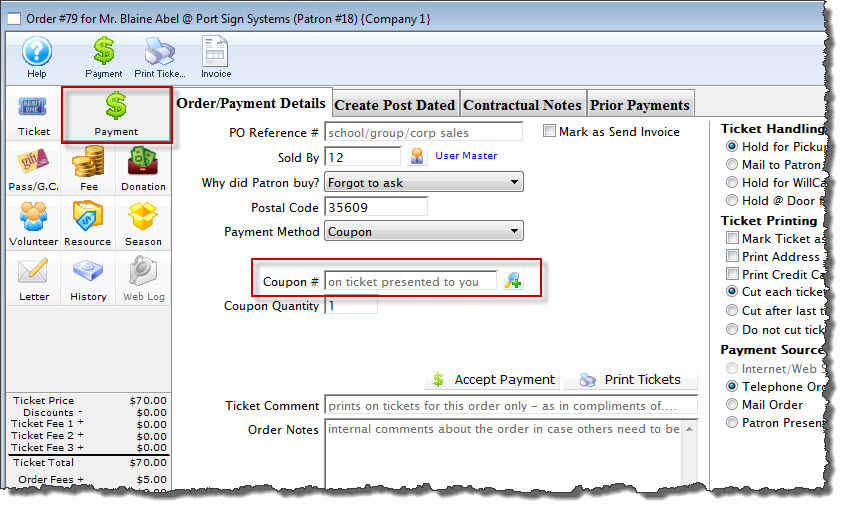
If coupon is not an entry in the drop down list of payment methods, you will need to enable it. For more information on enabling coupon as a payment method, click here.
- Type the coupon code in the Coupon # box.
Alternatively you can look-up the coupon code by using the Search
 button. This button opens the Coupon Code List window. For more information on the Coupon Code list, click here.
 - Enter the quantity of coupons to be applied to the order in the Coupon Quantity box.
- Click the Accept Payment
 button.
A confirmation dialog opens. The coupon will have been applied to the order and the order total will change.
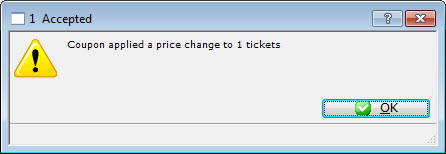
If the coupon is not accepted, ensure the coupon code is set-up to allow the selected performance, price code and promotion.
- Choose another payment method to finish processing the order.
For more information on creating payments, click here.
Editing a Coupon Code
- Open the Coupon Codes List window.
Click here to learn how to access the Coupon Codes List.
- Choose the Coupon Code you want to edit.
Single click on a package to select it. - Click the
 button.
The Coupon Code Discount Detail window opens.
- Make changes as needed.
- Click the
 button.
The changes are now saved and the window can be closed.
Deleting a Coupon Code
- Open the Coupon Codes List window.
Click here for more information on accessing the Coupon Codes List.
- Select the Coupon Code to be deleted.
Single click on a Coupon Code to select it. - Click the
 button.
The Delete Record confirmation window will open if the selected Coupon Code has not been used in any transactions.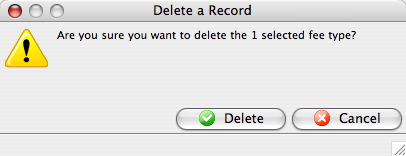
- Click the
 button.
The Coupon Code is now deleted.
How the Web Sales Pages Work With Coupon Codes
|
By default the coupon button in the TMcart page takes you back to the TMtickets page so you can buy more tickets. If your customers tell you they are "stuck" when entering a code, this may be the reason. |
You have set up a pre-sale coupon, but how does the website manage it?
The idea of when a coupon/Pre-Sales Code is entered on the Event Listing page is to STAY on that page because the Event Listing will be updated with any NEW events that you coupon / Pre-Sales Code gives you.
For example, I have set up a presale coupon for our event Classic Vaudville. This has been sent out to selected patrons.
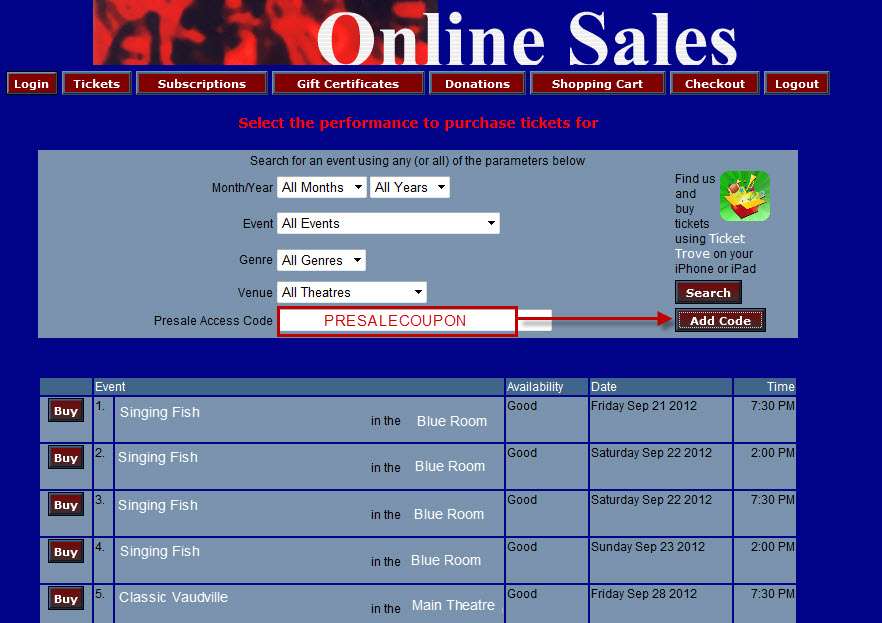
When they click the Add Code button, the event list displays the event that coupon is good for.
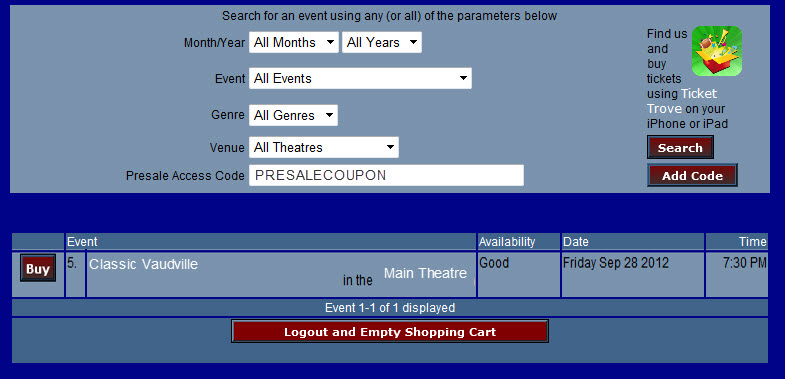
The patron now clicks the buy button and the Seat Selection window is displayed.
Our patron clicks the Find Best Seats Available button.
The seats are the ones they want, so they click the Add Tickets to Shopping Cart button.
The Cart is displayed. The tickets are in the cart and the coupon discount has been applied. The next step is to choose go to checkout and make payment.
However, if the patron has NOT noticed the Coupon, they may then enter the Coupon Code again and click the Add Coupon button.
|
By default the coupon button in the TMcart page takes you back to the TMtickets page so you can buy more tickets. If your customers tell you they are "stuck" when entering a code, this may be the reason. |
If your intention is to give only discounts with your coupons, then it would make more sense for the patron to be directed to the Shopping Cart page after entering in their coupon so they can SEE that the coupon was entered, and if they ALREADY purchased tickets that the coupon is applicable for, they will see the discounted ticket price there too.
Report Card Templates
A report card template can be assigned to a specific course to evaluate Patrons/students enrolled in that course. The report card allows a standardized grading system to be used for all students, and the template can be used across multiple classes as a "base" form.
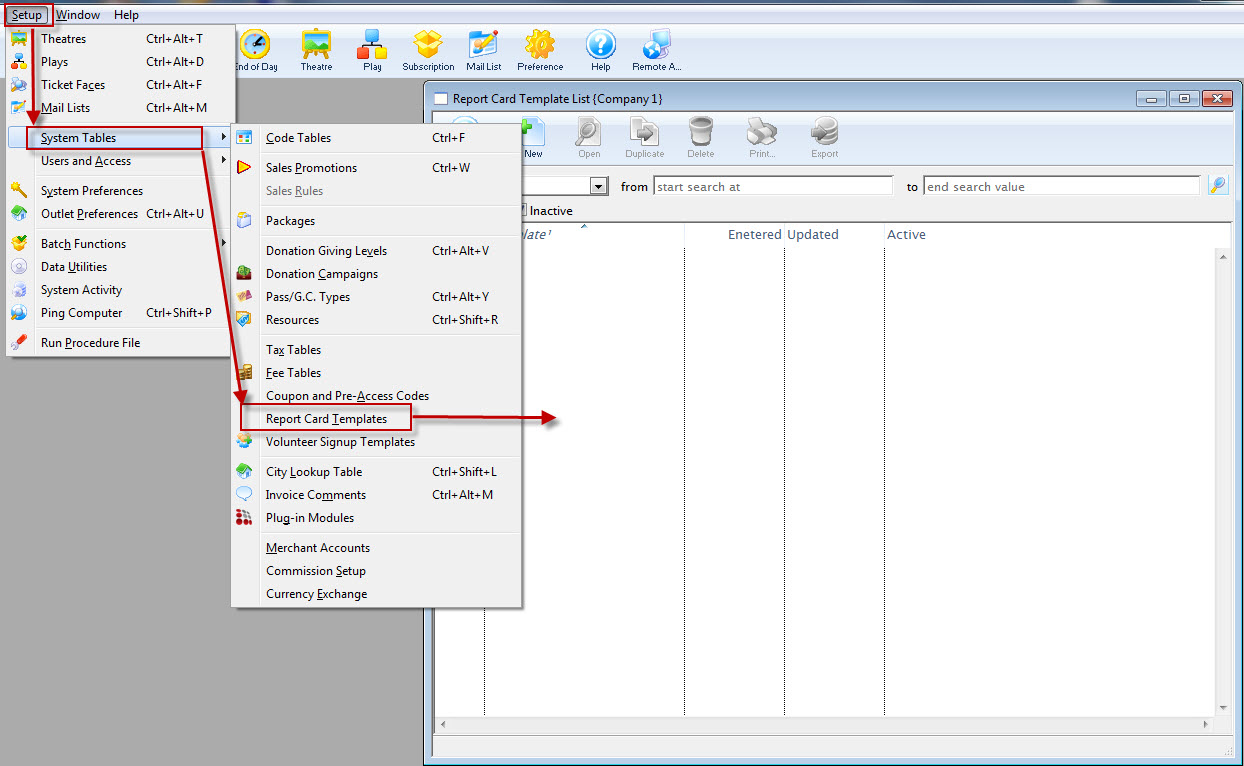
For more information about report cards, click here. For more about how to set up and utilize courses within Theatre Manager, click here.
The Report Card Template List Window
To access templates for Report Cards, go to Setup > System Tables > Report Card Templates:
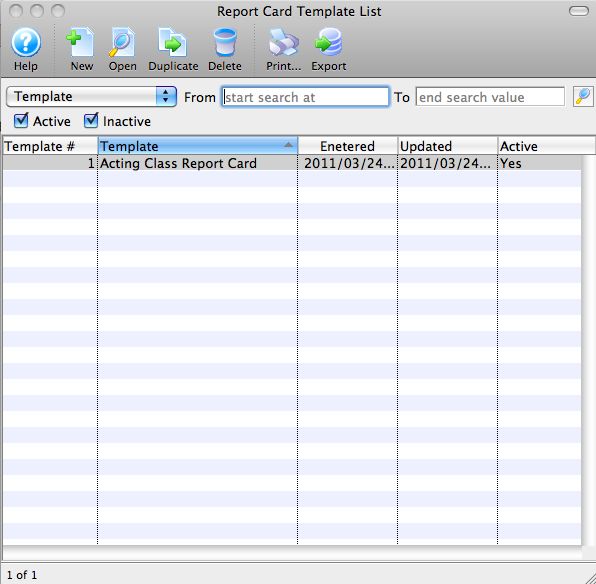
Parts of the Report Card List Window
| |
Inserts a new report card template For more information on inserting report card templates click here. |
Opens the selected report card template for editing. For more information on editing report card templates click here. |
|
Creates a copy of the current template. |
|
Deletes the current report card template. For more information on deleting report card templates click here. |
|
Generates a report of the list of report card templates to the screen or default print location. |
|
Exports out a list of the report card templates in a tab-delimited format. |
|
Template drop-down |
Options to search the report card template list. |
From |
Starting point for the search. |
To |
Ending range for your search. |
Template # |
The unique number for that report card template in the database. |
Template |
The name assigned to the report card template. |
Entered |
The date that report card template was entered into the database. |
Updated |
The date the report card template was updated. |
Active |
Indicates if report card template is marked Active. |
Adding a Report Card Template
|
Categories must be set up before adding Report Cards. Click here for more information on setting up Report Card Categories. |
To create a template for Report Cards, you perform the following steps:
- Select Setup >> System Tables >> Report Card Templates.
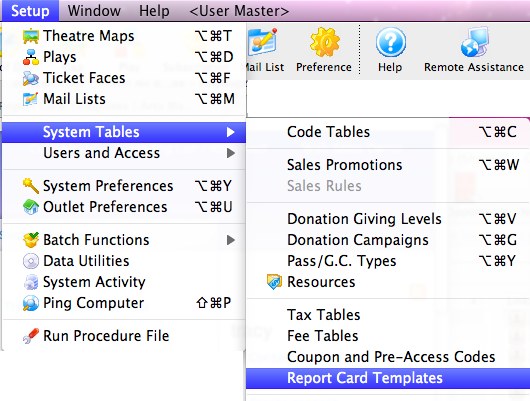
The Report Card Template List window opens.

- Click the New
 button.
The Report Card Template Insert Window opens.
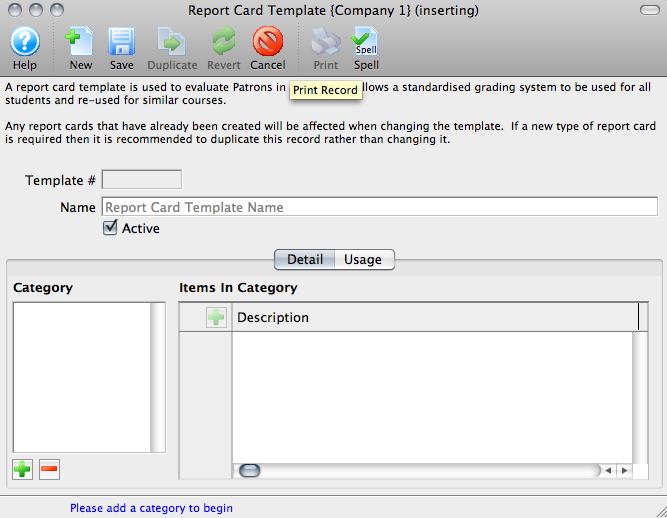
- Enter a descriptive name for the new template.
- Click the Add Categories
 button.
The Categories list populate from the Report Card Category code tables. Click here for more information on setting up Report Card Categories.
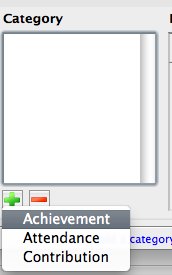
- Click on each Category in turn, and enter specific items for Ratings in the fields on the right.
For example, under Contribution, one item might be Class Participation and another might be Peer Feedback.
These are the items for which students will be given Ratings. For information about setting up Report Card Ratings, click here.
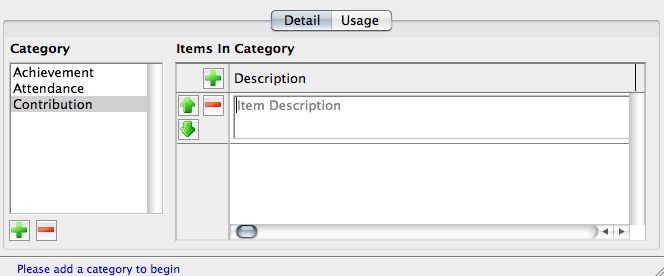
Continue entering Descriptions.
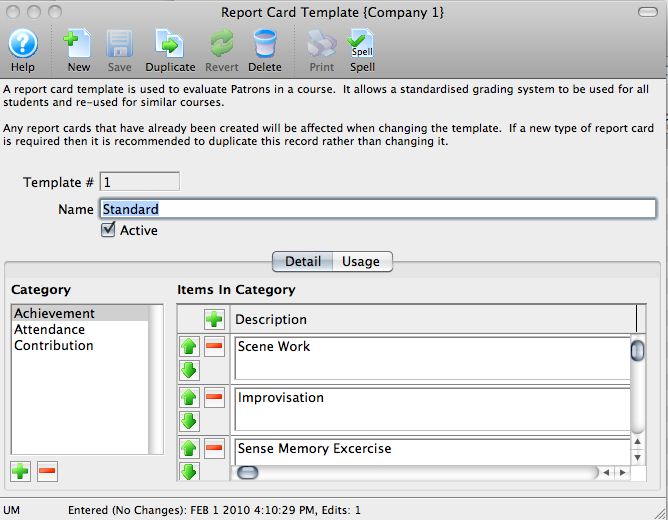
- When you have completed entered Categories and Items in each Category for Ratings, click the Save
 button.
The Usage Tab in the Report Card Template displays the instances of the Template's use in Courses. You can also add report cards to or delete report cards from a Course from the Usage Tab.
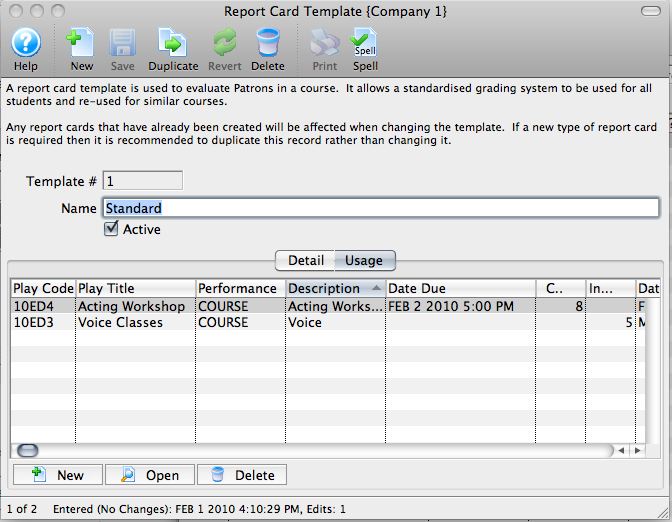
For more information about assigning Report Cards, click here.
Editing a Report Card Template
To edit an existing Report Card Template, you perform the following steps:
- Open the Report Card Template List window.

Click here to learn how to access this window.
- Choose the template edit.
Single click on a template to select it.
- Click the Open
 button.
The Report Card Template Insert window will open.

- Change any data as necessary..
- When you have completed makeing your changes, click the Save
 button.
Deleting a Report Card Template
- Open the Report Card Template List window.

Click here to learn how to access the Report Card Template List.
- Select the report card template you are deleting.
Single click on a template to select it.
- Click the Delete
 button.
The Delete Record confirmation window opens.
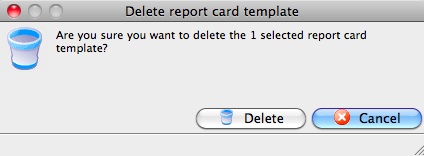
- Click the Delete
 button.
The template is now deleted.
City Lookup Table
The City Lookup Table allows for automated insertion of the City, Province / State, Country when a specified Postal / Zip Code is entered.
The City Lookup Table Window is accessed through the Setup >> System Tables >> City Lookup Table menu. If you already have a large database of patrons, Theatre Manager can automatically create a lookup list. Depending on the size of your database this process may take upwards of one hour.
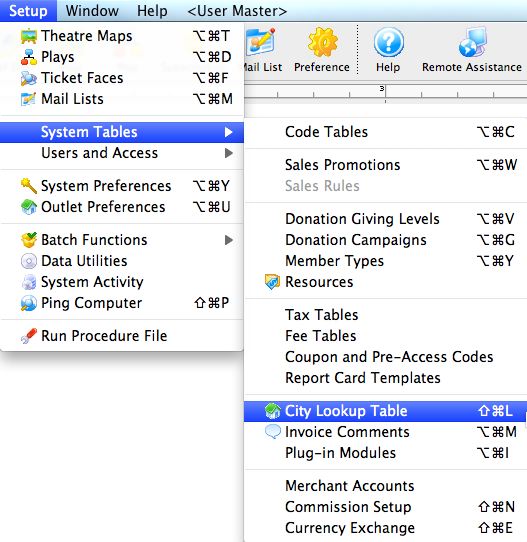
The City / Postal Code Window will open.
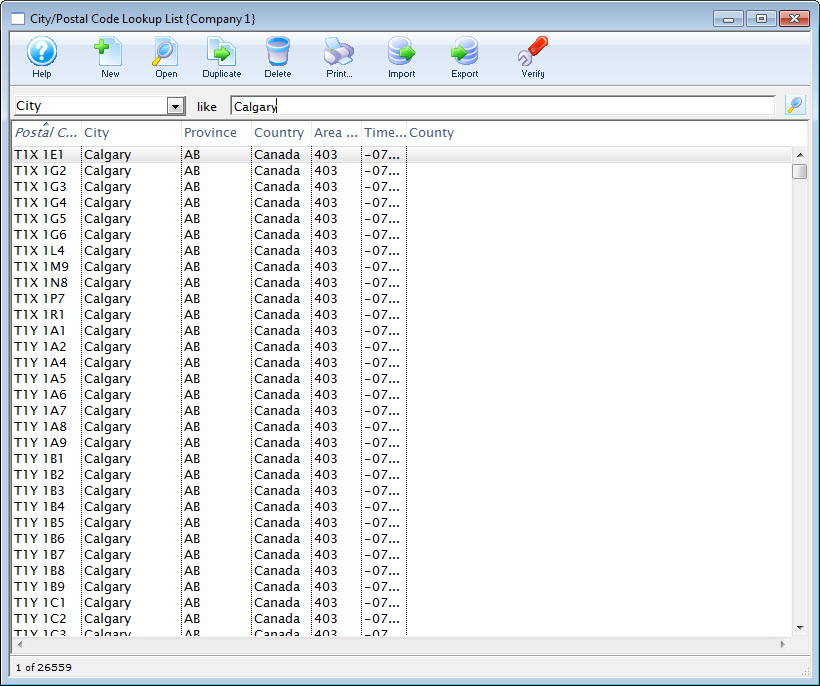
Click here for a detailed description of this window and it's functions.
List Window

Parts of the City / Postal Code Lookup Window
Postal Code / Zip Code |
The range of the postal / zip codes that apply to the location. |
City |
The city with which the range is associated. |
County |
The range of the Counties (US) which apply to the location. |
Province / State |
The province / state with which the range is associated. |
Country |
Country of the entry as it appears in the Country table of Theatre Manager. |
Area Code |
Telephone area code for the entry. |
Time Zone |
Time zone the entry falls in. |
Inserts a new lookup value. Click here for more information on adding new values to the table. |
|
Opens an existing code value for editing. Click here for more information on editting the selected value. |
|
Duplicates the selected value. |
|
Deleted the selected value. Click here for more information on deleting the selected value |
Imports a list of pre-defined codes. Click here for more information on how to import a list of predefined codes. |
Exports the lookup list. Click here for more information on exporting the lookup list. |
|
The Verify button, checks that the latitude and longitude for full addresses in Canada and the US is set correctly. |
Lookup Detail Window
The Lookup Detail Window allows you to enter additional values, or edit and existing value on a one-by-one basis. This can be useful if there are specific towns that are included in a particular postal/zip code that do not already exist on the list.
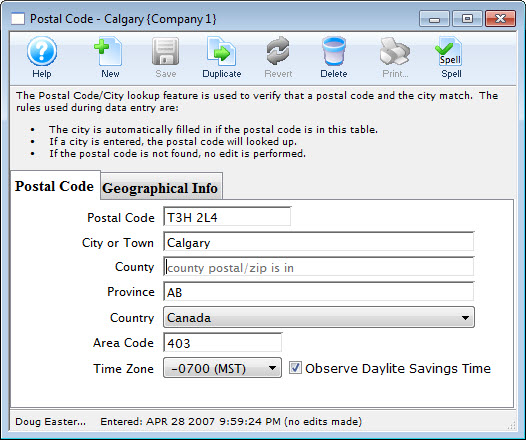
For more information about the  tab, click here.
For more information about the  tab, click here.
Postal Code Tab

Parts of the City / Postal Code Lookup Detail Window
Postal Code Tab
Postal Code |
Postal or zip code for the entry. |
City or Town |
City the range is associated with. |
County |
County the range is associated with. |
Province |
Province or state the range is associated with. |
Country |
Country of the entry as it appears in the Country table of Theatre Manager. |
Area Code |
Telephone area code for the entry. |
Time Zone |
Time zone the entry falls in. |
Observe Daylite Savings Time |
Indicate if the entry observes daylite savings by checking this option. |
Creates a new item in the lookup list. |
|
Saves changes made to a code. |
|
Copies an existing Code. |
|
Removes changes made to the Code up to the last save point. |
|
Deletes the selected value. |
Geographical Info Tab
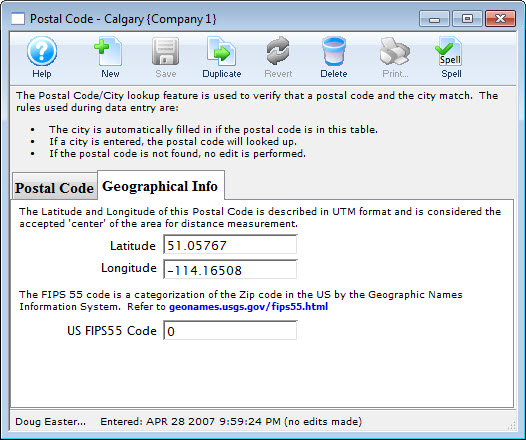
Parts of the City / Postal Code Lookup Detail Window Geographical Info Tab
Latitude |
The accepted "center" (North/South) of the postal / zip code area. |
Longitude |
The accepted "center" (East/West) of the postal / zip code area. |
US FIPS55 Code |
Used for US zip codes, this is a specific categorization by the Geographic Names Information System. For more information, click here. |
Inserting a Lookup Value
To insert a lookup value, you perform the following steps:
- Open the City/Postal Code Lookup List Window.
Click here to learn how to access this window.
- Click the New
 button.
The Postal Code Lookup window opens.
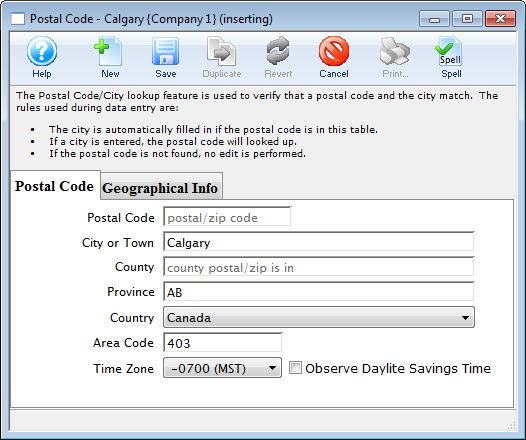
- Enter the range of the postal / zip code
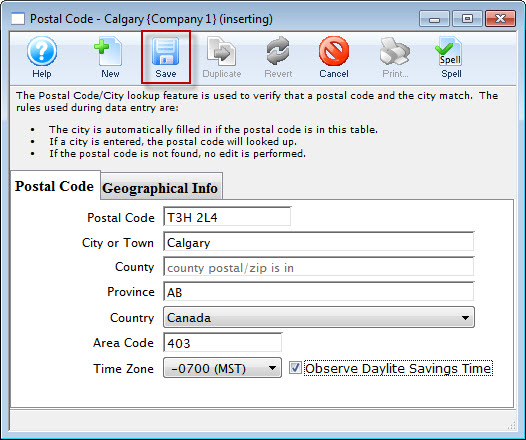
- Enter the city or town to which the entered range applies
- Enter the county to which the entered range applies.
- Enter the province/state to which the entered range applies.
- Use the drop down to select the Country to which the range applies.
- Enter the Area Code to which the range applies.
- Use the drop down to select the Time Zone to which the range applies.
- Check the box if this postal code participates in the Daylight Savings Time program.
- On the Geographical Info tab, enter the Latitude, Longitude, and (optionally) the USGS FIPS 55 Code.
- Click the Save
 button to save the changes.
To cancel the insert, click the Revert
 button.
Editing a Lookup Value
To edit a lookup value, you perform the following steps:
- Open the City/Postal Code Lookup List window.
Click here to learn how to access this window.
- Select the lookup value you wish to edit.
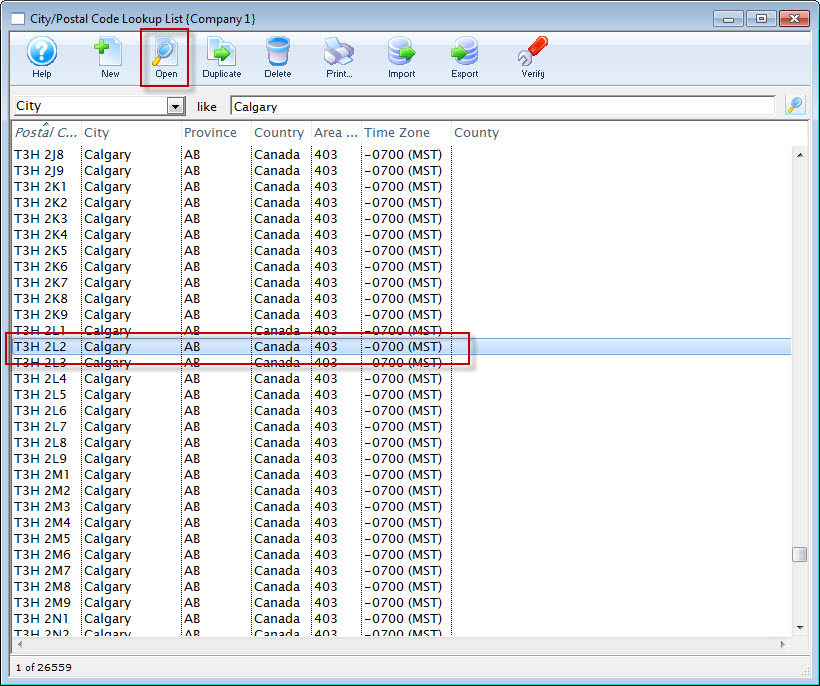
- Click the Open
 button.
The Postal Code lookup window for the selected value opens.
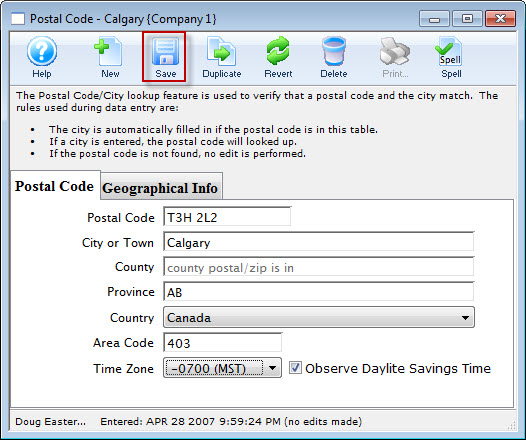
- Modify the details as needed.
- Click the Save
 button to save the changes.
To cancel the edit click the Revert
 button.
Deleting Existing Lookup
- Open the City/Postal Code Lookup List window.
Click here to learn how to access this window.
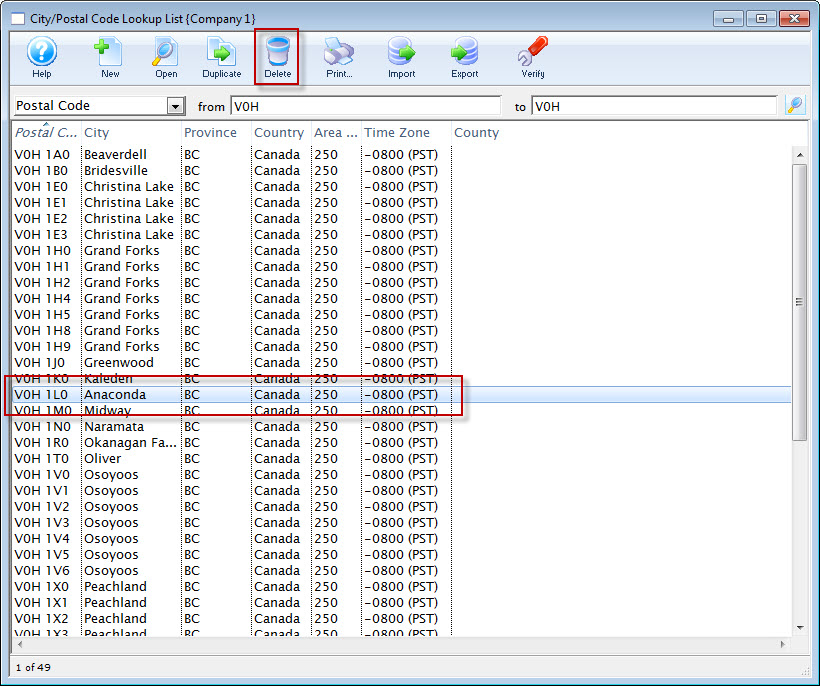
- Select the lookup value to delete.
Single click on a value to select it.
- Click the Delete
 button.
The Delete City Lookup warning dialog opens.
- Click the Delete
 button to continue with the deletion.
Clicking the Cancel
 button aborts the deletion.
The deletion will be confirmed with the following confirmation message.

Importing Values
You can import your own list of values from a tab or comma delimited file into your database using the steps below.
- Open the City/Postal Code Lookup List window.
Click here to learn how to access this window.
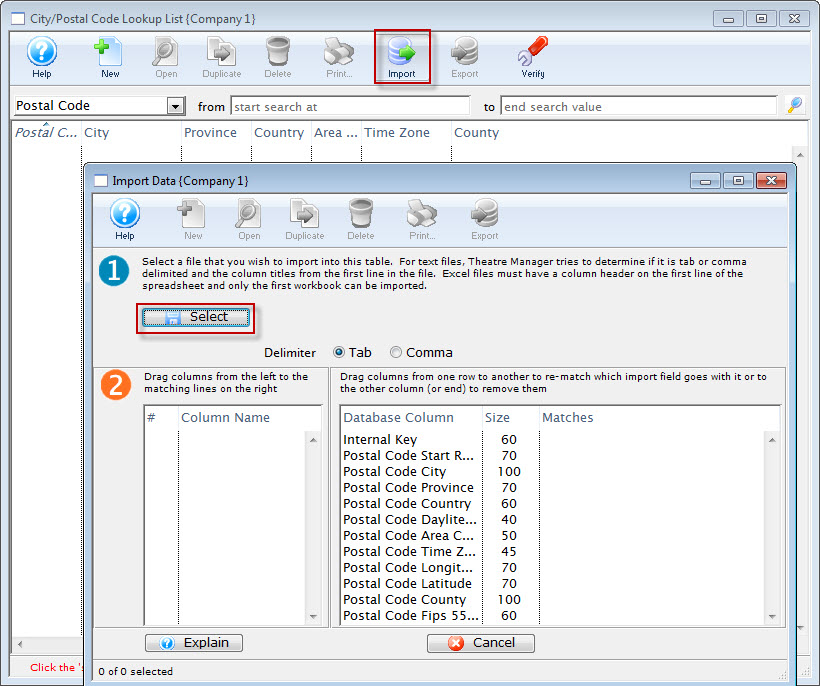
- Click the Import
 button
The Import Data window opens.
- Click the Select
 button.
- Select the file you wish to import.
Do this by single clicking the value.
- Click the Open button.
Exporting a City Lookup Table
- Open the City/Postal Code Lookup List Window
Click here to learn how to access this window.
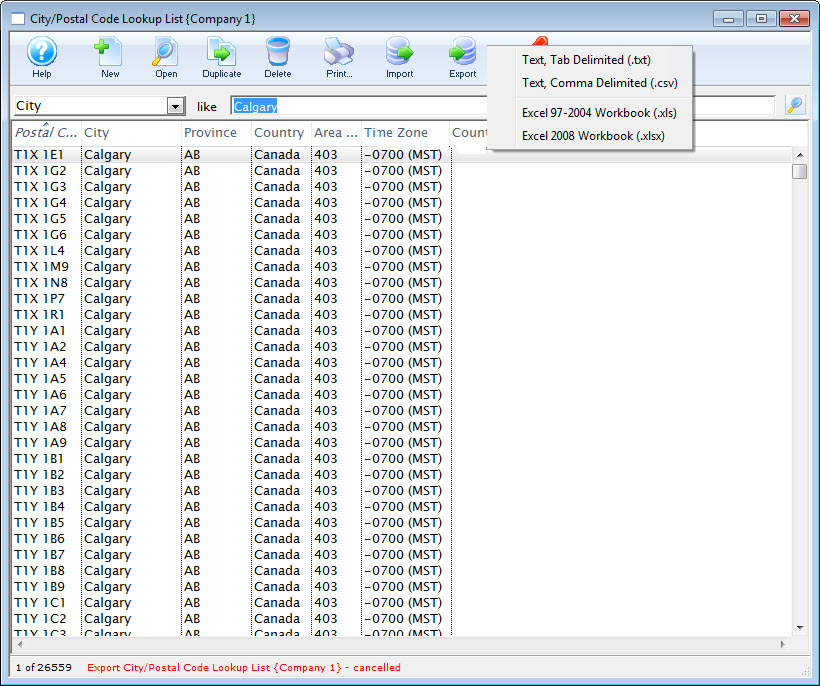
- Click the Export
 button.
- Choose the export format.
The Select Postal Code Export File opens for your Operating System..
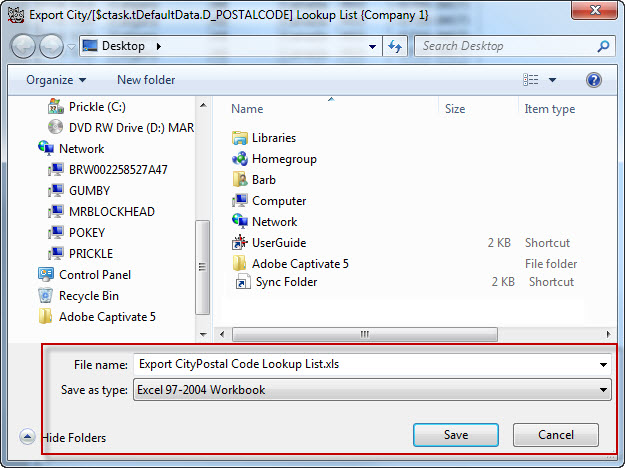
- Browse to where the file will be saved and name the file.
- Click the Save button.
The table will be exported to the location using the file name assigned.
Volunteer Signup Templates
This function allows the Volunteer Manager to create a small survey for specific shows to ask patrons/volunteers to pick which shows or performances that they'd like to participate in. The idea is the patron would access the ticketing web site, sign in and then indicate their preferences.
You access Volunteer Signup templates through the Setup >> System Tables >> Volunteer Signup Templates.
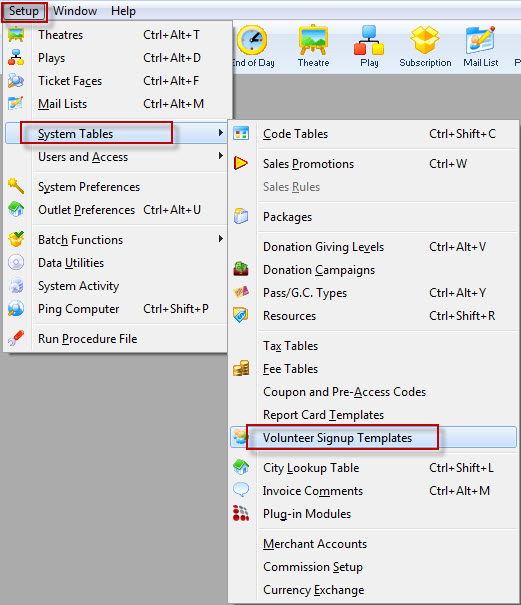
The List Window opens.
Add a Volunteer Signup Template
To add a Volunteer Signup Template, perform the following steps:
- Access Volunteer Signup templates through the Setup >> System Tables >> Volunteer Signup Templates.
The List Window opens.

- Click the New
 button.
The Schedule Template window opens.
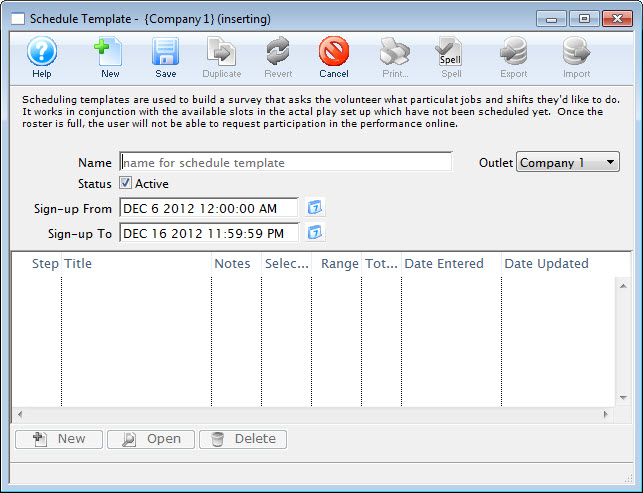
- Enter a Name for the template and the Start and End dates a Volunteer can signup.
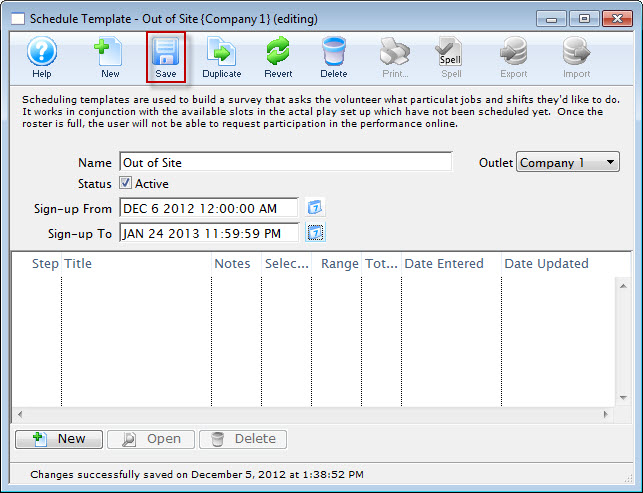
- Click the Save
 button.
 - To add template details, click the New
 button.
The Schedule Template Detail is where you enter the information to query the volunteer for their responses to signing up for activities and any preferences they may have for doing these activities for some selected performances.
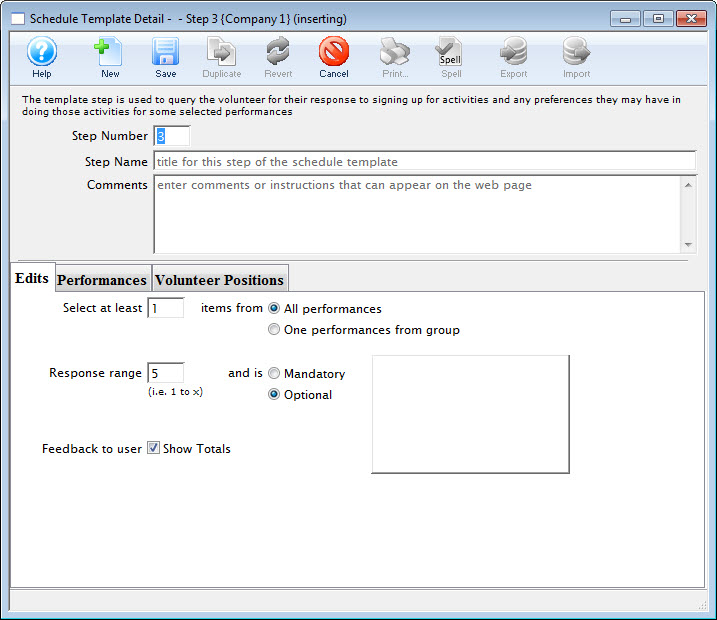
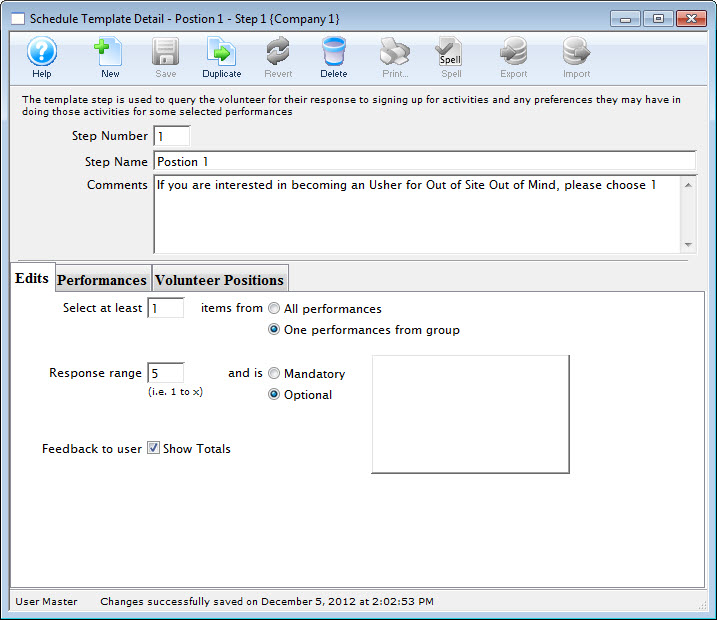
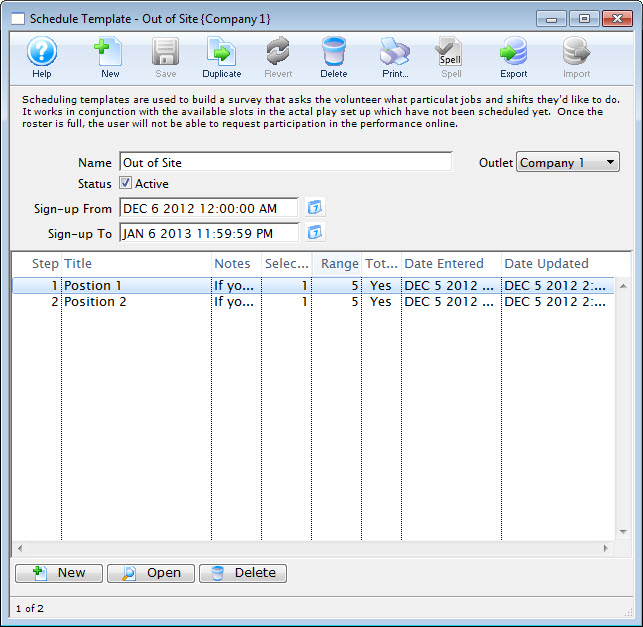
Invoice Comments
Invoice Comments are printed at the bottom of invoices for statements, payment reminders, and confirmation notices.
You access the Invoice Comments Window through Setup>>System Tables>>Invoice Comments Menu.
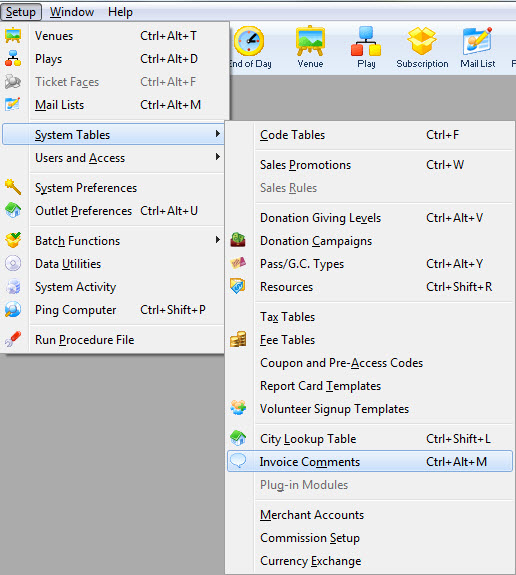
The Invoice Comments window opens.
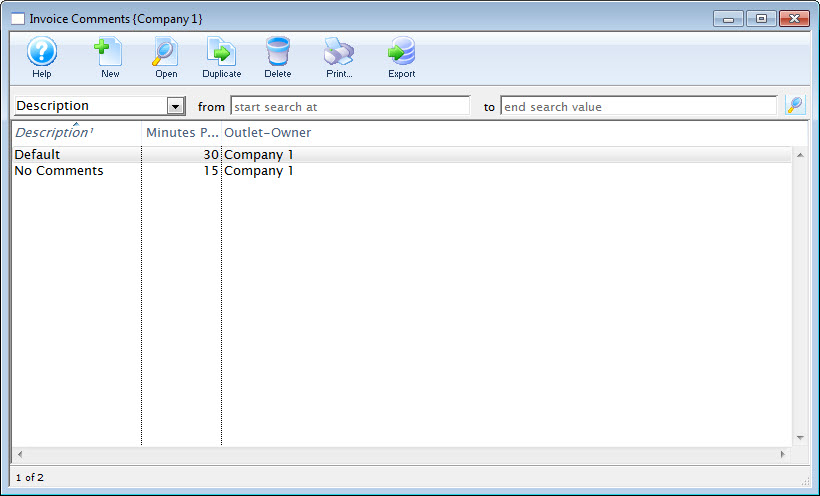
Invoice Comments List Window

The parts of the window are as follows:
 |
Inserts a New comment through the Comment Detail Window. For more information on inserting comments click here. |
 |
Opens a window to edit a comment through the Comment Detail Window. For more information on editing comments click here. |
 |
Deletes a comment. For more information on deleting comments click here. |
 |
Generates a report displaying the list of comments to the screen or default print location. |
 |
Exports the selected invoice comments in text tab-delimited format. |
| Description | Search options for locating comments. |
| From | Starting range to search by. |
| To | Ending range to search by. |
| Description | Description of the comment. |
| Minutes Prior | Time prior to the event to arrive. |
| Outlet Owner | Outlet responsible for the comment. |
| Changed By | User initials of the last employee to edit the comment. |
Invoice Comments Detail Window
Standard comments can be maintained for the various types of invoices, statements, payment reminders and confirmation notices that are sent to patrons.
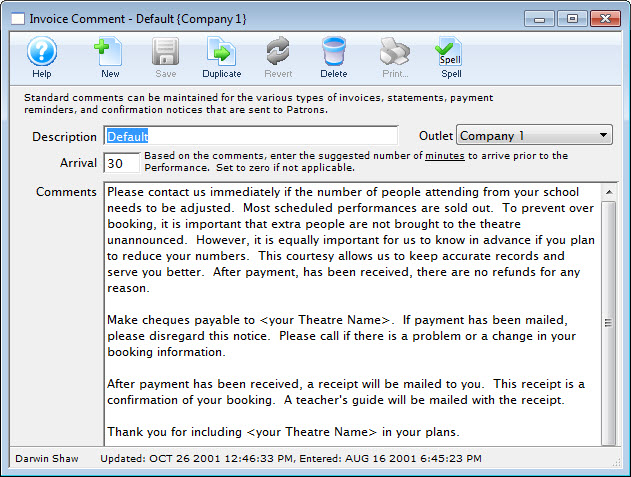
Parts of the Invoice Comment Window
 |
Insert a New comment through the Comment Detail Window. For more information on inserting comments click here . |
 |
Saves comments when edited in the Comment Detail Window. For more information on editing comments click here. |
 |
Creates a copy of the current comment. |
 |
Undoes changes to the last saved point. |
 |
Deletes a comment. For more information on deleting comments click here. |
 |
Checks the comment for spelling errors. |
| Description | Brief description of the nature of the comment. |
| Arrival | Special field. If it is >0 then a default arrival time will show on invoices that are printed. if is = 0 then no message will arrive. The Message cannot be chaged based on arrival time. |
| Comment | The comments. |
Adding Invoice Comments
- Open the Invoice Comments window.

Click here to learn how to access this window.
- Click the New
 button.
The Invoice Comment Detail window opens.
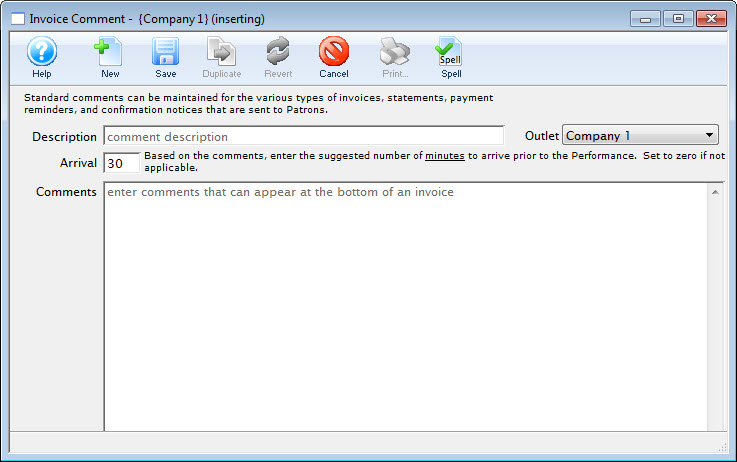
- Enter a name for your comment in the description field.
- Enter the details of the comment.
- If applicable, enter the number of minutes to arrive before the performance.
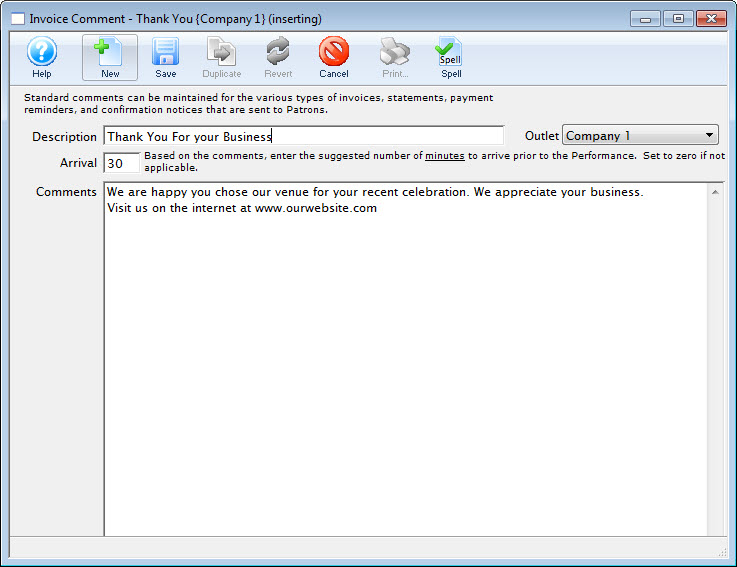
- Click the Save
 button to save the comment.
The comment is saved and added to the Invoice Comment window.
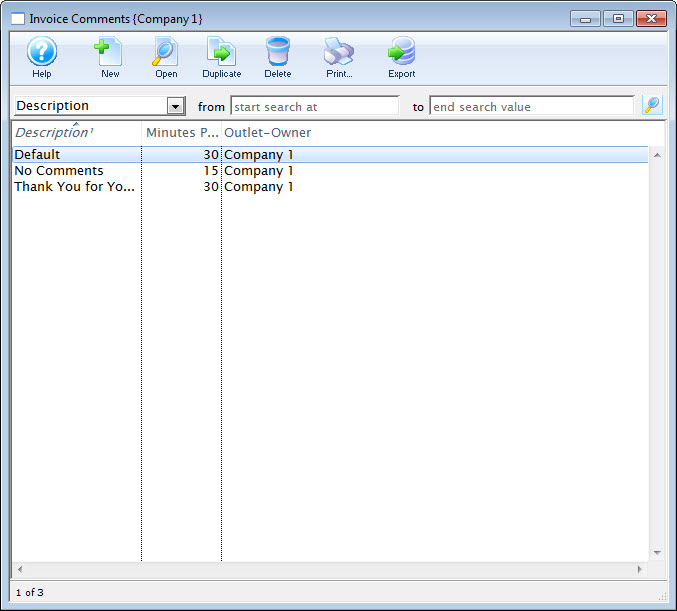
Editing Invoice Comments
- Open the Invoice Comments window.
Click here to learn how to access this window.

- Select the comment you wish to edit.
Single click on a comment to select it.
- Click the Open
 button.
The Invoice Comment Detail window opens.
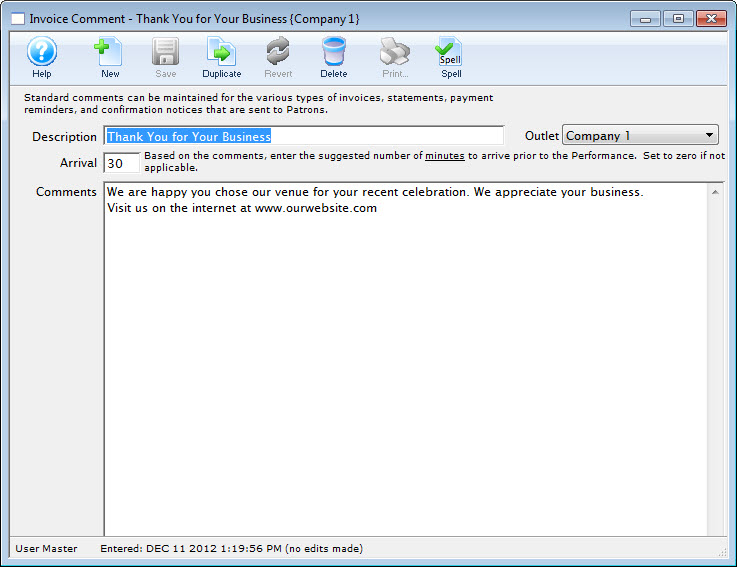
- Change data as needed.
- Click the Save
 button to save the changes.
Printing an Invoice and Adding the Comments
To print an invoice, you perform the following steps:
- In the Patron Window, click the Order
 tab.
tab.
For more information on opening Patron records, click here.
For more information on the Order tab, click here.
- Highlight the Order you want to print the invoice for, and click the Invoice
 button.
The Print Invoice Criteria window opens.
You have the option to page through the criteria using the tabs, or the Next
 button.
 - To add the Invoice Comments, Click the Next
 button to navigate to the Footer
  tab.
tab.
- To have the comments print, enable the Print tear off section check box.
- Enter a Performance Start warning time, if applicable.
- From the Additional Comments drop down list, choose the comment you want to have printed on the invoice.
- When you have determined all the criteria for your invoice is correct, click the Done
 button.
Your invoice prints.
|
The Invoice comments print on the bottom of the invoice. |
Deleting Invoice Comments
- Open the Invoice Comments window.
Click here to learn how to access this window.

- Select the comment to delete.
Single click on a comment to select it.
- Click the Delete
 button.
A Delete confirmation dialog opens.

- Click the Delete
 button.
Plug-in Modules
Plugins are customized special code segments written by Arts Management specifically tailored to perform business rule logic to automatically alter prices on tickets, memberships, gift certificates, fees, donations, and/or mail lists for patrons who purchase either online, or via the box office. Their purpose is to enforce site specific rules during the sales process.
The organization describes a business rule / reason why to alter a patrons shopping cart purchases, then Arts Management writes customized code to perform that action. Plugin code may be required to change/adapt over time, depending if the business rules or requirements change within the organization from year to year.
The "how does a plugin work" is not as important from your viewpoint, as having a clearly defined business rule/requirement to Arts Management for each situation. Whats important is that a business rule offers an A or B solution. If conditions X, Y, and Z are met, then perform action A. If conditions P & Q are met, perform action B. etc. It can also be as simple as if condition R is met, perform action C.
Plugins cycle through the defined business rules each time an item is added or removed from the shopping cart. If any of the business rule conditions "match" items within the cart, then the those items are processes through the special code segment to alter their default state (i.e. alter their price, price code, and/or sales promotion —> the most common alterations).
Plugins allow patrons to utilize web sales for their purchases by receiving their justified discounts without having to contact the box office directly. Plugins are also utilized in the box office to automatically provide patrons their justified discounts; without having the box office staff to remember each business rule to determine discounts patron may be applicable for.
For example, plug-ins could achieve the following kinds of special rules:
- if more than 10 tickets are purchased, automatically change them to a group sale
- provide preferred seating areas to donors of a certain level
- limit ticket sales to certain events at certain times of the year to people who buy subscriptions
- automatically convert ticket sales from single tickets to subscriptions if the customers buys a certain number of tickets.
- automatically give subscribers (or frequent buyers) discounts on subsequent tickets.
- prevent a sale for next season unless a donation is received.
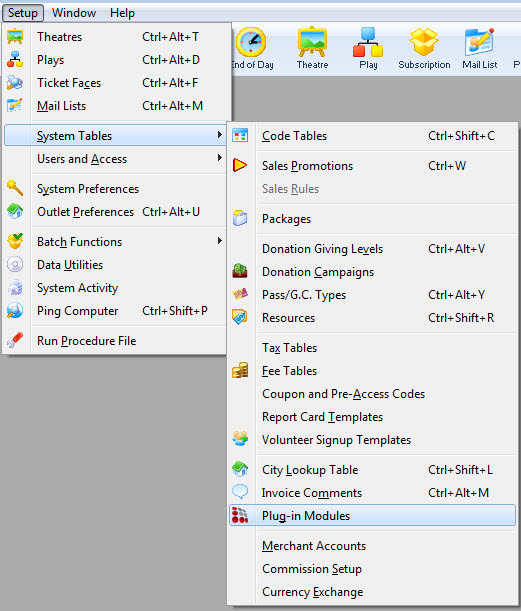
Plug-ins may be associated with specific sales promotions and also when checking out an order.
If you want a plug-in, you must contact Arts Management and speak with someone in Software Development department. Sales Plug-Ins are customized code, our standard custom programming rate per hour will apply.
Purchasing a Plug-In
If you want a plug-in, you must contact Arts Management and speak with someone in Software Development department. As Sales Plug-Ins are customized code, our standard custom programming rate per hour will apply.
Plug-in List Window
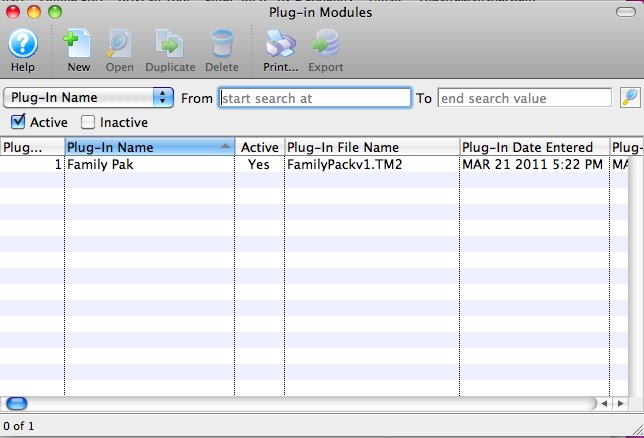
 |
Inserts a New Plug-in through the Plug-in Detail Window. For more information on inserting plug-ins click here. |
 |
Opens the selected Plug-in Detail Window for editing. For more information on editing Plug-ins click here. |
 |
Duplicates the selected Plug-in. |
 |
Deletes a Plug-in. For more information on deleting Plug-ins click here. |
 |
Generates a report displaying the list of Plug-ins to the screen or default print location. |
 |
Exports the selected invoice comments in text tab-delimited format. |
Plug-in Detail Window
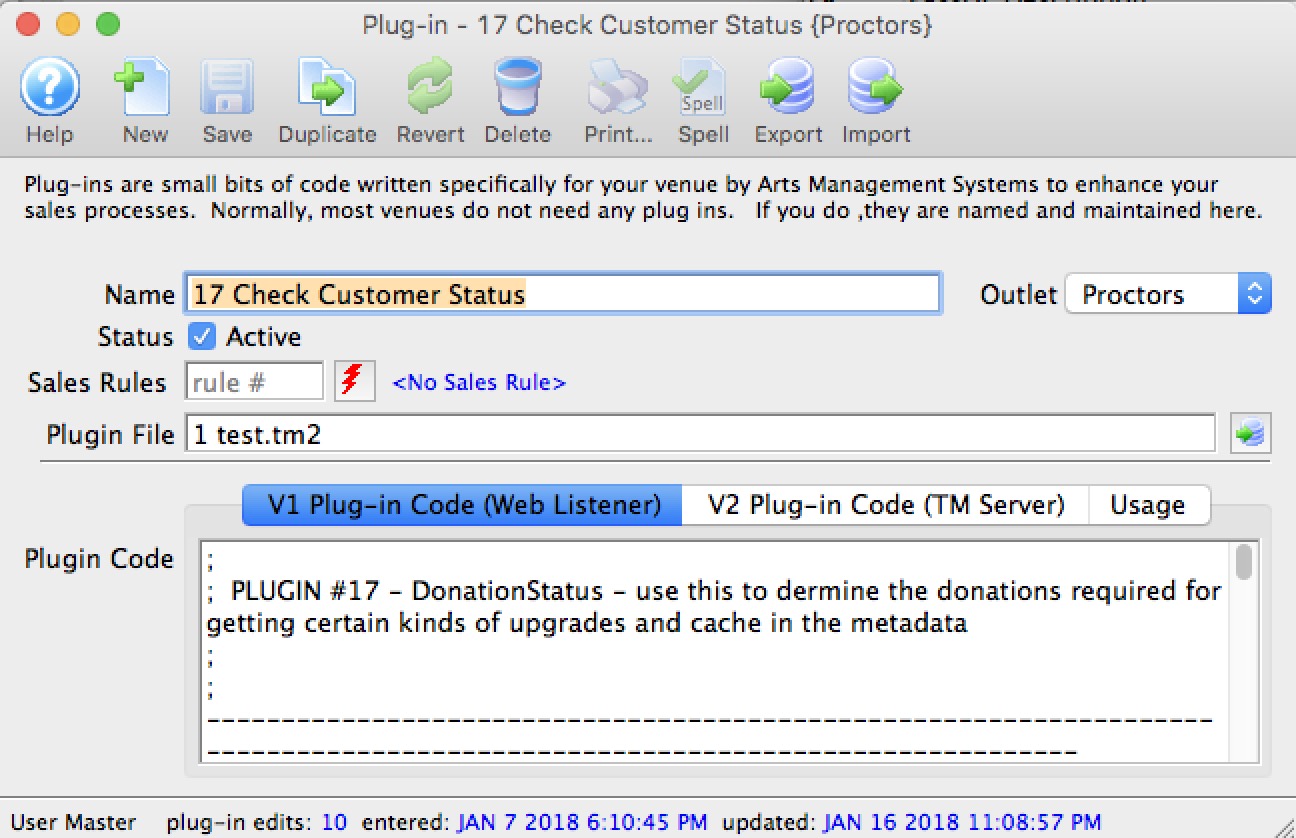
Access the Plug-in Detail window by going to Setup > System Tables>Plug-in Modules and selecting the plug-in from the list of plug-ins. For more information on how to access the Plug-in List Window, click here.
 |
Insert a New Plug-in through the Plug-in Detail Window. For more information on inserting Plug-ins click here . |
 |
Saves Plug-ins when added or edited in the Plug-in Detail Window. For more information on editing Plug-ins click here. |
 |
Creates a copy of the current Plug-in. |
 |
Undoes changes to the last saved point. |
 |
Deletes a Plug-in. For more information on deleting Plug-ins click here. |
 |
Checks the Plug-in for spelling errors. |
 |
Exports the selected Plug-in. |
 |
Imports a new Plug-in. |
Inserting a Plug-in Purchased from AMS
- Open the Plug-in List Window.

For information on how to access the Plug-in List Window, click here.
- Click the New
 button.
The Plug-in Detail window opens.
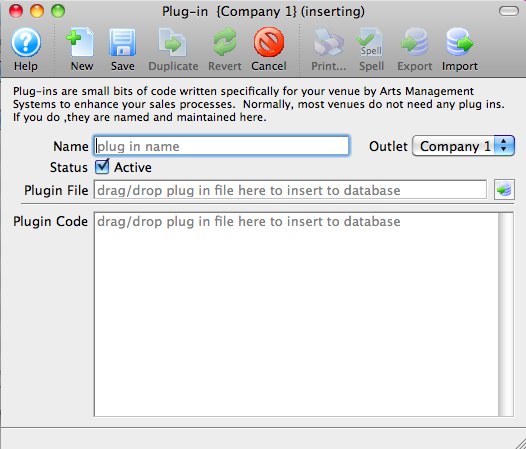
- Enter a Name for the Plug-in in the Name Field.
- Drag-and-drop the .TM2 file containing the Plug-in Code provided by AMS into the PlugIn Code field.

- If you have been informed that your plugin is designed to work with a specific sales rule, enter it into the window. Otherwise entering anything here will do nothing.
- Click the Save
 button.
Your new plug-in is ready to use.
Editing a Plug-in
- Open the Plug-in List window.
Click here to learn how to access this window.

- Select the Plug-in to edit.
Single click on a Plug-in to select it.
- Click the Open
 button.
The Plug-in Detail window opens.

- Click the Export button.
- Save the export file.
Save the export .TM2 text file in a known location where you will have easy access to it.

Do NOT use change or remove the 3 character (.TM2) filename extension. Theatre Manager requires this unique filename extension when importing plugins.
- Edit the plug-in's .TM2 text file in Notepad++, BBEdit, or any other true text based file editor.

Do NOT use Windows WordPad, Windows NotePad, Microsoft Word, TextEdit, SimpleText, or other non-text based file editors. Using these types of editors will alter the plugin file data structure and rendering the file unreadable by Theatre Manager.
- Using the text editor, change the plugin export .TM2 file as required.

If your unsure on how to make changes to your customized plugin, or do not feel confident in making minor changes, please contact Arts Management Systems. We are here to help you.

Hint: Make a note of the update date and changes made within the plugin .TM2 text file. The top section of the source code is an area of comments that record changes made to the file. This will help assist debugging the plugin in situations where a change to the plugin has an undesired effect.

Hint: To easily locate where you are in the text file, the display of line numbers offers an easy indicator.
If your using BBEdit, goto Edit Menu >> Text Options >> enable Display Line Numbers.
If your using Notepad++, goto Settings Menu >> Preferences >> Editing >> enable Display Line Number.
- Click 'Save' in the text editor to save your changes.

Hint: Save the changes to a new plugin .TM2 file rather then overwriting the existing .TM2 file. This will allow quick ability to revert back to the prior version of the plugin in situations where a change to the plugin has an undesired effect.
- On Theatre Manager's Plugin Detail Window, either:
Drag & Drop the external plugin .TM2 file into the "Plugin Code" area.
- or -
Click the Import button to select the external plugin .TM2 file.After the plugin code has been updated, at the bottom of the window it will indicate "Successfully read and updated the Plug-In code".
- Click the Save
 button to save the changes.
The changes to the plugin code will take effect immediately.

Theatre Manager will not save changes made to the plug-in code, where those changes resulted in a coding syntax error. As well, attempts to import an updated plugin .TM2 file edited with a non-text based editor may result in Theatre Manager unable to save the changes.
Deleting a Plug-in
- Open the Plug-in List window.
Click here to learn how to access the Plug-in List.

- Select the Plug-in to be deleted.
Single click on a Plug-in to select it.
- Click the Delete
 button.
The Delete Record confirmation opens.

- Click the Delete
 button.
The Plug-in is now deleted.
Merchant Accounts
- Provide the required details to communicate with the credit card processing provider
- Set up an Electronic Funds Transfer (EFT) Merchant so that you can take customer information and process repeated payments as selected back institutions. The banks supported by EFT are currently limited - if the setup does not show your bank, please contact us.
Merchant Accounts are accessed by selecting Setup >> System Tables >> Merchant Accounts.

The Merchant Account List window opens.
For more information on the Merchant Account List window click here.
Merchant Account List Window
Parts of the Merchant Account List Window
 |
Inserts a new merchant account. For more information on inserting merchant accounts click here. |
 |
Opens the selected merchant account for editing. For more information on editing merchant accounts click here. |
 |
Creates a copy of the current merchant account. |
 |
Deletes the current merchant account. For more information on deleting merchant accounts click here. |
 |
Generates a report of the merchant accounts to the screen or default print location. |
 |
Exports out a list of merchant accounts in a tab-delimited format. |
 |
Opens the Merchant Profiles window displaying credit card profiles for this merchant account. |
| Merchant # | Unique number used to define the merchant account. |
| Merchant Description | Name of the merchant account. |
| Active | Active status of the merchant account. |
| Emerg | Emergency Mode enabled for merchant account. |
| Status | Indicates if credit cards belonging to this merchant can be used in the box office an/or via web sales. |
| Provider | Name of the Merchant Provider contracted to authorize cards. |
| Server Id | The merchant Server Id for credit card authorizations. |
| Description | The merchant provider you contracted with to authorize credit cards. |
| Country | The currency/country that the merchant provider authorizes in at time of checkout. |
| Outlet-Owner | Outlet responsible for the merchant account. |
Merchant Account Detail Window
 |
There are two types of merchant accounts as follows:
|
The purpose of the merchant type is dependant on the software type selected half way down the screen.
| Credit Card Merchant Account |
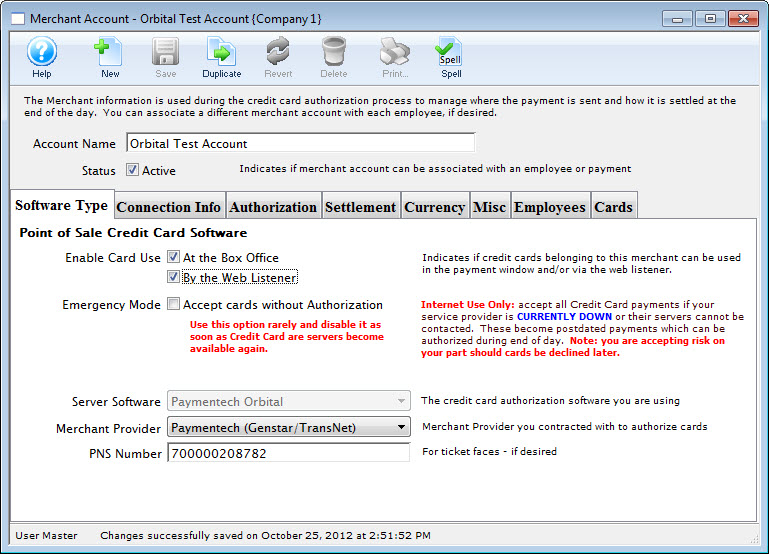 |
| EFT Account |
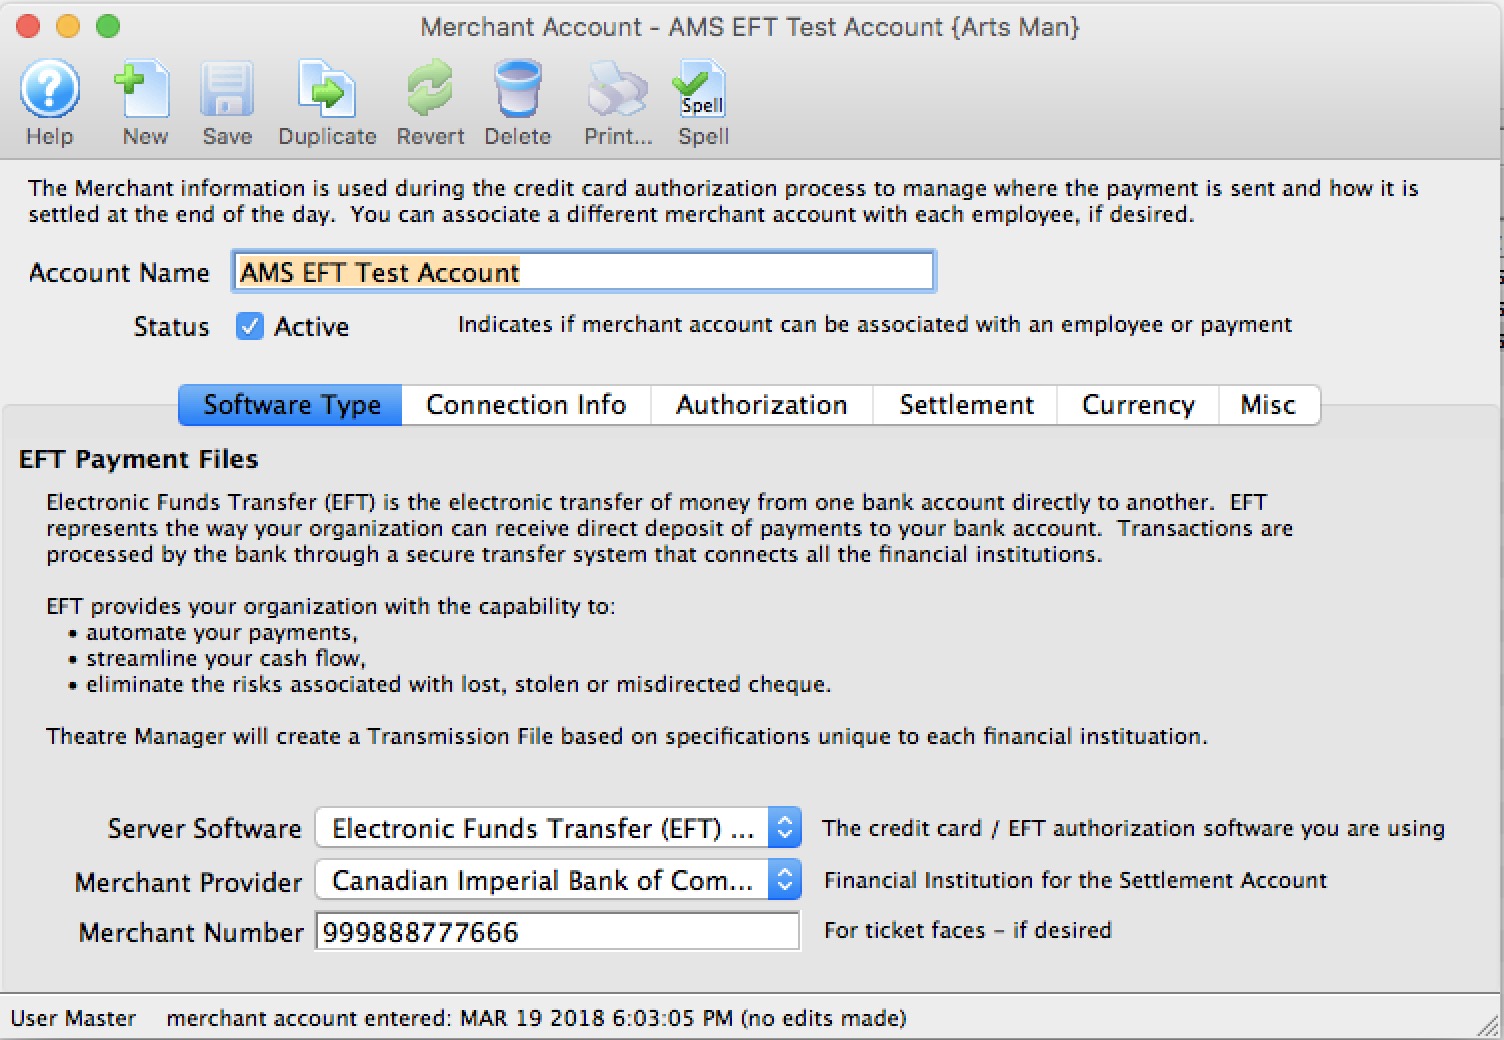 |
Parts of the Merchant Account Detail Window
 |
Inserts a new merchant account. For more information on inserting merchant accounts click here. |
 |
Saves changes made to the currency merchant account. |
 |
Creates a copy of the current merchant account. |
 |
Undoes changes to the last saved point. |
 |
Deletes the current Merchant Account. For more information on deleting merchant accounts click here. |
 |
Checks the spelling of text fields within the merchant account detail window. |
| Account Name | Title for the merchant account. |
| Status | When checked the merchant account is available for use. |
 |
Configuration settings for the server software of the merchant account. For more information on the software type tab click here. |
 |
Access information for the credit card server and/or software. For more information on the connection info tab click here. |
 |
Authorization settings for credit card authorization. For more information on the authorization tab click here. |
 |
End of Day wizard settings for the merchant account. For more information on the settlement tab click here. |
 |
Currency conversion settings (if applicable) for the merchant account. For more information on the currency tab click here. |
 |
Merchant profile setup information for the service provider associated with the merchant account. For more information on the profiles tab click here. |
 |
Merchant contact information for the service provider associated with the merchant account. For more information on the miscellaneous tab click here. |
 |
The staff members in Theatre Manager who are permitted to use this merchant account. For more information on the Employees tab click here. |
 |
The payment methods enabled for use with the merchant account. For more information on the Employees tab click here. |
Software Type Tab

Parts of the Software Type Tab
Point of Sale Credit Card Software | Enable Card Use |
|
|
| Emergency Mode | When enabled, you can accept credit cards without Authorization.
|
||
| Server Software | Credit card processing software Theatre Manager will be communicating with. | ||
| Merchant Provider | Merchant provider responsible for credit card authorization. | ||
| Merchant Number | Merchant or client ID number issued by the merchant provider and is placed on the credit card receipt. In this example, PNS is the number for Paymentech. | ||
Connection Info Tab

Parts of the Connection Info Tab
| User Id | Merchant Number or Client User ID on the Credit Card Server | ||
| Password | Password for the Merchant Number or Client User ID used on the Credit Card Server | ||
| Capture Mode | You can choose Host (Bank) Draft Capture or Terminal (Credit Card Server) setting must match the settings provided by the Merchant Provider. | ||
| Primary URL
Port # |
IP address / name of the credit card server and Port # | ||
| Secondary URL | IP address / name of the secondary credit card server | ||
| Terminal ID | Terminal ID | ||
| Bin Number | Bin Number | ||
| Debugging | Click the Display raw response headers for troubleshooting if you are having problems isolating issues with a specific credit card processor. Normally, this is never enabled.
If you do enable it, all credit card authorization requests at the box office will show:
|
Authorization Tab
 |
Otherwise you may see a message like the one to the right if you try pair the devices. |
Parts of the Authorization Tab
Duplicate Authorization Settings |
|
| Box Office Duplicates | Force without Notify checkbox - Transactions to the same card for the same value will not receive a warning indicating a possible duplicate charge to the credit card when checked. It is recommended you leave this unchecked |
| Force Without Notify | Transactions to the same card for the same value will not receive a warning indicating a possible duplicate charge to the credit card when checked. |
| Internet Duplicates | Choice of three Options:
Smart Checking is recommended |
Fraud Prevention |
|||||||
| Fraud Prevention | Send Address/Zip - Zip code and address is sent with the credit card information during processing for verification. This information can decrease processing fees in the USA where applicable.
Send Card Swipe Data - Card swipe data is sent during processing for verification. This can decrease processing fees where applicable.
Send CVV2/CID number - Send the CVV2 number from the back of the card.
IP Address Blocking - Allows the merchant provider to block web sales to specific IP Addresses. 1st Transaction can be refund - Some merchant providers (notably Global Payments acting on behalf of some Banks) may not authorize the first couple of transactions if they are refunds, as a fraud prevention tool. The rules are actually set by the Bank and each service provider follows them. The best approach is to avoid a refund as the first transaction..
|
||||||
Misc Authorization Settings |
|||
| Timeout | Maximum time, in seconds, Theatre Manager will try to process a card:
|
||
| Last Transaction | Displays the last tranaction number at the server | ||
Refund Capability Settings (Varies by Merchant Provider and Agreement)The Credit Card refund capabilities vary by merchant provider and your agreement with them. Merchant providers instituted strong rules for fraud prevention and you may find that you need to ask them for capabilities if you cannot refund credit cards. These options indicate what your contractual agreement is with them and tells Theatre Manager how to attempt to refund money. |
|
| Allow Independent Refunds | Independent refunds are when you enter the patron's credit card and refund any amount to that card. This is how credit cards worked for decades until merchant providers decided to limit this capability.
Refer to the rules for Independent refunds and possible errors before turning this on. Note: you must have encrypted card data for the patron, a prior merchant profile set up for them, or contact the patron for a full credit card number in order to do independent refunds. |
| Allow Linked Refunds | Linked Refunds were created by visa/mastercard to force merchants to only return money to the original card for up to the amount charged on the card to avoid fraud.
Enabling this means your merchant provider allows it. Also set the time frame so that TM knows how far back in time the payment may be before the linked refund might be denied. You can contact your merchant provider and they may increase the amount of time allowed. |
| Allow Linked Refunds on Same Day Payments | Some merchant providers seem to disallow linked refunds on the same day. That might mean you have to void the transaction before doing end of day in order to create the refund. |
| Timeframe | The number of days since the payment was made in which a linked refund is likely to be authorized. For any payment older than that number of days, the refund is likely to be denied. |
Associated EMV Pin Pads (currently Moneris Only) |
|
| StoreId | The store ID for pinpads for Moneris |
| API Key | The API key for pinpads for Moneris |
Settlement Tab
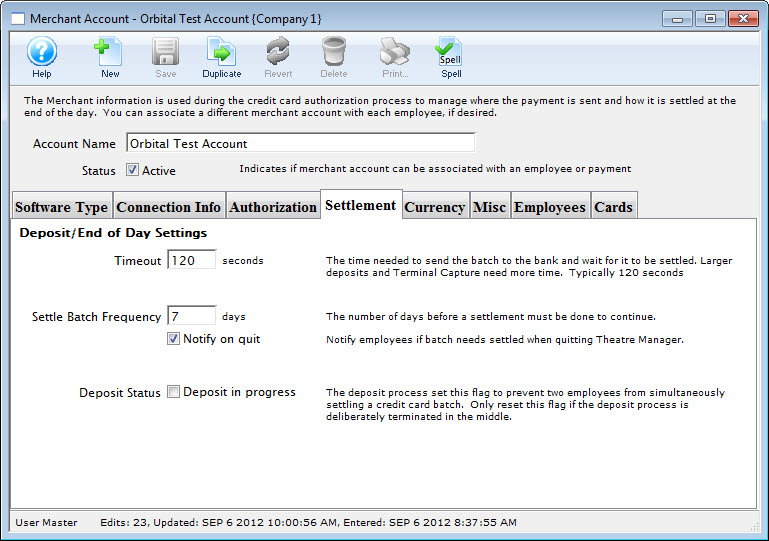
Parts of the Settlement Tab
Timeout |
This is the maximum time, in seconds, that Theatre Manager expects to take to send the completed deposit batch to the bank. Normally, 120 seconds is enough for most processors but if you have larger batches or are using some terminal based authorization, you may need to alter this value. |
||
Settle Batch Frequency |
Indicates the number of days that Theatre Manager will allow process credit cards without settling the batch. After this threshold is exceeded without doing an End of Day, Theatre Manager will display a warning message telling you to close the batch and will not accept any credit cards at the box office. |
||
Notify on Quit |
If checked, an employee will be notified that a batch needs settled when they quit Theatre Manager if it finds any credit cards older than one day that are not yet deposited. In other words, you will only be told if there are cards from a previous day that have not been deposited. |
||
Deposit Status |
This field is checked when an end of day is in process AND a credit card deposit is currently being done for this merchant account through Theatre Manager. You cannot check this box, you can only uncheck it if you are 100% sure there is no settlement occurring for this merchant account (i.e. nobody has end of day open). Unchecking it will reset the end of day and allow a settlement to occur. |
Currency Tab
Normally, credit card accounts are in the same currency for the country you reside in. If you are able to process credit cards in another currency, then you need to know what that is. And it needs to be in your currency exchange table. When a credit card is processed Theatre manager will:
Setup on this tab is particularly important if you are accepting foreign currencies on your website. Click here for more information.
For more information about setting up Currency Exchange details and rates, click here.
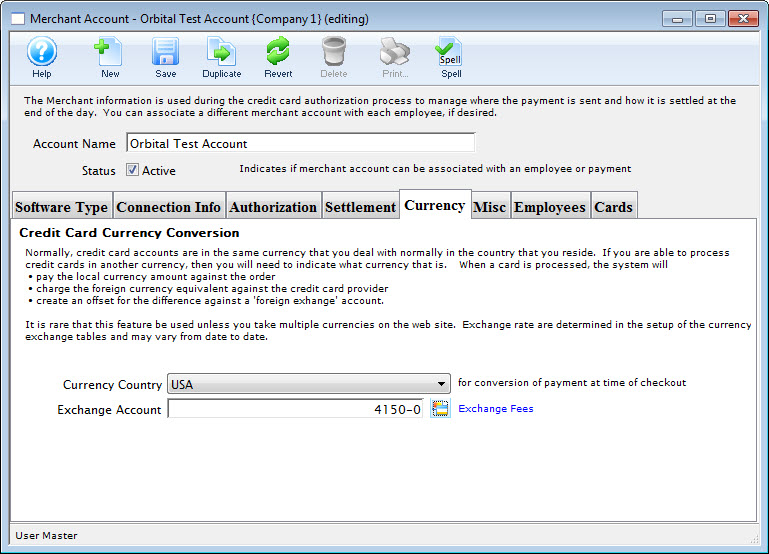
Parts of the Currency Tab
Currency Country |
Select the desired country from the Currency Country drop down. |
Exchange Account |
Enter a G/L Account to allocate the difference from the exchange rate. |
Merchant Profiles
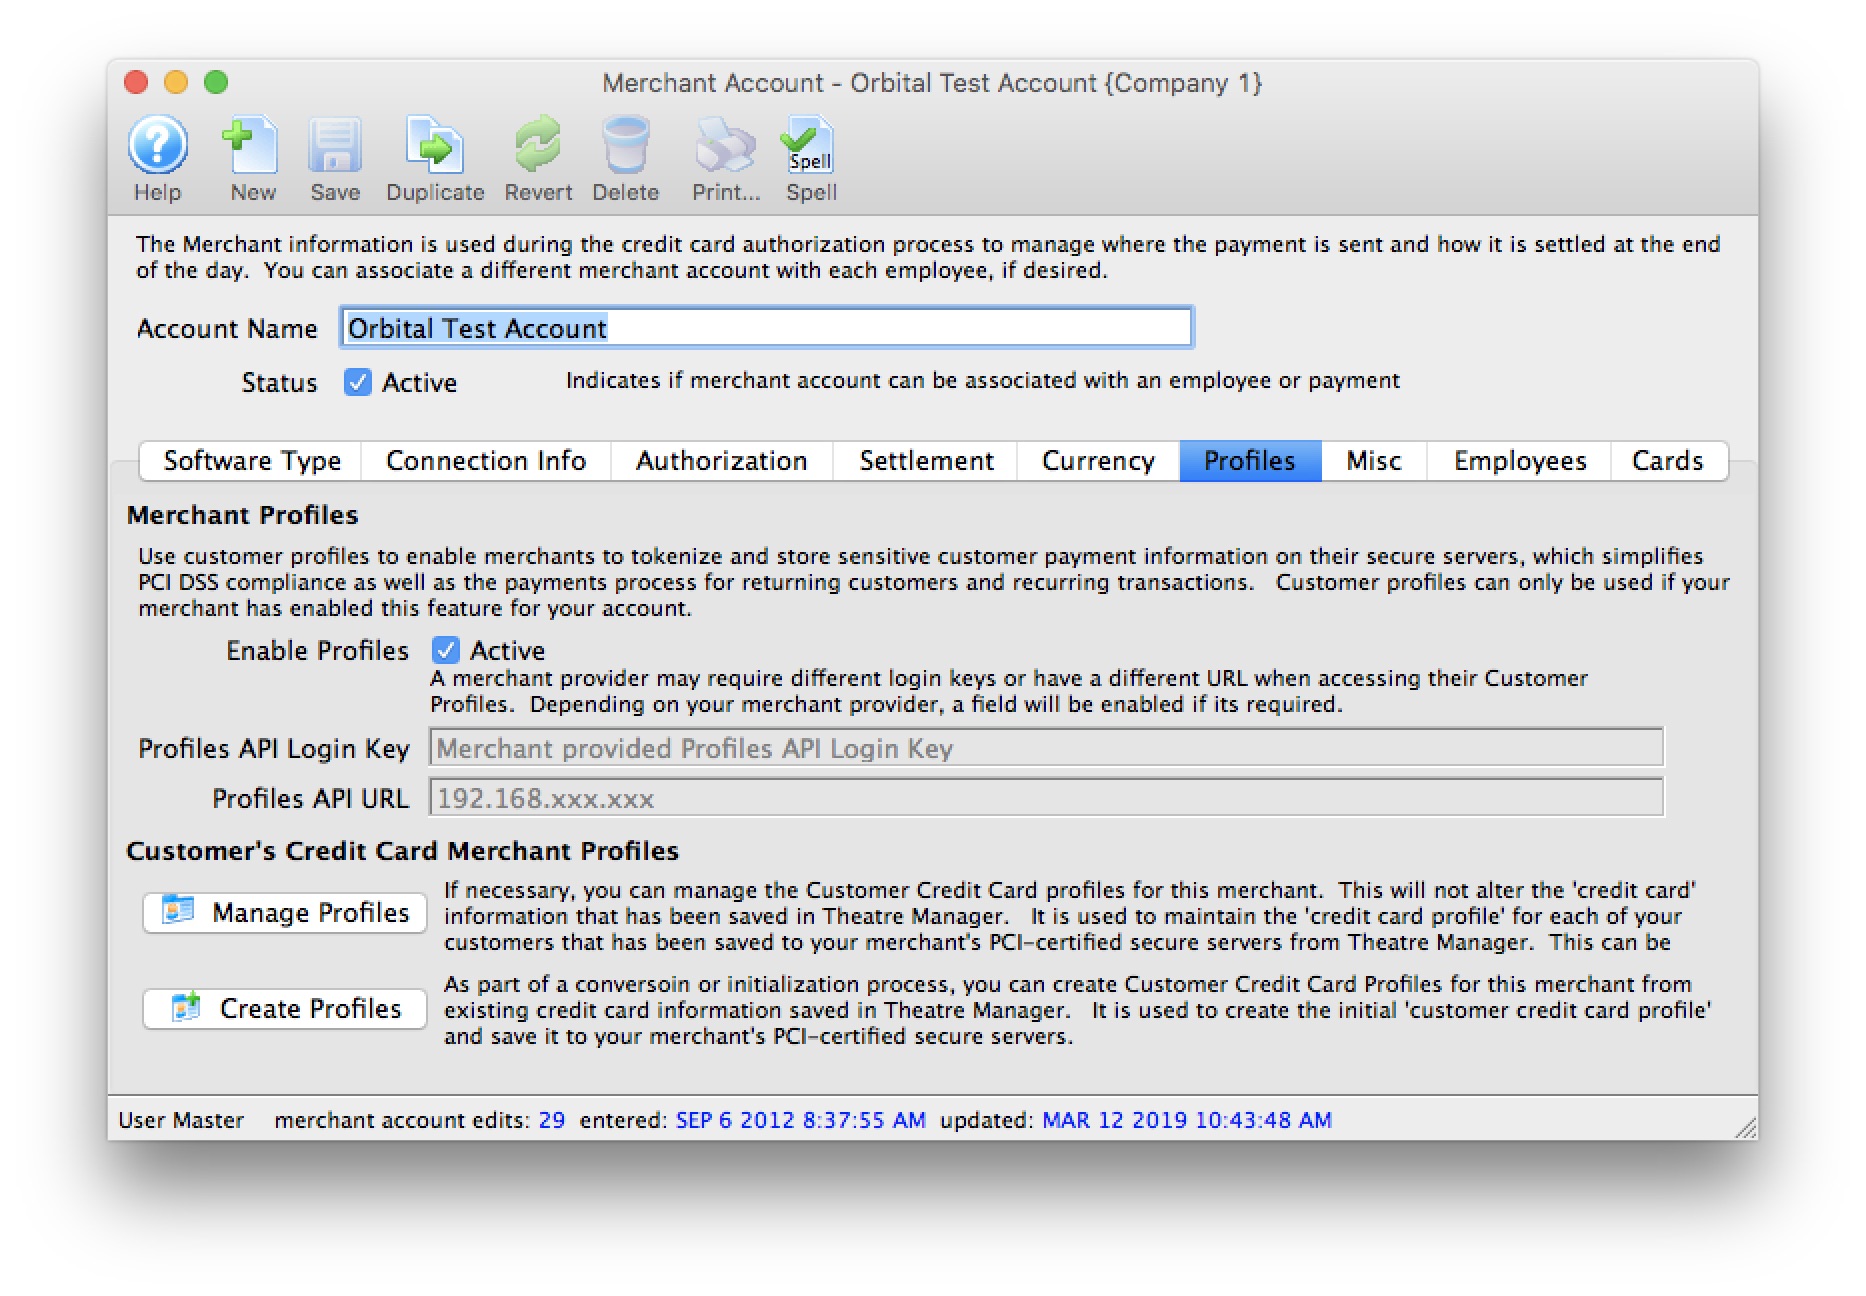
 |
A merchant provider may charge service fees or fixed costs for using this service to offset associated costs with maintaining customer and credit card information on their servers. Moneris charges money; and is not recommended for this feature. |
 |
If you only need to save credit cards for post dated or recurring payments, PCI Schedule D - post dated may suffice for your needs.
Contact your merchant provider customer support representative to determine if there will be any additional fees to your organization. |
Merchant Profiles are for organizations who are concerned with PCI compliance and wish (or are required to) maintain a PCI Schedule-C compliance within Theatre Manager.
Using Merchant Profiles reduces the exposure risk by maintaining full credit card information directly on the merchant provider's secure PCI-certified servers without having the requirement to store and maintain credit card numbers within Theatre Manager's database. Using Merchant Profiles in a PCI Schedule-C setup, allow full access to Theatre Manager's features such as Post-Dated Payments, Recurring Donations, and the Auto-Renew Season Subscriptions which would typically require a credit card number to be kept on file for each subsequent payment.
Parts of the Profiles Tab
| Enable Profiles |
|
||||
| Profiles API Login Key | The secure API Key used to access credit card profiles on the merchant provider's server.
|
||||
| Profiles API URL | The IP Address to use to access the Credit Card Profiles on the merchant provider's server.
|
||||
| If necessary, you can manage the Customer Credit Card profiles for this merchant. This will not alter the 'credit card' information that has been saved in Theatre Manager It is used to maintain the 'credit card profile' for each of your customers that has been saved to your merchant's PCI-certified secure servers from Theatre Manager. This can be used to cross reference and match the information between the two systems. | |||||
| As part of a conversoin or initialization process, you can Create Customer Credit Card Profiles for this merchant from existing credit card information saved in Theatre Manager. It is used to create the initial 'customer credit card profile' and save it to your merchant's PCI-certified secure servers. |
How Does This Work?
Merchant Profiles allows you to store credit card numbers directly with your merchant provider, on their servers, and then access those saved credit card numbers at any time for subsequent processing without the cardholder being present.
- During the first interaction using the customer's credit card, the credit card number and limited customer information is transmitted and saved on your merchant provider's server.
- A unique token/key is returned from your merchant provider and stored encrypted within Theatre Manager in replacement of the customer's full credit card number profile.
- Future interactions with the customer such as Post-Dated Payments, Recurring Donations, and the Auto-Renew Season Subscriptions, would then transmit the saved token/key rather than the full credit card number during the authorization process.
- Your merchant provider would then cross-reference this token/key to the actual credit card number during the authorization process within their own systems. At no time is the full credit card number displayed or directly visible during the authorization process.
What are the Benefits and Why Should I Use Profiles?
- Merchant Profiles are for organizations who are concerned with PCI compliance and wish (or are required to) maintain a PCI Schedule-C compliance within Theatre Manager.
- Mitigate the cost and risk of storing customer account data by keeping cardholder profiles in a secure, external database maintained by your merchant provider. This can help you reduce the risk of keeping cardholder data in-house and support your Payment Card Industry (PCI) compliance initiatives by protecting data at-rest.
- Saves time by eliminating the need to rekey a card account number and expiration date for each transaction.
- Allows your organization to make the changeover from Schedule-D to Schedule-C PCI Settings while retaining virturally all Theatre Manager's benefits as if still functioning in a Schedule-D environment.
- For clients currently operating in a Schedule-C environment, enabling merchant profiles would allow future interactions with our customers for Post-Dated Payments, Recurring Donations, and Auto-Renew Season Subscriptions.
- For clients who wish to remain in a Schedule-D environment, previously used credit card numbers are masked to the box office staff members during the payment process. Providing further protection from anyone accessing a patron's full digit card number.

A masked card means that it will be displayed in the payment window as '#### **** **** ####'. This renders the PAN useless for all purposes. However, given the first 4 and last 4 digits of any card, you can still validate you're using the correct merchant profile for authorizing the card.
- For clients who wish to remain in a Schedule-D environment, the function of storing previously used encrypted credit card information will remain the same - even with merchant profiles enabled. Using merchant profiles would add another layer of security protection to the full digit card number from being displayed or accessed.
What Will I See Differently in Theatre Manager?
If your PCI Settings are set to Schedule C to shred cards immediately after use:
- You will not notice much difference at all from what you see now. What the box office will benefit from is the ability to create and maintain future interactions with the customer such as Post-Dated Payments, Recurring Donations, and the Auto-Renew Season Subscriptions, would then transmit the saved token/key rather than the full credit card number during the authorization process.
- If your settings are to default the last used credit card for a patron, you will now see a masked the credit card number default for patrons who have previously purchased. The masked number is ok to accept as is for payments without changing it. The payment will use the merchant profile that was created for that credit card number.
If your PCI Settings are set to Schedule D to retain encrypted credit card data in Theatre Manager:
- The main change you will realize is that Theatre Manager will protect any known credit cards for patrons by only displaying merchant profile for a patron. Initially, it will appear as if all credit cards are missing from Theatre Manager, however, they still exist. They are in the background if access to them is required. After using the function to build merchant profiles for known credit cards, the transition to using merchant profiles will more seamless.
- If your settings are to default the last used credit card for a patron, rather then displaying the full set of credit card digits, it will mask the credit card number for patrons who have previously purchased. The masked number is ok to accept as is for payments without changing it. The payment will use the merchant profile that was created for that credit card number.
- During the payment process, if you're searching for known credit cards for a patron, it will only display credit cards that have a merchant profile created for it. Although Theatre Manager may have the credit card on file, if there is no merchant profile created for it, it will not display. If this is a concern, use the function to build merchant profiles for known credit cards, the transition to using merchant profiles will more seamless.
Steps to Start Using Merchant Profiles
- Contact your merchant provider representative and have them enable the module "Customer Payment Profiles" (*read the stop sign below*) on your merchant account.

Each merchant provider has its own unique name for the setup and maintaining of "Customer Payment Profiles." When talking with your merchant provider, use the following name to describe the feature you'll be activating:
- Authorize.Net - use the feature name Customer Profiles
- Bambora - use the feature name Payment Profiles (Theatre Manager's interface with Bambora to maintain Merchant Profiles is currently under development).
- Elavon - use the feature name Card Manager Transactions
- Moneris - use the feature name Hosted Vault
- Paymentech Oribital - use the feature name Customer Profile Management
- After contacting your merchant provider representative and they have confirmed "Customer Payment Profiles" has been enabled on your merchant account:
- set Enable Profiles to "active" to activate the feature within Theatre Manager.
- For Authorize.Net - set the Profiles API URL.
- For Bambora - set the Profiles API Logon Key anbd the Profiles API URL.
- Save the change to the merchant information.
- Log out of Theatre Manager.
- Log into Theatre Manager to start processing credit cards as normal. Customer Payment Profiles will start to be created automatically for each credit card processed.
Steps to Verify if Merchant Profiles are Being Created
- Follow the steps for Accessing the Merchant Profiles Customer List to view a patron's payment profile.
- If a profile exists, Theatre Manager and your merchant provider are functioning correctly.
- If there are no profiles, contact Arts Management Support to review your Merchant Profile Setup.
Can I Stop Using Merchant Profiles?
Yes, at any time. All pre-existing merchant profiles will remain within Theatre Manager's database for future use if merchant profiles is re-enabled for this merchant account. |
If your PCI Settings are set to Schedule D to retain encrypted credit card data in Theatre Manager, and if you process any new credit cards while the Enable Profiles is inactive, a merchant profile will not be created. If you choose to Enable Profiles later on, it is suggested using the function to build merchant profiles for known credit cards, to make the transition back to using merchant profiles more seamless. |
 |
If your PCI Settings are set to Schedule C to shred cards immediately after use, and if you process any new credit cards while the Enable Profiles is inactive, a merchant profile will not be created. If you choose to Enable Profiles later on, you will require the full credit card number again before processing another new payment for that patron's credit card. |
- Set the Enable Profiles flag to "inactive" to stop the feature within Theatre Manager. This will only inactivate it within Theatre Manager.
- Save the change to the merchant information.
- Log out of Theatre Manager.
- Log into Theatre Manager to start processing credit cards as normal. Customer Payment Profiles will no longer be displayed or created automatically for each credit card processed.
If I change Merchant Providers, will the Existing Merchant Profiles continue to work with the New Provider?
No. The Customer Payment Profile's created by the merchant provider are uniquely linked to that merchant provider and your merchant account number. Customer Payment Profiles cannot be shared between different providers or accounts.
Building Merchant Profiles for Existing Cards
Merchant Profiles can be created and saved on your merchant provider's secure PCI-certified servers using the existing credit card information in Theatre Manager.
This window is used as an analysis tool to determine the critical and primary credit card profiles that should have a Merchant Profile created.
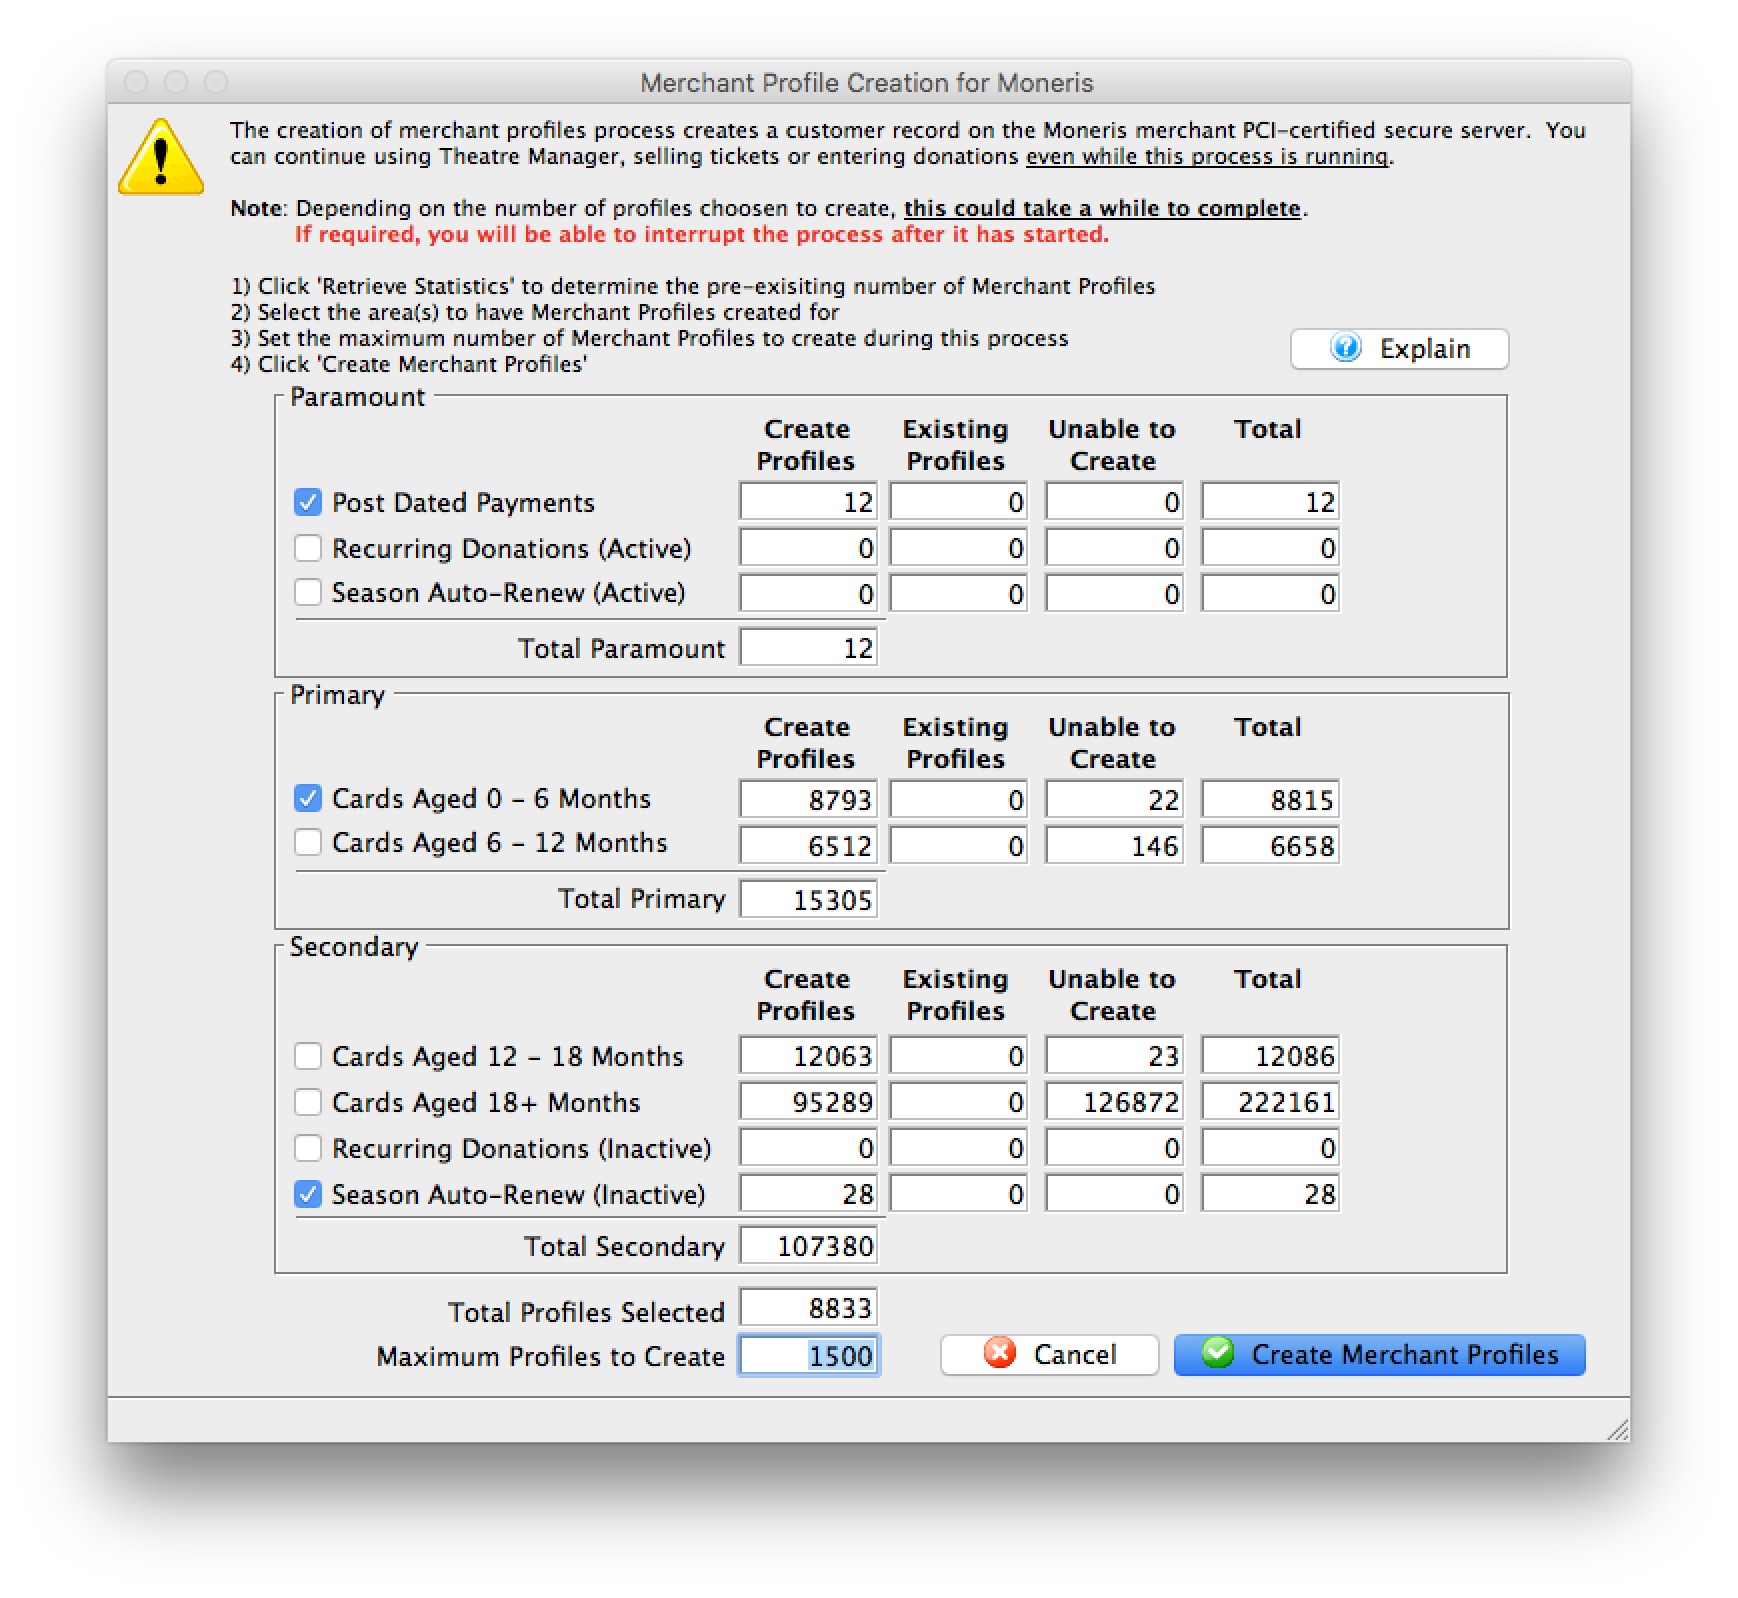
Parts of the Merchant Profiles Creation Window
| Post Dated Payments | Select to include credit cards from non-deposited (future dated) post dated payments. | ||
| Recurring Donations (Active) | Select to include credit cards from active and ongoing recurring donations. | ||
| Season Auto-Renewal (Active) | Select to include credit cards from active Season Subscriptions that are setup with Auto-Renewals. An active season is defined as the current and previous seasons. | ||
| Cards Aged 0 - 6 Months | Select to include credit cards that have been used or updated within the previous 6 months. | ||
| Cards Aged 6 - 12 Months | Select to include credit cards that have been used or updated within the previous 6 to 12 months. | ||
| Cards Aged 12 - 18 Months | Select to include credit cards that have been used or updated within the previous 12 to 18 months. | ||
| Cards Aged 18+ Months | Select to include credit cards that have been used or updated over 18 months ago. | ||
| Recurring Donations (inactive) | Select to include credit cards from inactive or completed recurring donations | ||
| Season Auto-Renew (Inactive) | Select to include credit cards from inactive Season Subscriptions that are setup with Auto-Renewals. An inactive season has the season pages flagged as inactive or is 2+ seasons ago. | ||
| Total Profiles Selected | The total number of credit cards selected to create merchant profiles. | ||
| Maximum Profiles to Create | The maximum number of merchant profiles to create during this process. | ||
 |
Query Theatre Manager's database to determine the possible number of merchant profiles that can be created; the number of existing merchant profiles; and the number of known credit cards that are unable to be used for creating a merchant profile.
|
||
 |
Start the process for creating merchant profiles for the selected credit card numbers.
|
 |
Before proceeding, verify that this merchant account has credit card payment types(i.e. VISA, MC, DISC, AMEX, etc.) created and assigned in code tables. If a payment method does not exist as a credit card type for this merchant, a merchant profile will not be created. |
- Open the Merchant Profile Creation window.
Click here to learn how to access this window.
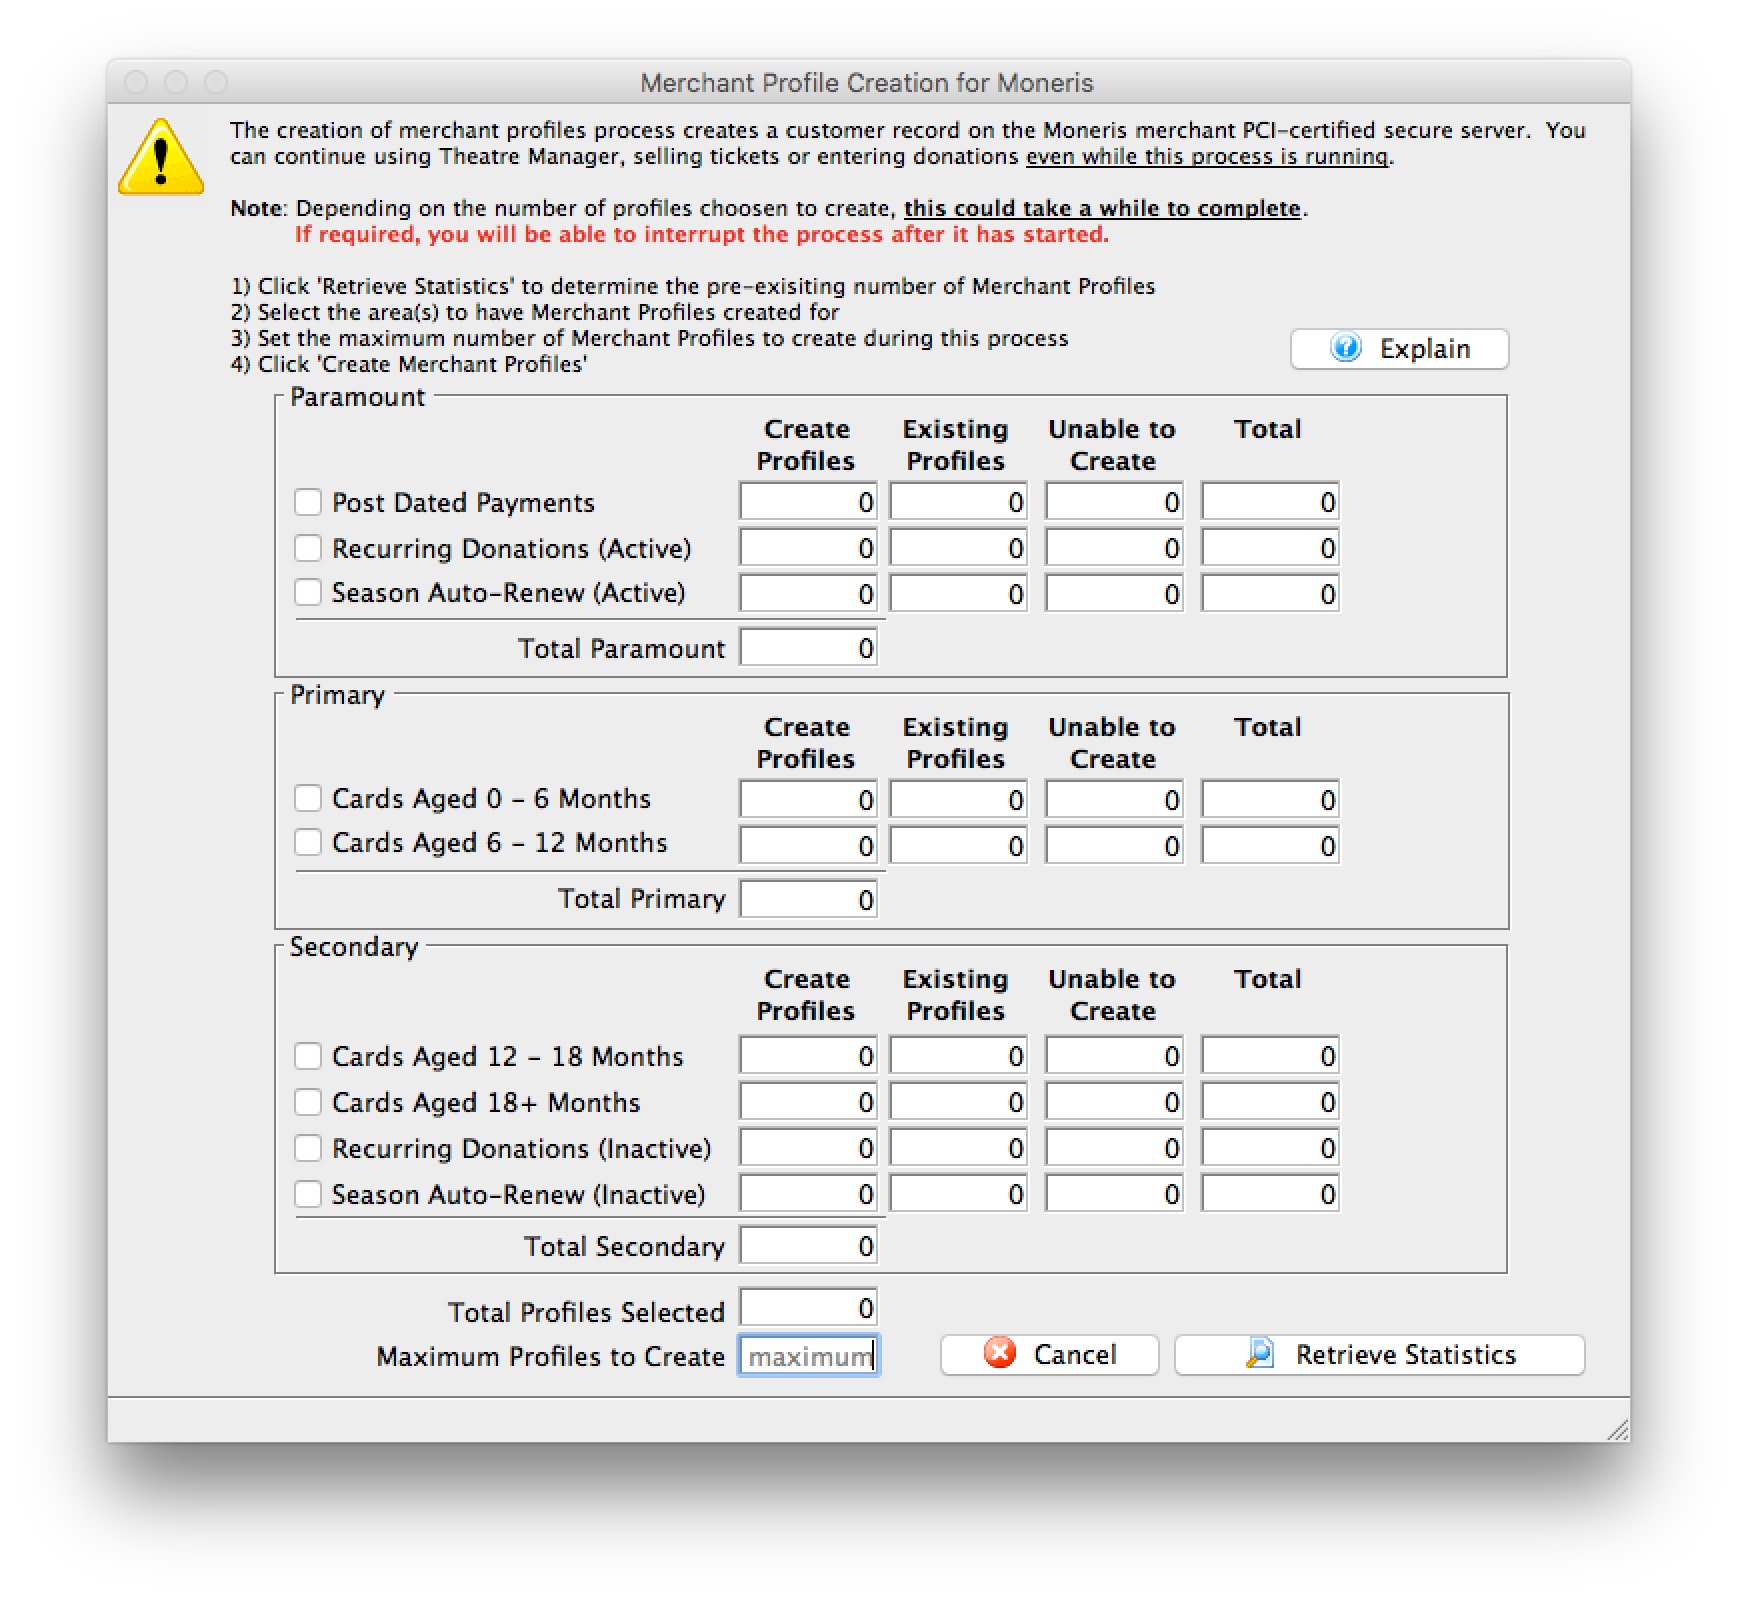
- Click Retrieve Statistics.
A confirmation window will open prior to proceeding.

Depending on the number of existing credit cards in Theatre Manager, the credit card analysis tool determining the number merchant profiles to create may take a while to complete. - Click Continue.
A progress checklist window will open.
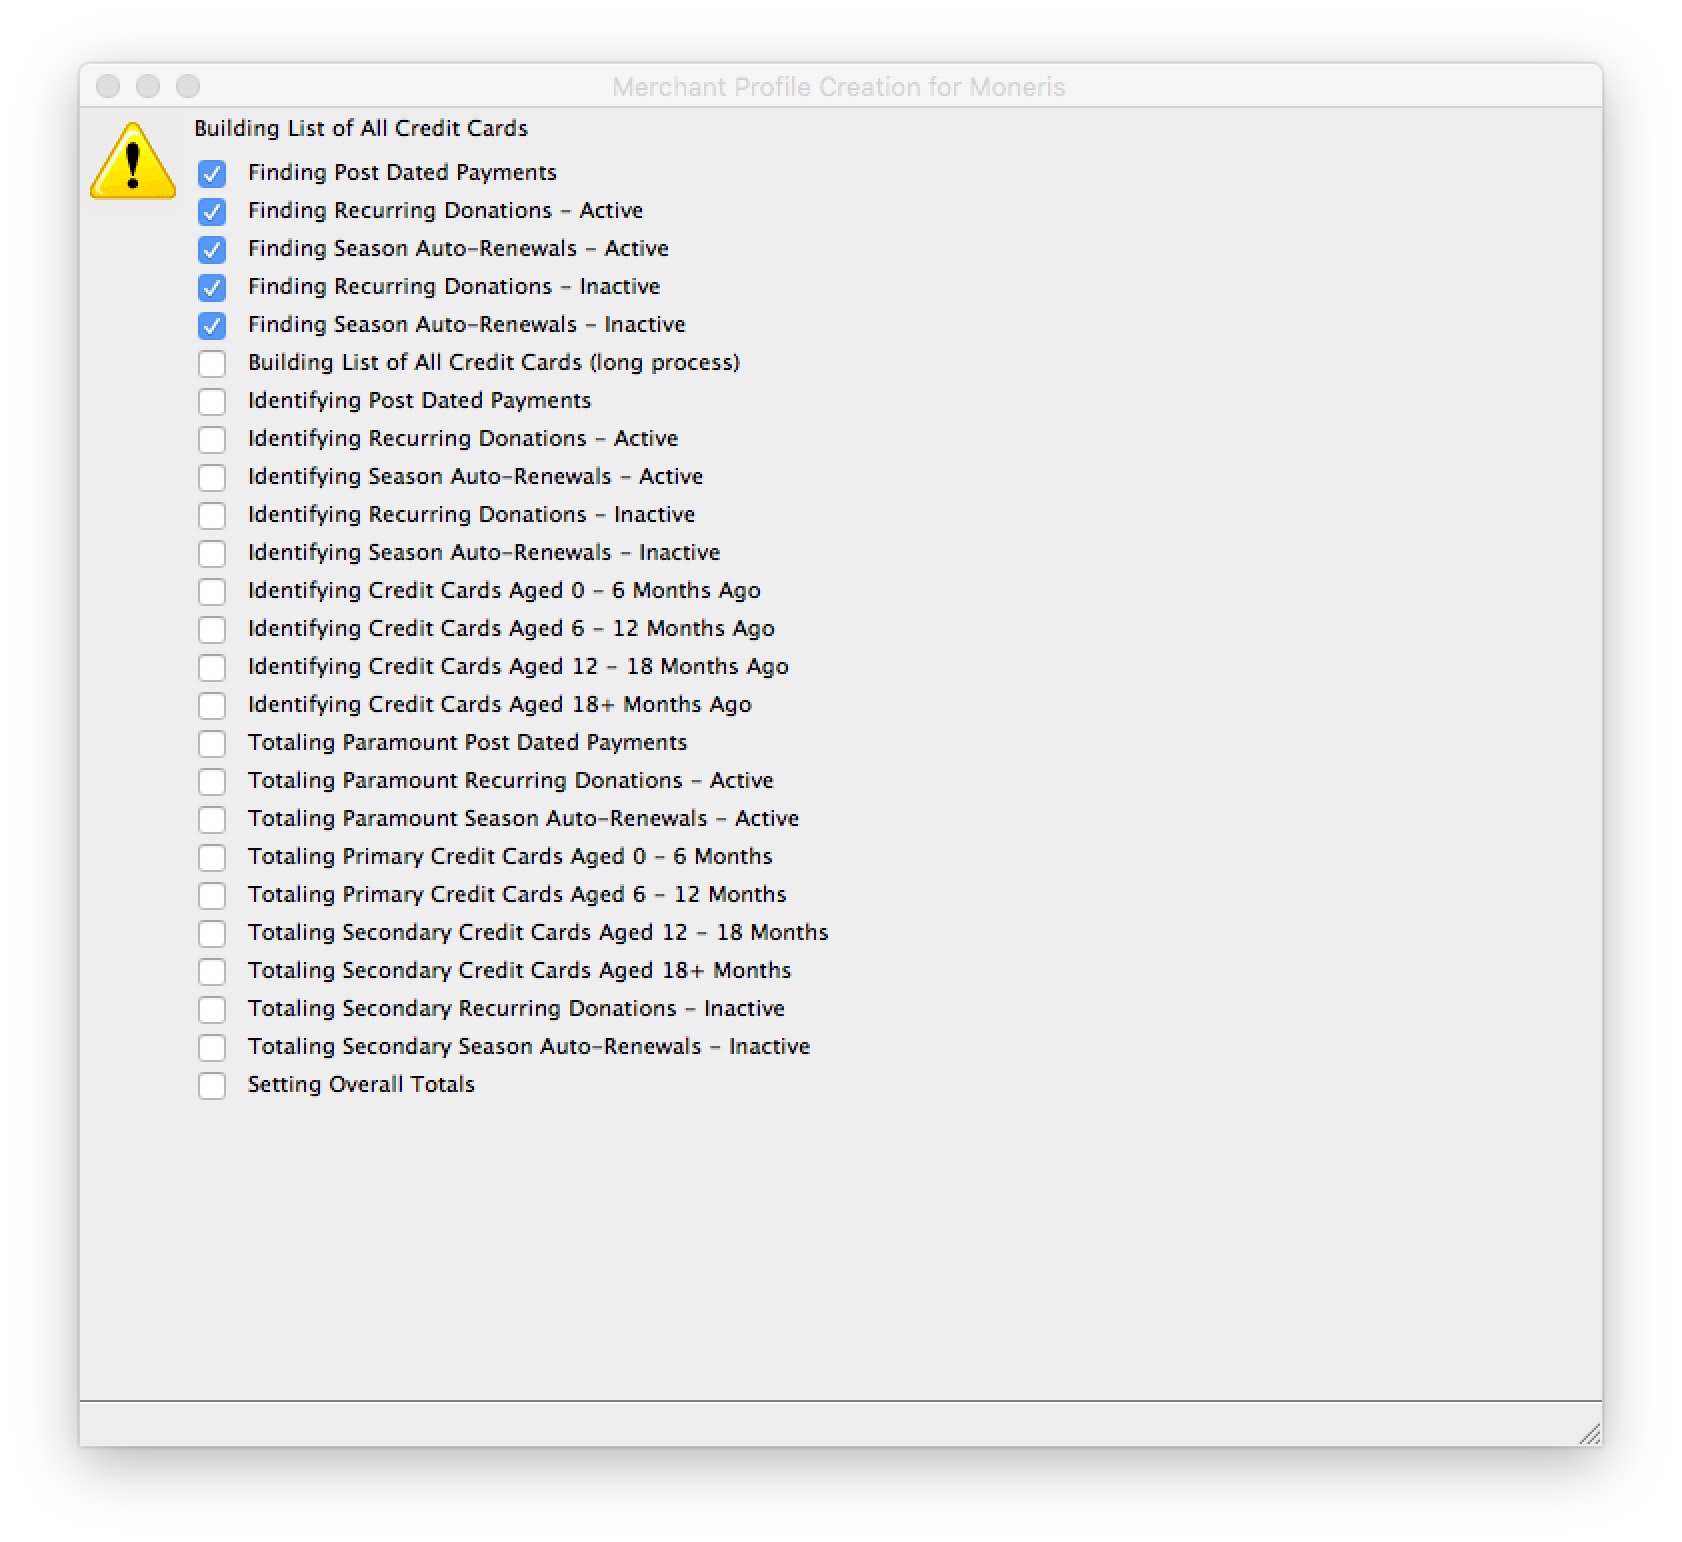
- Select the area(s) to have merchant Profiles created for.
- Set the maximum number of Merchant Profiles to create during this process.

If the Maximum Number of Profiles to Create is less than the Total Profiles Selected, the credit card list will be sorted in the following sequential order in attempts to create the most important credit card profiles first: - Post Dated Payments
- Recurring Donations (Active)
- Season Auto-Renew (Active)
- Cards Aged 0 - 6 Months
- Cards Aged 6 - 12 Months
- Cards Aged 12 - 16 Months
- Cards Aged 18+ Months
- Recurring Donations(InActive)
- Season Auto-Renew (InActive)
- Credit card last used/updated date
- Click Create Merchant Profiles.
A confirmation window will open prior to proceeding.

Depending on the number of merchant profiles requested to create, the process may take a while to complete. - Click Proceed.
A progress window will open.

Clicking cancel on the progress window will stop the process. All merchant profiles that have been created up to the time the cancel button was clicked, will remain. - Upon Completion of the Routine.
A status window will open.


If a message that 0 merchant profiles were created after running the Building Merchant Profiles for Existing Cards function: 
- Verify that this merchant account has credit card payment types(i.e. VISA, MC, DISC, AMEX, etc.) created and assigned in code tables.
- Verify the Profiles API Login Key and/or Profiles API URL are valid if your merchant account requires either of these 2 fields.
- Contact your merchant provider representative to confirm they have enabled the "Customer Payment Profiles" feature on your merchant account.
- Authorize.Net - use the feature name Customer Profiles
- Bambora - use the feature name Payment Profiles
- Elavon - use the feature name Card Manager Transactions
- Moneris - use the feature name Hosted Vault
- Paymentech Oribital - use the feature name Customer Profile Management

Each merchant provider has its own unique name for the setup and maintaining of customer's payment profile information. When talking with your merchant provider, use the following name to describe the feature you'll be activating:

Creating a Merchant Profile
Merchant Profiles are created automatically when the Merchant Profile option is enabled for a merchant provider. When a credit card number is provided as a form of payment and a merchant profile does not already exist for this specific patron/payment combination, Theatre Manager will communicate with the merchant provider directly to get a Client Token and Payment Token assigned for the patron's payment information.
Patrons will have a separate Client Token/Payment Token combination for each credit card number used for payment.
|
Merchant Profiles are not shared between merchant providers, even if the merchant account is with the same merchant provider. If you have multiple merchant accounts setup for different operational unit within your organization (i.e. box office sales, internet/web sales and/or development) and each merchant account is enabled to maintain profiles, then a patron could have multiple Client Token/Payment Tokens for the same credit card if the patron provides payment with those different operational units. In most cases the organization only has a single merchant account, thus there would only be a single Client Token/Payment Token for each patron credit card. |
|
For patron credit card security reasons, functionality to manually enter the Client Tokens/Payment Tokens generated by a merchant provider into Theatre Manager is not allowed. |
Deleting a Merchant Profile
- Open the Merchant Profiles List window.
Click here to learn how to access the Merchant Profiles List window.
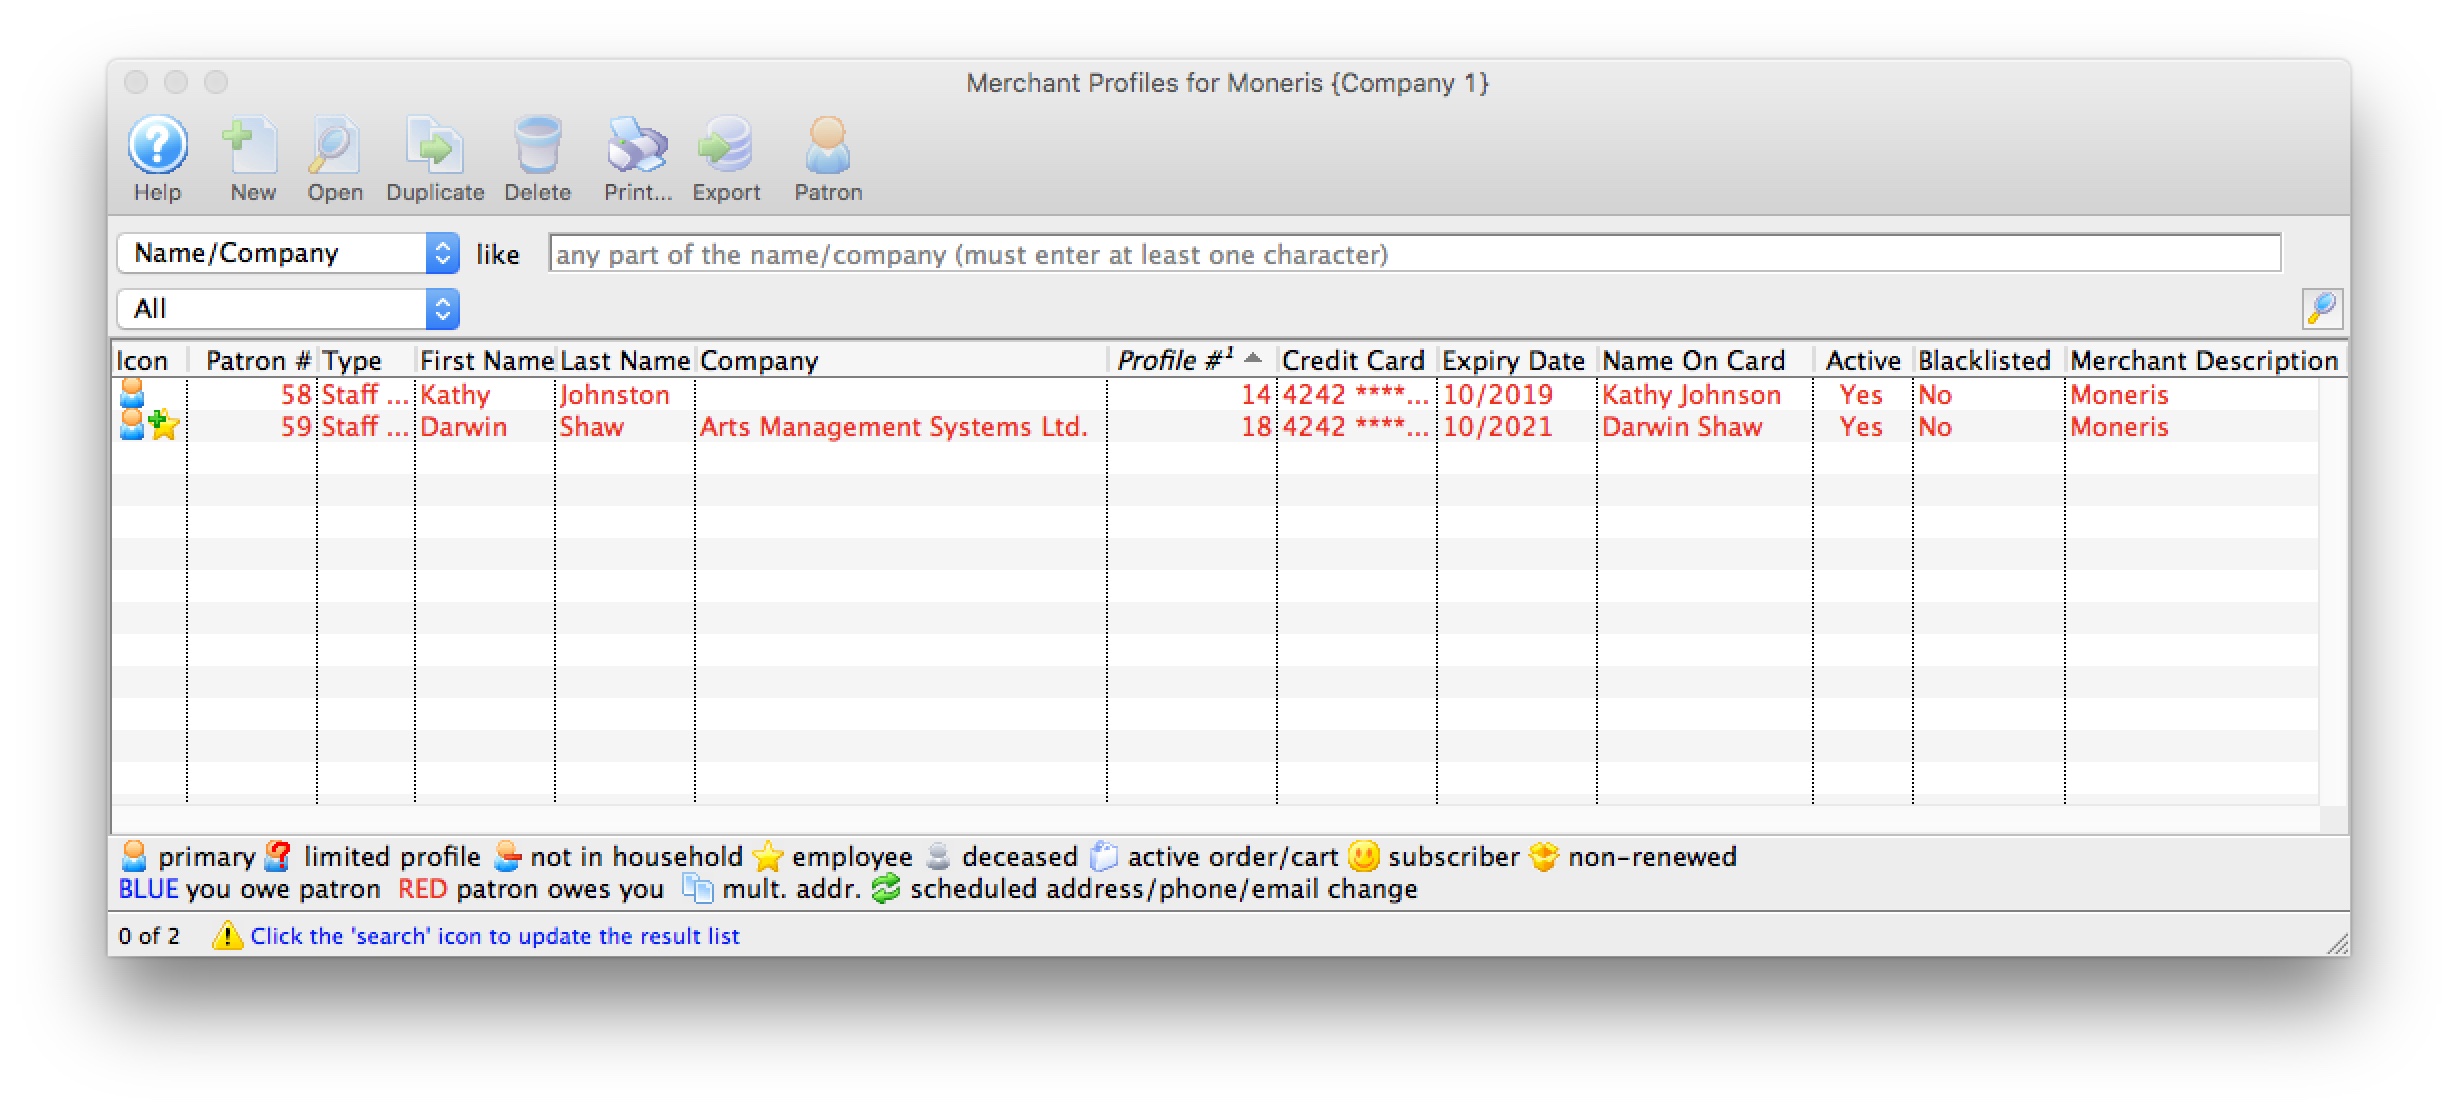
- Select the Merchant Profile to be deleted.
Single click on a Merchant Profile to select it.
- Click the Delete
 button.
The Delete Record confirmation opens.
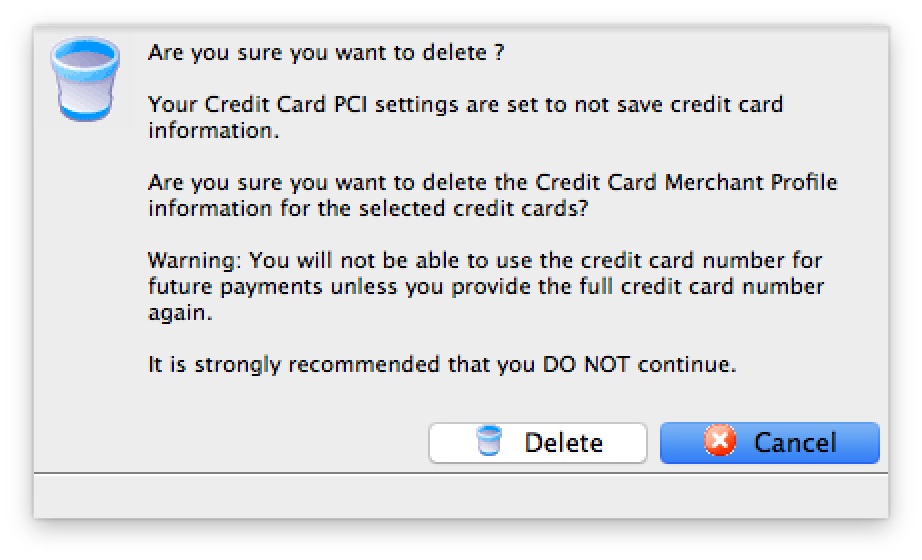
- Click the Delete
 button.
A second Delete Record confirmation opens.
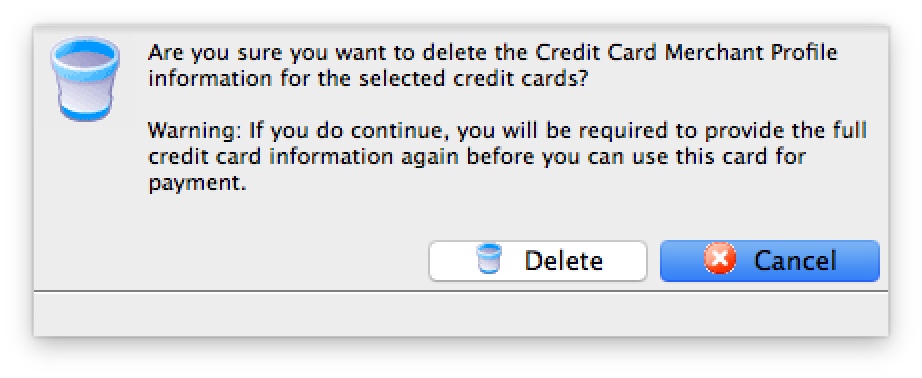
- Click the Delete
 button.
The Merchant Profile from Theatre Manager is now deleted.

Theatre Manager does a best attempt to delete the customer profile from the merchant provider's servers. There could be a circumstance where the customer profile cannot be deleted using the API calls from Theatre Manager. If this occurs, login into your merchant provider's web portal and delete the customer profile manually.
If the Merchant Profile is referenced by other files in the system, you will be unable to delete it and Theatre Manager will not delete the customer profile from the merchant provider's servers.
Merchant Profiles Customer List
The Merchant Profiles List can be used to review the customer profiles created and located on your merchant provider's secure PCI servers. This list can also be narrowed to only patrons on a specific grouping by using select criteria. This window is only visible to an employee if they have been granted access under Employee Setup.

Merchant Profiles List Buttons
 |
Opens the Merchant Profile Detail window for the selected profile. Click here for more information about the profile detail window. |
 |
Deletes the merchant profile. Click here for more information on deleting profiles. |
 |
Prints a report the of the profiles in the merchant profile list to screen or default print location. |
 |
Exports the data from the merchant profiles list into a tab delimited format and saves it to a selected location. |
 |
Opens the Patron record for the selected patron. |
Parts of the Merchant Profiles List Window
| Patron # | The unique identifier for this patron account. |
| Type | Type of Patron account. |
| First Name | The first name of the patron. |
| Last Name | The last name of the patron. |
| Company | The company that the patron works for. |
| Profile # | The company that the patron works for. |
| Credit Card | The credit card number. |
| Expiry Date | Date the card will expire. |
| Name on Card | Name printed on the credit card used for added security when processing the card. |
| Active | The state of the card and if it can be selected to process credit card transactions. Expired, lost or stolen cards can be set to an inactive state. |
| Blacklisted | Indicates if this credit card is blacklisted for this patron. If blacklisted, the patron cannot use the card again unless this card is reset. |
| Merchant # | The unique identifier for this merchant account. |
| Merchant Description | The internal description to identify the merchant account. |
Accessing the Merchant Profiles Customer List
There are a few ways to access the customer payment profiles, depending on the end result.To view all merchant profiles created for a specific merchant:
- Open the Merchant List window.
- Edit the merchant account.
- Click the Profiles tab.
- Click the Manage Profiles button.
To view all merchant profiles for a specific patron:
- Open the Patron Window.
- Click on the Credit Card Tab.
- Right-mouse-click on the patron's credit card list within the patron window.
- Select "Merchant Profiles" from the context pop-up menu.
To view merchant profiles for a specific patron while making a payment:
- Open the Payment Window for an order.
- Choose a credit card payment method from the list of payment options.
- Click on the Credit Card Lookup button.
Merchant Profiles Customer Detail
Parts of the Merchant Profiles Detail Buttons
 |
Deletes the merchant profile. Click here for more information on deleting profiles. |
Parts of the Merchant Profiles Detail Window
| Merchant | The unique identifier and internal description for this merchant account. | ||
| Card Number | The credit card number. | ||
| Expiry Date | Date the card will expire. | ||
| Name on Card | Name printed on the credit card used for added security when processing the card. | ||
| Client Token | The unique identifier assigned by the merchant provider for this patron's customer information. | ||
| Payment Token | The unique identifier assigned by the merchant provider for this patron's payment information.
|
Miscellaneous Tab
The miscellaneous tab is used to provide contact information for your merchant provider. Please put information into these fields so that your staff will know who to contact in case of messages from the merchant provider like 'Hold Card' or 'Decline'. Clients using Orbital can use the information pictured for the name and phone number fields, then the email address of the organization's finance director or accountant. Those using other service providers will need to fill in contact details for their Merchant Provider or bank here.
Parts of the Miscellaneous Tab
Contact Person |
Enter the name of the Merchant Contact person when a card comes back as 'declined', 'call center' or 'hold card' |
Phone Number |
Enter the phone number of the contact person |
Enter the e-mail address of the Contact person |
|
Opens an email to be sent to the address listed |
Employees Tab
This is the list of employees that currently use this merchant account. If changing merchant accounts, you might need to change these employees to another merchant record.
If you have multiple merchant accounts (or are retiring an old merchant provider), you can drag employees from the 'employee' tab in one merchant detail window to another to transfer them to another merchant provider.
Parts of the Employees Tab
Employee List |
Displays the Employee List of those employees who can use this merchant account. |
Opens the Employee Access window for the selected employee.click here for more information on the Employee Access window. |
Cards Tab
This tab displays the credit cards accepted for authorization by this merchant account.
If you have multiple merchant accounts (or are retiring an old merchant provider), you can open up the card window on both merchant providers and drag the payment types from one merchant account to another. Any post dated payments associated with the old merchant account will be transferred to the new merchant account so they can be authorized in the future properly.
Parts of the Cards Tab
You can add cards from the Payment Methods defined in Code Tables. Click here for more information. |
|
You can open and edit the selected card. |
|
You can remove card that are no longer accepted |
Creating a Merchant Account
- Open the Merchant Account Setup window.
Click here to learn how to access the Merchant Account List window.
- Click the New
 button.
The Merchant Account Detail window opens.

- Enter the Account Name of the Merchant Account.
- Make appropriate Server Software and Merchant Provider selections in their respective drop-down menus.
- Enter the PNS , Account # or Merchant Number provided by the merchant provider.
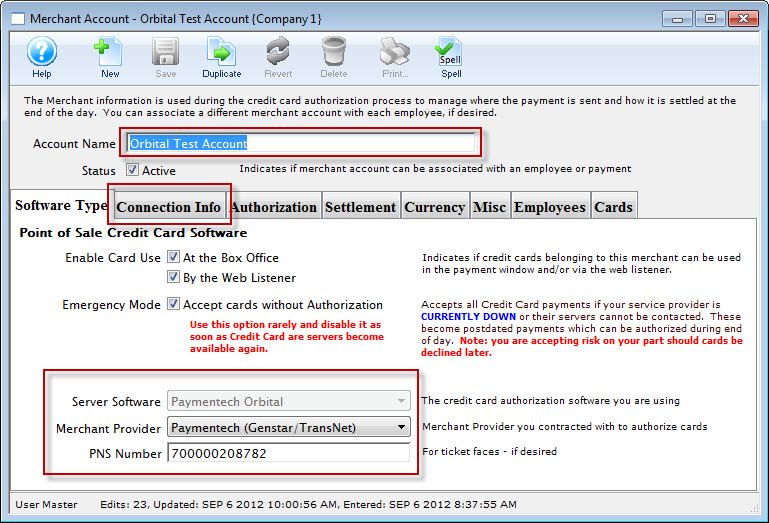
- Click the Connection Info
 tab.
tab.
The Connection Info window opens.
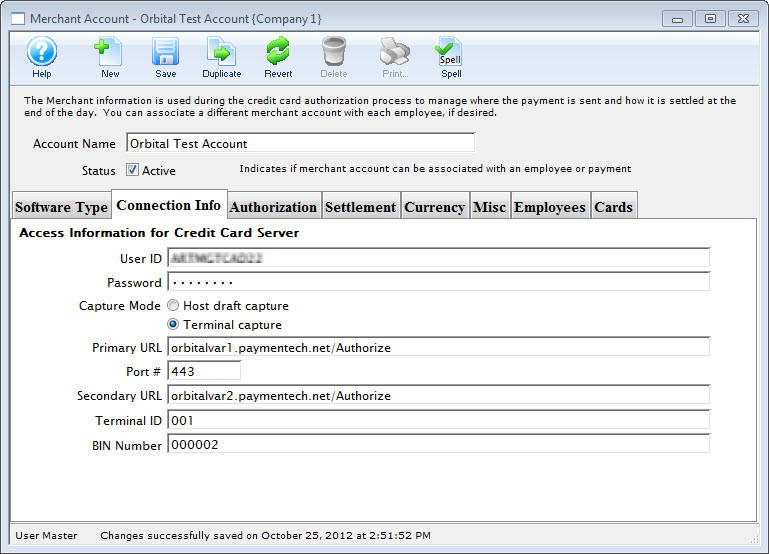
- Enter data in the Merchant Account Connection Info tab, based on the information given by the merchant provider.
For more information on the Merchant Account Connection Info tab click here.
- Click the Authorization
 tab.
tab.
The Authorization window opens.

- Choose the correct authorization settings in the Authorization tab.
For more information on the edits and accounting tab click here.
- Click the Settlement
 tab.
tab.
The Settlement window opens.

- Enter data in the Settlement tab.
For more information on the Settlement tab click here.
- Click the Currency
 tab.
tab.
The Currency tab window opens.

- Enter the currency details for this merchant account.
For more information on the edits and accounting tab click here.
Click the Misc
 tab.
tab.
The Miscellaneous tab window opens.

Enter the merchant providers contact name, telephone and email address.
For more information on the edits and accounting tab click here.
Click the Employees
 tab.
tab.
The Employees tab window opens.

- Use the Add button in the lower left of the tab to add employees who should use this merchant account.
An employee can belong to only one merchant account at a time. For more information on the edits and accounting tab click here.
- Click the Cards
 tab.
tab.
The Employee tab window opens.

- Use the New
 button (in the lower left of the tab) to add credit card payment methods that should use this merchant account.
For more information on the edits and accounting tab click here.
- Click the Save
 button.
The new Merchant Account is now created.
Editing a Merchant Account
To edit a Merchant Account, you perform the following steps:
- Open the Merchant Account List window.
Click here to learn how to access Merchant Account List.
- Select the Merchant Account to be edited.
Single click on a account to select it.
- Click the Open
 button.
The Merchant Account Detail window opens.

- Make changes as needed.
- Click the Save
 button.
The merchant account is now updated and saved.
Deleting a Merchant Account
- Open the Merchant Account List window.
Click here to learn how to access the Merchant Account List window.
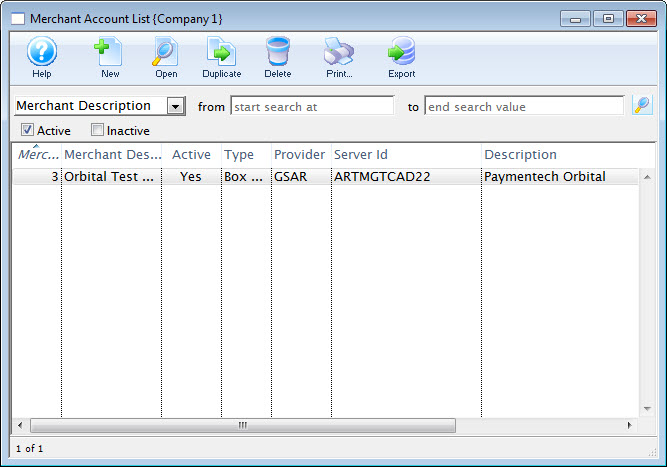
- Select the Merchant Account to be deleted.
Single click on a Merchant Account to select it.
- Click the Delete
 button.
The Delete Record confirmation opens.

- Click the Delete
 button.
The Merchant Account is now deleted.
If the Merchant Account is referenced by other files in the system, you will be unable to delete it.
How to Change a Merchant Provider
 |
If considering changing merchant providers, be sure to read about the impact and business ramifications for purchases done with the old provider that might need refunded un the future. |
 |
Before beginning this process, we suggest picking a time that will naturally limit any transactions that could be processed until the new Merchant account is in place. (i.e. earlier in the morning). A switchover can usually be done in 5 minutes or less.
If you wish, you can turn off web sales (only necessary for comfort). |
The general steps covered below are:
- Preparing for the switchover to a new Merchant Account
- Switching Merchant Information in Theatre Manager
- Testing the merchant account
- Migrating Post Dated payments to your new merchant account
- Updating payment Ticket Face to print your New Merchant Account Information
Impact of Changing a Merchant Provider
 |
Changing your Bank is not the same as changing your merchant provider. You can change either/or at any time. Refer to the basic definitions used the credit card industry for more information on roles and responsibilities of either. |
Advantages of Changing Merchant Provider and/or Processor
You may get various benefits such as:
- more amenable rates
- better service when you call them for help
- more supported features such as hosted payments online or pin pads
Disadvantages of Changing Processors
There are disadvantages of changing service providers - most notably:
- Linked Refunds which apply to a specific patron, merchant and order -and-
- merchant profiles which will need to be recreated as patrons by.
If you suspect you might have a significant number of refunds to do for upcoming shows that are or could be cancelled, you might want to:
- hold off on changing your merchant provider until such a time you've got a low exposure on the need to do refunds -or-
- Migrate to the new merchant account, while keeping the old one available/active for future box office returns for a period of time - say a few months, if that option is possible.
Why are refunds problematic during Merchant Changeover?
In recent years, merchant providers have instituted fraud policies that apply one or more of the following rules (Linked Refunds) that mean refunds
- must within a certain number of days of authorization (normally 120, but can sometimes be extended)
- to the same card that was used to purchase
- with a token provided by the merchant provider (changing merchants nullifies the token)
- up to the same amount on the original purchase
- using the same order number
- to the same merchant provider
The rules above are imposed by the credit card companies and they can change at any time. If you change a merchant provider, then at least 3 of the rules above are viiolated:
- #3 (the token),
- #5 (the same order number),
- #6 different provider
The new merchant provider will not allow refunds for any charges done by the old merchant provider.
 |
You may need to ask the new merchant provider to approve you for independent refunds - which they may charge more for, or may not give you that permission.
Note, that Independent refunds of a card used with a new merchant processor means you must ask the patron for their card number again. (linked refunds do not need you to get the card). |
 |
Alternatively, you many need to keep your old merchant provider setup available for a few months for refunds only - until your risk of needing to do a refund to the old provider is past. |
Step 1: Preparing for the switchover to a new Merchant Account
- Set up the information for your new merchant account.
- Do not activate it yet -and-
- Set the new merchant to emergency mode
- Set up NEW credit card payment methods for your NEW merchant accounts
- You will need to go to the payment code table
- Create card payment types for VISA, MCARD, AMEX etc that your new merchant provider accepts
- Associate them with your new merchant provider created in step 1
- You might also want to rename your old VISA, etc payment methods to 'VISA - old merchant provider' so that you know which is which at a glance
- Complete the End of Day Process for your current Merchant Provider.
- Immediately turn your existing merchant provider into emergency mode. This will allow:
- Sales to continue while you complete the switchover
- Cards entered while in emergency mode are not authorized, but will be moved to the new merchant provider as post dated payments (due today).
- Those cards can then be authorized in next end of day against the new merchant account.
- This allows you to maximize sales uptime and minimize web sales outage to minutes.
Step 2: Switching Merchant Information in Theatre Manager
- Goto Setup >> System Tables > Merchant Accounts to see the merchant account list. You should see both your current and your future merchant records.
- Open both your old merchant account and your new one.
- Select the Employee tab on both windows
- Select and drag all employees from the old merchant account to the Employee tab of the new merchant account.
- You will see that all employee names now appear on the new merchant. From this point in, those employees will use the new merchant account.
- On the NEW merchant account window:
- Check the 'Active' flag in the new merchant account
- Uncheck the emergency mode setting in the new merchant account
- Close the new merchant account window
- On the OLD merchant account window:
- Uncheck the Active box in the old merchant account window.
- Close the old merchant account window
Step 3: Testing the merchant account
- processing a test transaction to ensure the new merchant account processes cards correctly.
- Run an End of Day in Theatre Manager to ensure the transaction batches properly.
- Open your online merchant profile and see that the batch is there and closed, with the right amount
Once you are sure the transactions are processing correctly you can then start up the web sales again and employees can log back into the database.
 |
When you make the changeover to the new merchant account, you must
RESTART your web listeners to ensure all web checkouts use the new merchant provider |
Step 4: Migrating Post Dated payments to your new merchant account
These credit card payments are linked to the payment method for the old merchant processor and need to be switched over to the new processor. To do so, repeat the following steps for each credit card type you now accept for your new merchant provider.
 |
The transfer process only does one Credit Card type at a time in case you want to split merchant accounts. User it iteratively to transfer
|
- Go to Setup->System tables and find all your payment methods. You should see a list of your payments like below:
- Open one of the OLD credit card payment methods associated with the OLD merchant provider. It should look like the window below.
- The Migrate Postdated button will be active.
- Click on it and a list of merchant providers will appear.
- Your new one should be visible
- select it
-
You will be asked to confirm that all post dated payments are to be moved to the new merchant provider. Confirm if you wish to continue. If you make a mistake, you can always reverse the process and move from the new merchant provider back to the old one.
- Make the payment method you just transferred the post dated payments from INACTIVE so that it can't be used again.
- Repeat the above steps for each of the other credit cards you are transferring to the new merchant account
 |
NOTE: to help prevent possible mistakes transferring from the old merchant to the new, the NEW merhant account will only appear in the popup list if:
|
Step 5: Updating Payment Ticket Face to print your New Merchant Account Information
These days, most people do not print a credit card receipt, or they email tickets
- Goto Setup >> Ticket Faces
This will open the Ticket Faces List window.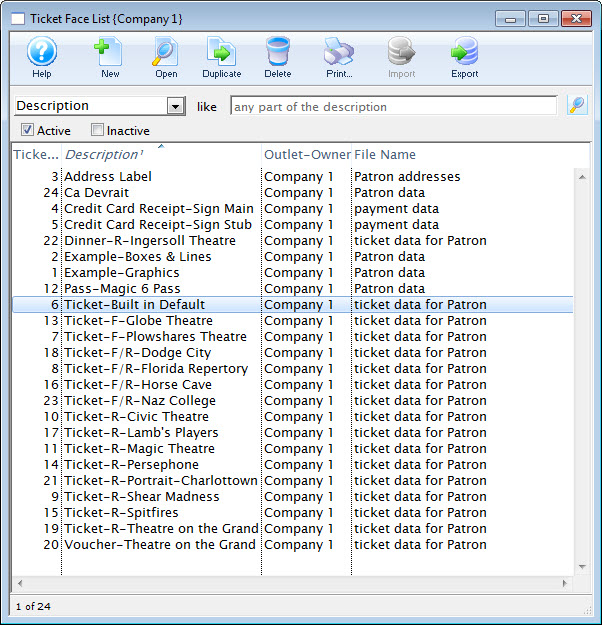
- Locate your Credit Card ticket Face
- Edit the ticket face
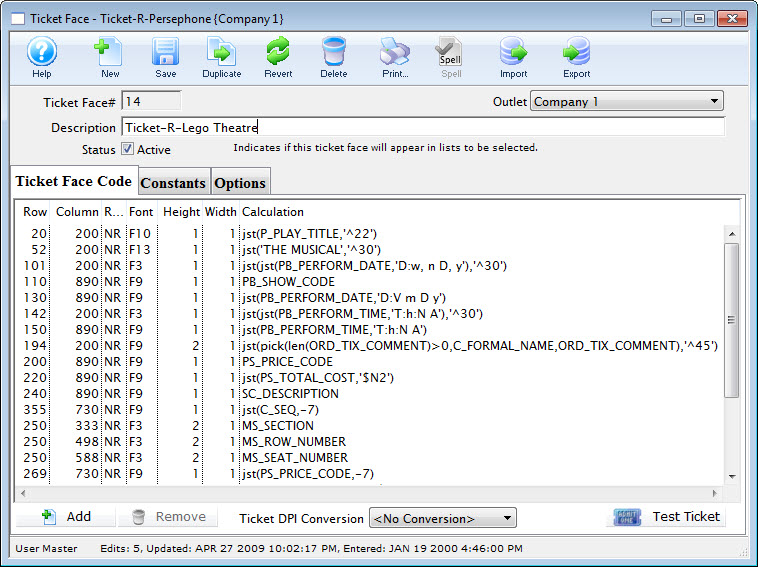
- Locate the line of code that displays your current merchant account number(s) (if they are hard coded on the ticket face). If the field is MM_MERCHANT_NUMBER, then no change is require to your ticket faces
- Edit the line of code to have your new merchant account information
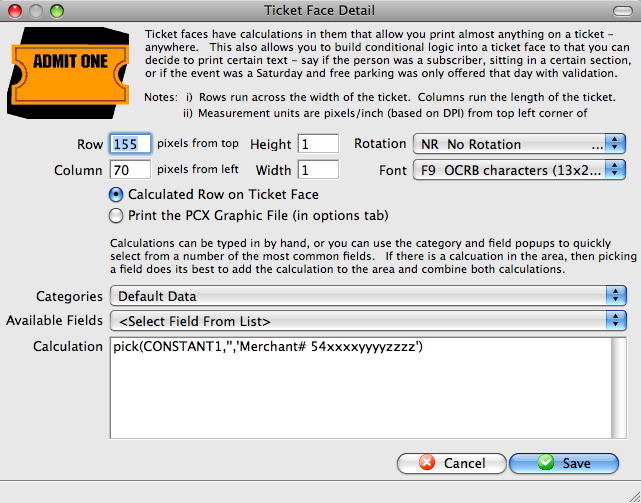
- Click the Save
 button
 - Click Save
 the toolbar
Commissions
With Commission Setup, you can define the rates Outlets may charge each other for cross outlet ticket sales in Theatre Manager.
While charging commissions is not required from Outlet to Outlet, some of the setup is required, such as the Default Posting Accounts for Commissions.
If you have multiple Outlets, you may have multiple commission structures to accommodate your sales contracts between different Outlets. For example, you may not charge the community theatre Outlet any fees as you provide a "pro bono" service to them. For another Outlet, you may charge a "dollar fee" based on tickets sold, and another may charge you a percentage based on the value of the ticket.
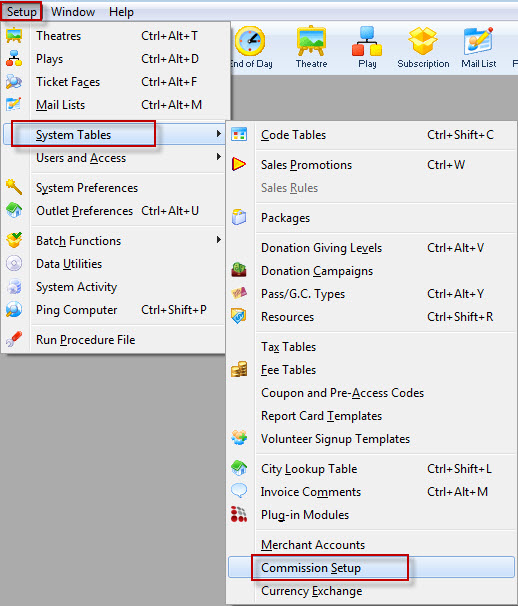
The Commission Setup window opens.
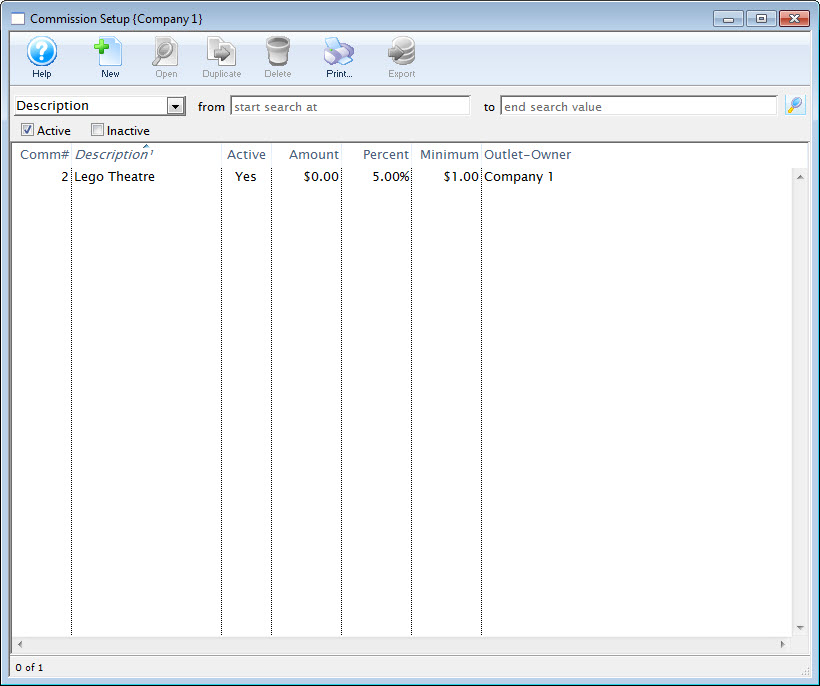
Commission Detail Window
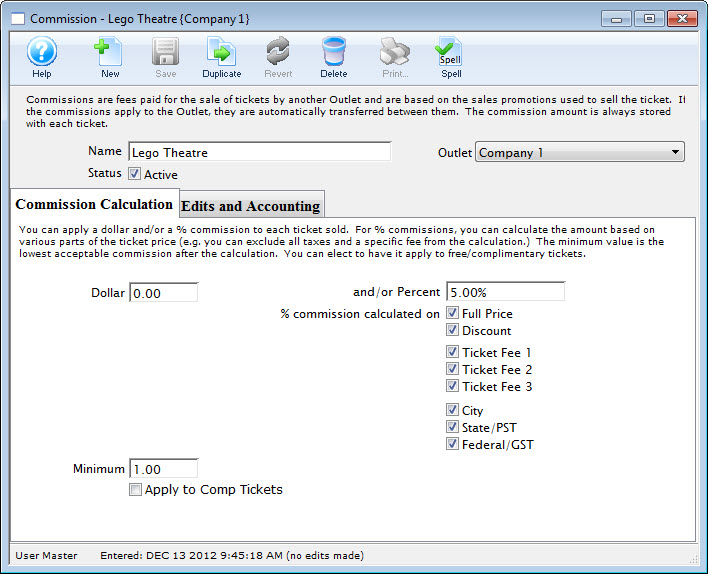
Parts of the Commission Detail Window
 |
Inserts a new Commission. Click here to learn how to insert a new commission. |
 |
Saves changes made to the currency commission. |
 |
Creates a copy of the current commission. |
 |
Undoes changes to the last saved point. |
 |
Deletes the selected commission. Click here for more information on deleting commissions. |
| Name | Title of the commission. |
| Status | When checked the commission is active. |
 |
You can apply a dollar and/or a 5 commission to each ticket. This tab allows you to define the parameters for the commission. Click here for more information on how to define the commission calculation. |
 |
Commissions can be applied to various avenues of sales. This tab allows you to define where commissions are applied and which accounts the generated monies are applied to.Click here for the rules and accounting for the commission. |
Creating a Commission
You will need at least one commission table to allow for cross Outlet sales. The value of the commission table may be $0, if you are not charging a commission between Outlets, however you will still need the setup for Theatre Manager to function correctly.
To Create a new Commission Table, you perform the following steps:
- Open the Commission Setup window.
Click here for more information on opening the Commission List.

- Click the New
 button.
The Commission Detail window Opens.

- Enter the Name of the commission.
- Enter data in the Commission Calculation tab.
Click here, for more information on the Coommission Calculation tab.
- Click the
 tab.
tab.
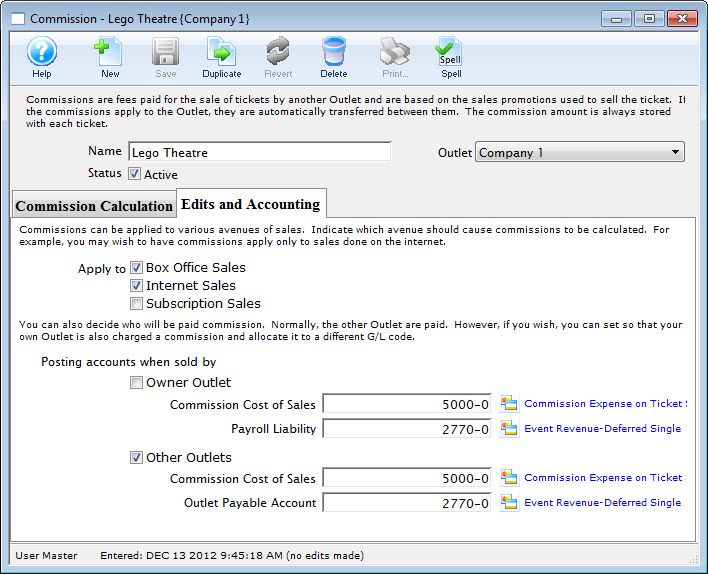
- Enter data in the Edits and Accounting tab.
Click here, for more information on the Edits and Accounting tab.
- Click the Save
 button.
The new Commission is now created.
Commission Calculation Tab
The Commission Calculation tab is where you set the parameters of how the commission is charged, including dollar amounts and/or percentages of the ticket value, and if the commission is applied before or after discounts and markups (Sales Promotions) and fees.

Parts of the Commission Calculation Tab
| Dollar | Dollar value of the commission earned. Can be combined with a percentage. | ||
| Minimum | Minimum value of commission to be applied to any ticket sale. | ||
| Apply to Comp Tickets | Commission applies to issued comp tickets.
|
||
| And/or Percent | Percentage of the commission earned. Can be combined with the dollar value. | ||
% commission calculation on: | |||
| Full Price | Commission is charged on the base ticket price before discounts, markups or fees. | ||
| Discount | Commission is charged once the discount or markup has effected the base ticket price. | ||
| Ticket Fee 1 | Commission is charged on the ticket price including the value of ticket fee 1. | ||
| Ticket Fee 2 | Commission is charged on the ticket price including the value of ticket fee 2. | ||
| Ticket Fee 3 | Commission is charged on the ticket price including the value of ticket fee 3. | ||
| City | Commission is charged once the city tax is applied. | ||
| State/PST | Commission is charged once the state/PST is applied. | ||
| Federal/GST | Commission is charged once the Federal/GST is applied. | ||
Edits and Accounting Tab
The Edits and Accounting tab allows you to set parameters regarding the avenue of sale (Box Office, Internet, Season Subscriptions), and the General Ledger (GL) accounts where commission funds will be placed for each Outlet. These GL accounts must be set up in Default Posting Accounts to be used here. Click here, for more information on Default Posting Accounts.

Parts of the Edits and Accounting Tab
Apply to: |
|||
| Box Office Sales | Commission is received when the Outlet sells tickets via the box office. | ||
| Internet Sales | Commission is received when tickets are sold through the Outlet's internet sales. | ||
| Subscription Sales | Commission is received when season tickets are purchased through the Outlet.
|
||
Posting accounts when sold by: |
|||
| Owner Outlet | When checked commission fees will be allocated to the designated general ledger accounts when sold by the Outlet responsible for the event. This allows you to assign commissions payable for internal telemarketing staff. | ||
| Commission Cost of Sales | General ledger account the value of commissions will be posted to when sold by the Outlet responsible for the event. | ||
| Payroll Liability | General ledger account the payroll fees are to be posted to when tickets are sold by the Outlet responsible for the event. | ||
| Other Outlets | When checked commission fees will be allocated to the general ledger accounts when sold by an Outlet other then the owner of the event. | ||
| Commission Cost of Sales | General ledger account the value of commissions will be posted to when sold by an Outlet other then the owner of the event. | ||
| Outlet Payable Account | General ledger account the payroll fees are to be posted to when tickets are sold by an Outlet other then the owner of the the event. | ||
Editing a Commission
In most cases, it is better to create a new commission table rather than editing an existing one, as making changes to any commissions parameters currently in use could have adverse affects on your accounting generation. However, occasionally, you may need to edit an existing commission setup.
To edit an existing commission table, you perform the following steps:
- Open the Commission Setup window.
Click here, for more information on the Commission Setup window.

- Double-click the Commission to be edited.
The Commission Detail window opens.

- Make changes as required.
- Click the Save
 button.
The changes are now saved.
Deleting a Commission
Commission Tables can only be deleted if they have not been used for sales. If you need to delete a commission table that was created in error, you may do so.
To delete an existing commission table, you perform the following steps:
- Open the Commission Setup window.
Click here for more information on the Commission Setup window.

- Select the Commission to be deleted.
Single click on a Commission to select it.
- Click the Delete
 button.
The Delete Record confirmation window opens.
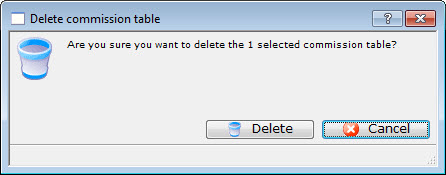
- Click the Delete
 button.
The Commission is now deleted.
Device Setup
This can include:
- You can access the list of devices ato edit them or set up some more from the Setup->System Tables->Devices menu item
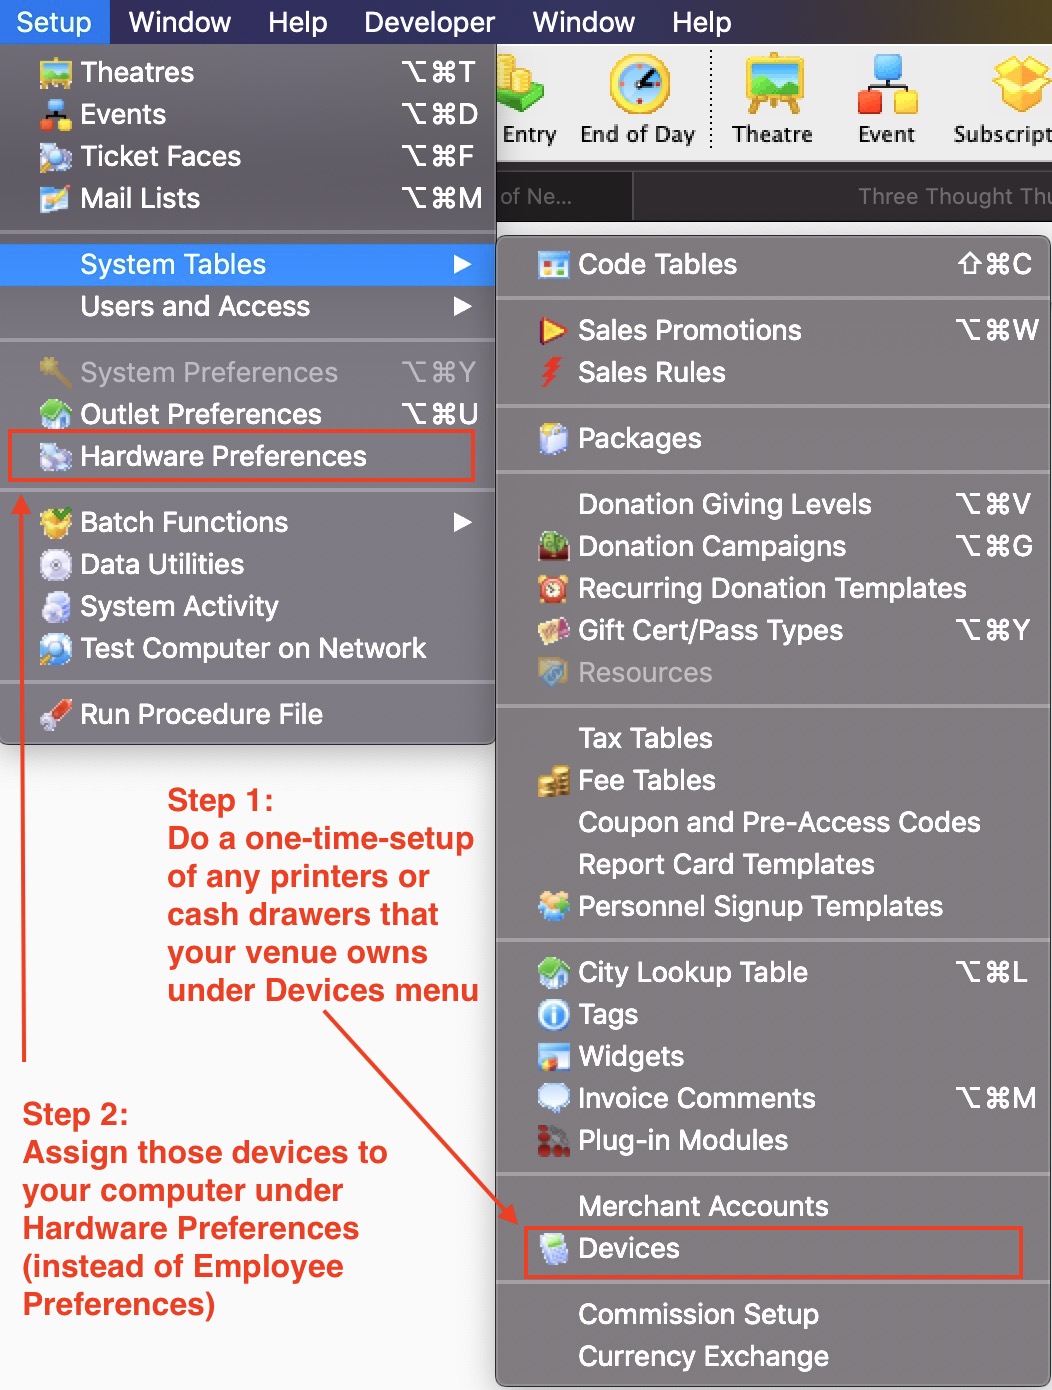
- Use search to find and select an item to edit and then double click to change it. Use New to create a new device.
Device List Window
 |
Before they can be used, these devices must be
|

Parts of the Device List Window
 |
Inserts a new device that can be associated with a users workstation. |
 |
Opens the selected device to edit or configure it. |
 |
Creates a copy of the current device. |
 |
Deletes the device |
 |
Generates a report of the devices to the screen. |
 |
Exports out a list of the devices. |
| Device # | Unique number assigned to the device, which can then be assigned to a specific workstation |
| Device Type | The type of the device which can include: |
| Description | Description of the device to make it easier to select for a workstattion |
| IP or Port Parameters | The IP address for the device if IP based, or the port parameters if it is a com prt based device (increasingly rare these days) |
| Port | The Port number that the device listens on |
| Notes | Notes about the device, perhasp including serial number, or any history on the device. |
| Active | Indicates if the device can be used. |
| Outlet-Owner | Outlet who owns the Device |
Device Detail
Parts of the Device Detail Window
 |
Inserts a new device that can be associated with a users workstation. |
 |
Opens the selected device to edit or configure it. |
 |
Creates a copy of the current device. |
 |
Deletes the device |
 |
Generates a report of the devices to the screen. |
 |
Exports out a list of the devices. |
| Device # | Unique number assigned to the device, which can then be assigned to a specific workstation |
| Description | Description of the device to make it easier to select for a workstattion |
| Active | Indicates if the device can be used. |
| Notes | Notes about the device, perhasp including serial number, or any history on the device. |
| Outlet-Owner | Outlet who owns the Device |
| Device Type | The type of the device. This affects the display in the lower half of the screen which is described on separate help pages. Options include: |
Device-Cash Drawer
Com Ports For Cash Drawer
- Device Manager -or-
- devmgmt.msc
- Once you see the drivers as below, right click on the device you want to set the port for and select Properties
-
In the ports setting, make sure to set the all fields. Generally, for printers or cash drawers, they are similar to below.
Then click the Advanced button to set the actual port
- On the advanced tab, set the com port name so that it matches what you set in Theatre Manager
Device-EMV Credit Card Swipe
Moneris Pinpad Setup
Enter:
- A description. We suggest the pin pad type, ID and location
- The merchant account to associate with this pin pad
- The pin pad number provided by your merchant provider
- Timeout - 30 seconds should be enough
- Pinpad URL is ippos.moneris.com/Terminal
- Port should be 443
Once you save the EMV device record, you can try Pairing with actual the device. You will be asked to enter the pair code that you see on the device to associate it with this record. After pairing, the device should go to a ready mode.
If you cannot pair with the device, contact Moneris to make sure the device is on cloud setting.
 |
After the device is set up, you must associate the EMV device to a computers hardware setup |
 |
If you do not, you may see a message like the one to the right if you try pair the devices. |
 |
Only Moneris cloud setup is supported (direct connection is not). This currently means only the P400 pin pad devices on cloud setting can be used. Please contact moneris to see if yours is compatible or needs replaced with a P400. |
 |
Pin Pads are settled during end of day. if you receive any message about an imbalance on a pin pad, please refer to the Moneris Pin Pad End Of Day troubleshooting tips. |
PinPad Open Total
- Finding the EMV device record in the list of devices
- Clicking the PinPad 'Batch Totals' button on the window as indicated below
This submits the 'OpenTotal' transaction to Moneris and should come back with a window showing device totals at the top for various transactions, per the image below.
These values can be explained to you by your Moneris representative. In general, they will show things like:
- Transaction counts
- Transaction Totals
 |
If you do not see the image below:
|
Device-Ticket Printer
 |
NOTE: NEVER install any software printer drivers for any ticket printer.
Theatre Manager does not use them and installing the printer drivers may affect the ability to print tickets and other reports. |
 |
Theatre Manager supports several commercial ticket printers. They must have the FGL language installed in them and one of ethernet, serial, or parallel ports. (USB is currently not supported).
|
This preference is used to setup a ticket printer that can be associated with a workstation - meaning you can set difference preferences for each machine you use.
Refer to ticket face setup if you want to print different events to different printers or ticket stock.
Parts of the Ticket Printers Tab
Ticket Printer Configuration |
|||
| Printer Type | Tickets can be printed to any one of the following printers (as long as it has FGL language support in it):
Note that there are some differences in the ports, handshakes and FGL capabilities in each printer so it is important to select the right one. |
||
| Port Name | The port the primary ticket printer is attached to. Note that there are choices here that affect other fields on the screen. You can select:
|
||
| IP Address | IP address of printer if using ethernet printer. The field is not displayed for Serial or LPT printers.
|
||
| Port Parameters | This field will appear for serial printers. Enter the baud rate and handshake information. Typically it is 9600,n,8,1,X, meaning:
|
||
| IP Port Number | IP port of printer if using ethernet printer . The field is not displayed for LPT or serial printers.
|
||
| Print Delay | Allows for a printer buffer to clear before printing the next ticket. This delay is hardware specific. If tickets are being printed on top of one another, tickets are not printed correctly, or if tickets are skipped during the printing process the print delay should be increased. | ||
| Ticket Cutting Options | If printer supports ticket cutting, there are three options to choose from: Cut each ticket, Cut after last tickets for patron, or Do not cut tickets | ||
Device-Ticket Scanner
Device-USB Credit Card Swipe
Online Forms
- A consent form for photography for courses and fundraisers
- A Medical questionnaire for child related activities
- A form for pickup and dropoff of underage people at the venue
Purpose of Online Forms
- can be mandatory or optional. If mandatory, then a patron cannot finish checkout without a form being filled out
- can cross events, meaning that if you fill one out for one course, it can carry across to the other.
- can expire - as in they might last for a year, or for ever, or expire a specific date
- can be signed by a family on behalf of another, such as a parent for a child, if so indicated on the form
General usage of Online Forms
There really are only a few steps to using online forms
- Make the online consent form or questionnaire
- Find the event (or performance) that you want the from to be applicable to, and put it there
- When people buy online, they will be required to fill out the form for the person attending the event. If a course if gifted to a child, they will fill it out on behalf of the other person.
- and you can see all forms filled out for a patron within their record
Form Detail Window
Online Form Description Tab
Enter the internal and external notes about a form
Online Form Content Tab
Online Content Consent Form
Online Form Questionnaire Form
Online Form Responses Tab
Online Form Usage Tab
Expiring/Reinstating Form Responses
Short Links
Tags
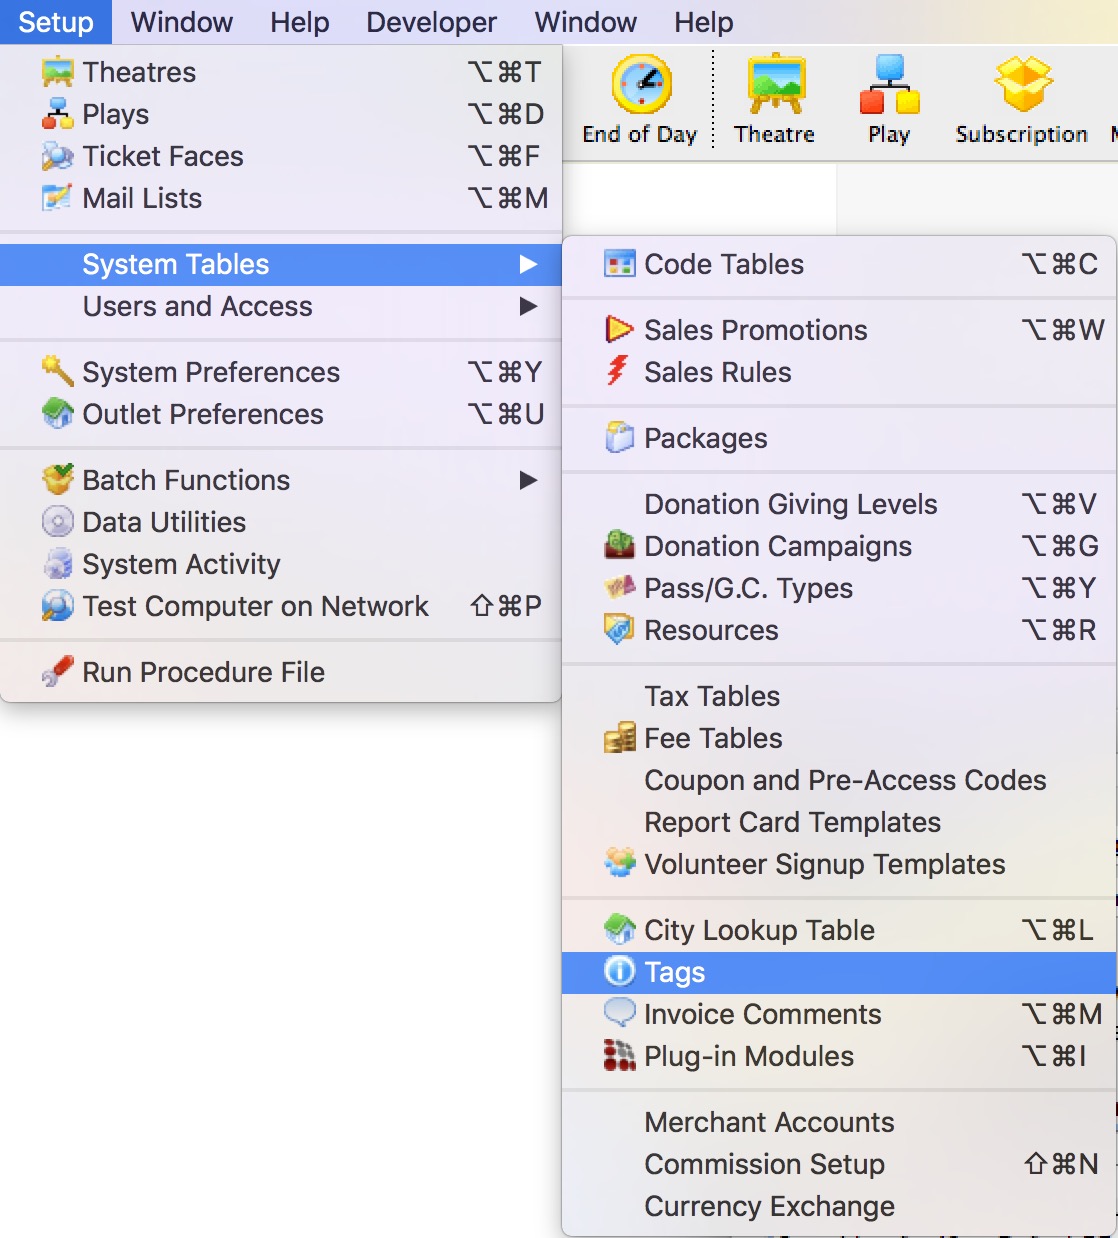 Tags are notations that can be applied to some records within Theatre Manager (like hashtags) that can be used for searching for some data in arbitrary groupings, such as for reports, building mail lists, exporting data or using in charts.
Start creating tags using the Tag List Window
Once a tag is created, you can associate one or more of them with the following data records:
Tags must exist before you can use them. Tags are created using the Setup->System Tables->Tags as shown in the image to the right.
Tag List Window
The parts of the window are as follows:
 |
Inserts a New tag through the Tag Detail Window. For more information on inserting tags click here. |
 |
Opens a window to edit a tag through the Tag Detail Window. For more information on editing tags click here. |
 |
Deletes a Tag if it is not associated with any data record. For more information on deleting tags click here. |
 |
Generates a report displaying the list of tags to the screen or default print location. |
 |
Exports the selected tags in various export formats. |
| Tag Name | Search options for locating tags. You can search by various fields |
| Like | Enter a word or part of a word t search by. |
| Tag Name | Name of the Tag. |
| Description | Description of the Tag. |
| Tag Group | A way to group tags for convenient purposes. The Tag Groups are set up in code tables. |
| Outlet Owner | Outlet that owns for the tag. |
| Changed By | Last employee to edit the tag. |
Tag Detail Window
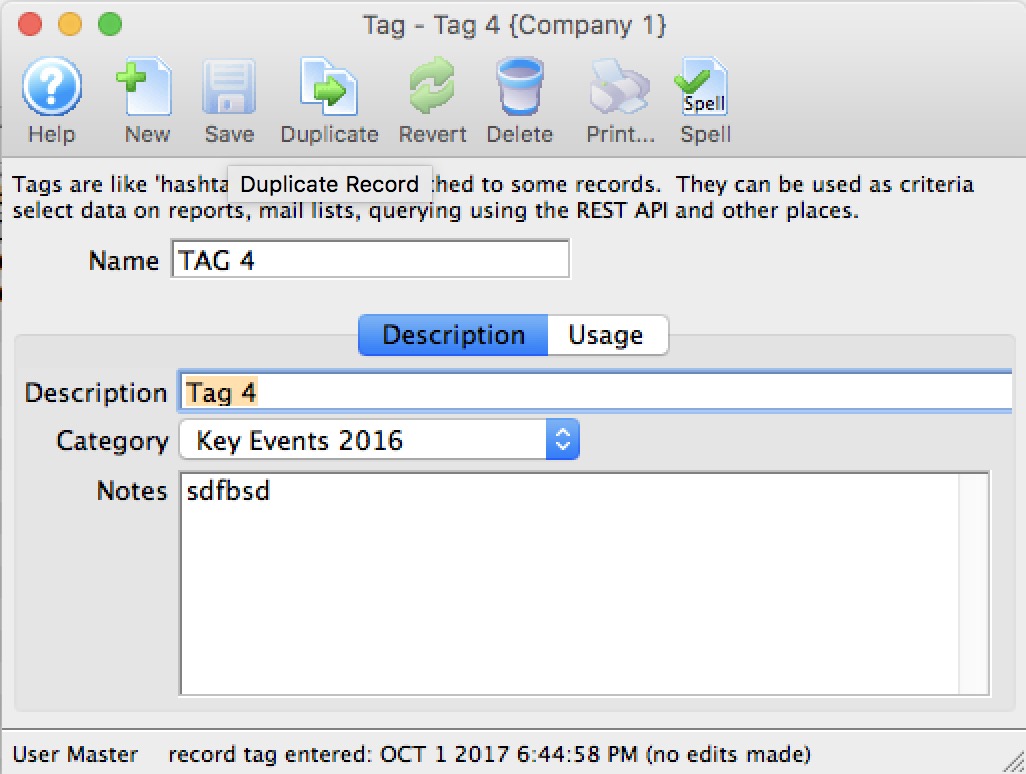
Parts of the Tag Window
 |
Insert a New tag through the Tag Detail Window. For more information on inserting comments click here . |
 |
Saves tags when edited in the Tag Detail Window. For more information on editing tags click here. |
 |
Creates a copy of the current tag. |
 |
Undoes changes to the last saved point. |
 |
Deletes a tag. For more information on deleting tags click here. |
 |
Checks the tag for spelling errors. |
| Name | A short name of the tag that will display on records that use the tag |
| Description | Brief description of the tag. |
| Category | Each tag can be placed in a tag category for convenience purposes. The tag categories are set up in code tables. |
| Notes | A longer description of the user of the tag. Currently only for informational purposes, but may be used at a future time if allowed online. |
Add Tags
- Open the Tag List window

Click here to learn how to access this window.
- Click the New
 button.
The Tag Detail window opens.

- Enter the name of the tag.
- Enter a description of the tag.
- Select the tag group that you want this tag to belong to (tag groups are set up in code tables)
- Enter notes that describer the purpose of the tag
- Click the Save
 button to save the tag.
The tag is saved and added to the Tag List window.
Edit Tags
- Open the Tag List window.
Click here to learn how to access this window.

- Select the tag you wish to edit.
Single click on a tag name in the list to select it.
- Click the Open
 button.
The Tag Detail window opens.

- Change data as needed
- Click the Save
 button to save the changes.
Delete Tag
- Open the Tag List window.
Click here to learn how to access this window.

- Select the tag you want to delete.
Single click on a tag to select it.
- Click the Delete
 button.
A Delete confirmation dialog opens.

- Click the Delete
 button.
Tag Usage
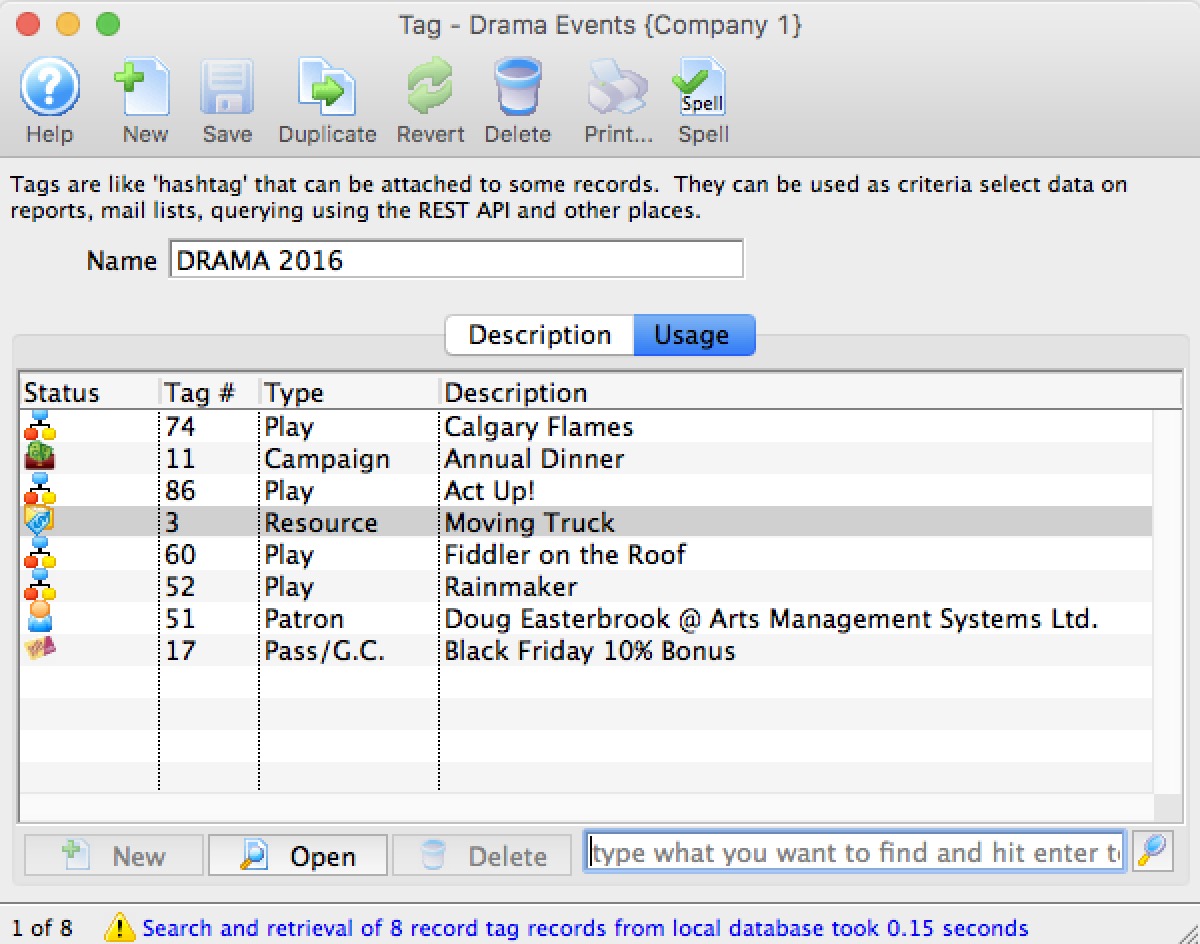 The tag usage tab allows you to find out where certain tags are referenced within the system.
Merging Tags
- Open the Tag List window.

Click here to learn how to access this window.
- Select the tags to merge.
Do this by holding <CTRL> (Windows) or <OPTION> (Mac) as you click the tags in the list to be merged.
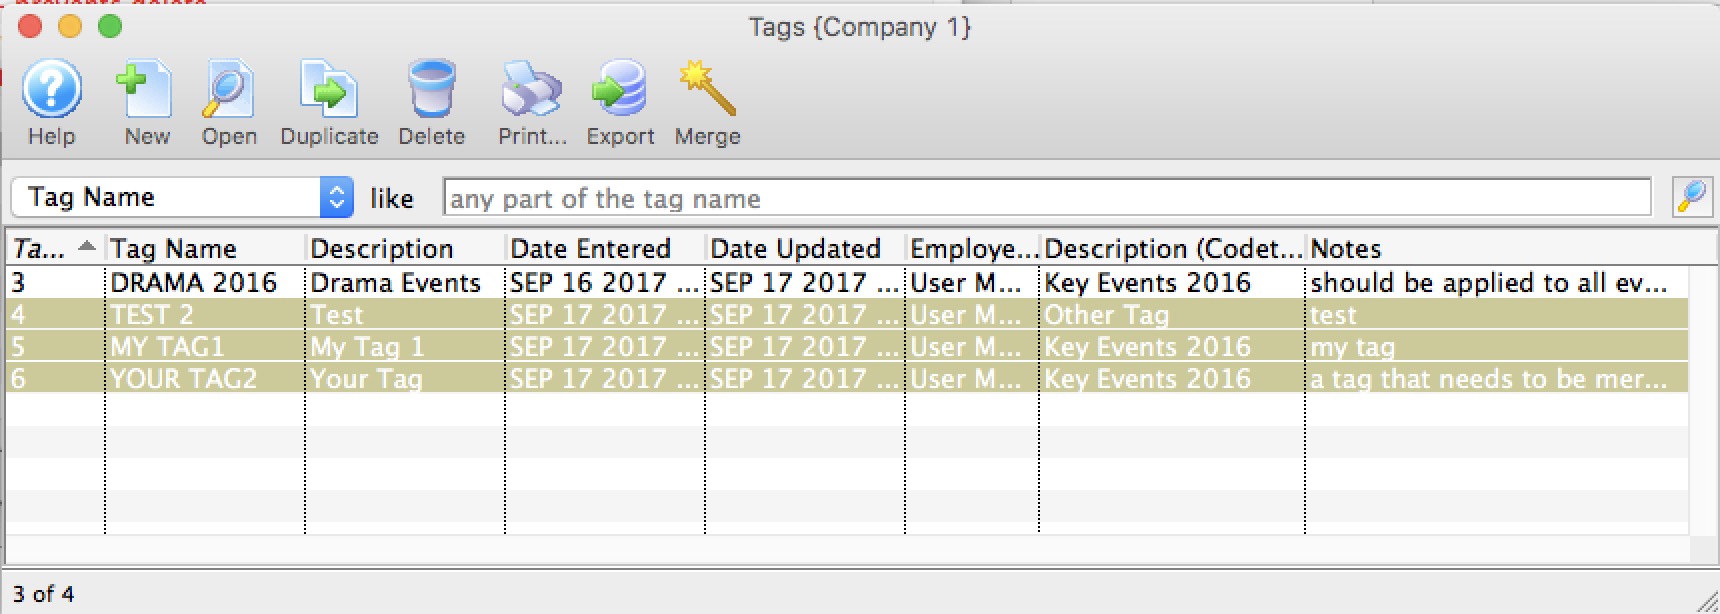
- Click the Merge
 button.
The Merge Tags window opens.
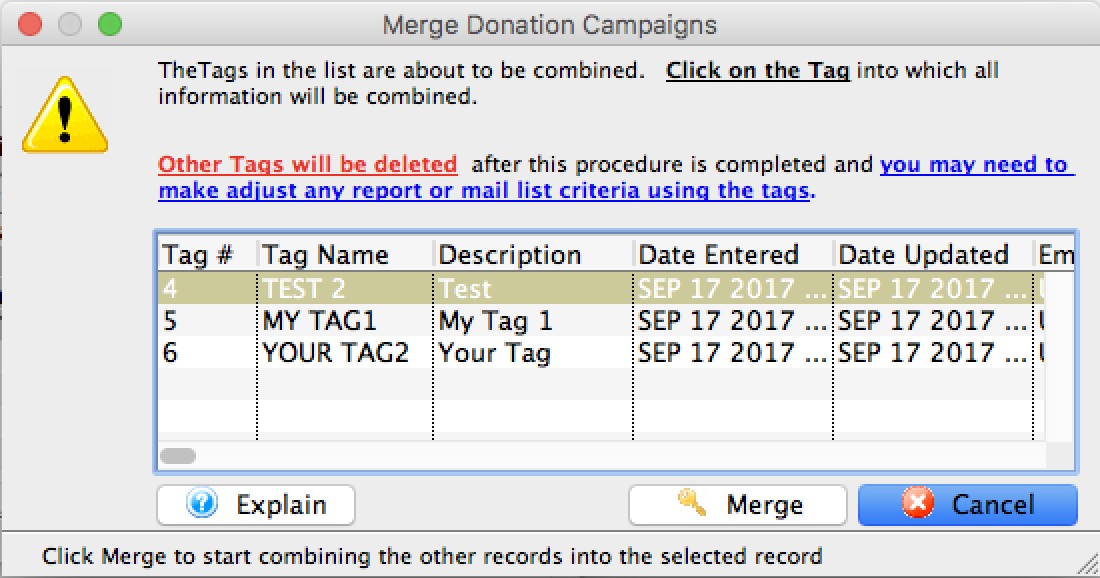
- Choose the tag that the all the others will be combined into.
- Click the Merge
 button.
A merge confirmation dialog opens.

- Click the Merge
 button.
The tags are merged and displayed in the tag List as the tag you chose to merge into.
What could tags be Used for?
Possible use of Tags for Web Sites
Populating a marketing web site via the REST API -- with the goals of:
- multiple genres for events (eg dance, comedy, musical)
- ability to set where the event might go on the web site (e.g is it at the top, or is it elsewhere)
- Set up tag groups in code tables. These might be used for things like 'these tags used for web positioning' 'these tags used for genre' 'these tags used for other stuff'
- create your actual Tag Names. You can call them things like broadway, drama, top-of-marketing-web-site or bobs-your-uncle -- anything you want. Each tag is associated with a tag group.
- Assign the tags to the records you want. eg stick tags on an event per the picture below
- Use the REST API to pull out record per tag or to actually pull out all tags for a record. There are 3 examples at the bottom of the REST query example web page.
- run a report for all plays with the tag 'broadway'
- export all donations for donation campaigns with the tag 'capital' and 'restricted'
- add all patrons to a mail list with the tag 'cool dudes and dudettes'
- run the api to extract all events and picture that go to the top of your marketing site.
- and in the future, we might use this as one way to categorize things on reveal
How to do it:
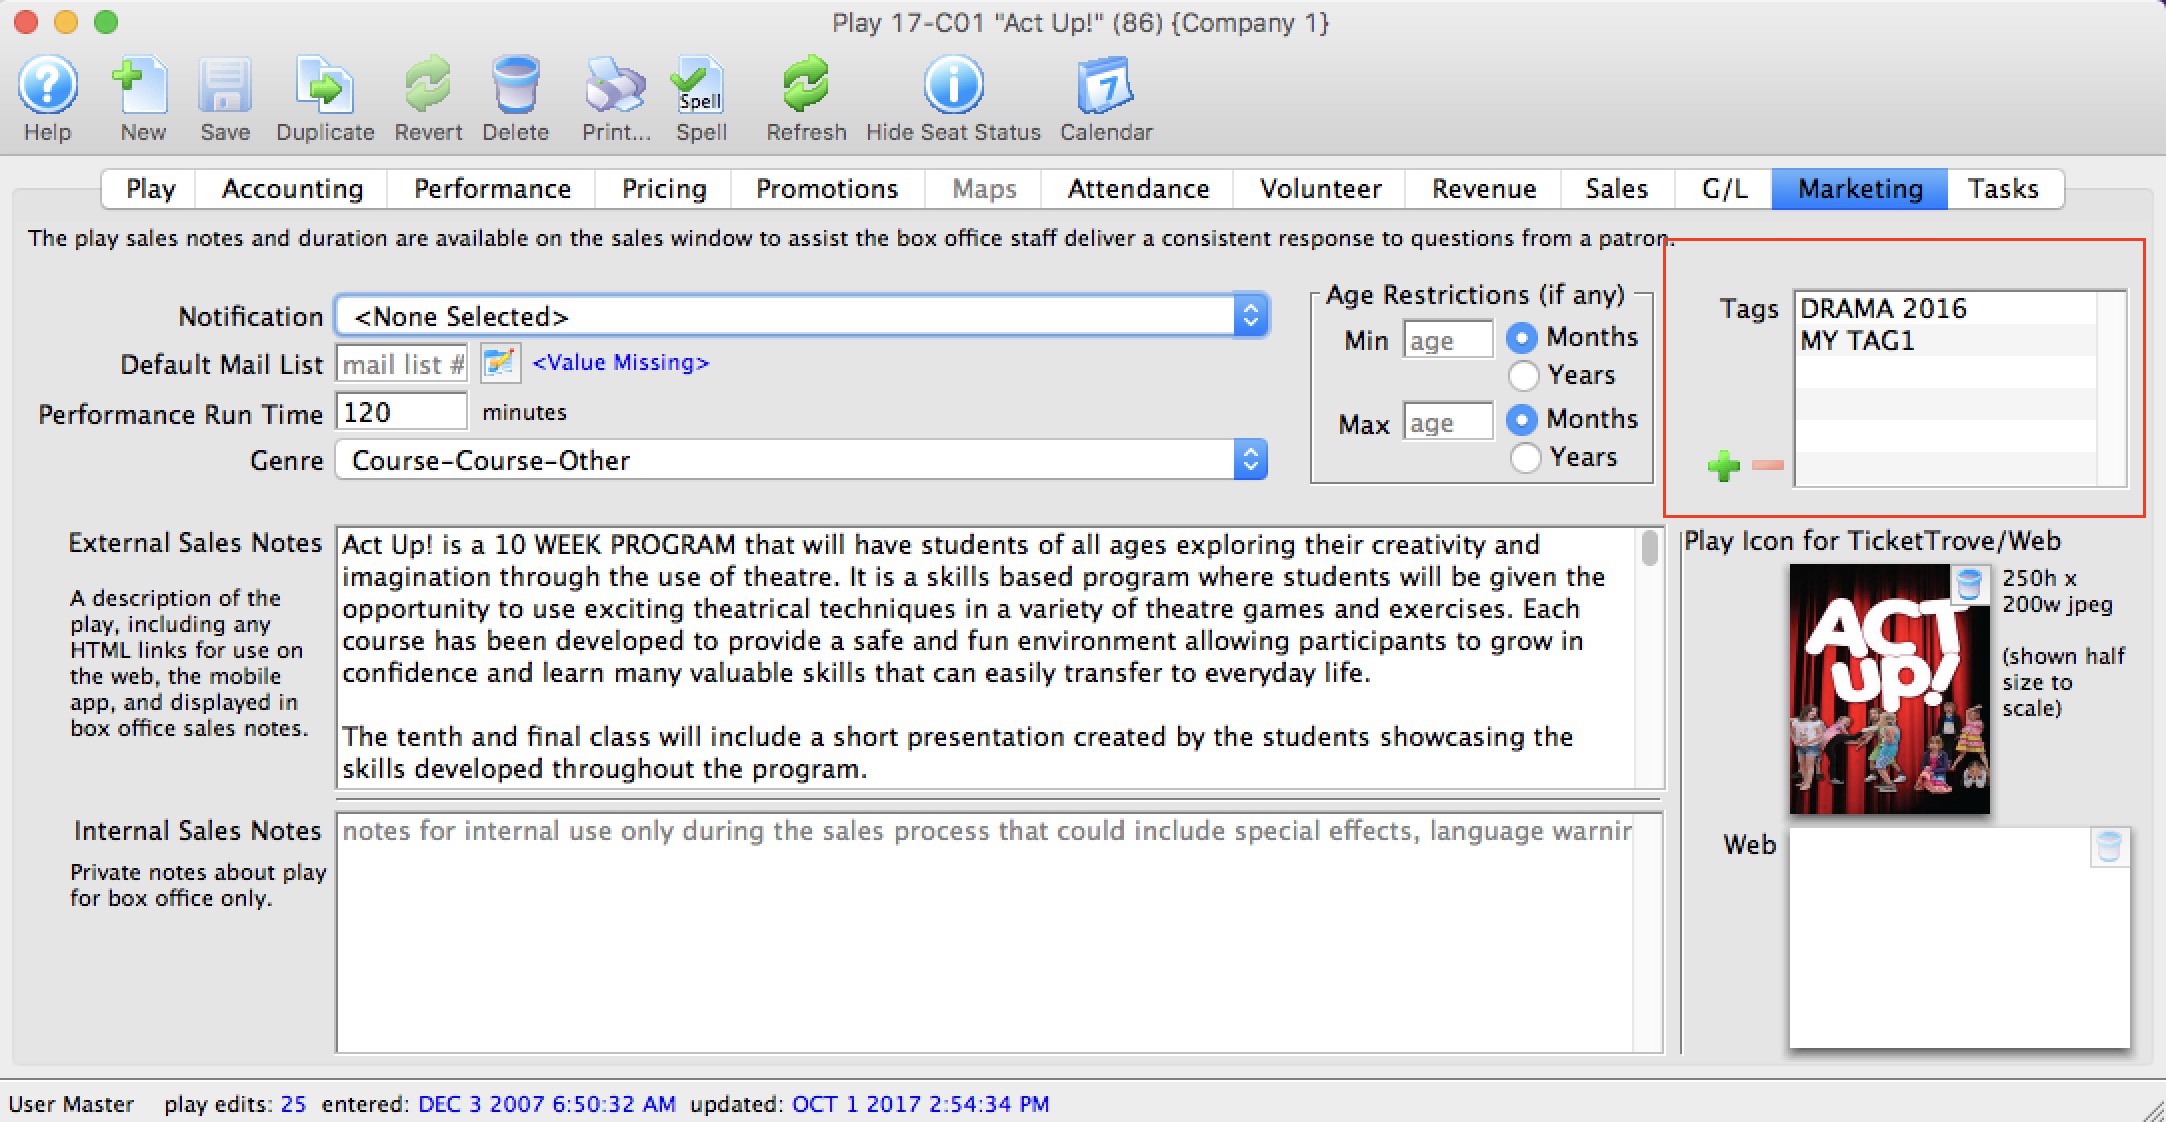
What else?
You can search for records associated with tags in mail lists, reports and exporting. That means you could:
Currency Exchange
Currency Exchange allows for the setup of exchange rates in Theatre Manager.
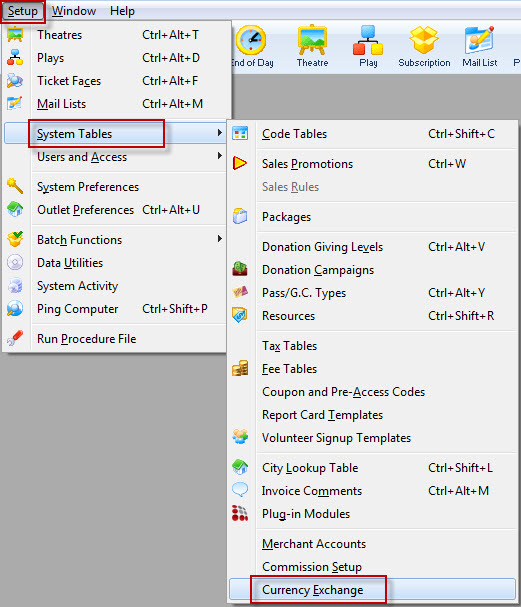
The Currency Exchange List window opens.
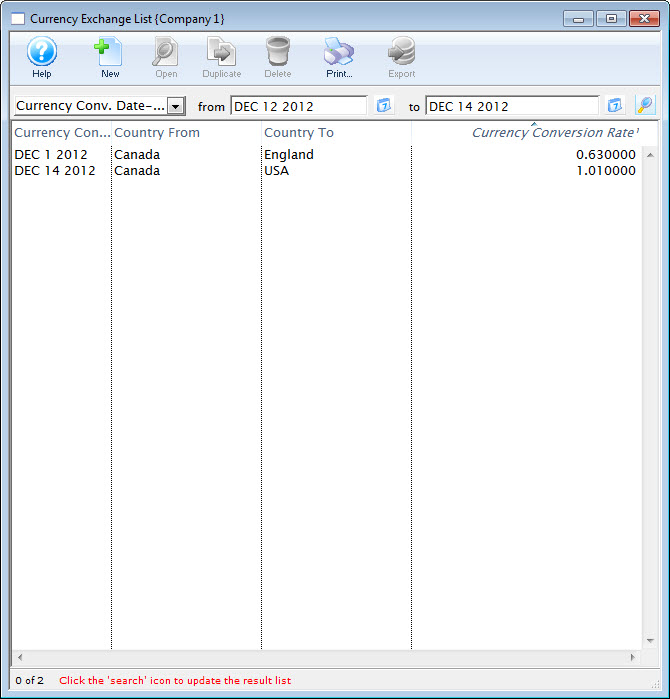
For more information on the Currency Exchange List window click here.
Currency Exchange List

Parts of the Currency Exchange List Window
 |
Inserts a new currency exchange rate. For more information on inserting currency exchange rates click here. |
 |
Opens the selected currency exchange rate for editing. For more information on editing currency exchange rates click here. |
 |
Creates a copy of the current exchange rate. |
 |
Deletes the current currency exchange rate. For more information on deleting currency exchange rates click here. |
 |
Generates a report of the currency exchange rates to the screen or default print location. |
 |
Exports out a list of the currency exchange rates in a tab-delimited format. |
| Currency Conv. Date | Options to search currency exchange rate by. |
| From | Starting point for the search. |
| Currency Conv. Date-Effective | Date the currency exchange will take effect. |
| Country From | Country the money is received from. |
| Country To | Country the money is being used in. |
| Currency Conversion Rate | Percentage of the conversion rate. |
Currency Detail Window
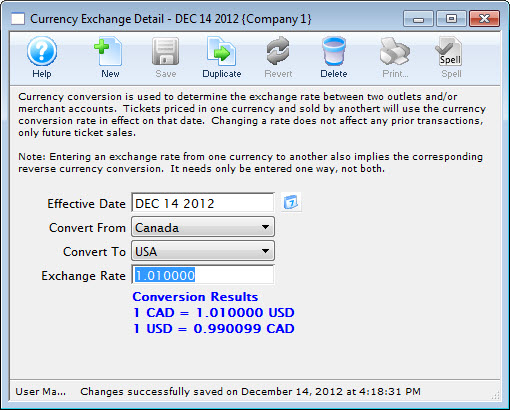
Parts of the Currency Detail Window
 |
Inserts a new currency exchange rate. For more information on inserting currency exchange rates click here. |
 |
Saves changes made to the currency exchange rate. |
 |
Creates a copy of the current currency exchange rate. |
 |
Undoes changes to the last saved point. |
 |
Deletes the current currency exchange rate. For more information on deleting currency exchange rates click here. |
| Effective Date | Date the exchange rate will be activated. |
| Convert From | Country the money is received from. |
| Convert To | Country the money is applied to. |
| Exchange Rate | Rate of exchange. |
| Conversion Results | Result of the conversion rate. |
Creating a Currency Exchange Rate
|
Currency exchange defines the rate in effect as of a certain date and time. If the rates do not change for a period of time, Theatre Manager will use the last rate that is in effect. You can also change rates many times daily, if that is required in wildly fluctuating markets. We suggest using a rate with a little premium to cover the effort and hedge against risk. Oanda gives reasonable exchange (as well as history) that we've used for years ourselves. However, please confirm with your bank before entering a new rate. Once a patron uses the rate on a transaction, you cannot change it after the fact. |
- Open the Currency Exchange window.
Click here to learn how to access the Fee Types List.
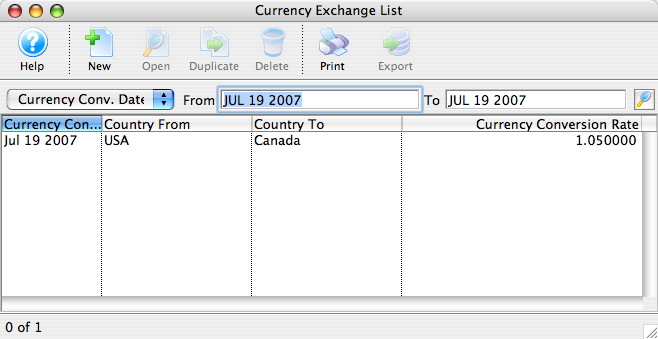
- Click the New
 button.
The Currency Detail window will appear.
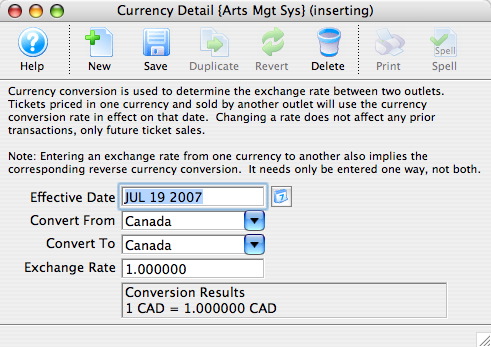
- Enter the Effective Date.
The calendar
 button to locate a date.
 - Select the Convert From country using the drop down.
- Select the Convert To country using the drop down.
- Enter the Exchange Rate.
- Click the Save
 button.
The new Currency Exchange is now saved.
Editing a Currency Exchange Rate
- Open the Currency Exchange List window.
Click here to learn how to access the Currency Exchange List.

- Select the Currency to be edited.
Single click on a fee to select it.
- Click the Edit
 button.
The Currency Detail window will appear.

- Make changes as needed.
- Click the Save
 button.
The changes are now saved.
Deleting a Currency Exchange Rate
- Open the Currency Exchange List window.
Click here to learn how to access the Currency Exchange List.

- Select the Currency to be deleted.
Single click on a fee to select it.
- Click the Delete
 button.
The Delete Record confirmation window will appear.

- Click the Delete
 button.
The Currency is now deleted.
