
Main menu
You are here
Creating a Merchant Account
- Open the Merchant Account Setup window.
Click here to learn how to access the Merchant Account List window.
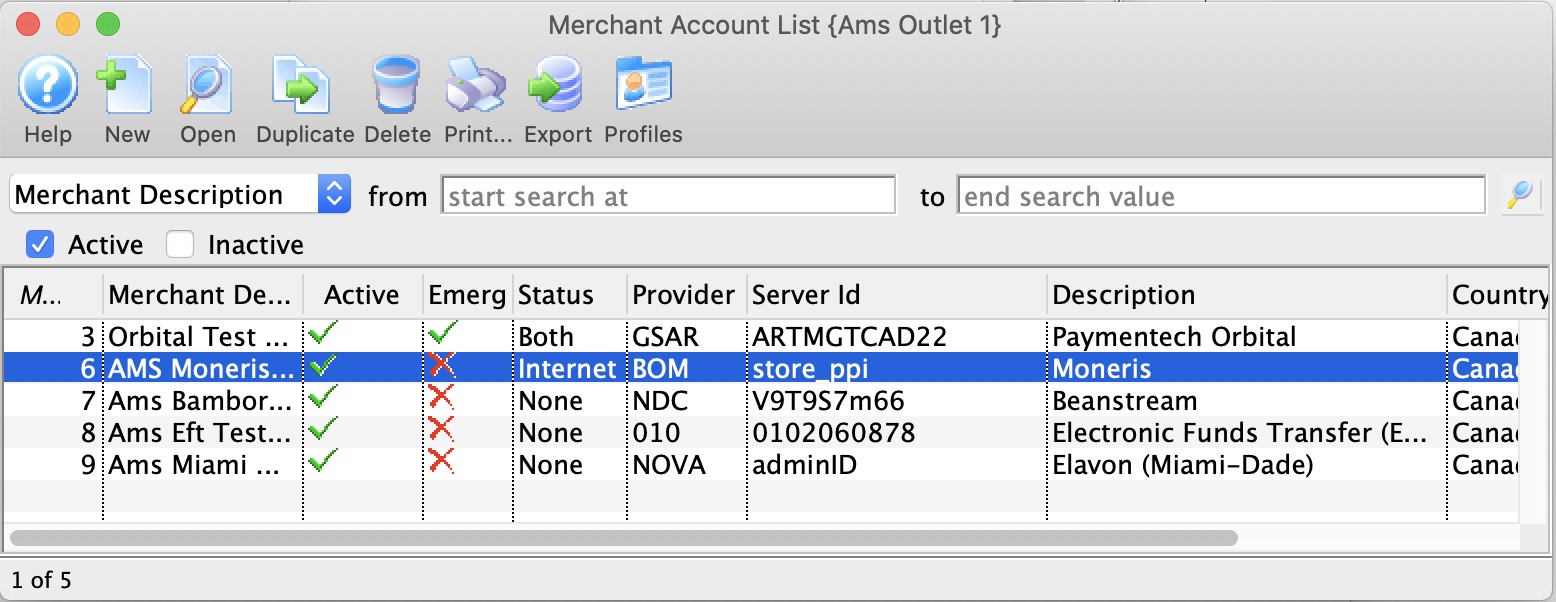
- Click the New
 button.
The Merchant Account Detail window opens.
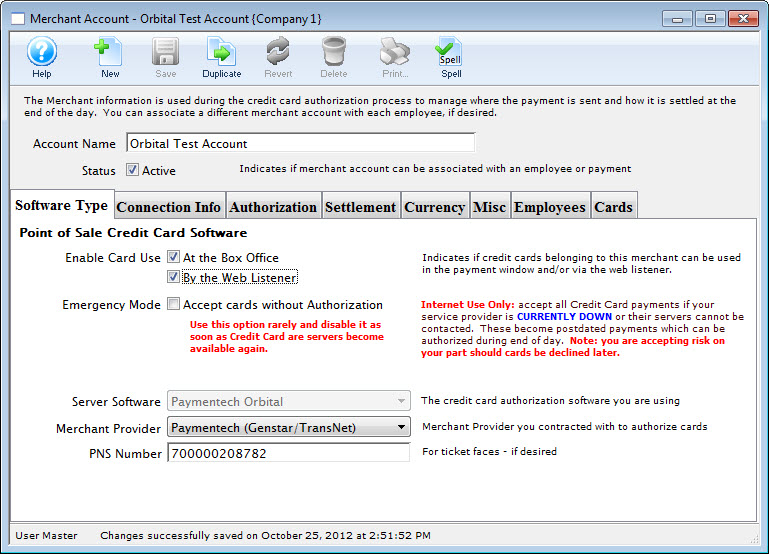
- Enter the Account Name of the Merchant Account.
- Make appropriate Server Software and Merchant Provider selections in their respective drop-down menus.
- Enter the PNS , Account # or Merchant Number provided by the merchant provider.
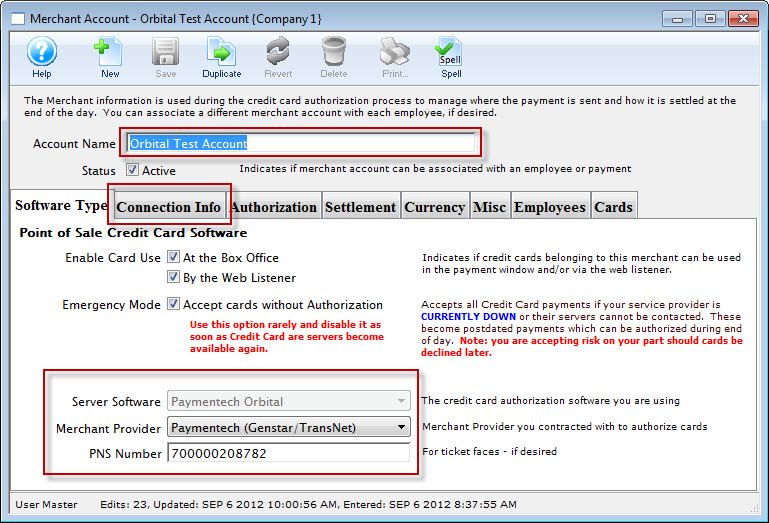
- Click the Connection Info
 tab.
tab.
The Connection Info window opens.
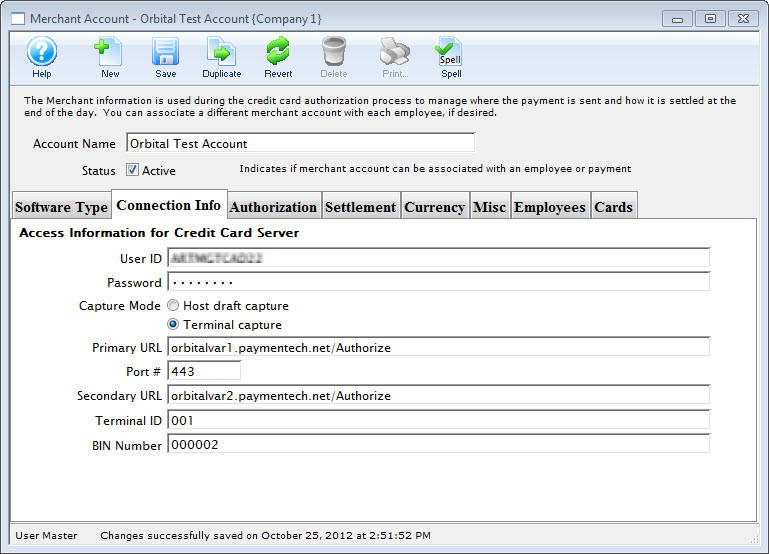
- Enter data in the Merchant Account Connection Info tab, based on the information given by the merchant provider.
For more information on the Merchant Account Connection Info tab click here.
- Click the Authorization
 tab.
tab.
The Authorization window opens.
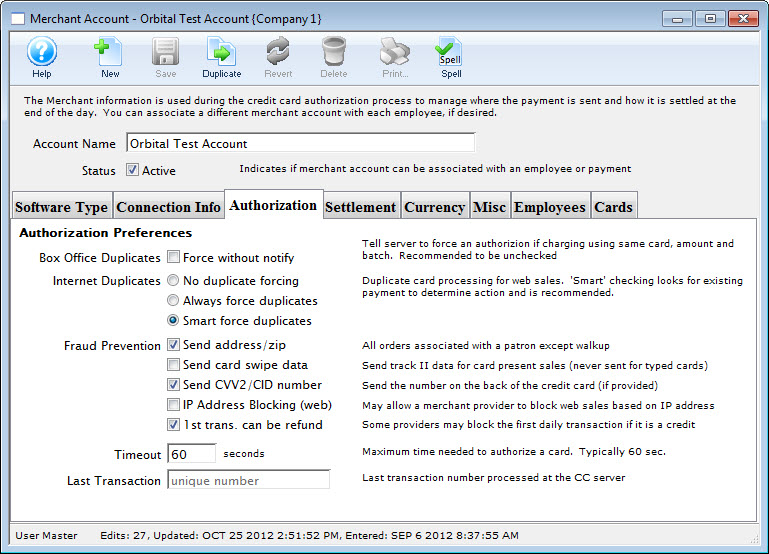
- Choose the correct authorization settings in the Authorization tab.
For more information on the edits and accounting tab click here.
- Click the Settlement
 tab.
tab.
The Settlement window opens.
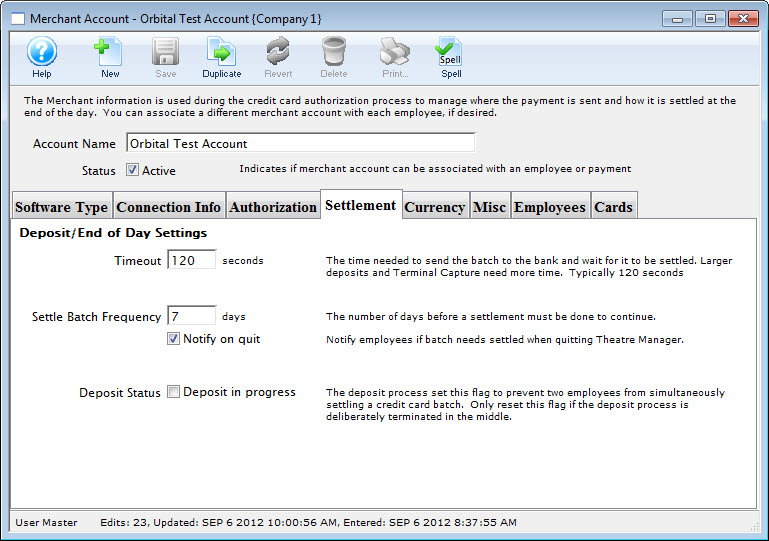
- Enter data in the Settlement tab.
For more information on the Settlement tab click here.
- Click the Currency
 tab.
tab.
The Currency tab window opens.
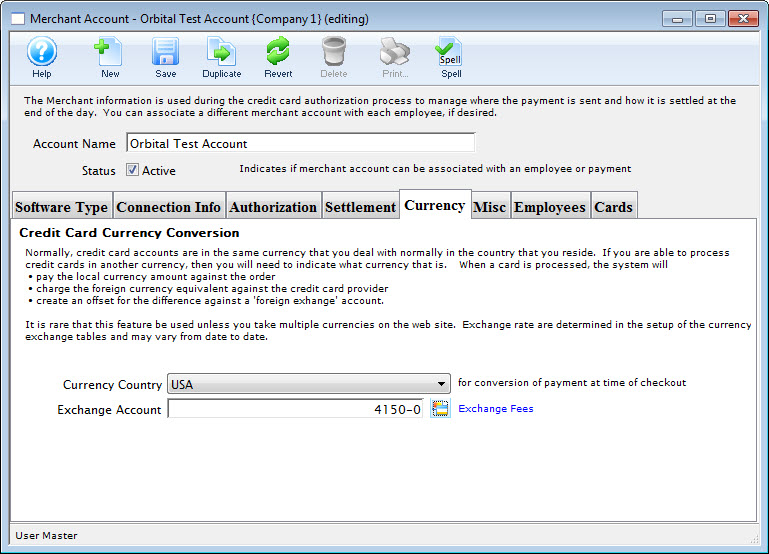
- Enter the currency details for this merchant account.
For more information on the edits and accounting tab click here.
Click the Misc
 tab.
tab.
The Miscellaneous tab window opens.
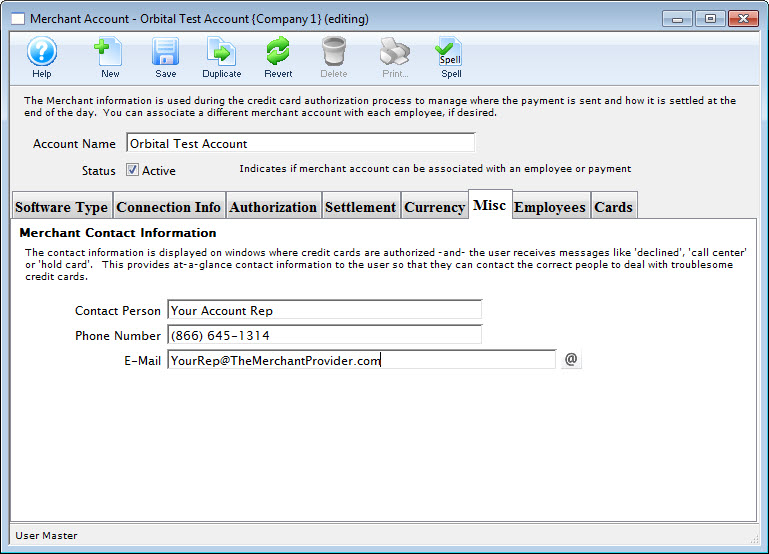
Enter the merchant providers contact name, telephone and email address.
For more information on the edits and accounting tab click here.
Click the Employees
 tab.
tab.
The Employees tab window opens.
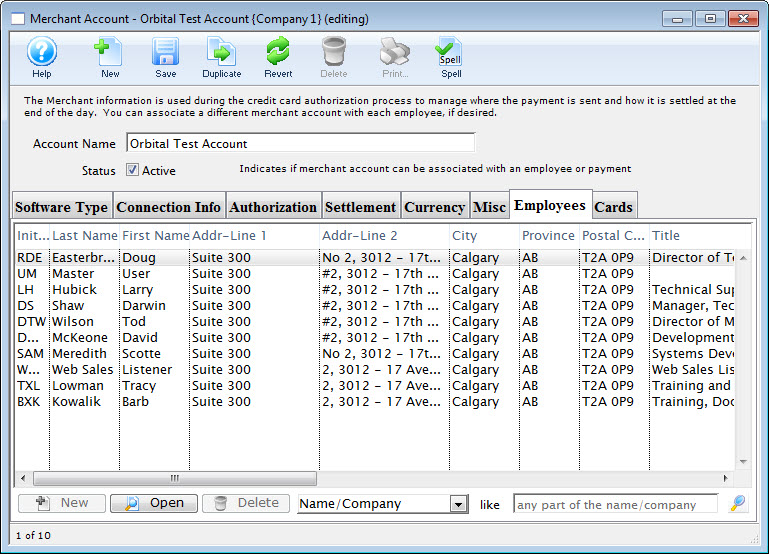
- Use the Add button in the lower left of the tab to add employees who should use this merchant account.
An employee can belong to only one merchant account at a time. For more information on the edits and accounting tab click here.
- Click the Cards
 tab.
tab.
The Employee tab window opens.
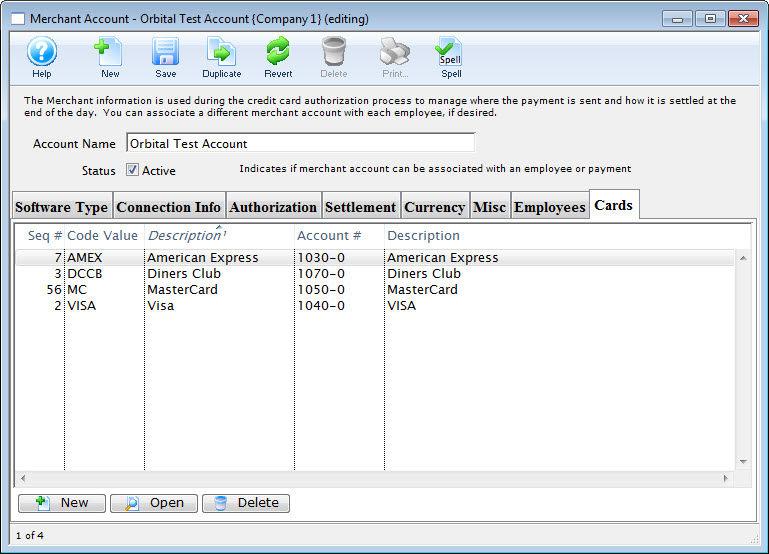
- Use the New
 button (in the lower left of the tab) to add credit card payment methods that should use this merchant account.
For more information on the edits and accounting tab click here.
- Click the Save
 button.
The new Merchant Account is now created.