You are here
Adding Resources
A Resource can be any tangible item you wish to sell through Theatre Manager. They may be a space/room rental, a concession item like food and drink or merchandise like CD's, DVD, clothing and more. The break down of resources can be as broad as a concession snack or as granular as a specific t-shirt size. The scope depends on the level of inventory tracking you engage Theatre Manager to do.
 |
You can have direct links to inventory (like t-shirts) from any web page. |
Adding a Resource
- Click Setup >> System Tables >> Resources.
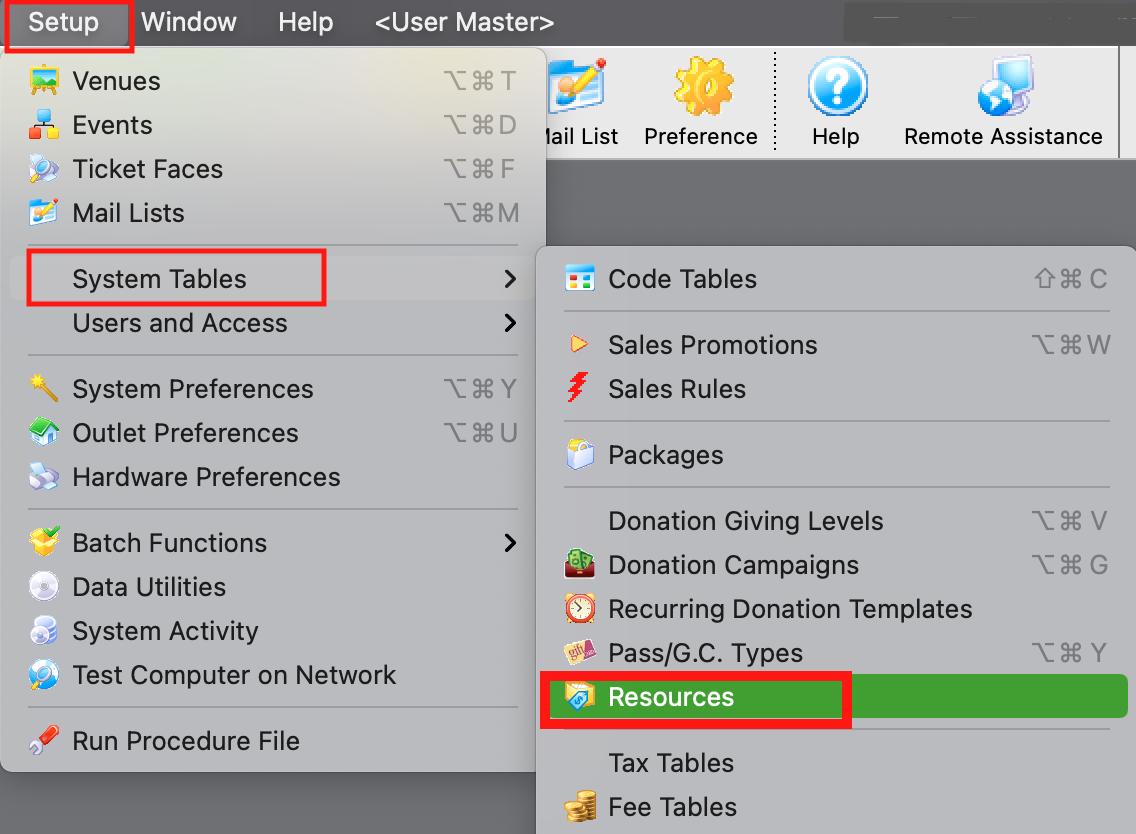
The Resource List window opens.
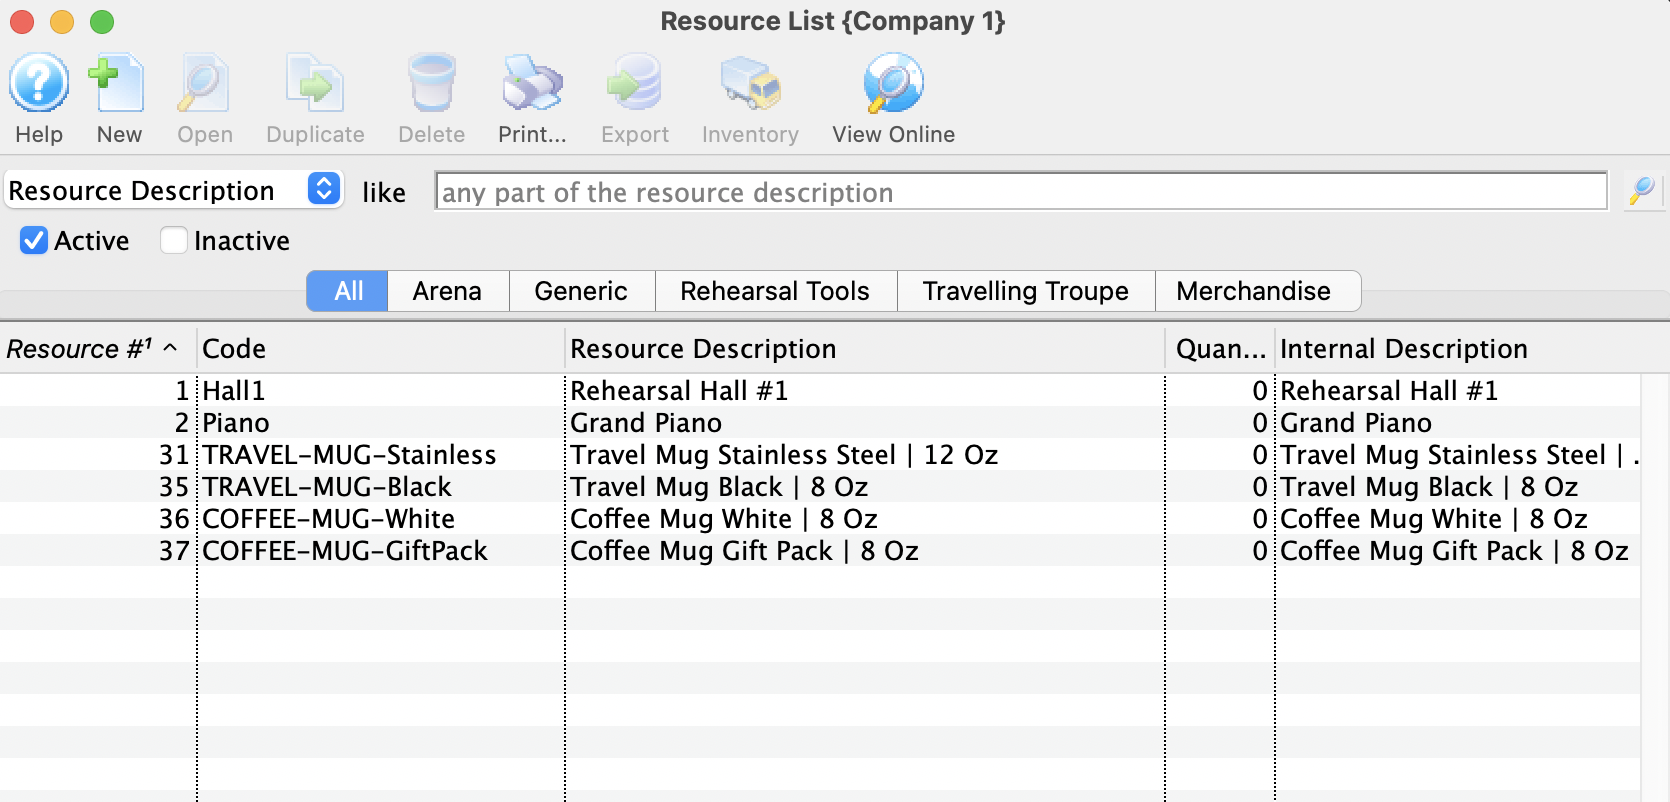
For more information on Resource List, click here.
- Click the New
 button at the top of the window.
The Resource Detail Window opens to the Description tab.
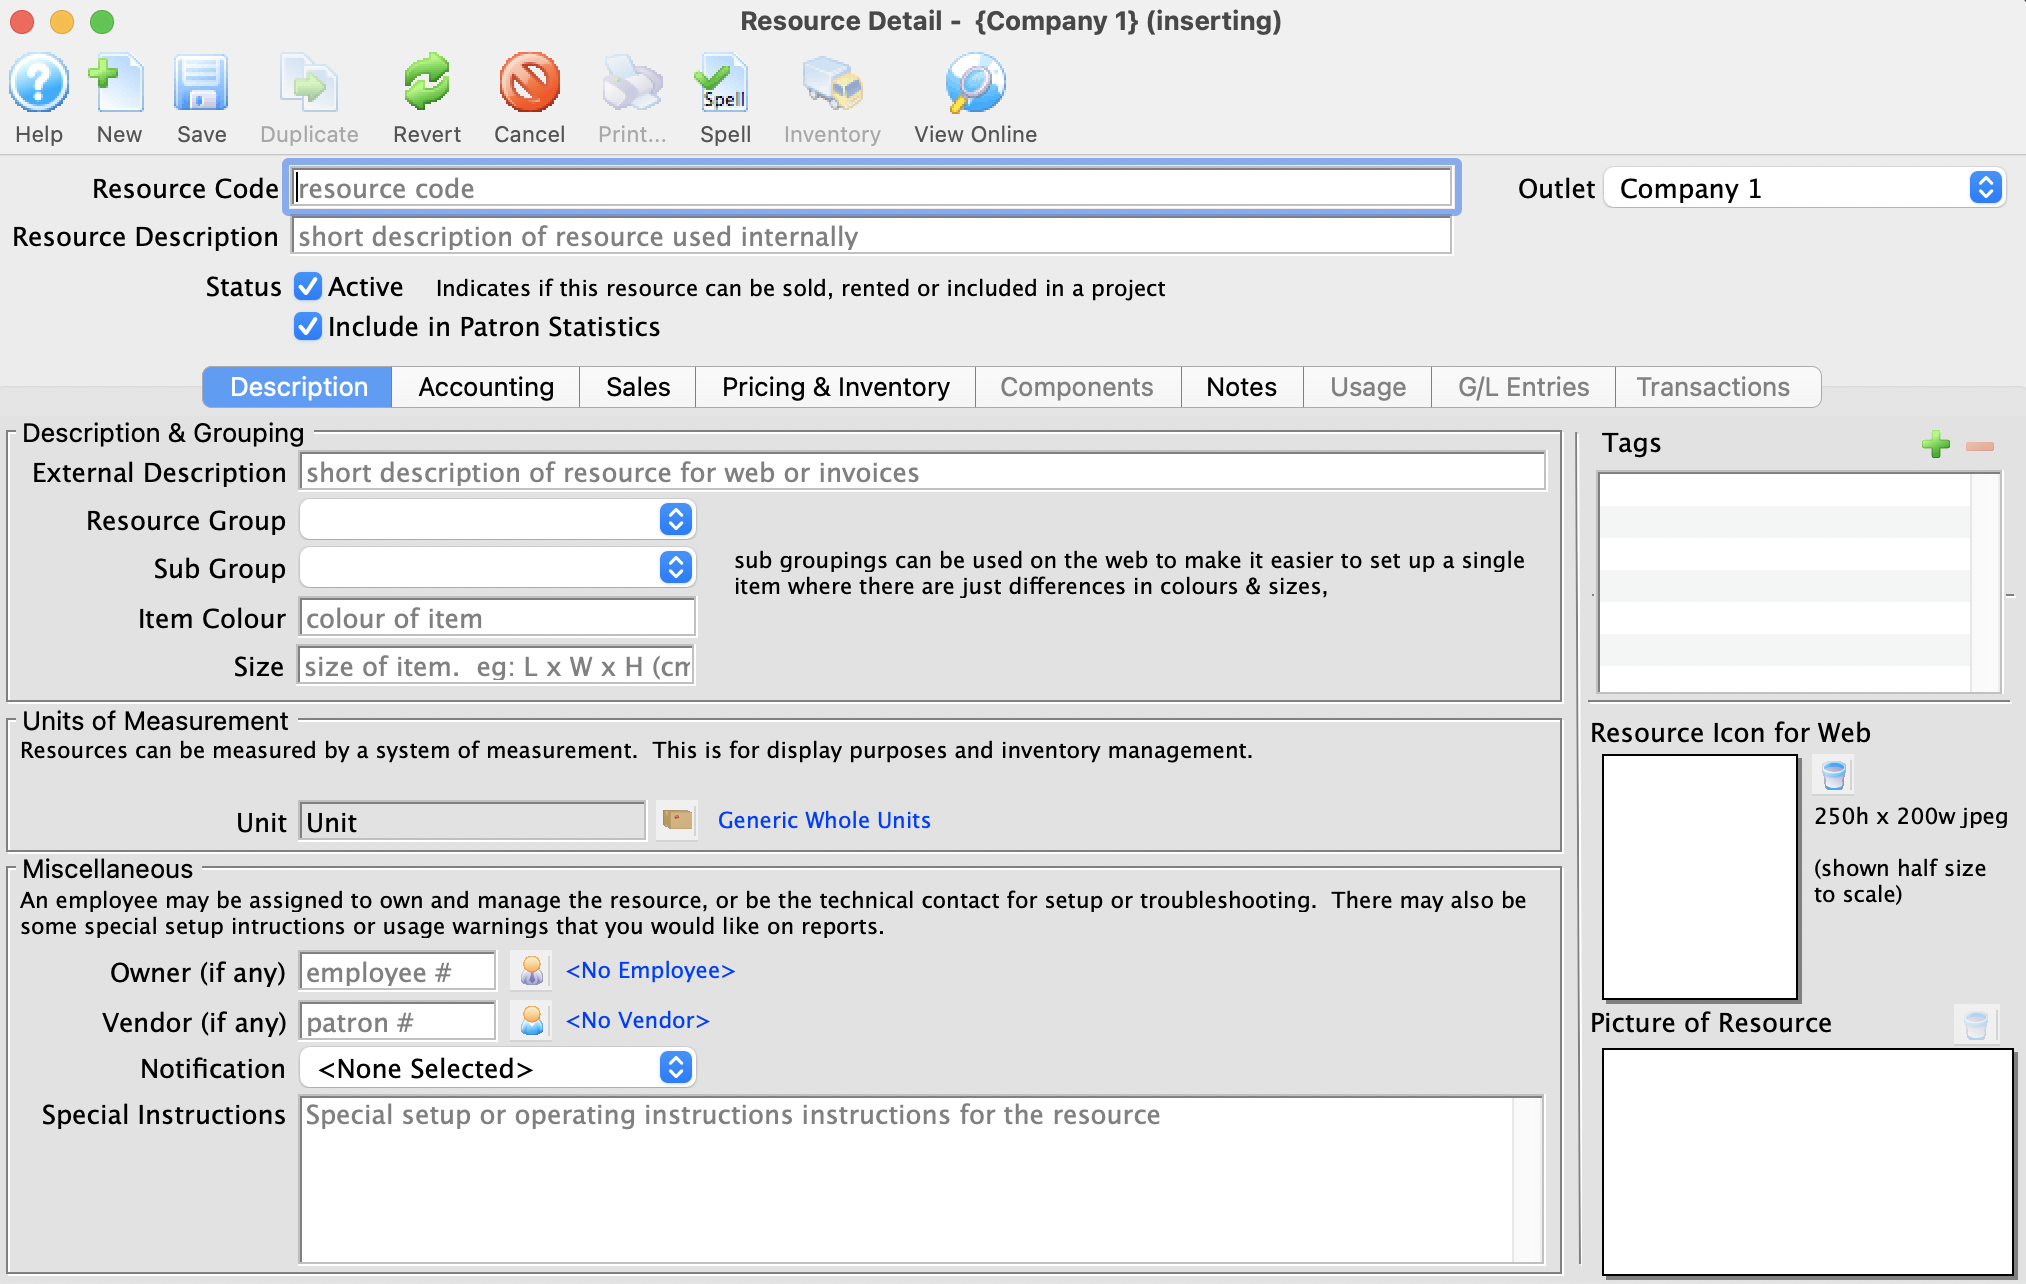
For more information on Description tab, click here
- Enter a Resource Code.
Resource Codes are abbreviated shorthand that help quickly identify and sort items. For example, a Coffee Mug Gift Basket might be represented as MUGGIFTBSK.
- Enter a Resource Description.
The Resource Description is the internal name of the resource and will show in lists and on reports in Theatre Manager.
- In the Description tab enter the External Description for the resource.
This will be the name that appear on Invoices and is displayed online to the general public.
- Select a Resource Group from the drop down.
A Resource Group can be used to indicate a collection of like items. Examples might be a concession group for all concession items, a specific t-shirt design to group together individual size resources or a physical location to group spaces for rent in a venue. For more information on setting up Resource Groups, click here.
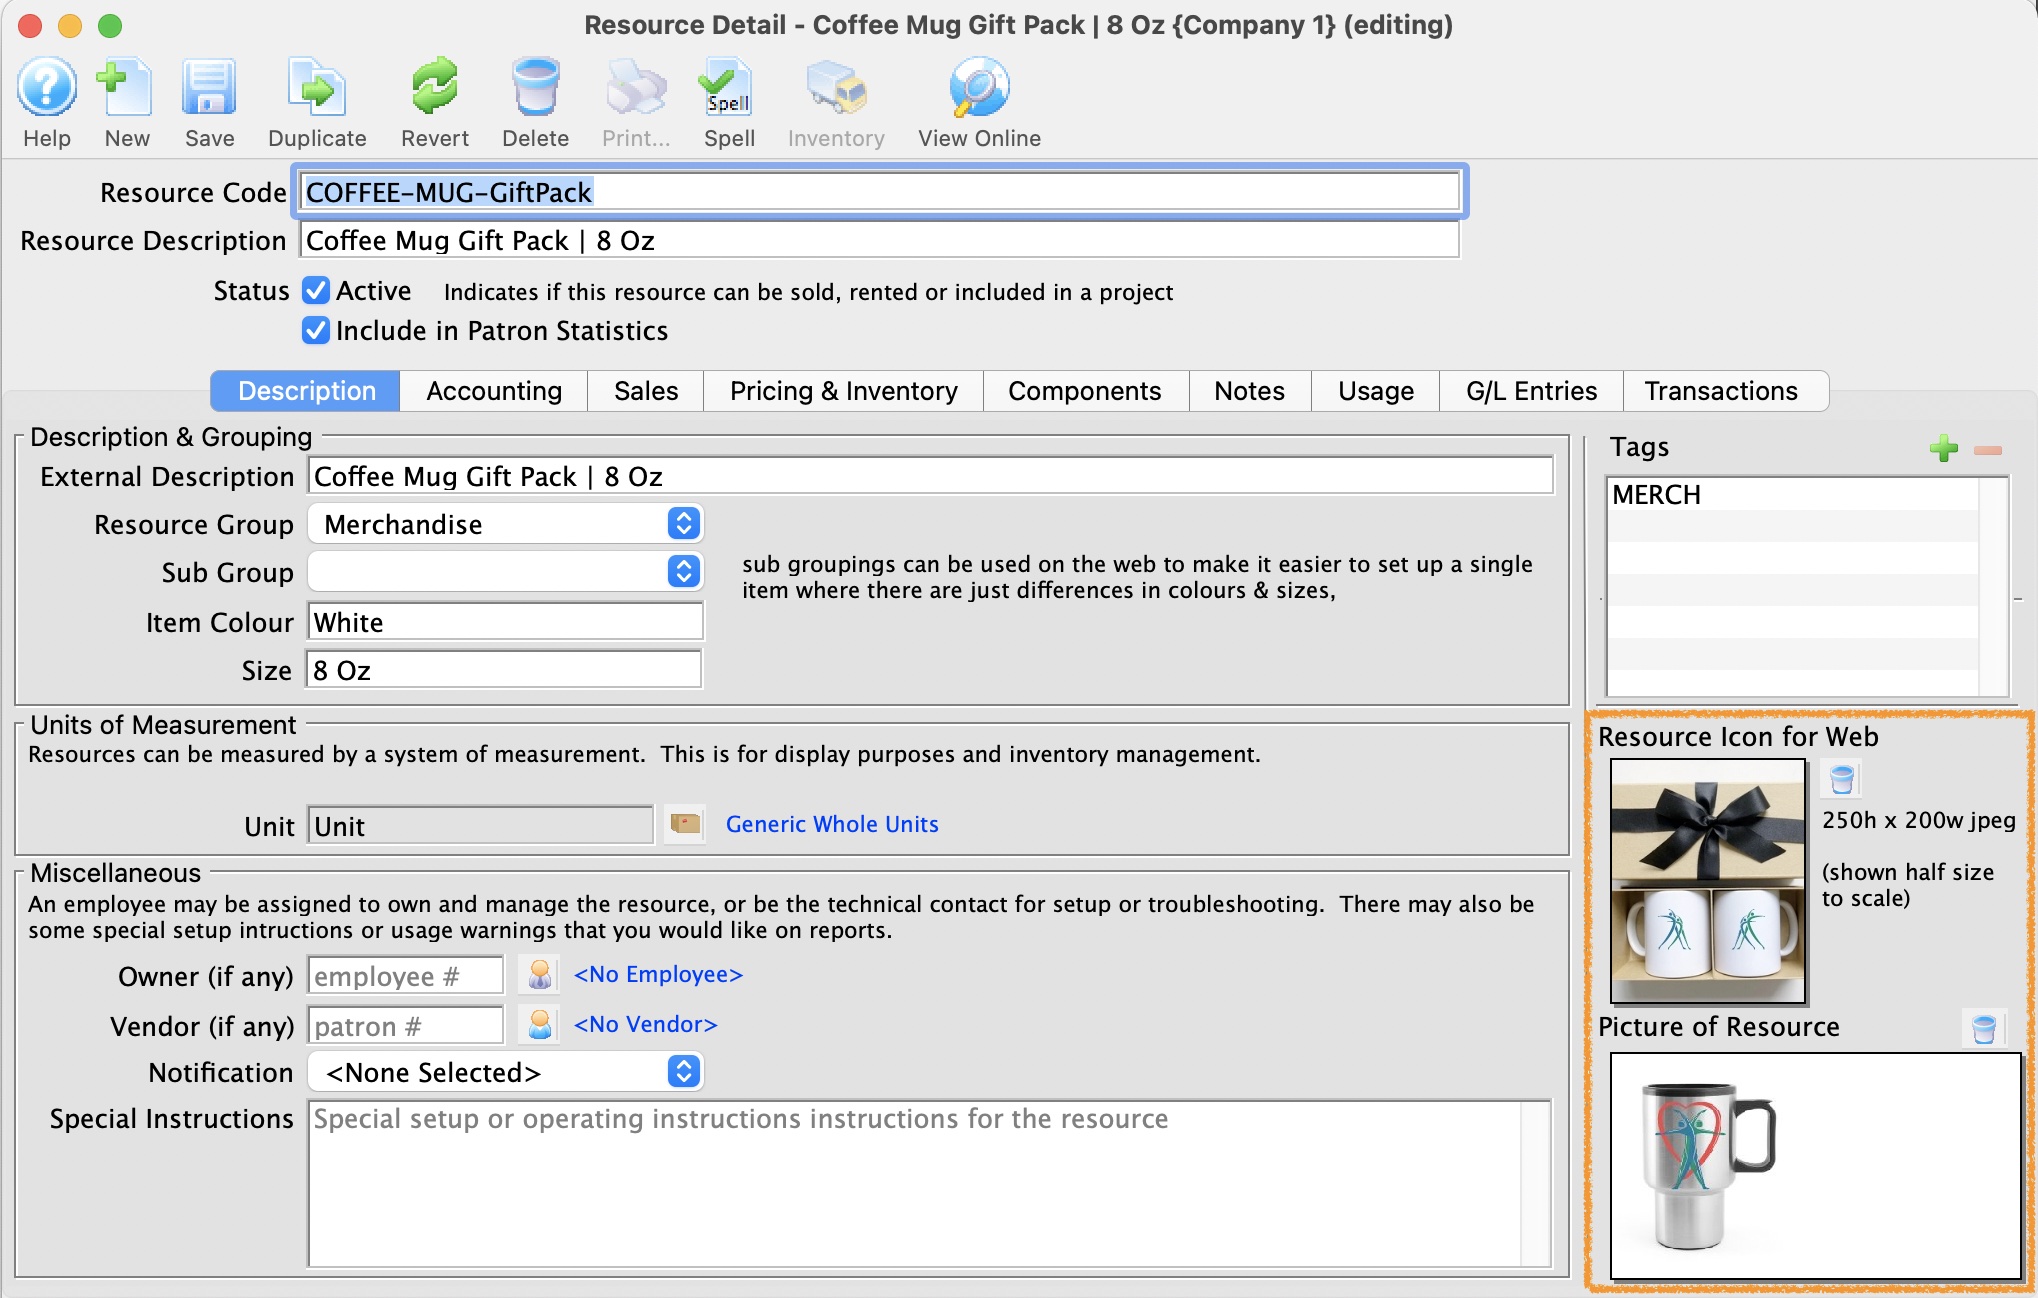
- Add a picture to the Resource Icon for Web field by dragging and dropping the image.
- Select the Accounting tab
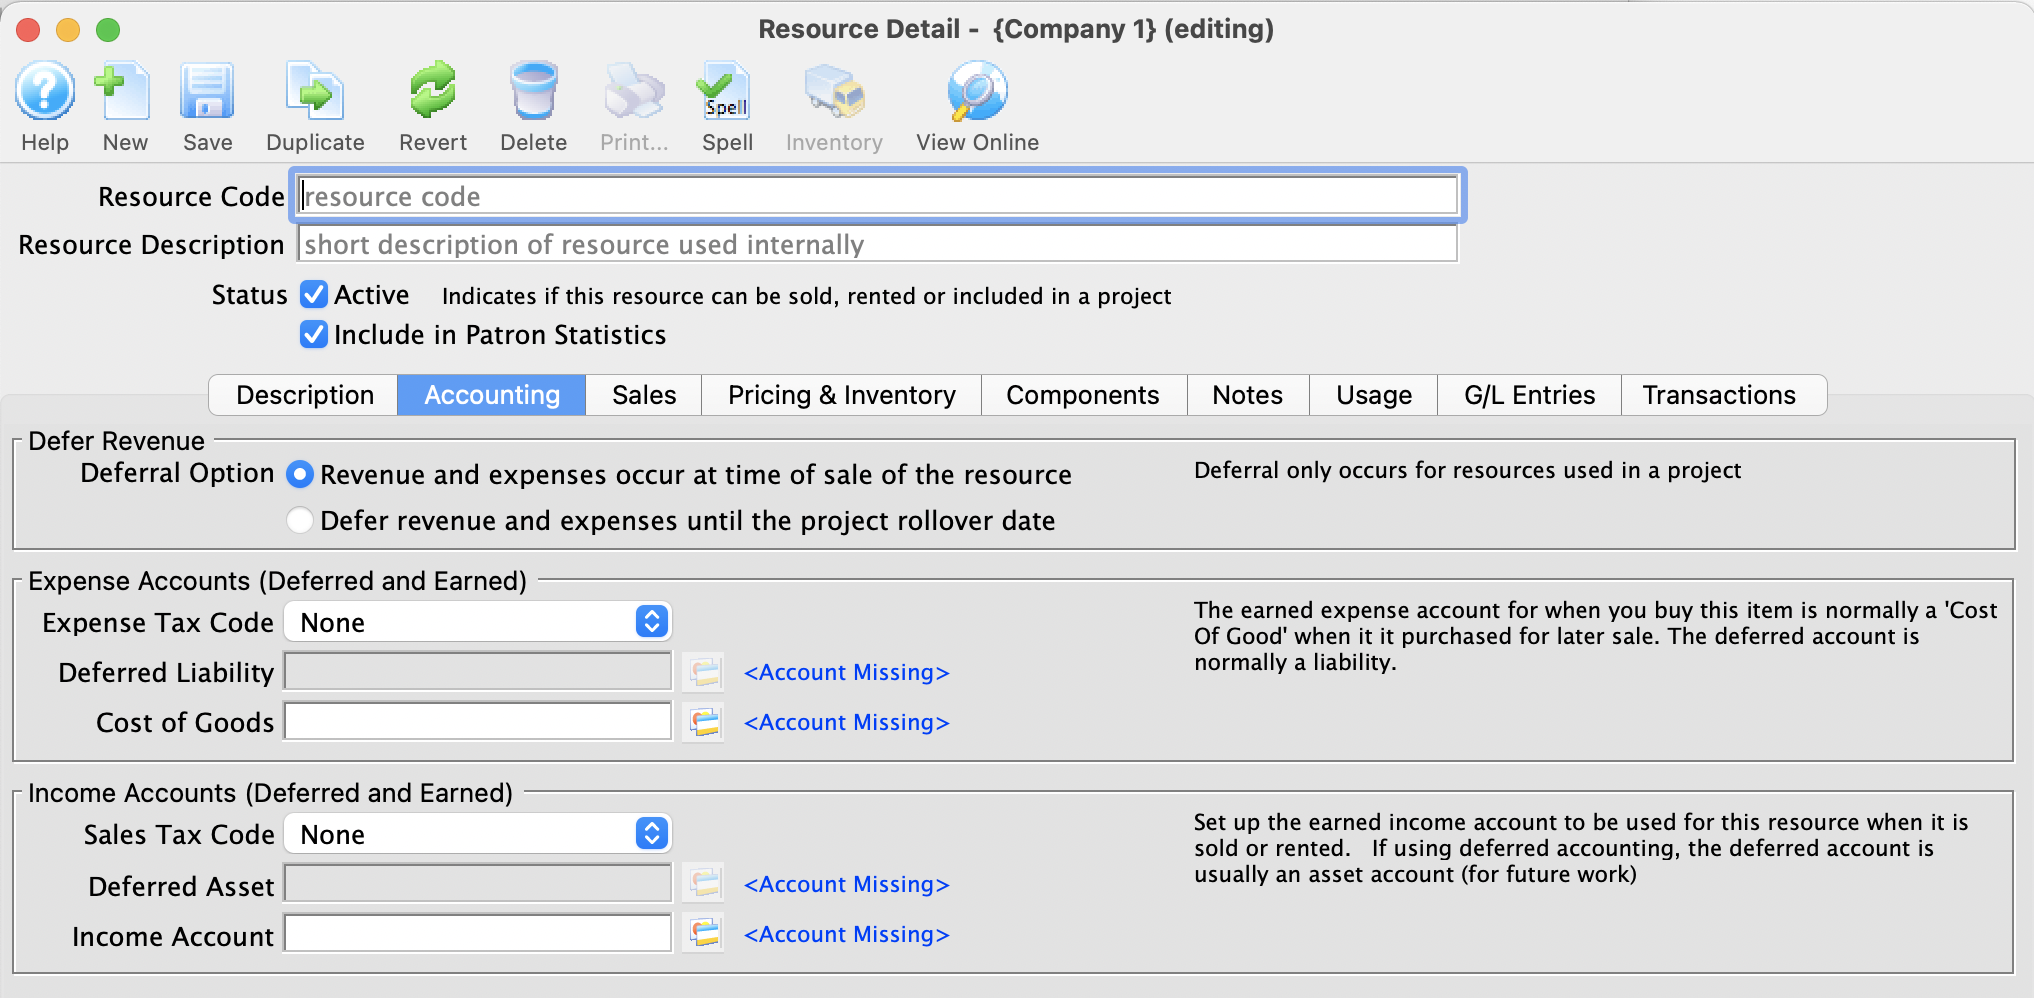
For more information on the Accounting tab, click here.
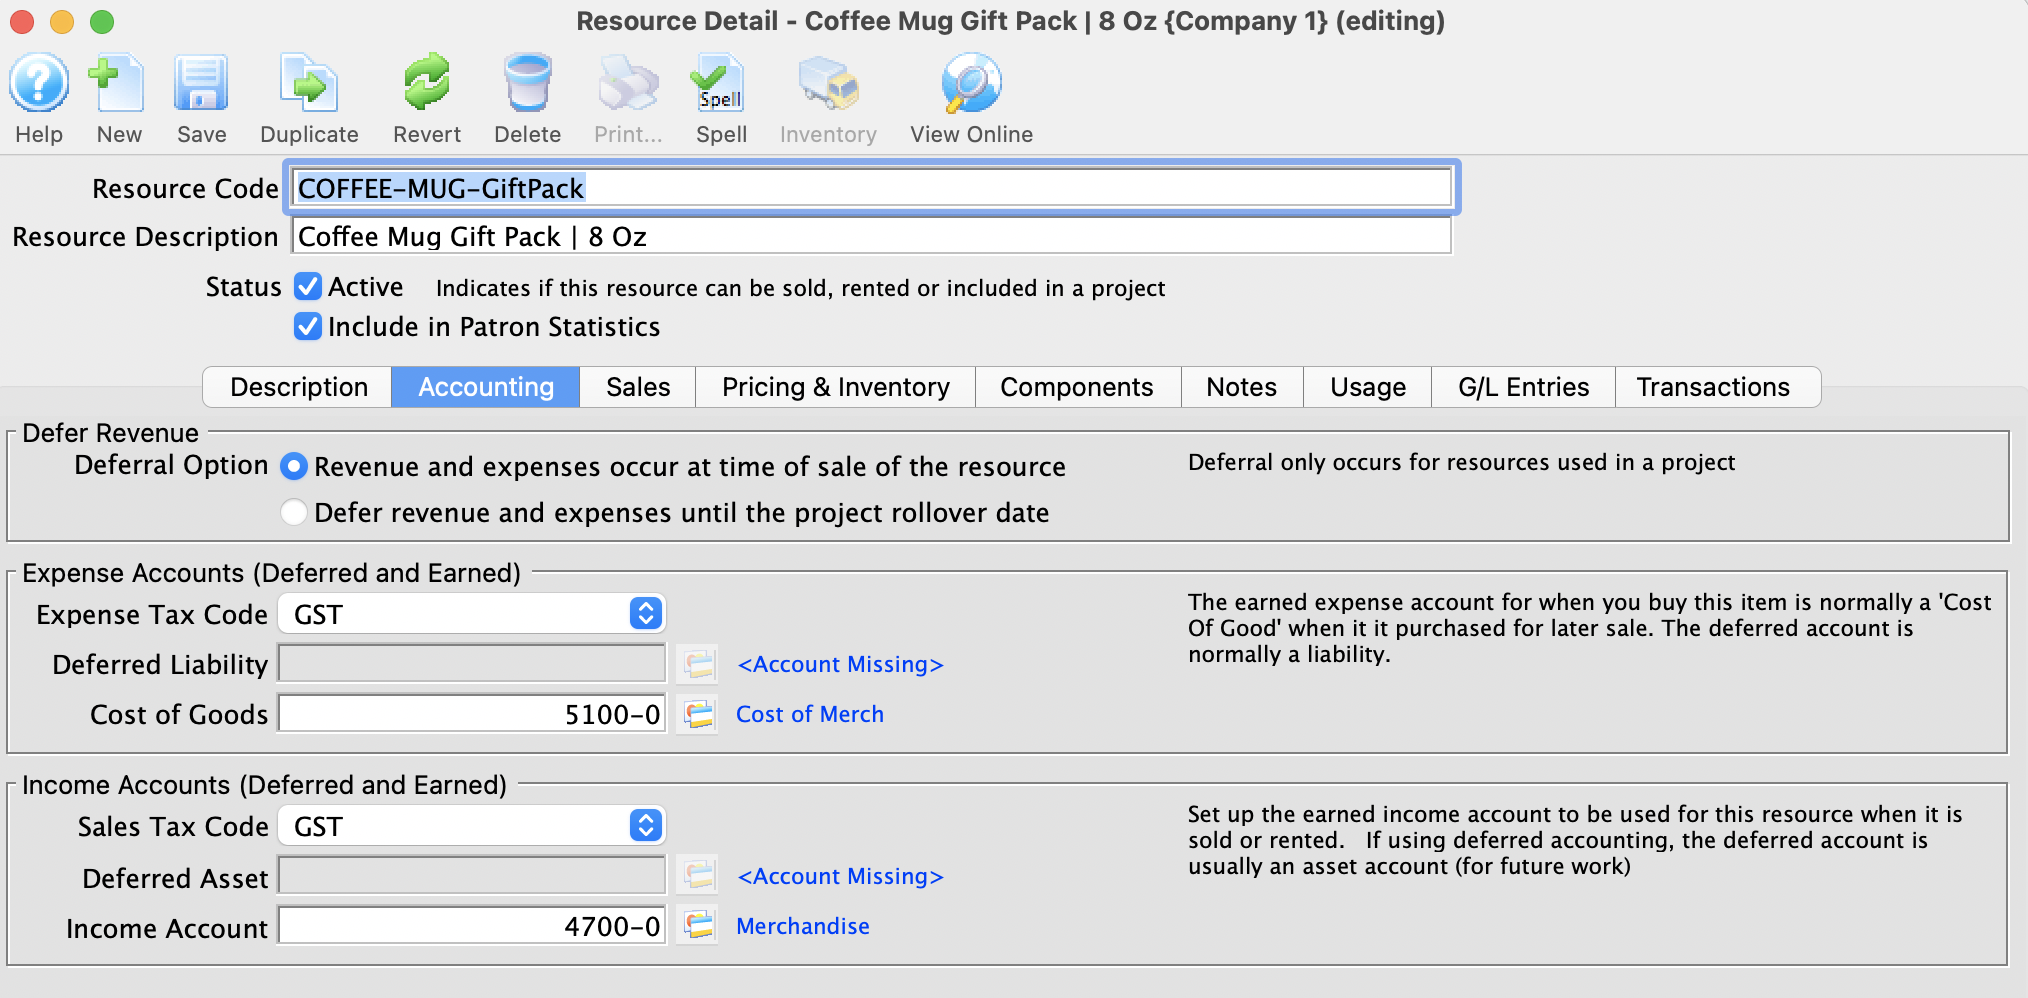
- Enter the Expense Tax Code, Deferred Liability and Cost of Goods GL Accounts.
Expense Accounts will not effect your End of Day or GL Reports. They are added for future implementation to help with the expense side of reporting and inventory.
- Enter the Sales Tax Code, Deferred Asset and Income Account GL Accounts.
- Select the Sales tab.
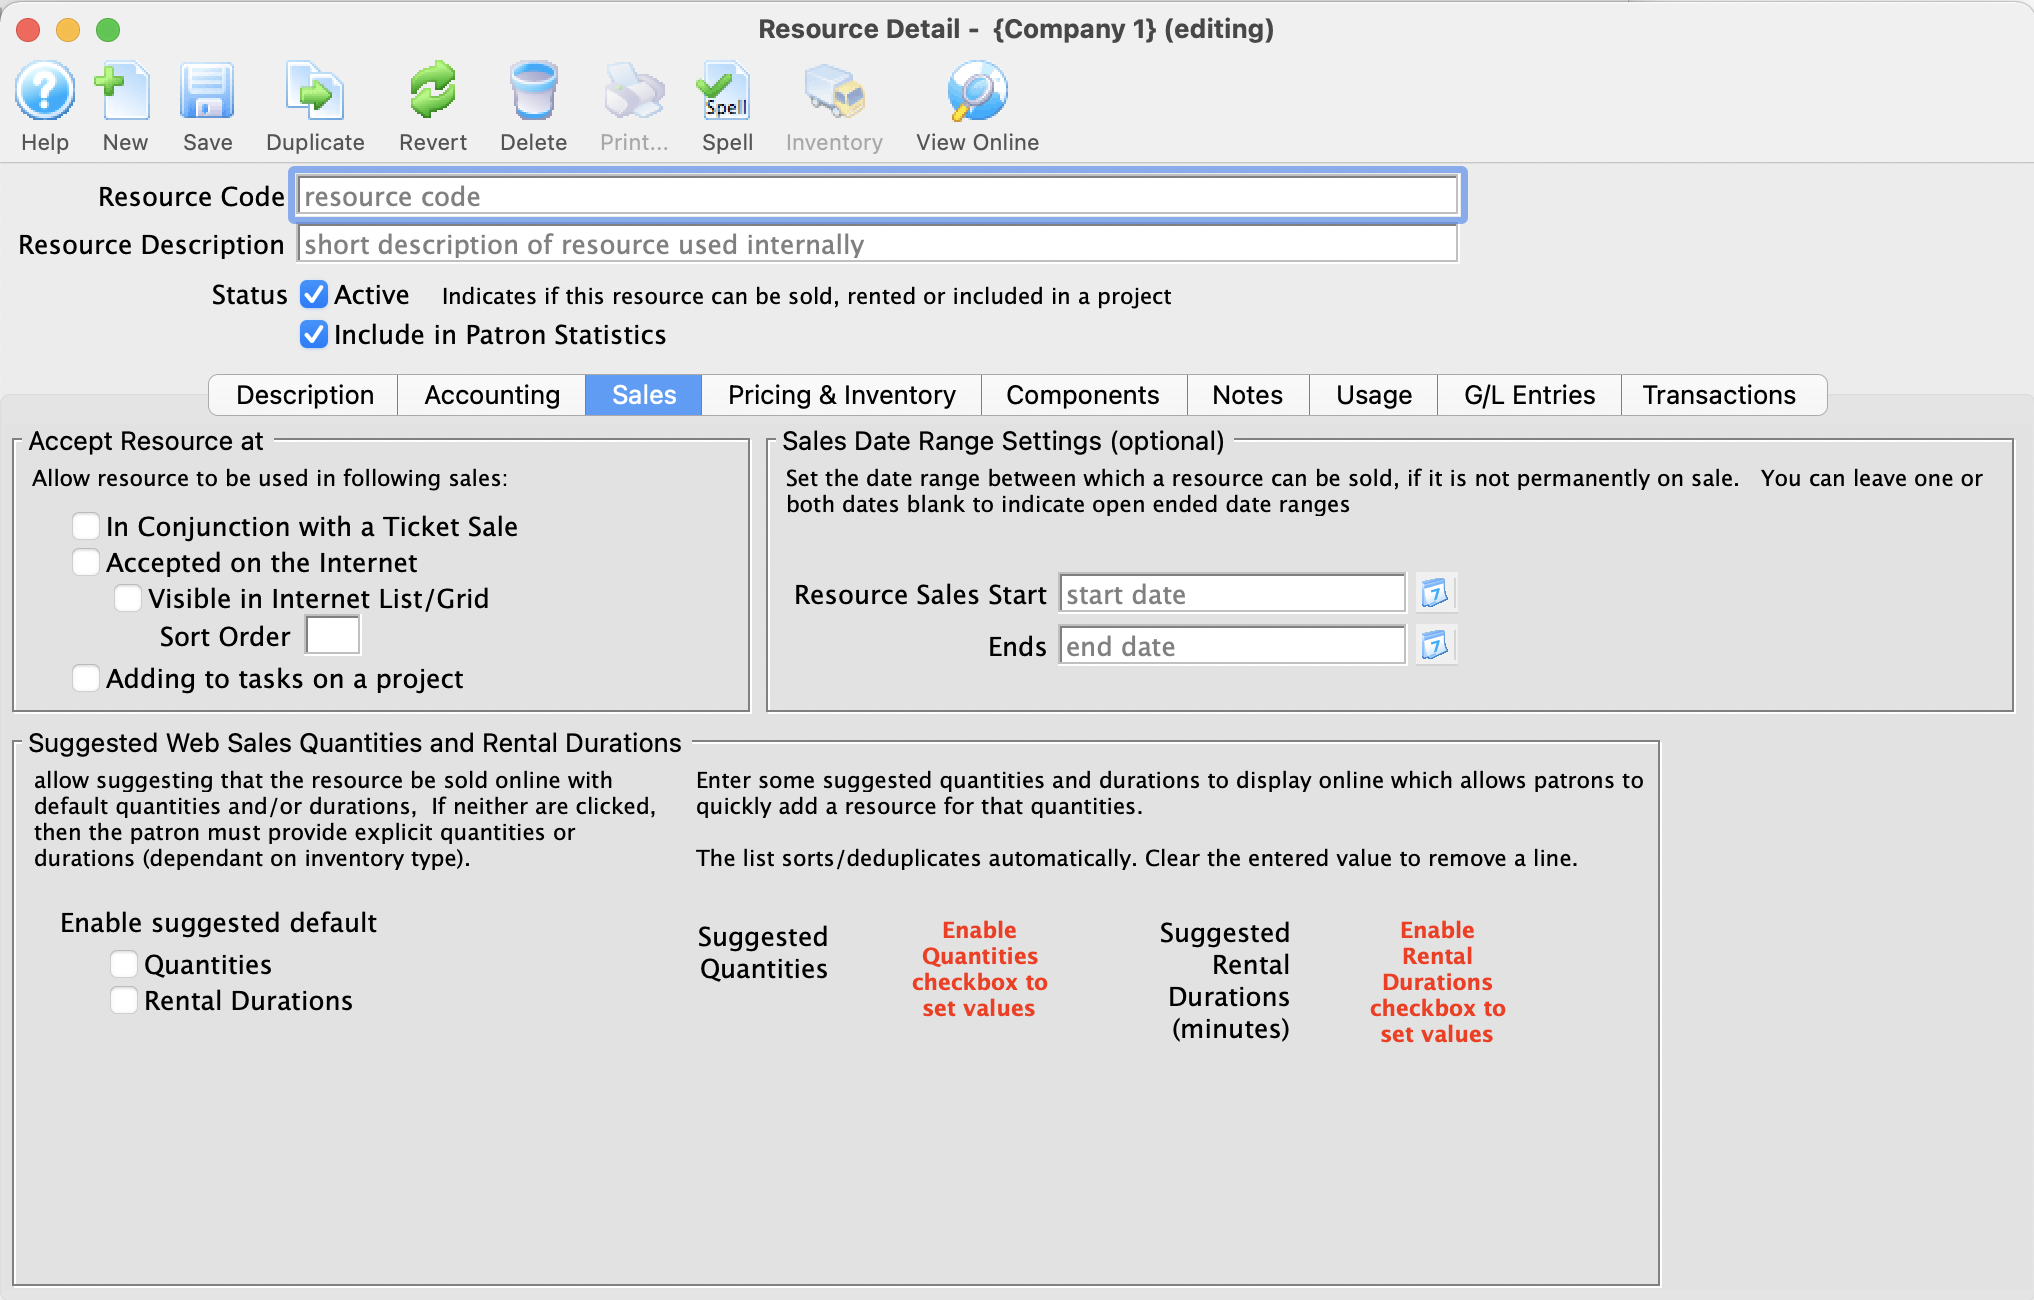
For more information on the Sales tab, click here.
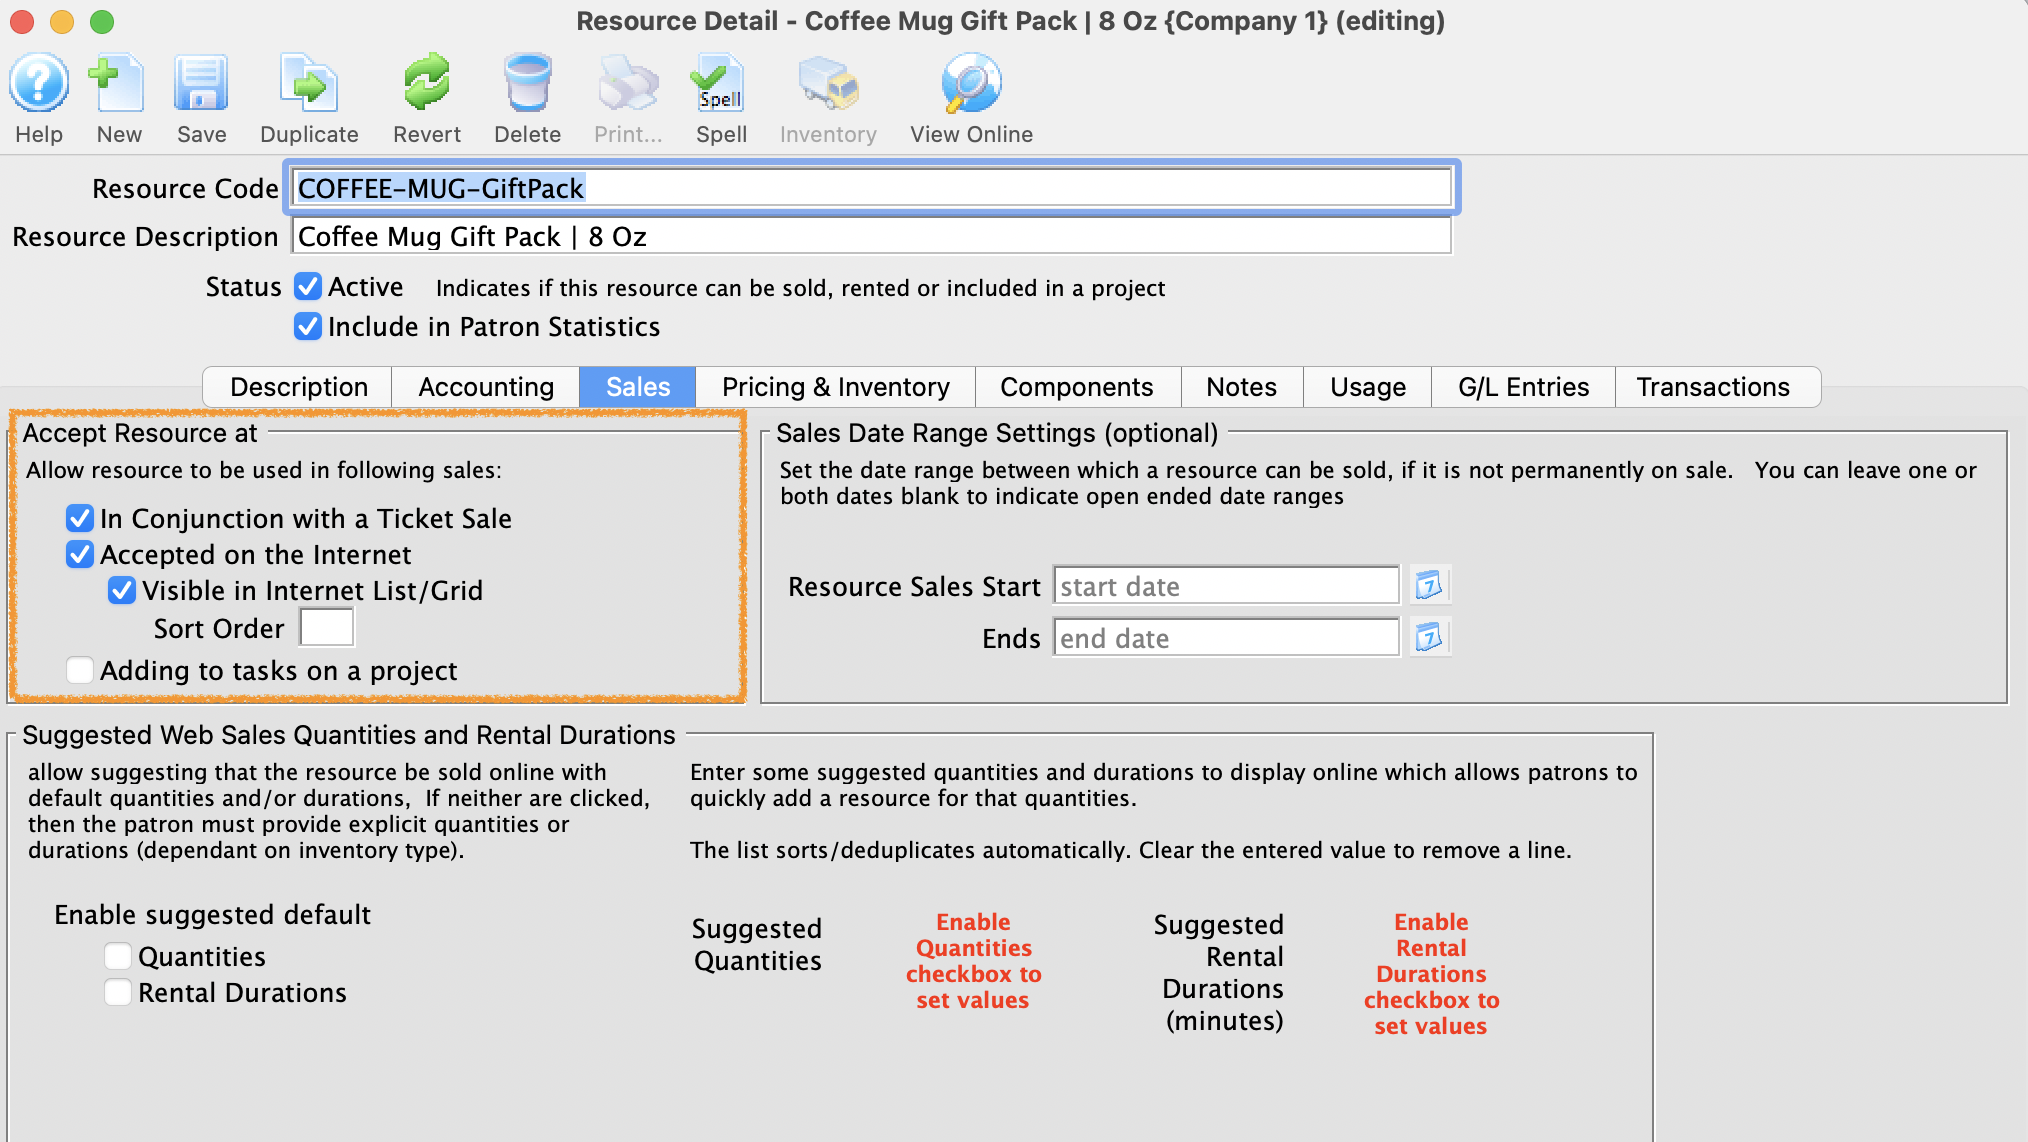
- In the Accept Resource at area indicate where the Resource is to be sold.
- In Conjunction with a Ticket Sales - Allows item to be sold at the Box Office
- Accept on the Internet - Allows item to be sold online
- Visible in Internet List/Grid - Allows item to be sold and displayed online
- Select the Pricing & Inventory tab.
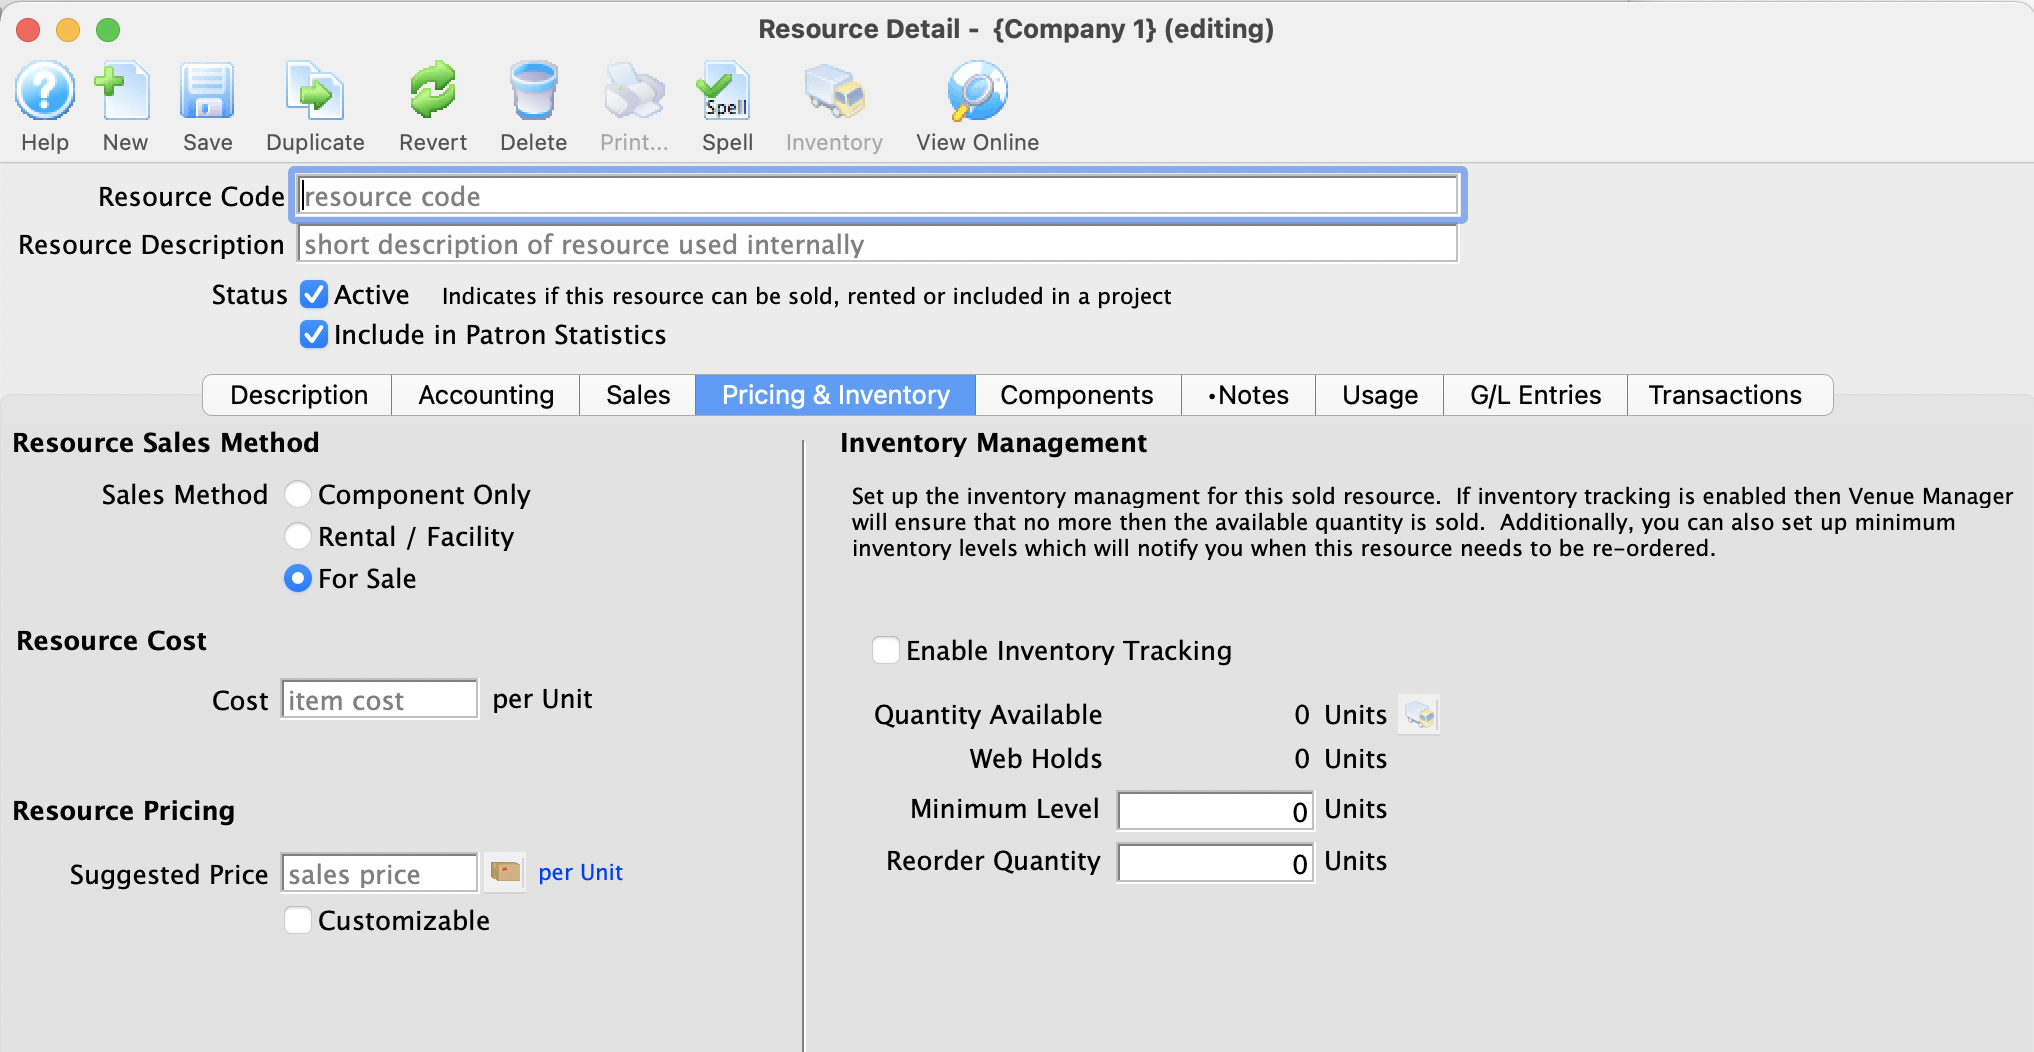
For more information on the Pricing & Inventory tab, click here.
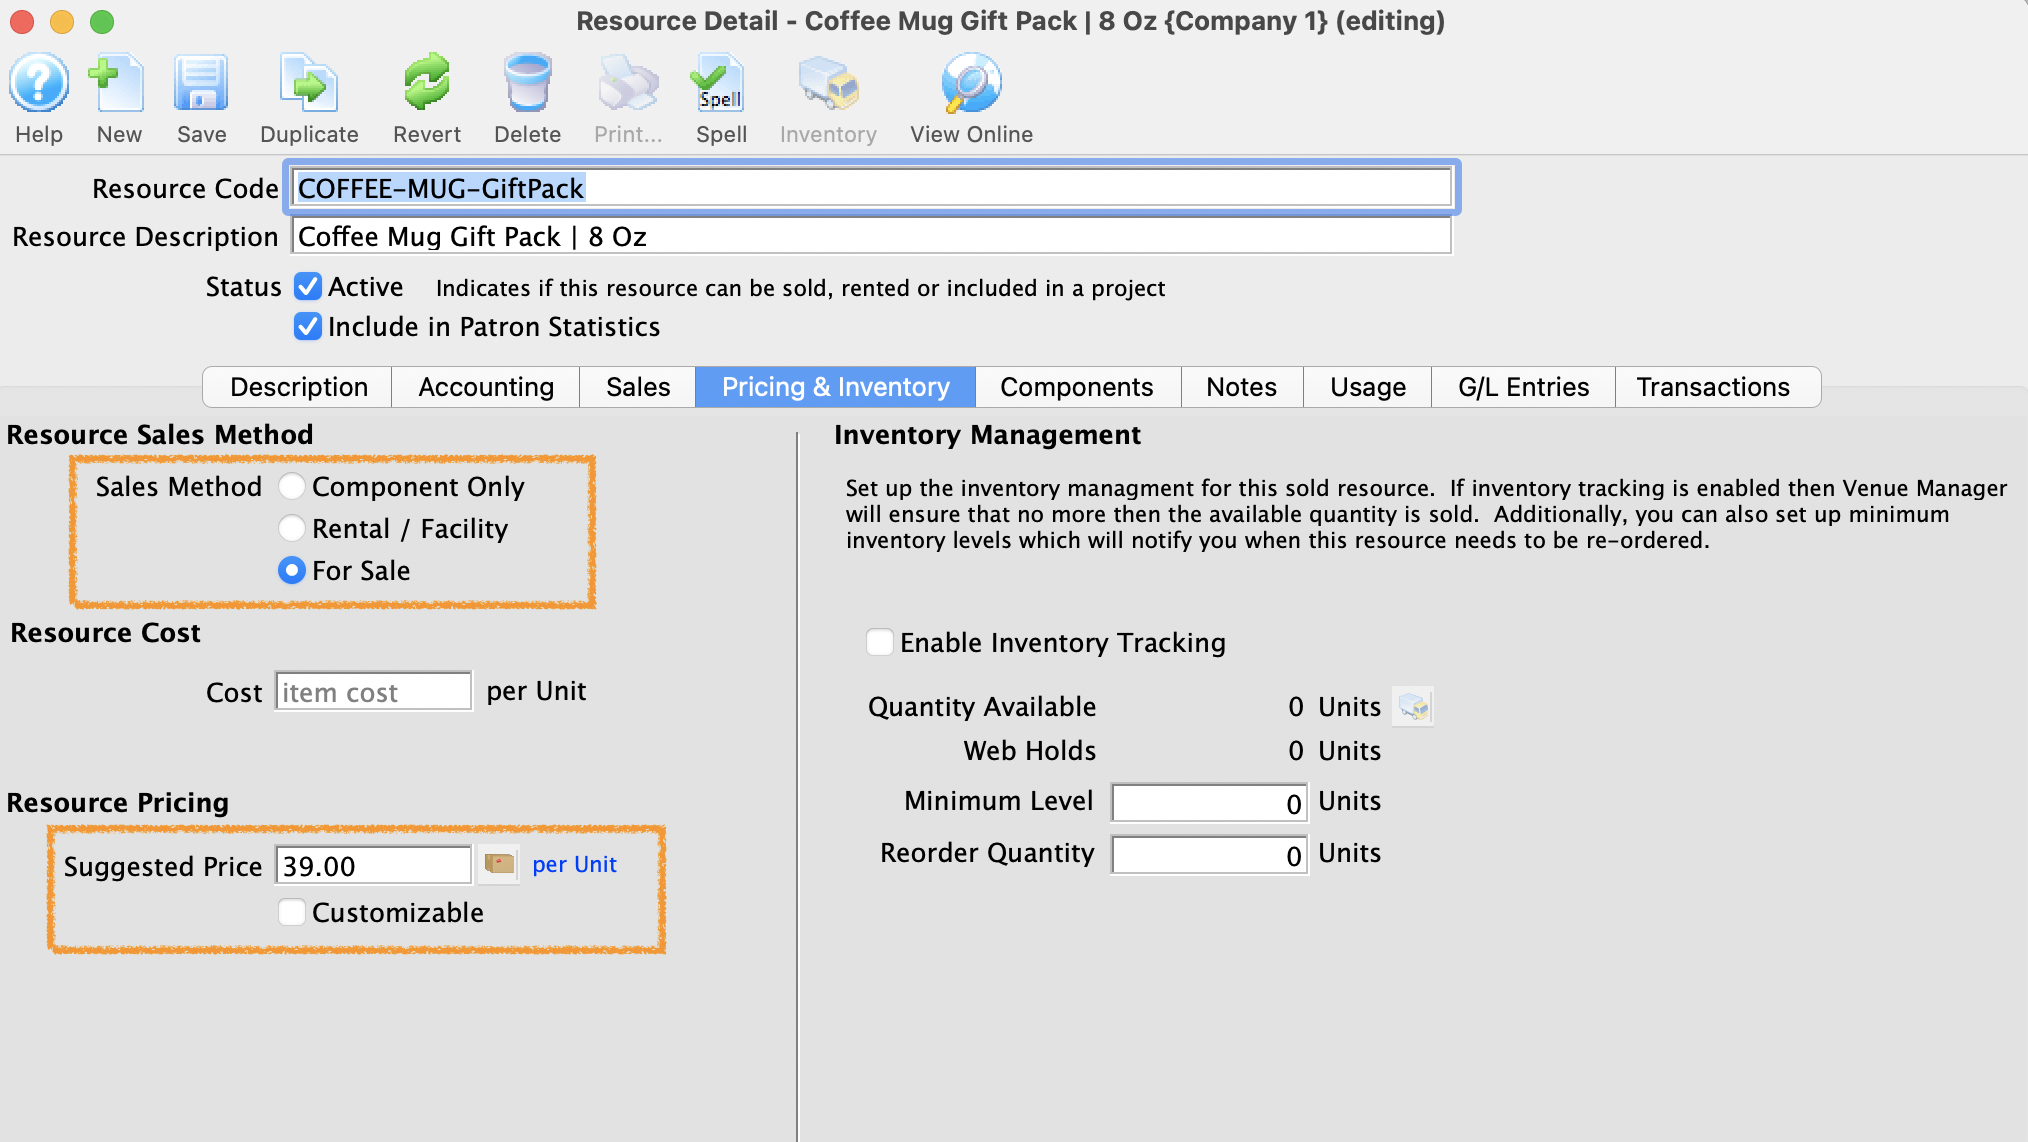
- Select For Sale bullet in the Resource Sale Method section of the page.
- Enter the retail value of the resource in the Suggested Price field.
If tax is to be charged on the item the Suggested Price should be the retail value less tax. Tax will be added on top of this price based on the Sales Tax Code selected in the Accounting tab.
- Select the Notes tab.
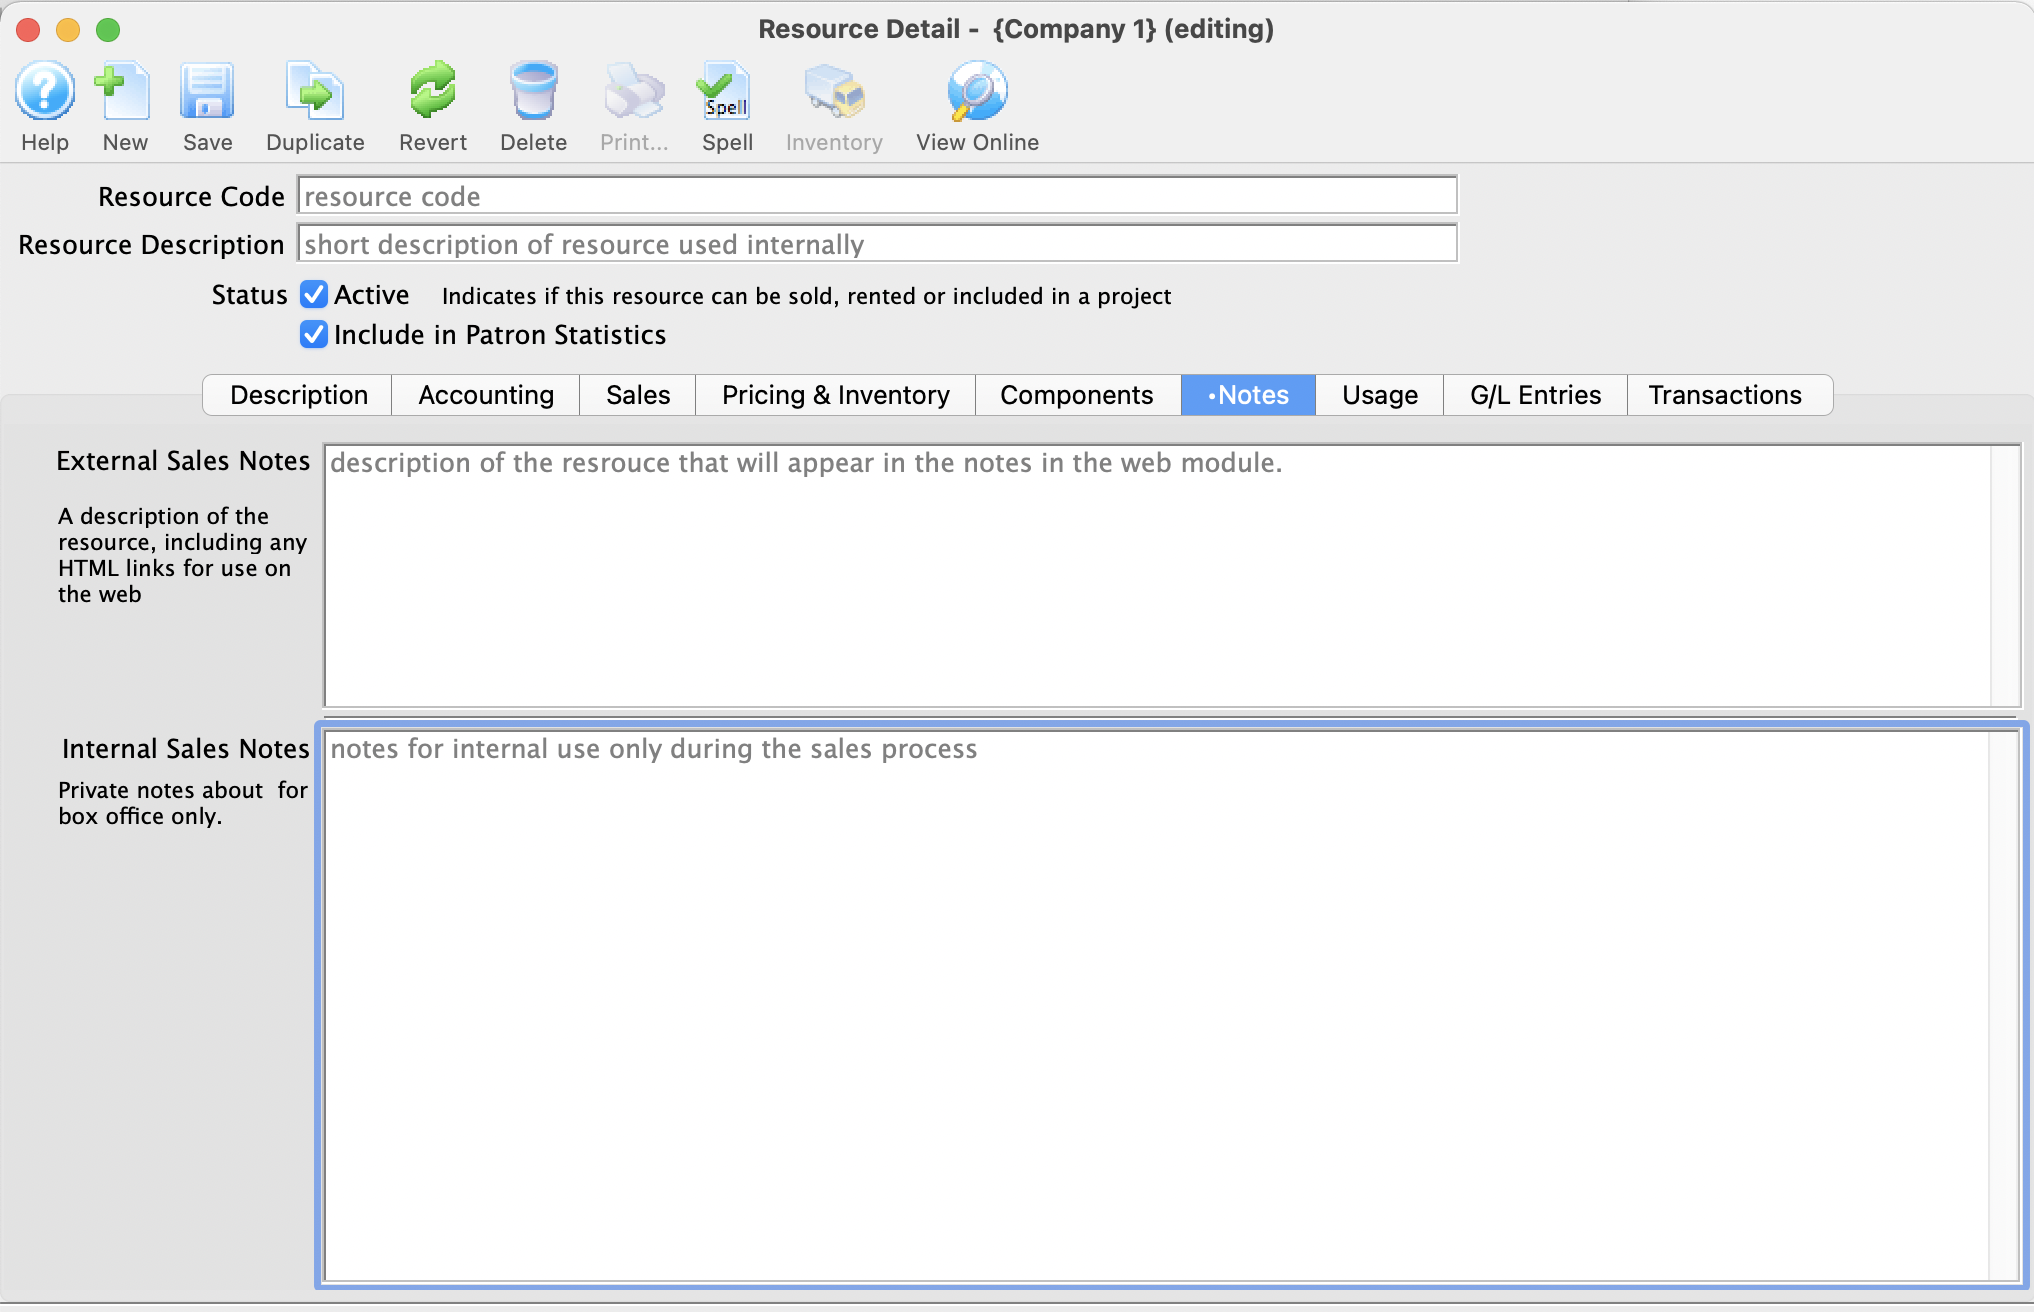
For more information on the Notes tab, click here.
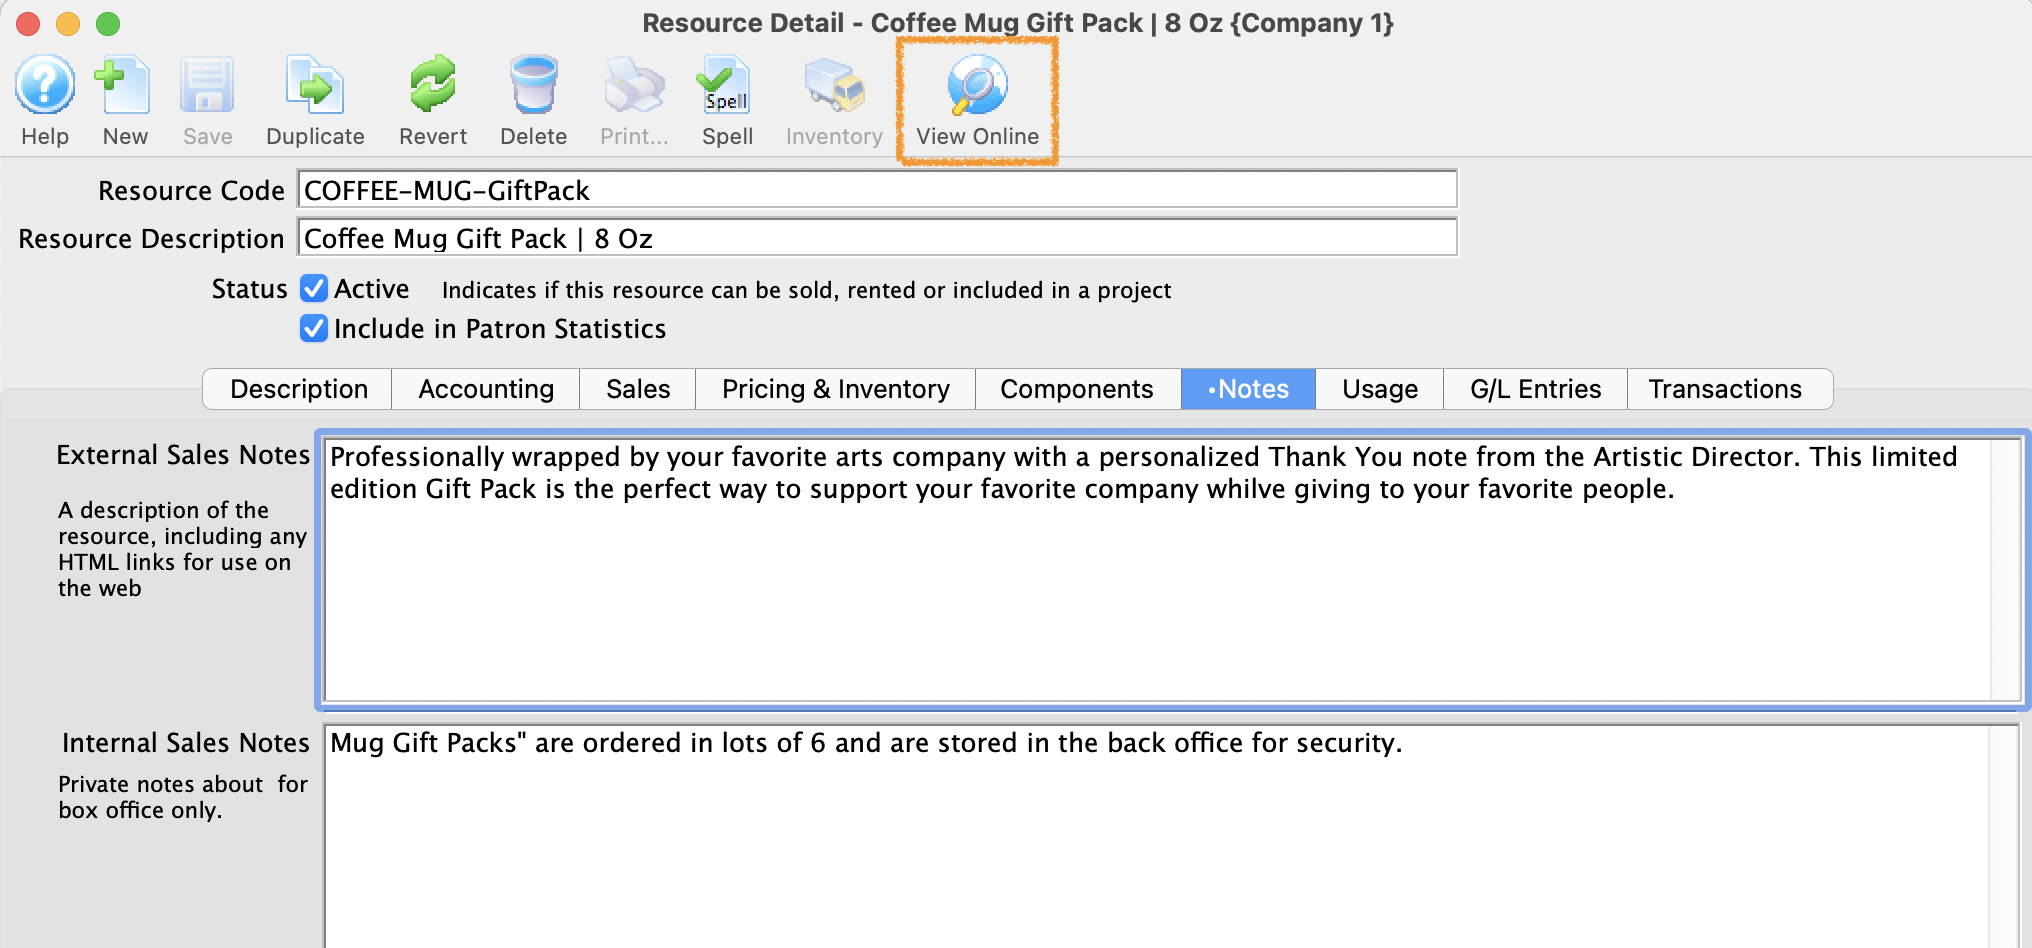
- Insert text into the External Sales Notes field.
This is where marketing language is inserted and is made visible online to patrons. This text appears online in a highlighted box next to the Resource Icon for Web image from the Description tab.
 |
To access Merchandise items online a "Merchandise" or "Shop" button may need to be added to the Navigation Bar if not previously added. For instructions on how to edit the Navigation Bar click here. |
|
|
|

