
Main menu
You are here
Creating a New Season Package Using an Existing Event
When you make the decision to use Theatre Manager for Season Subscriptions, you may already have a past event showing where a patrons’ favorite seating is located. This Event can be used as a base to create the Season Subscription for the coming year.
To complete the setup of a Season Package from an existing Event you will require three things:
- An event where season ticket purchasers have been booked into their favorite seats using the price and promotion code they will pay for the season.
- An empty Control House in preparation for next Season. For more information on setting up a Control House click here.
- The Events for the coming season to be setup in Theatre Manager. For more information on building new Events click here.
To create a New Season Package using an Existing Event as a Control House, you perform the following steps:
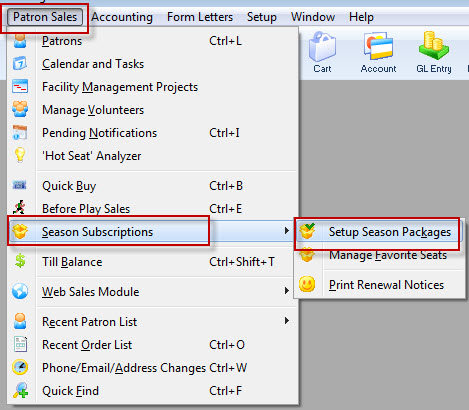
- Click Patron Sales >> Season Reservations >> Setup Season Packages.
The Season Package List window opens.
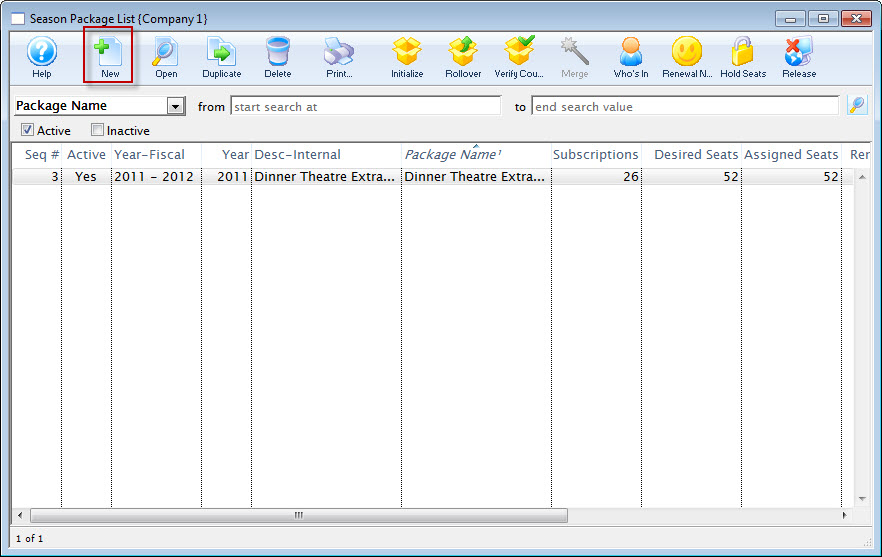
For more information on the Season Package List window, click here.
- Click on the New
 button at the top of the page. The Season Package Detail window opens.
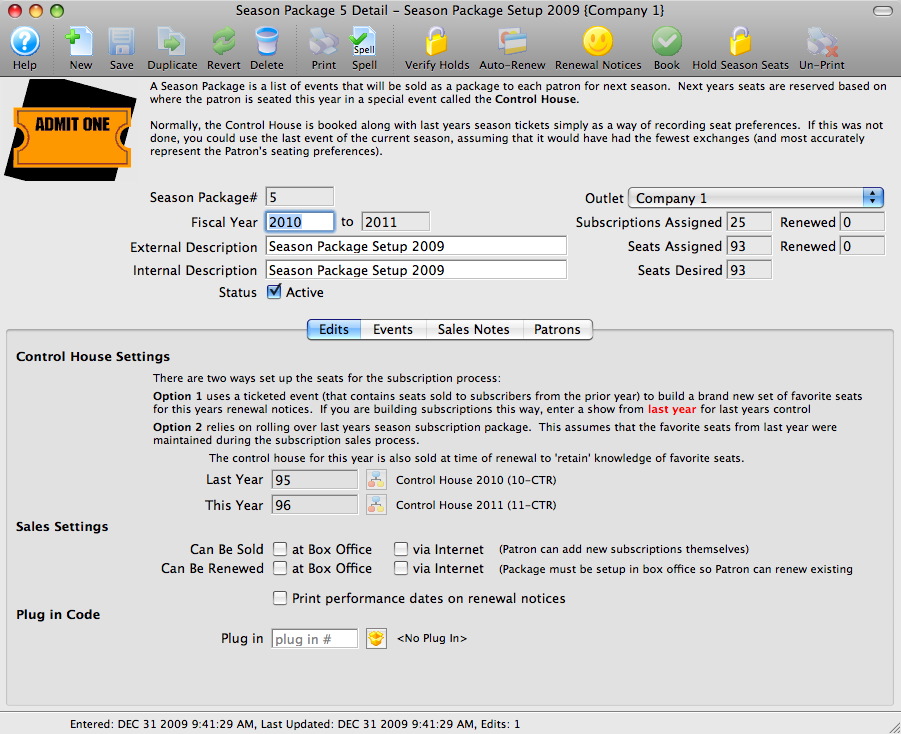
For more information on the Season Package Detail window, click here.
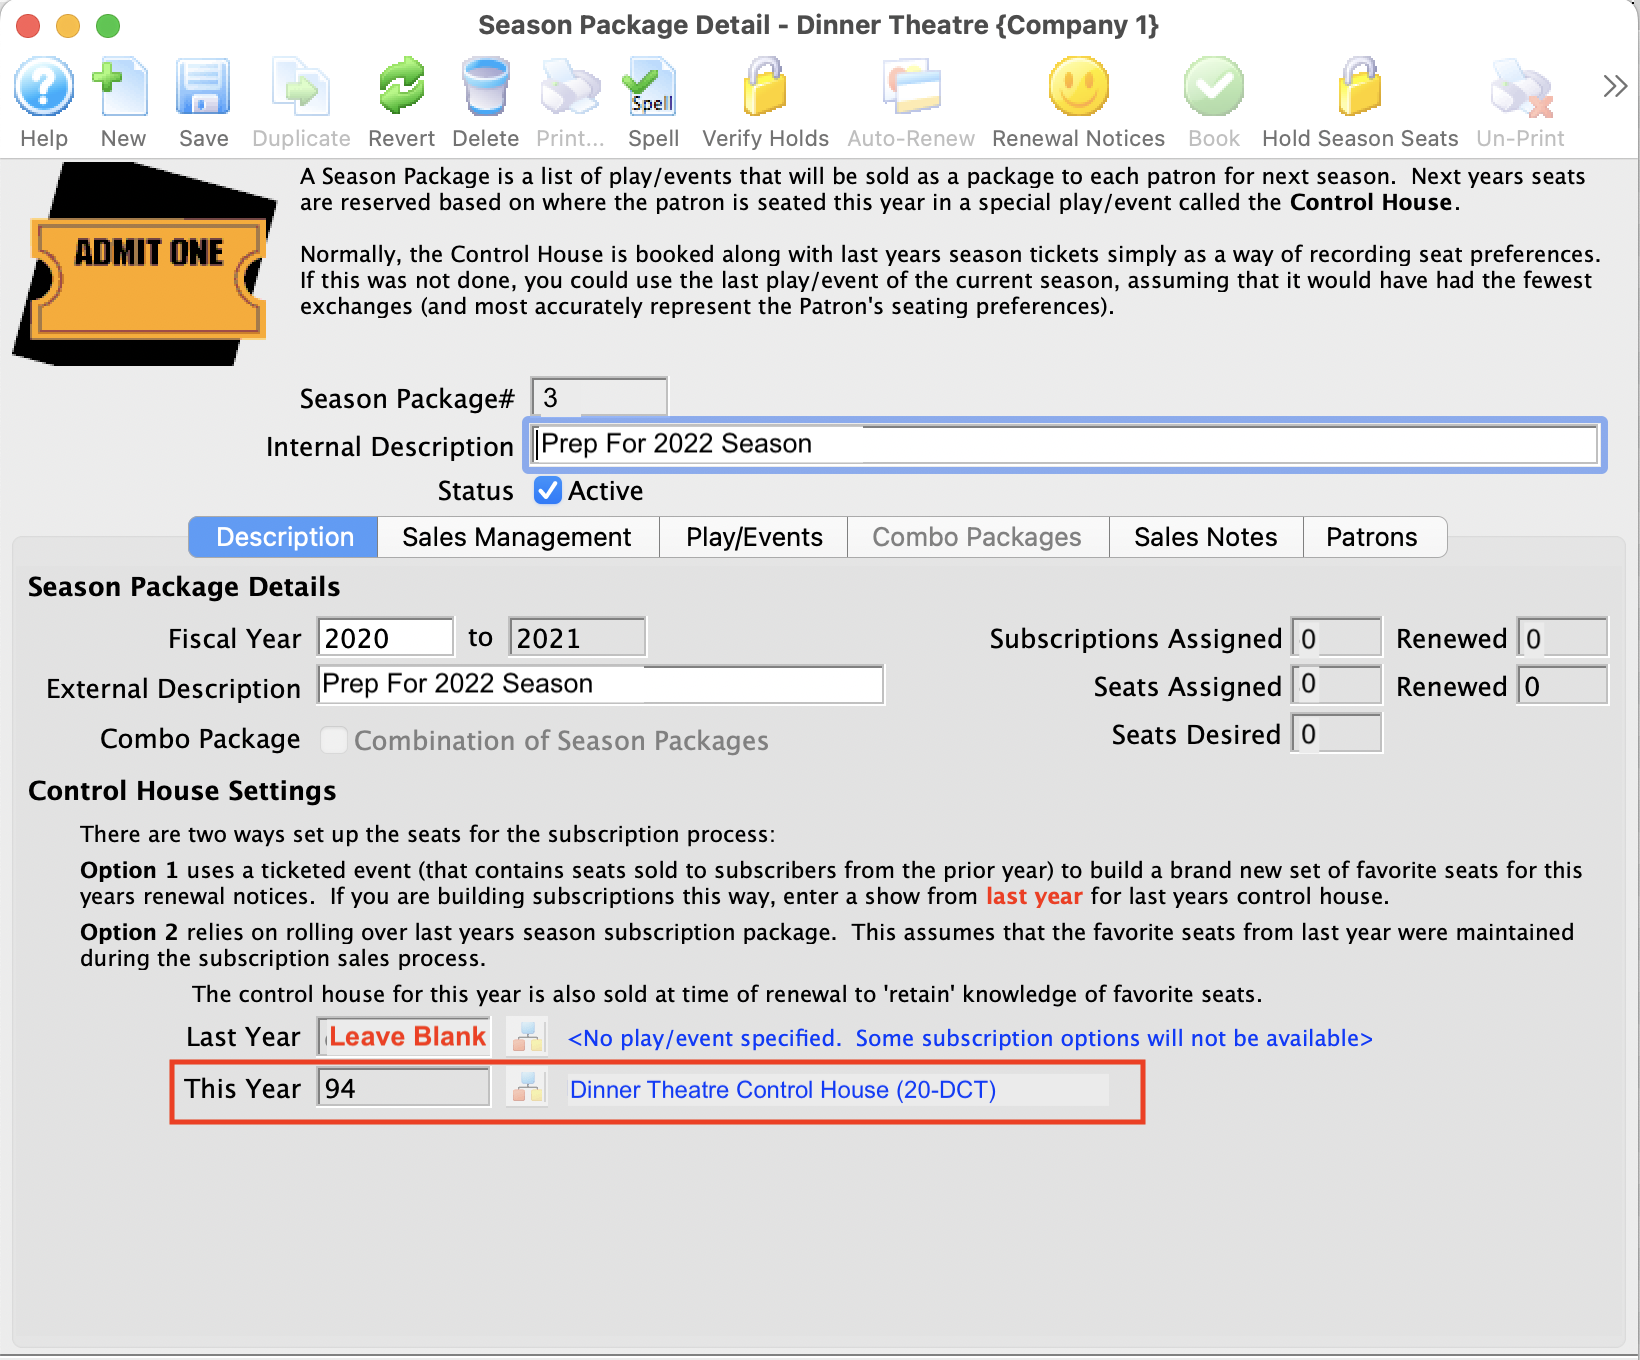
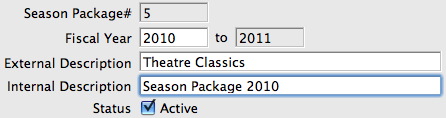
- Enter Fiscal Year, External Description and Internal Description for the season package.
The Fiscal Year To field will update when the Fiscal Year is altered. The External Description can be displayed in the online ticketing module, ticket faces and in the renewal notices.
- This Year field, enter the Event number for the Event containing the Patron Favorite Seats in the This Year field.
The Event selected for This Year field should be a past event - where season subscription patrons have already purchased tickets and the tickets were booked using a Season Sale Promotion. This Event should be set under the Performance tab as a Season Control Performance. This setting is required to use the Event for Control House purposes. The Event can not be available for sale online and be indicated as a Season Control Performance. The Event Lookup
 icon can be used to locate the past Event.
 - Click the Save
 button.
- Click the Verify Holds
 button at the top of the window.
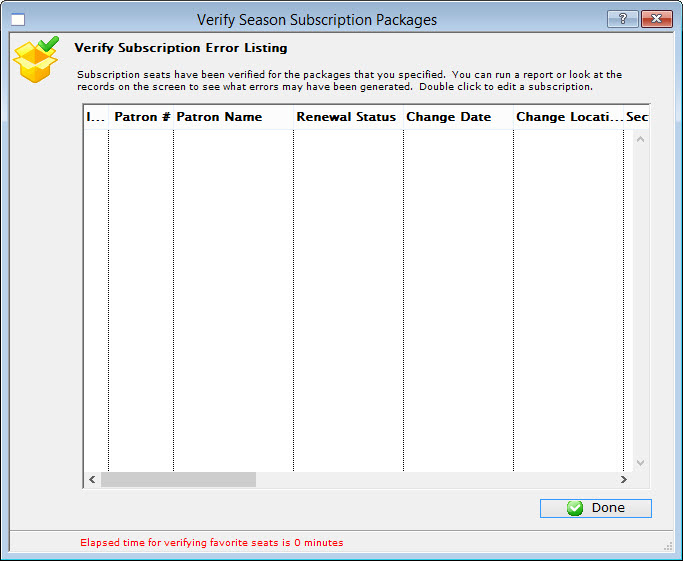
The Verify Season Subscription Packages window opens.
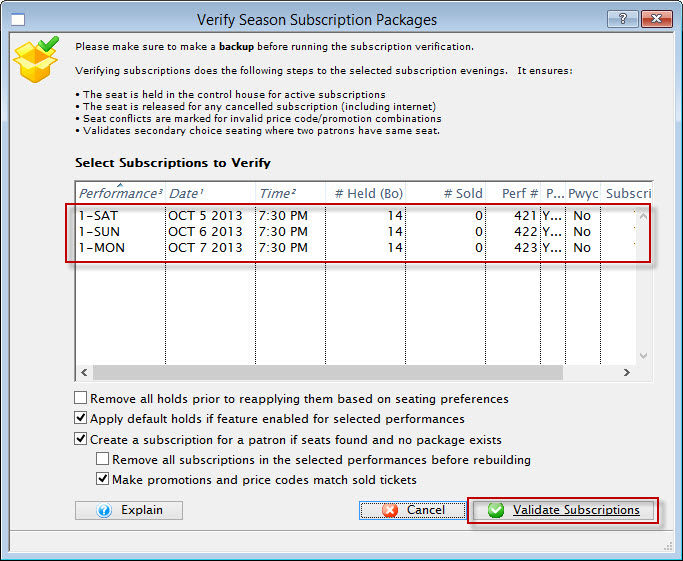
- Highlight all listed Performances.
- Click the Validate Subscription
 button and let the process run.
- Click the Done
 button window.
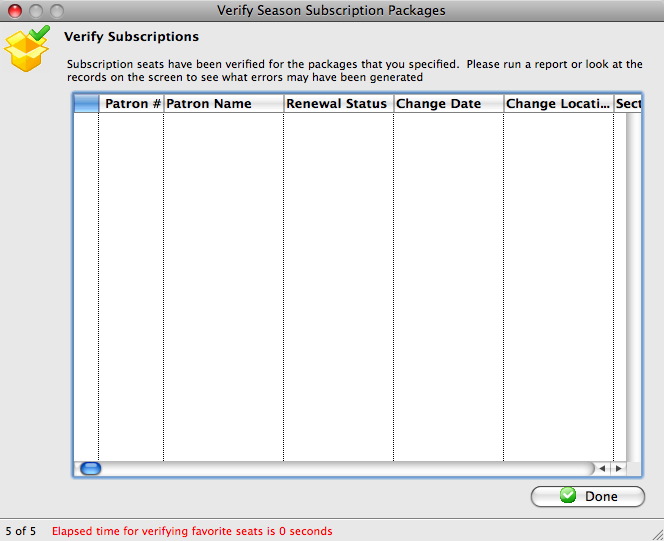
- Close and open the Season Package Detail window to refresh the displayed information. The Subscription Totals will be populated with the information for the Event listed in the This Year field.

- Close the Season Package Detail window.
- Single click on the Season Package you created to select it in the Season Package List window.
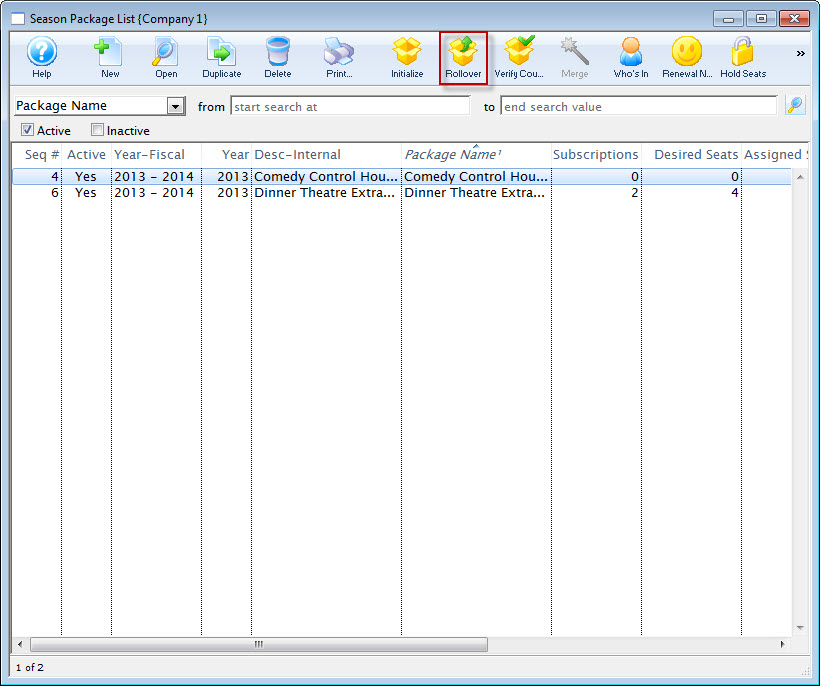
- Click the Roll Over
 button at the top of the window.
The Season Package Rollover window opens.
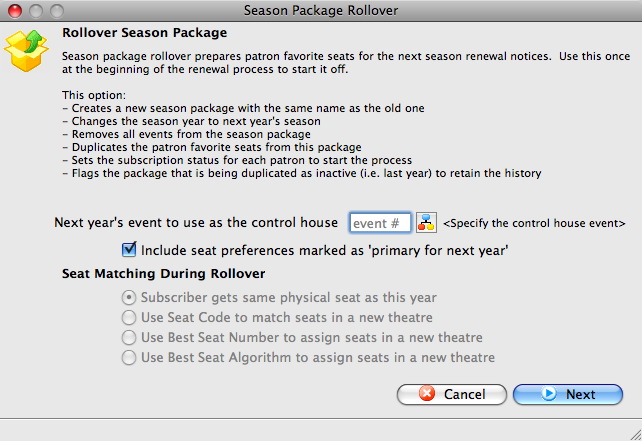
- Enter the Control House for next year in the Next Year's Event To Use As A Control House field.

Create the Control House before the season package is rolled over. Use the Event Lookup icon to locate the Control House. The Control House can not be an event from the previous year. It must be an event specific to the season package.
For more information on building a Control House click here.
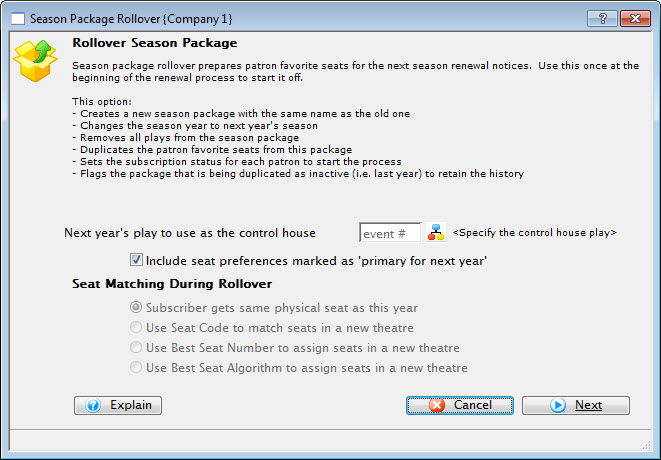
- Click the Next
 button in the lower right corner.
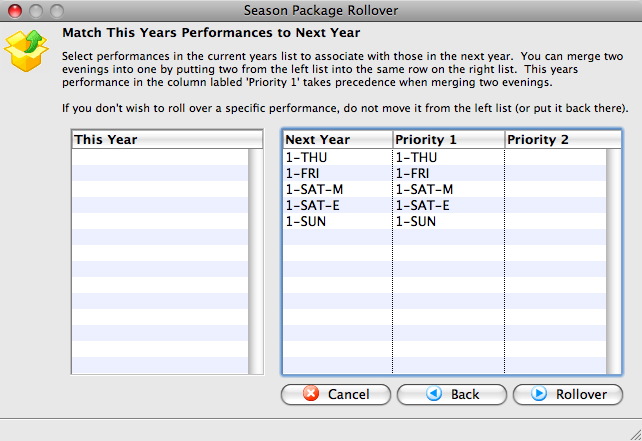
- Match the Performance Codes in the This Year column with those in the Next Year Column.
Drag the Performance Codes from the This Year column into the Priority 1 or Priority2 column. This tells Theatre Manager which performances from the prior season, patrons should be assign to. Use the Priority 2 column when the number of performances from the prior year is greater then the coming year. Theatre Manager will seat subscribers in the Priority 1 column first. Then it will seat subscribers from the performance in the Priority 2 column. If seats are not available for the patron from the Priority 2 column, they will be placed on the wait list.
- Click the Rollover
 button in the lower right corner of the window.
The Rollover Confirmation window opens.
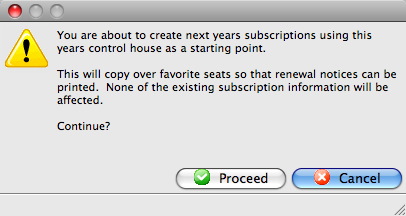
- Click the Proceed
 button and let the process run.

This process can take some time, depending on the number of patrons in the season package.
When complete, the Rollover Completed window opens.
- Click the Done button.
- Double click on the Season Package to open it.
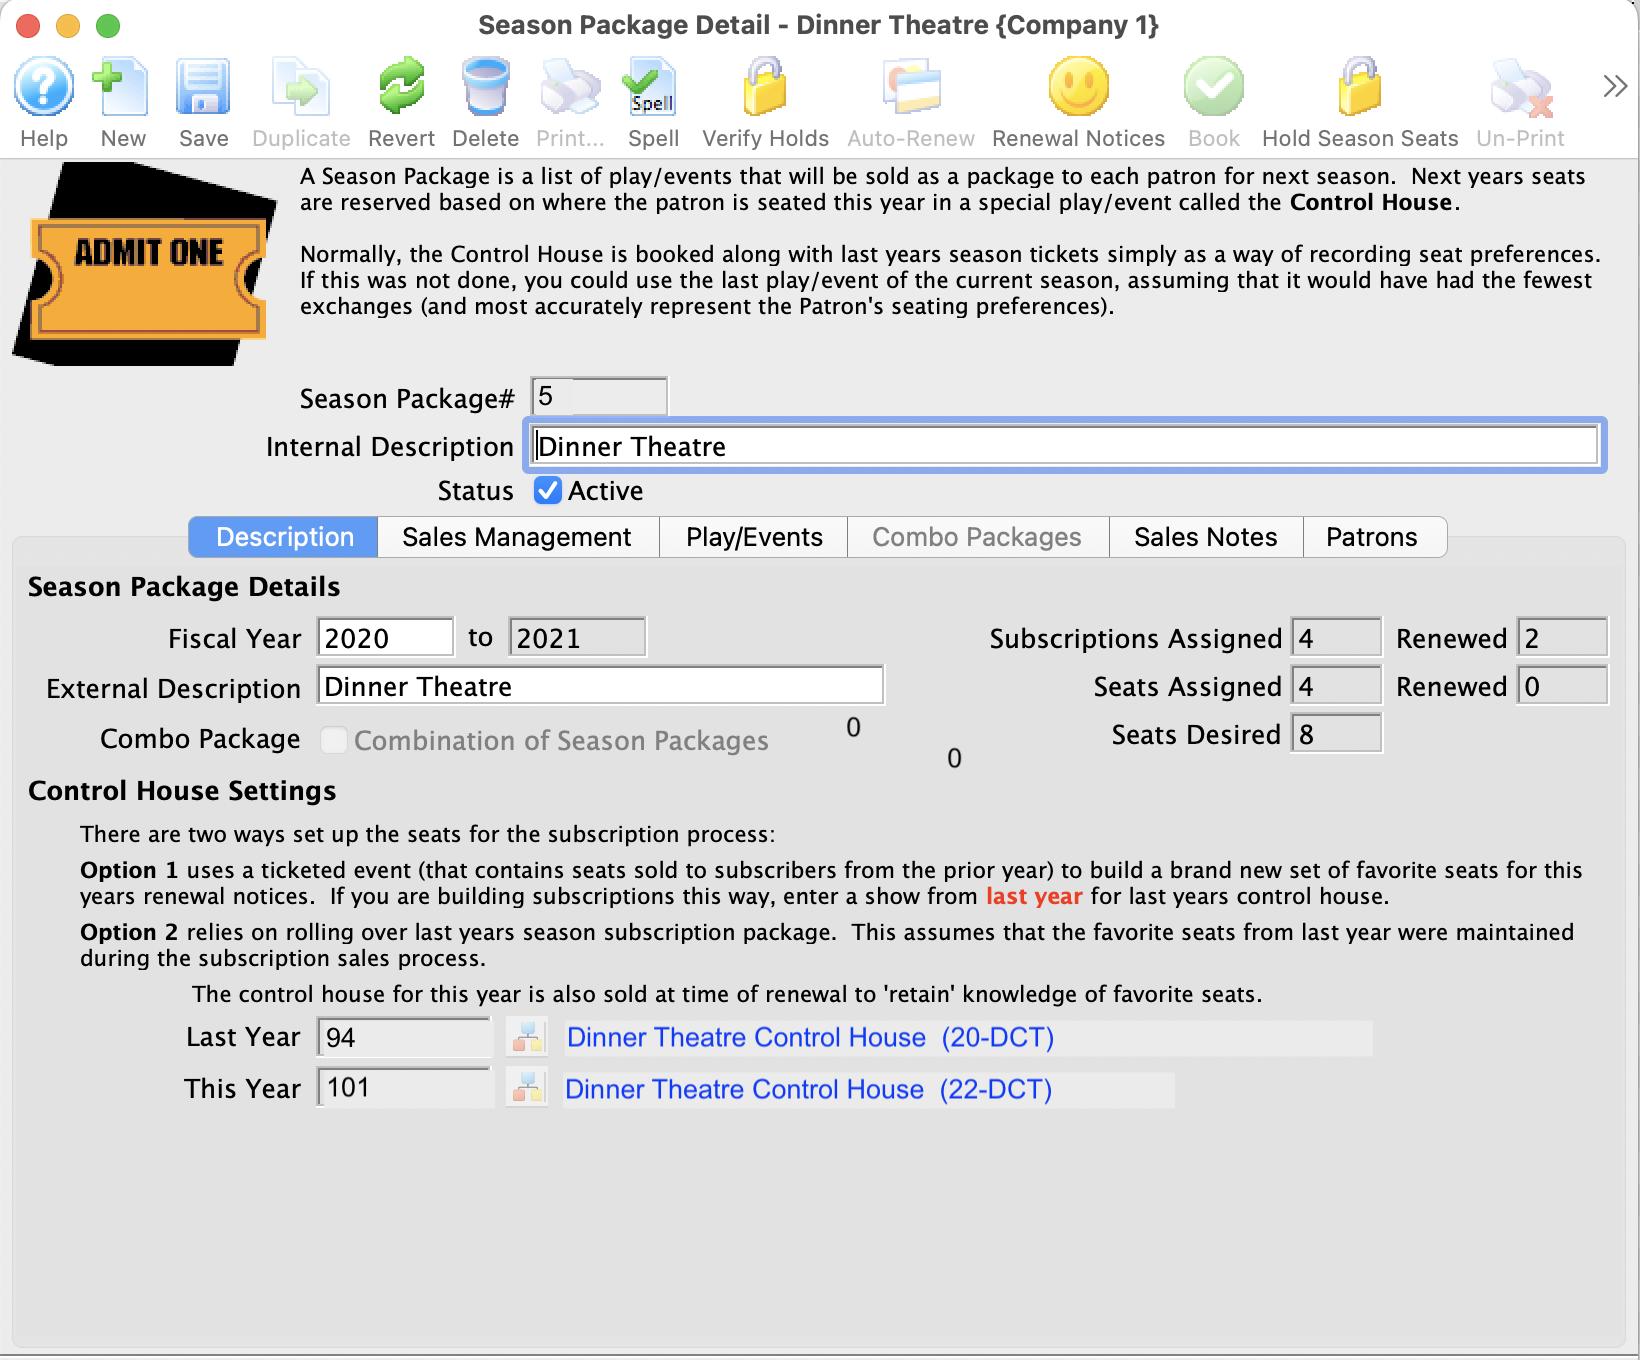
Edit the External and Internal Description fields to accurately reflect the name of the Season Package.
- Check off the desired Sales Settings options depending on where the season can be sold and renewed.
It is not recommended the season be available on the web until all setup has been confirmed and the season package is tested for accuracy.

If required, check off the option to Print Performance Dates on Renewal Notices.
- Select the Events
 tab.
tab.
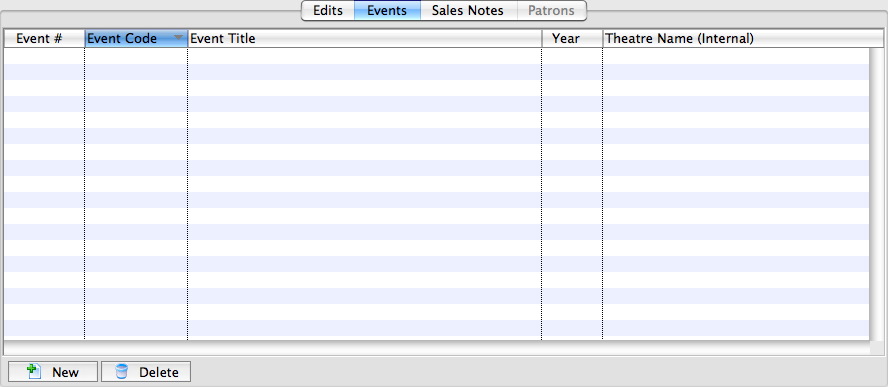
- Click the New
 button in the lower left corner.
The Event List window opens.
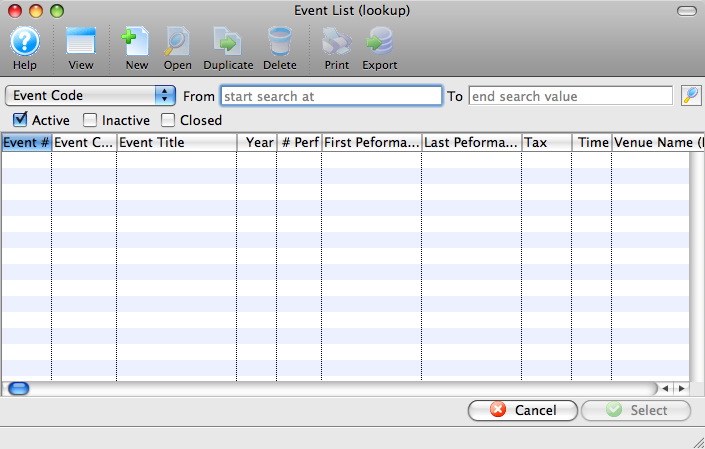
For more information on the Event Lookup List window, click here.
- Select the events to add to the Season Package.
To select multiple events, use the <SHIFT> key to select a series of events, or the <CTRL> key (Windows) or the <OPTION> key (Mac) to select multiple individual events.
- Click the Select
 button in the lower right corner.
- Select on the Sales Notes
 tab.
tab.
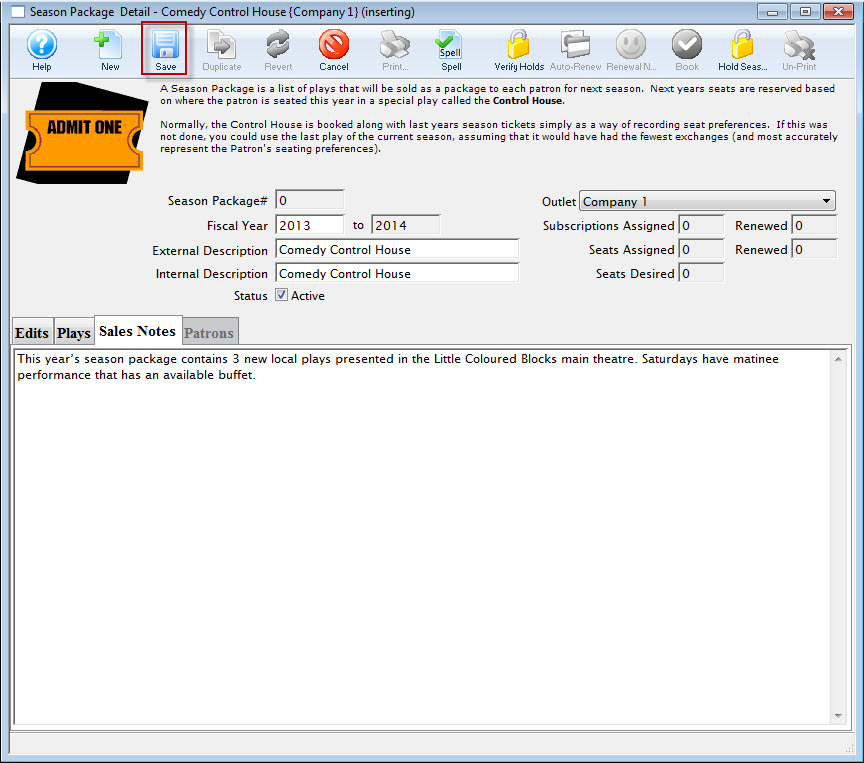
Enter detailed notes for the season package.
- Click the Save
 button.
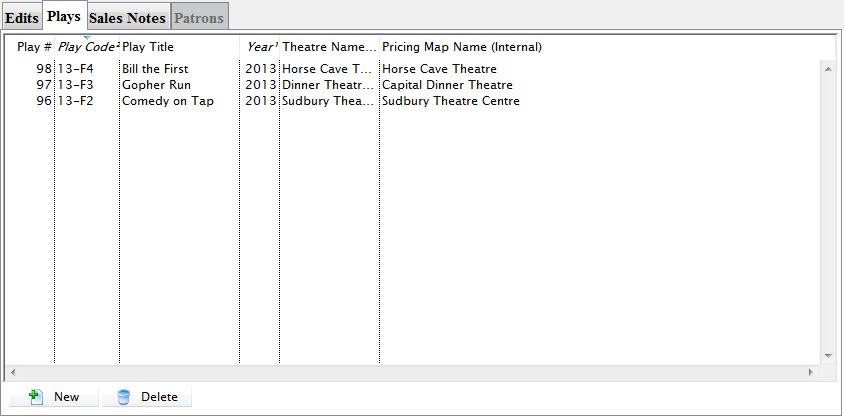
The Events for the coming season will populate into the Events tab.
The Season package can now be used for the coming season. Patrons can be added to the season package, seats assigned and subscriptions renewed.