
Main menu
You are here
Replacing Latch for Microcom Printer
The latch sits inside the print head assembly. It holds the print head firmly in place ensuring it makes contact with the ticket stock at the time of printing. If the latch fails the head cannot burn content onto the ticket stock. It can look like one side of the printed ticket is "faded" or blank.
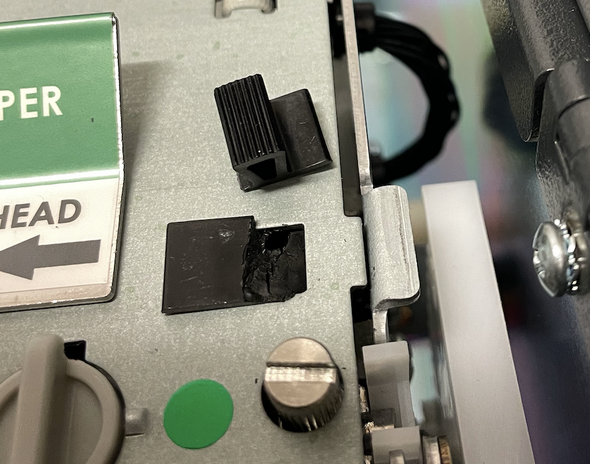
The latch has a smooth top with a nub that protrudes for easy movement. Below the flat surface, there are clasps on opposite sides of the latch. These are used to hold the latch in place. One side has a small pressure spring that allows for the clasps to be moved and makes for easy removal.

When the latch fails the nub disconnects from the top as seen below.
Removing the clasp
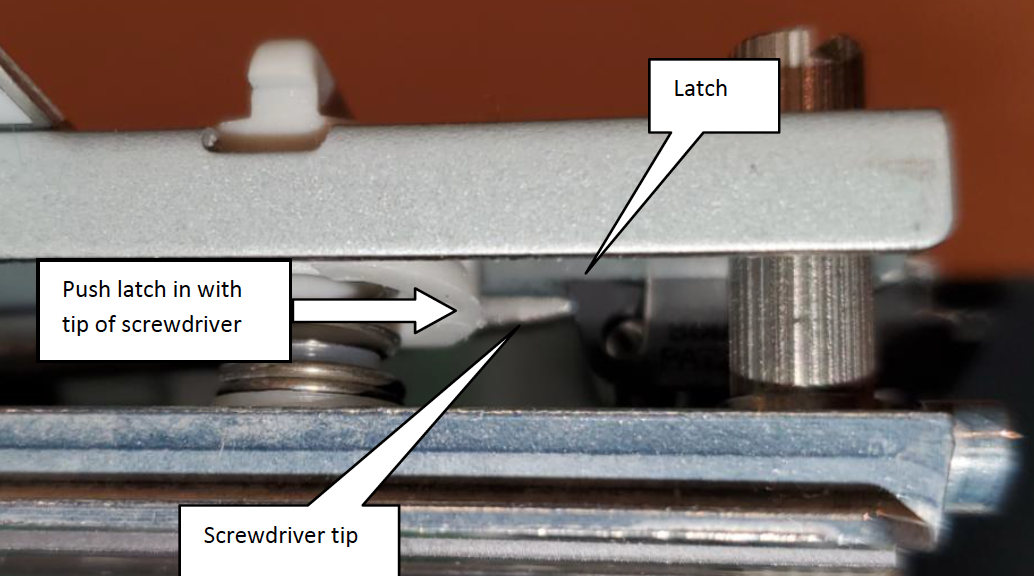
- Push in the spring-loaded side of the clasp with a flat head screwdriver.
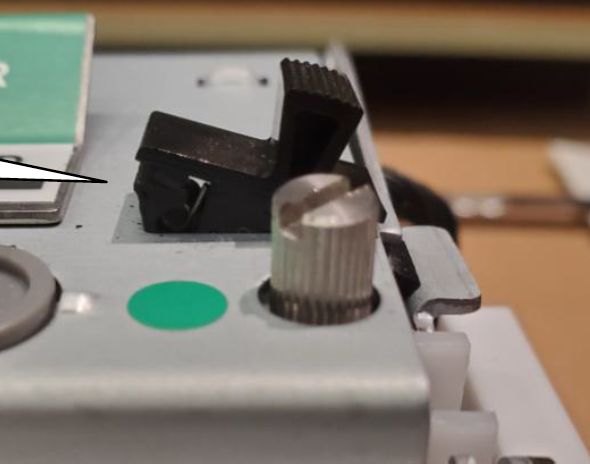
- While pushing in the clasp, pry up on the flat part of the latch on the top of the print head assembly.
- One side of the latch should release allowing for the broken latch to be removed.
Inserting the clasp
- Gently slide the latch in non-spring loaded side first.
- Push the clasp on the spring loaded side in and down till it pops through the hole.