
Main menu
You are here
Adding a New Patron
Patrons can be added to the database as an individual or as a member of a household. A household groups together common buying units or patrons that share some of the same contact information. A household might be workers in a company, members of a service group, a family in a home. The word household can be customized under the Appearance tab in Company Preferences.
When inserting a patron, Theatre Manager creates a unique number for each new record entered. This number is the patron number.
Patron numbers cannot be reused if a patron is deleted or merged. The amount of information to be entered upon initial patron insertion is determined by the user. Using the Mandatory Data Tab found under the menu System Preferences, the user is able to set mandatory fields for patron insertion. This means that the user decides which patron fields must be entered before the new patron record can be saved. In other words, if fields have been made mandatory, then Theatre Manager will not save a new record if one or more of the mandatory fields are not filled in.
There are two different ways to insert a patron. The first is via the Contact List and the second is the Patron Window.
|
Quick reference information for Adding a New Patron |


- Click the Patron
 button on the main Theatre Manager toolbar / ribbon bar.
The Contacts For window opens.
- Click the New
 button.
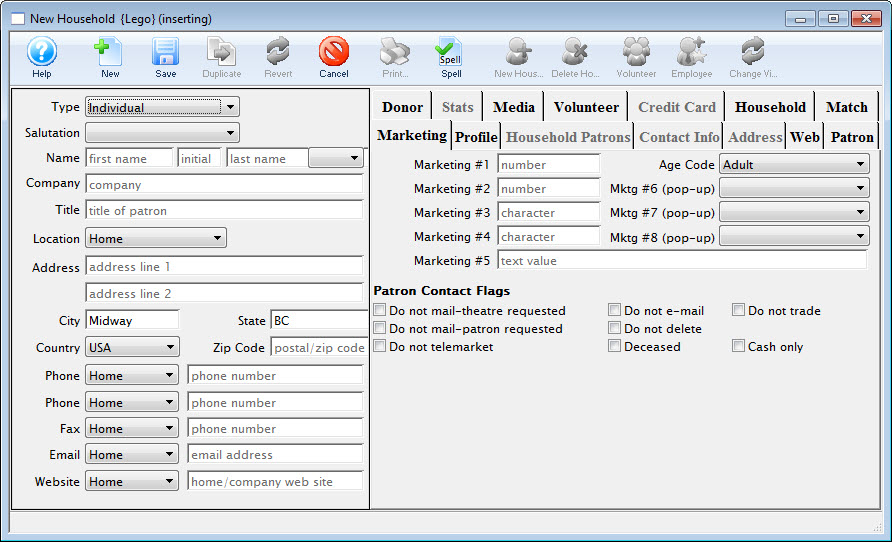
The New Household Insert window opens.
-
Enter information into the mandatory patron fields.
The patron's basic information should be filled in. For more information on setting mandatory fields click here. All mandatory fields must be filled in or Theatre Manager displays a message in red at the bottom of the window describing which fields must be completed before the patron can be saved.
- Click the Save
 button.
The patron record is saved to the database and a patron window opens for the new patron. They will now appear on the Contacts List window.