You are here
Scanner Prefs-Motorola MC50/55
 |
Google bought Motorola in may 2012 and subsequently sold it to Lenovo. These scanners are no longer PCI compliant due to low encryption capabilities.
Note: the Motorola scanners are no longer supported. Replacement scanners are the linea pro, which is also more reliable and versatile. |
| Accessing Setup |
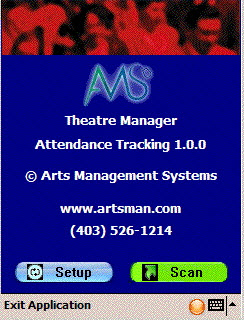
 Once the software is installed and the scanner is mated to the network, you can click the start menu, programs and the click on the AMS Tickets application.
It may take a couple of seconds or so to start as the scan program is synchronizing time with a time server and making sure the clock on the program is set properly. When it does start, you will see the screen at the side. Now we can set up scanning for an event / play. This must be done in advance of each performance that you are scanning tickets for. All that needs to be done is set up some parameters. Click the 'Setup' button on the screen. | ||||
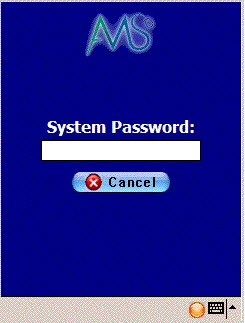
 You will be asked for a system password to change the settings for the
performance. Type '123' (this can be changed) and once the password is
right, the next window will automatically appear.
 | |||||
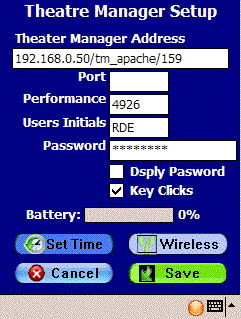
| Sample Setup |
 When you open the preferences window using either of the two methods above, you have some fields that must be filled in. These are below (Press the orange button on the keyboard twice to turn the num-lock on mode):
| ||||
|
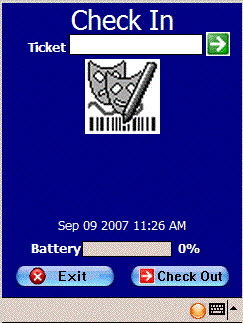
You can access this option directly from the main screen where the scan & setup buttons are. Click the 'Scan' button and you will see a screen like the one on the left. At the bottom is a 'checkout' button with a red arrow. This means the mode is currently 'check in' and you click this button to change the mode to 'checkout'. It will also change the arrow at the top from green (checkin mode) to red (checkout mode) If there is a green arrow with 'check in' at the bottom, then the current mode is 'checkout' mode. Click the 'Checkin' button to change the mode to checkin. |

 There is one other preference that can be set before we begin scanning.
This indicates whether we are scanning the person into the venue, or
scanning them as they leave to indicate that the ticket was not used