Setting up a scanner requires two things to be done.
We expect you are running a closed network - where you cannot log on unless your router has the mac address of the scanner entered into it and your scanner is set up to connect to that network using the SSID and WEP password for the wireless router.
You will need to involve your network support people to complete some of this part of the setup. Once done, it should not have to change again.
These instructions focus on the part of the setup relating to the scanner.
|
- Turn the scanner on.
|
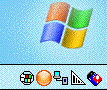 |
- Look for an icon in the bottom right corner of the scanner. This is dark blue and has a red ! in it. Click on it.

|
If you do not see this icon, start the
AMS Ticket program. Choose Setup. On the setup screen is a button
called Wireless that also shows the same options in the next
steps.
|
|
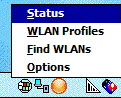 |
- A menu pops up. Pick the WLAN Profiles option. You use this to set up you connection to your wireless router.
|
 |
- You will see a screen that looks like below. This indicates that the
device can have a number of profiles (or settings) that allow it to
connect to your wireless hub. Before continuing, you will need to know
your - Wireless SSID, Encryption Method and Password (in hex, perhaps).
Click the Edit button to edit the default
setting.
|
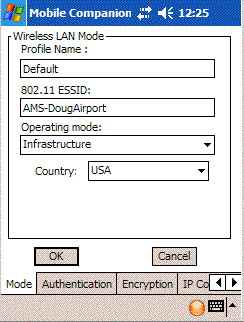 |
- It opens up at the Mode tab.
Leave the profile name default.
Change the 802.11 ESSID to be the SSID name of
your router. If you are not sure what this is, ask your network support
person.
|
|
- Click the Encryption tab.
Pick the type of encryption that your router
is using. If it is none, then you are fine. If it is WEP, then you will
need to type in the 'key' given to you for your router as well as
indicating the key length.
|
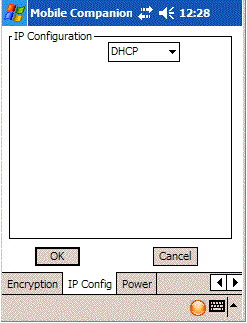 |
- Click the IP Config tab. Most wireless routers allow you
to set this as DHCP and will give you an IP address automatically. If not,
ask your network support person what manual IP address settings you need
to type in here in order to get connected to the network.
Click OK.
|
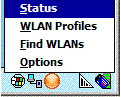 |
- When you return to the main window,
the icon will have a green bar in it. Click on it and
pick the status menu item.
|
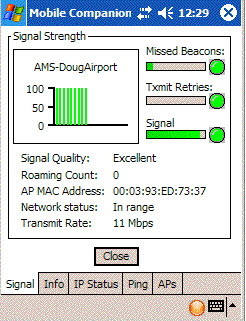 |
- You should now be connected to the network and able to begin the scanning process. Your screen will display the signal strength.
If you see green, close the window and you are finished. If you see red, there are parameters that need fixed. First, go back and check your IP settings, password and SSID to make sure that they are correct.
Check these with your network support person and ensure this device is allowed to talk to the wireless hub before calling Artsman Support.
For example, depending on how the security is set up in the router, you may need to enter the MAC address into the router or, depending on the signal strength, you may need to be closer to the router.
|

