Main menu
You are here
Macintosh Theatre Manager
 |
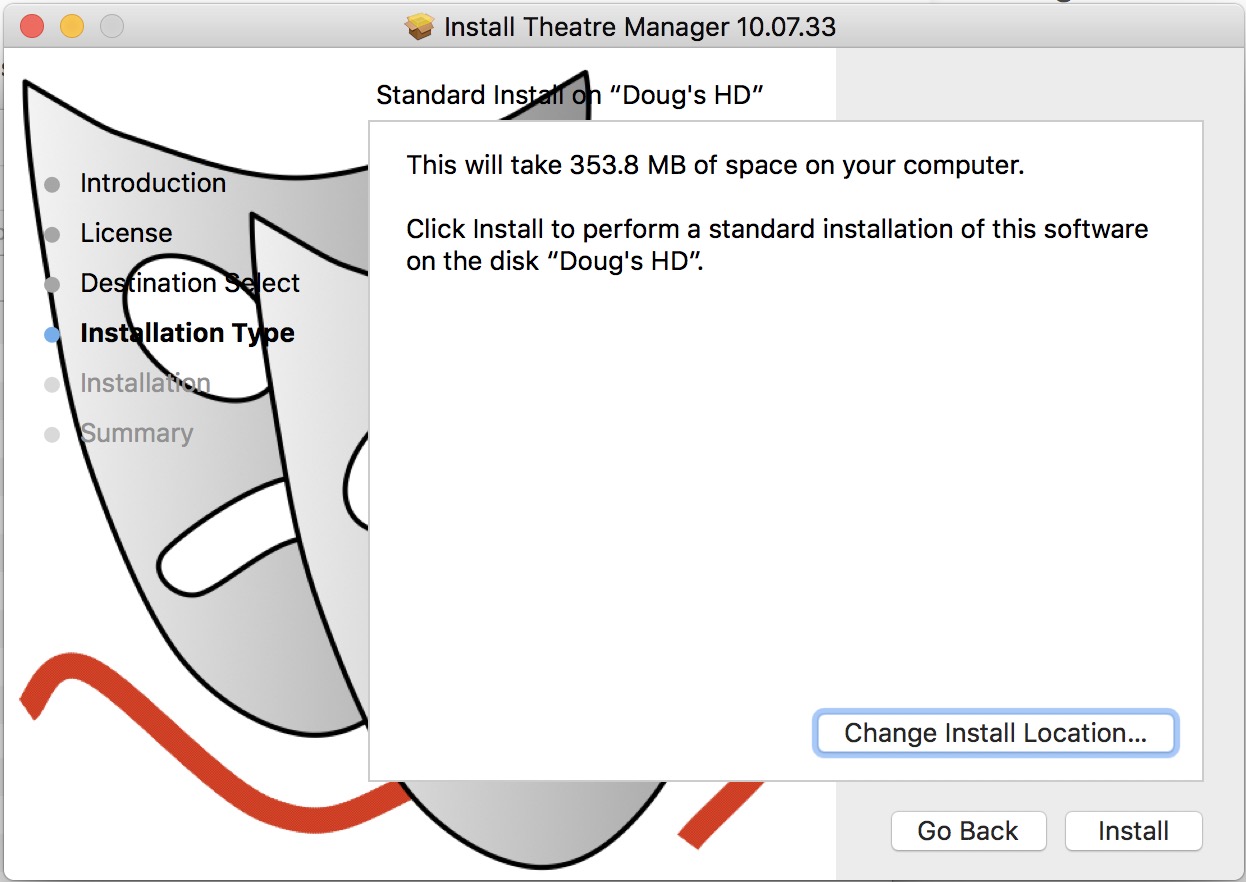
During a Full Install you will need to provide the administrator password to your machine. If you do not know this, contact your IT support or Systems Administrator. |
|
You may need to go to Apple Menu >> System Preferences >> Security & Privacy to allow apps that are downloaded from anywhere. |
|
If you are unable to install, you might need to use the following commands in terminal before running the installer More info is under disable power saving settings - Step 1:
sudo spctl --master-disable
|
| 1. | Download the Theatre Manager Mac installer if you have not done so. This link is supplied upon request.
|
||||||
| 2. |
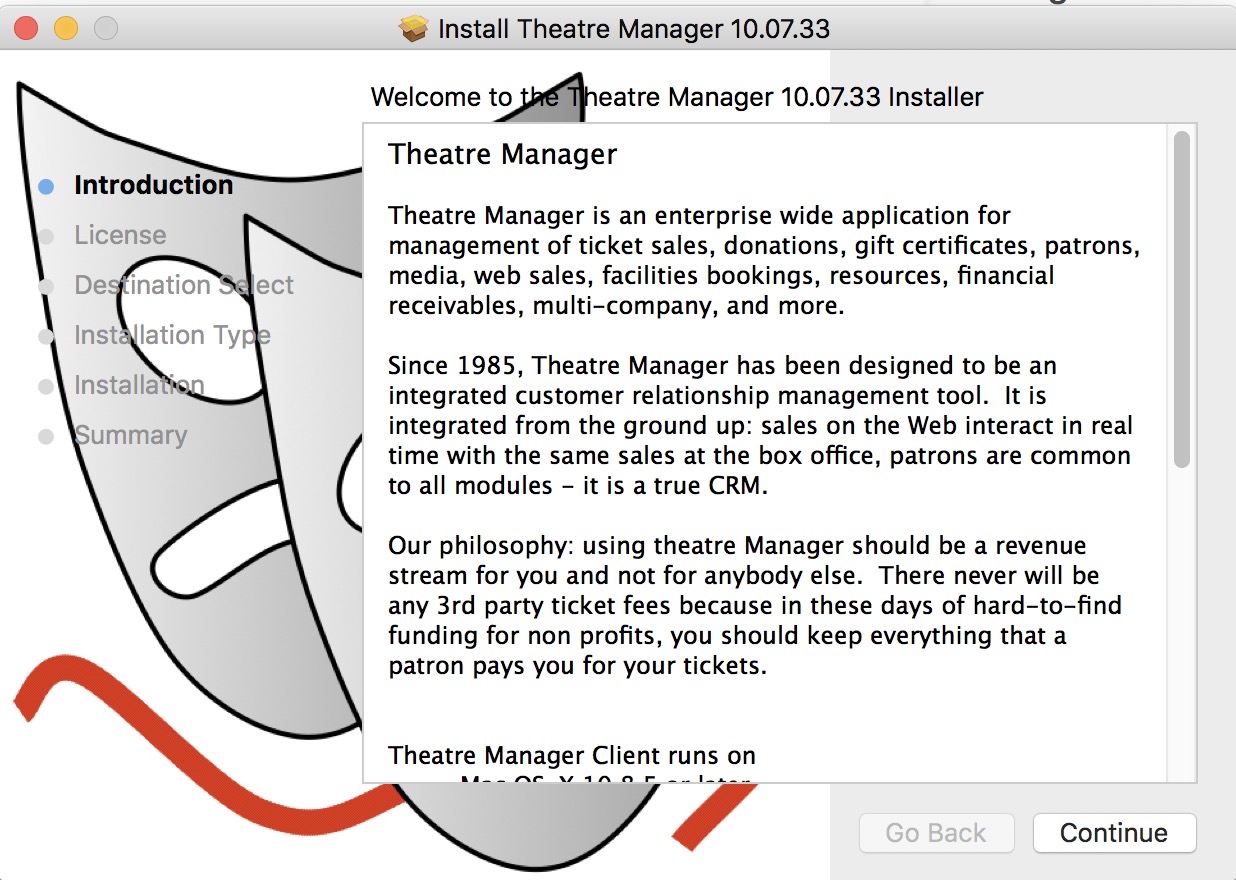
Click continue
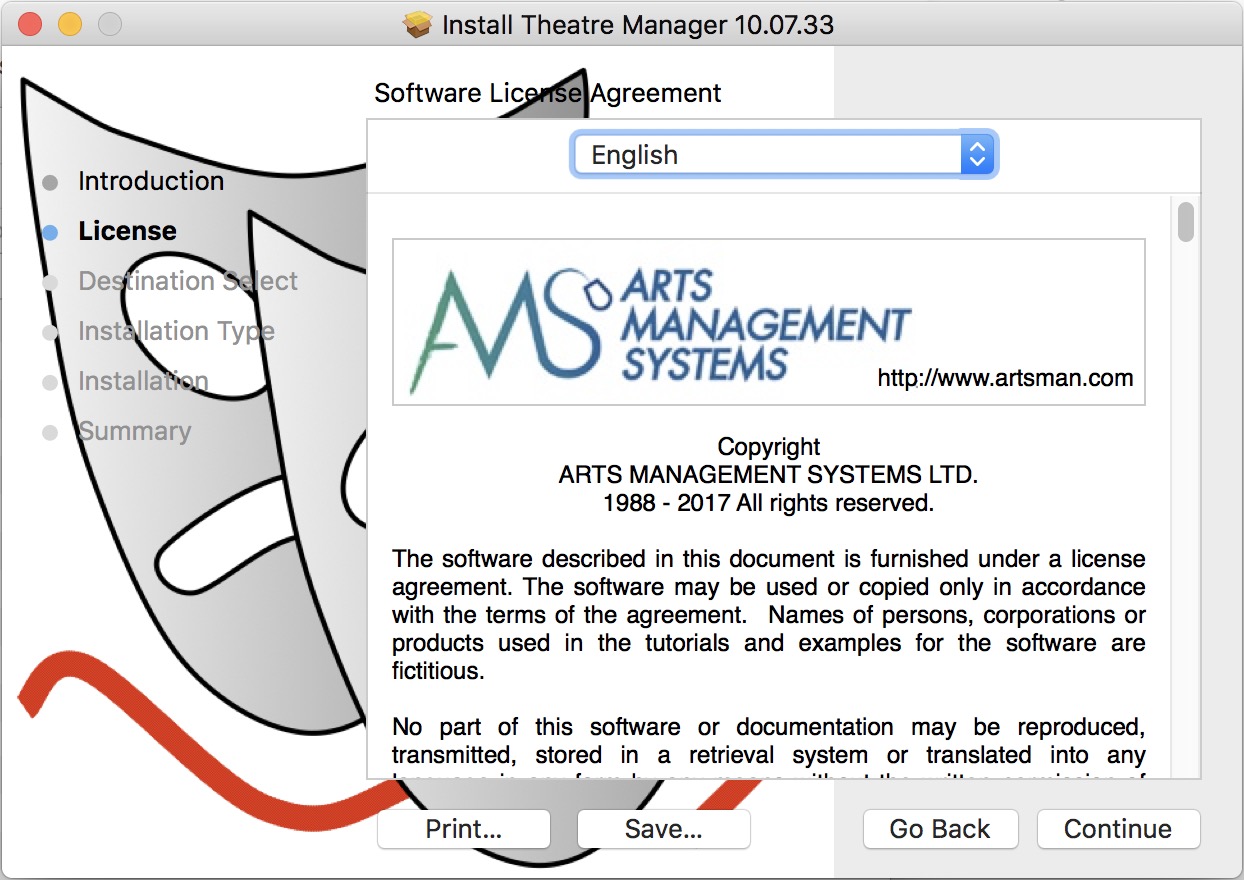
Click continue and read the license agreement
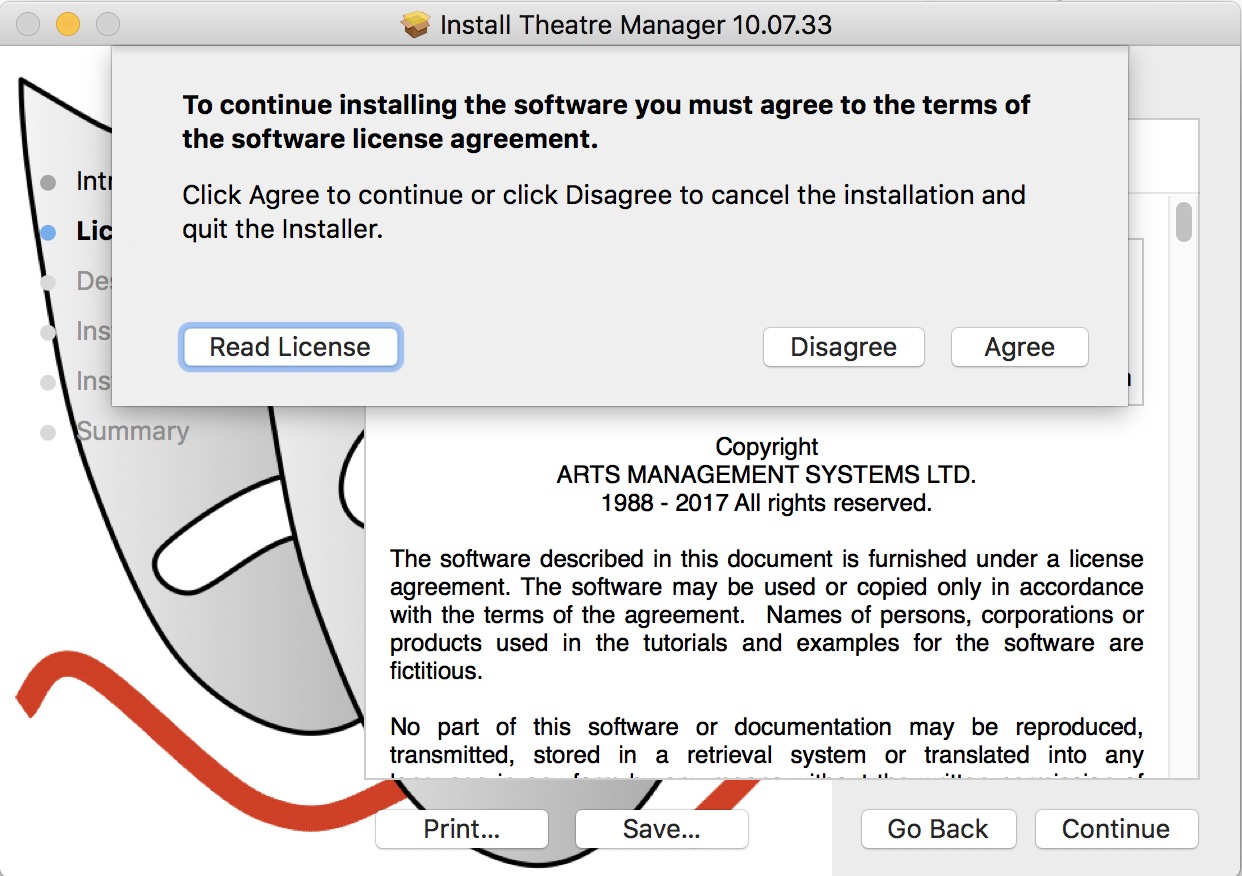
Click 'Agree' to accept the agreement and continue
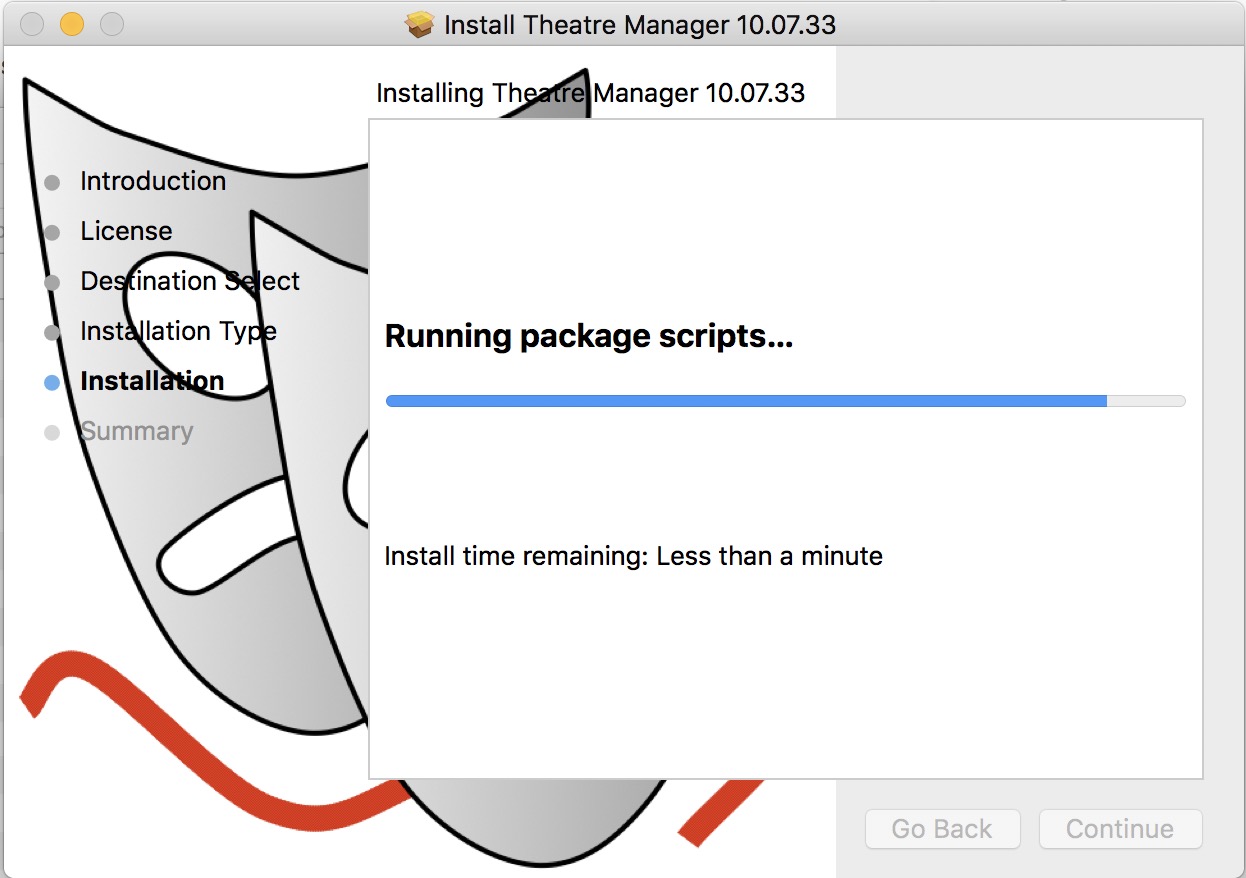
Click Install
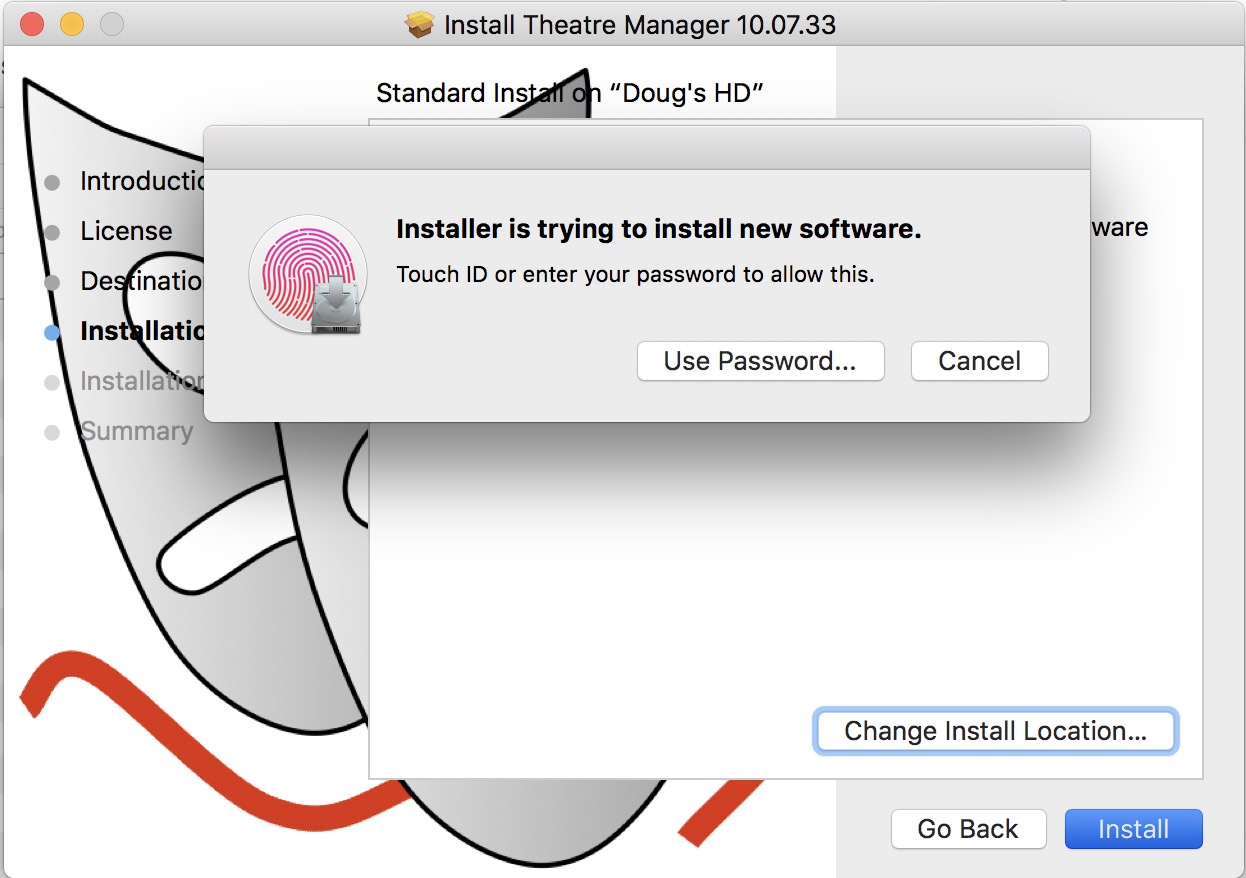
Enter your password (or if you have a Mac with Touch ID, use your finger)
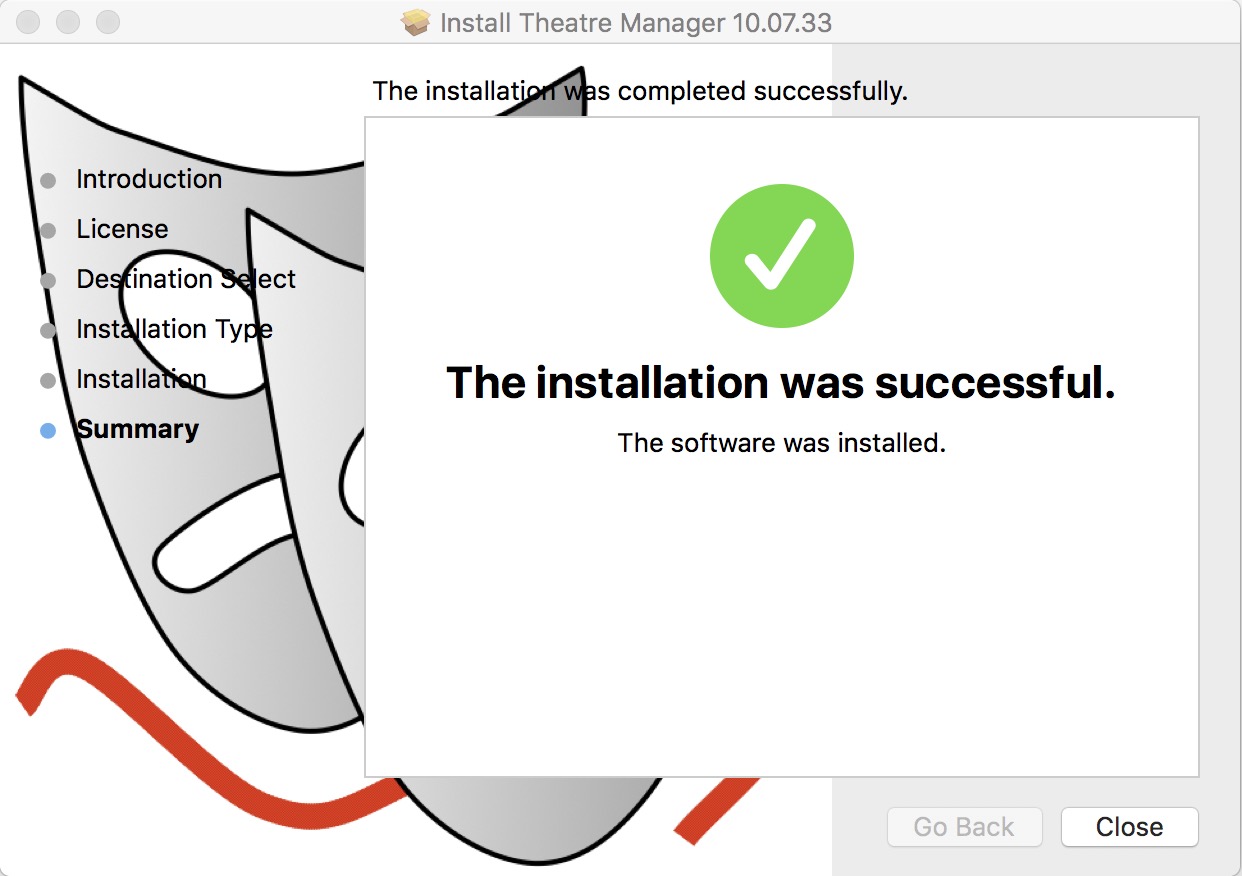
Click 'Close' when done. |
||||||
| 3. | After installation, look for Theatre Manager link on the desktop and double-click on it to start it up. There will also be a file called TMPreview.pdf on the desktop that illustrates some key features of TM. | ||||||
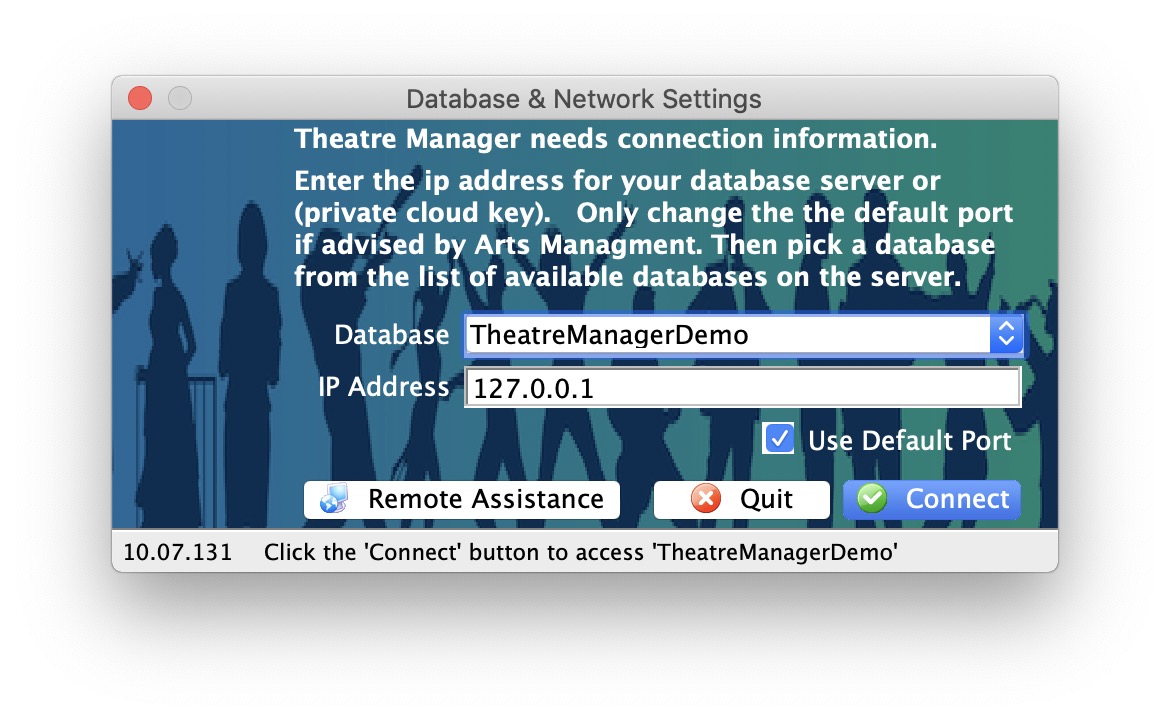
| 4. |
If you cannot connect to the database, check the following settings:
|
||||||
| 5. |
 (optional)
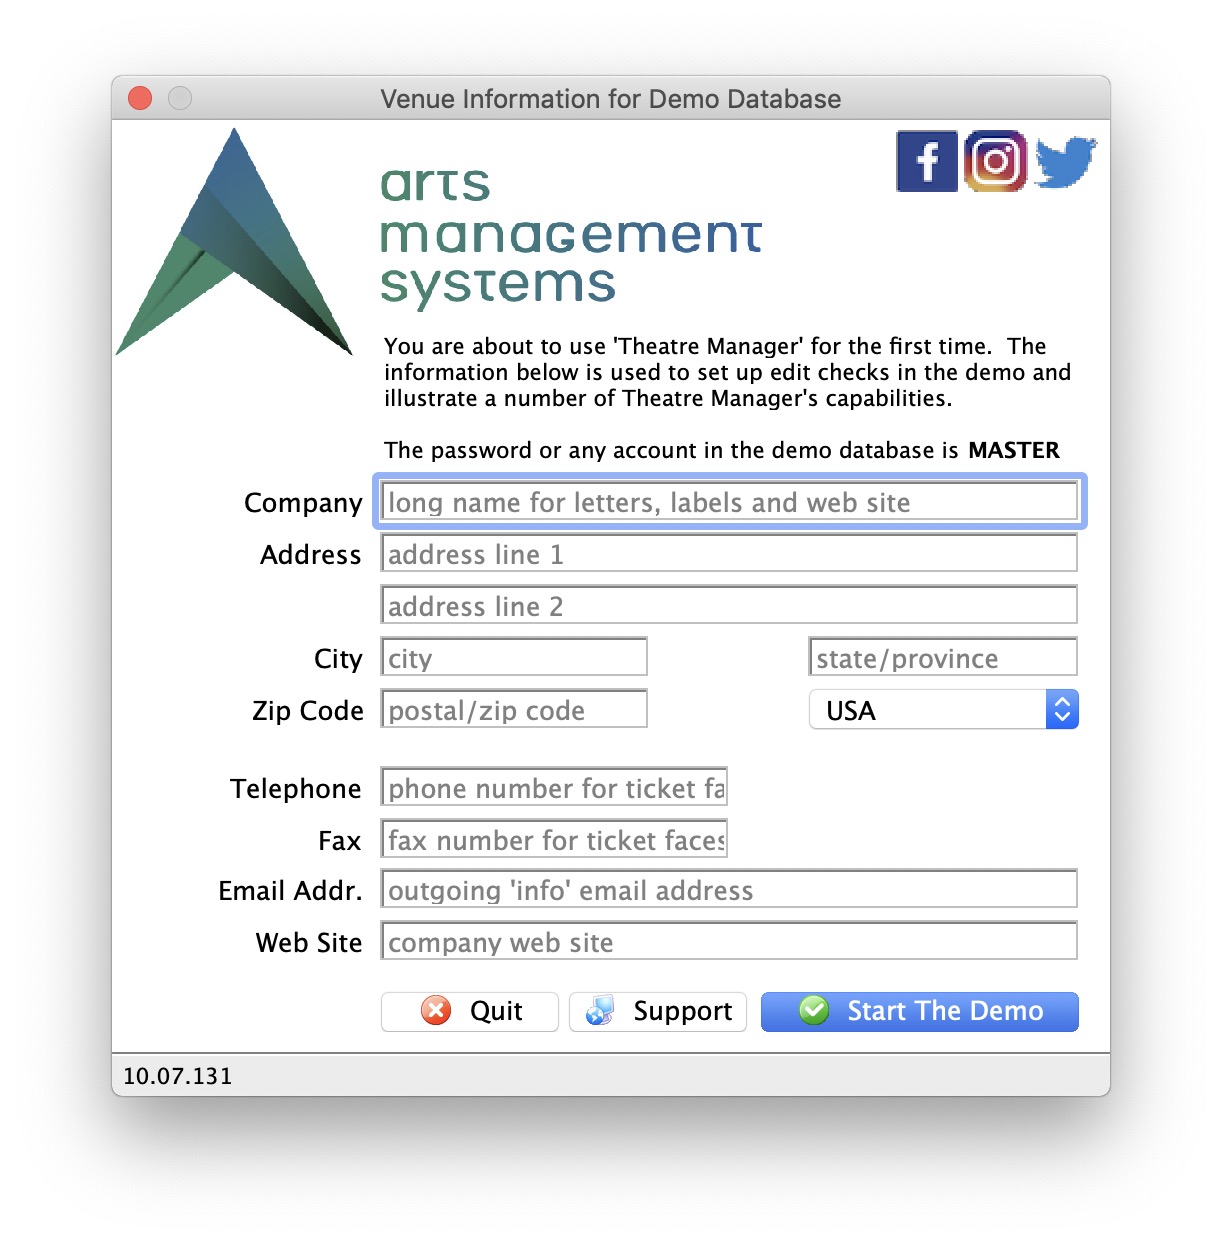
If you are running a demonstration copy of Theatre Manager, you will see a first time setup screen asking you for your company information. All fields except the second line of address and the web site are mandatory. After you put this in the first time, you will not see it again.
(optional)
If you are running a demonstration copy of Theatre Manager, you will see a first time setup screen asking you for your company information. All fields except the second line of address and the web site are mandatory. After you put this in the first time, you will not see it again.
These fields are used during the demo to show how Theatre Manager verifies information for you. For example, the city, state and country you enter becomes the default country for new patrons that you may add to the database. The area code for the phone number fields becomes the default for patron entry, etc. Notice how Theatre Manager converts whatever you type into the proper case as it tries to assist in data entry. |
||||||
| 6. |
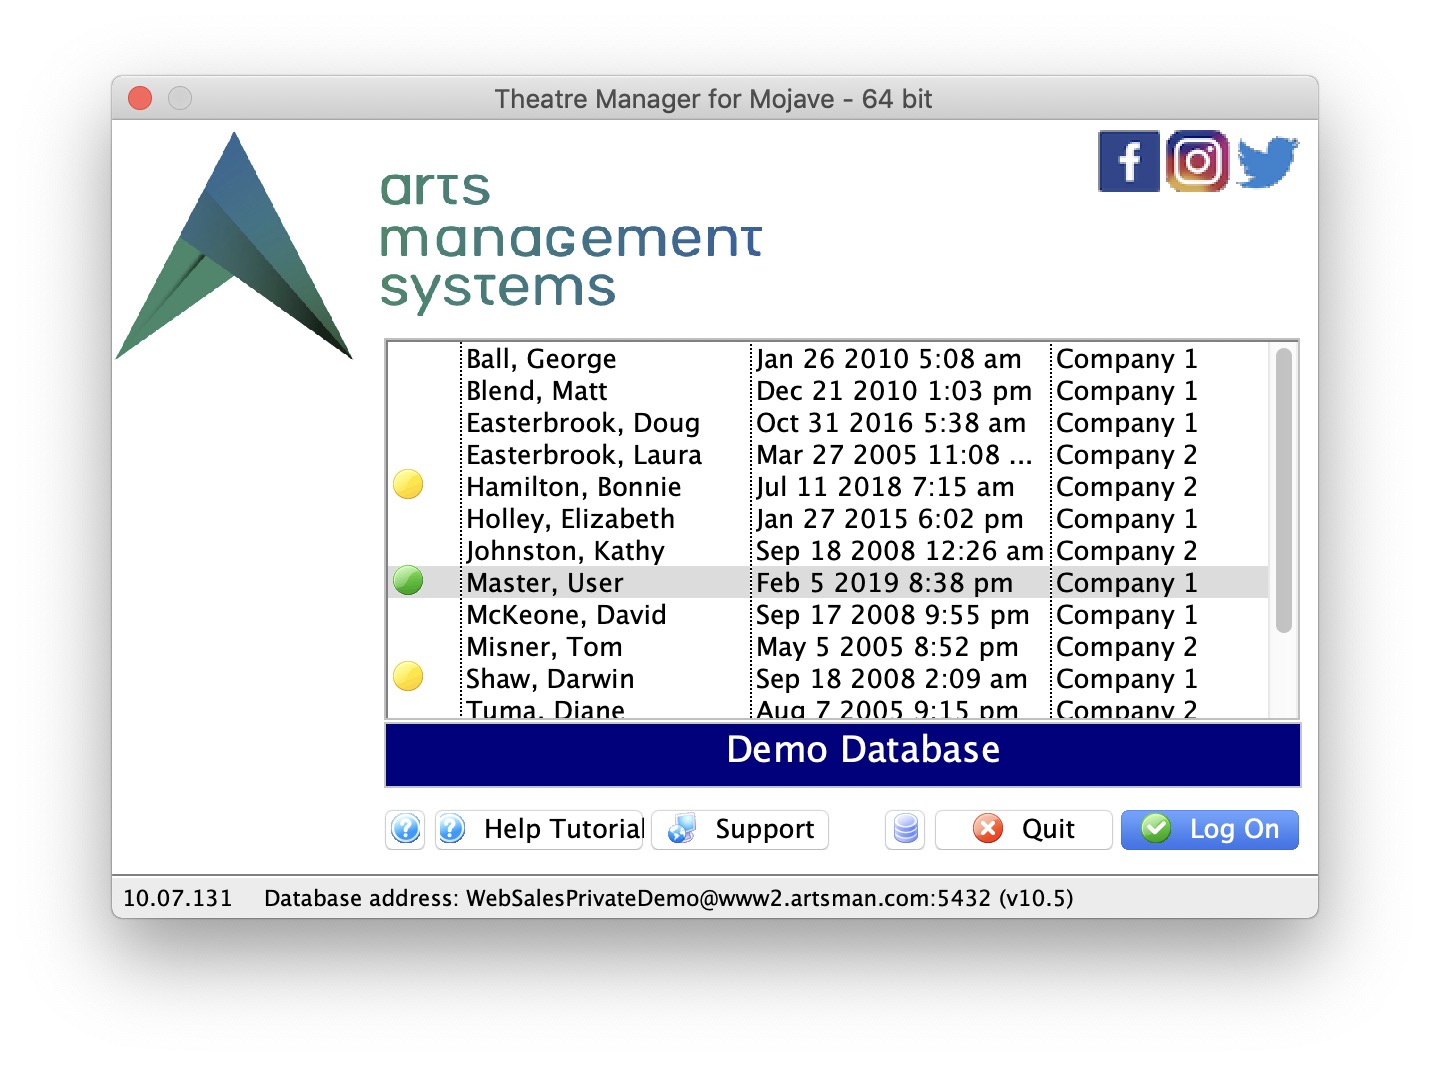 Then, if you are able to connect to the database and enter the company information, you will see the login window below. The password for any of the users in the demo is 'master' (without the single quotes).
|
||||||
| 7. |
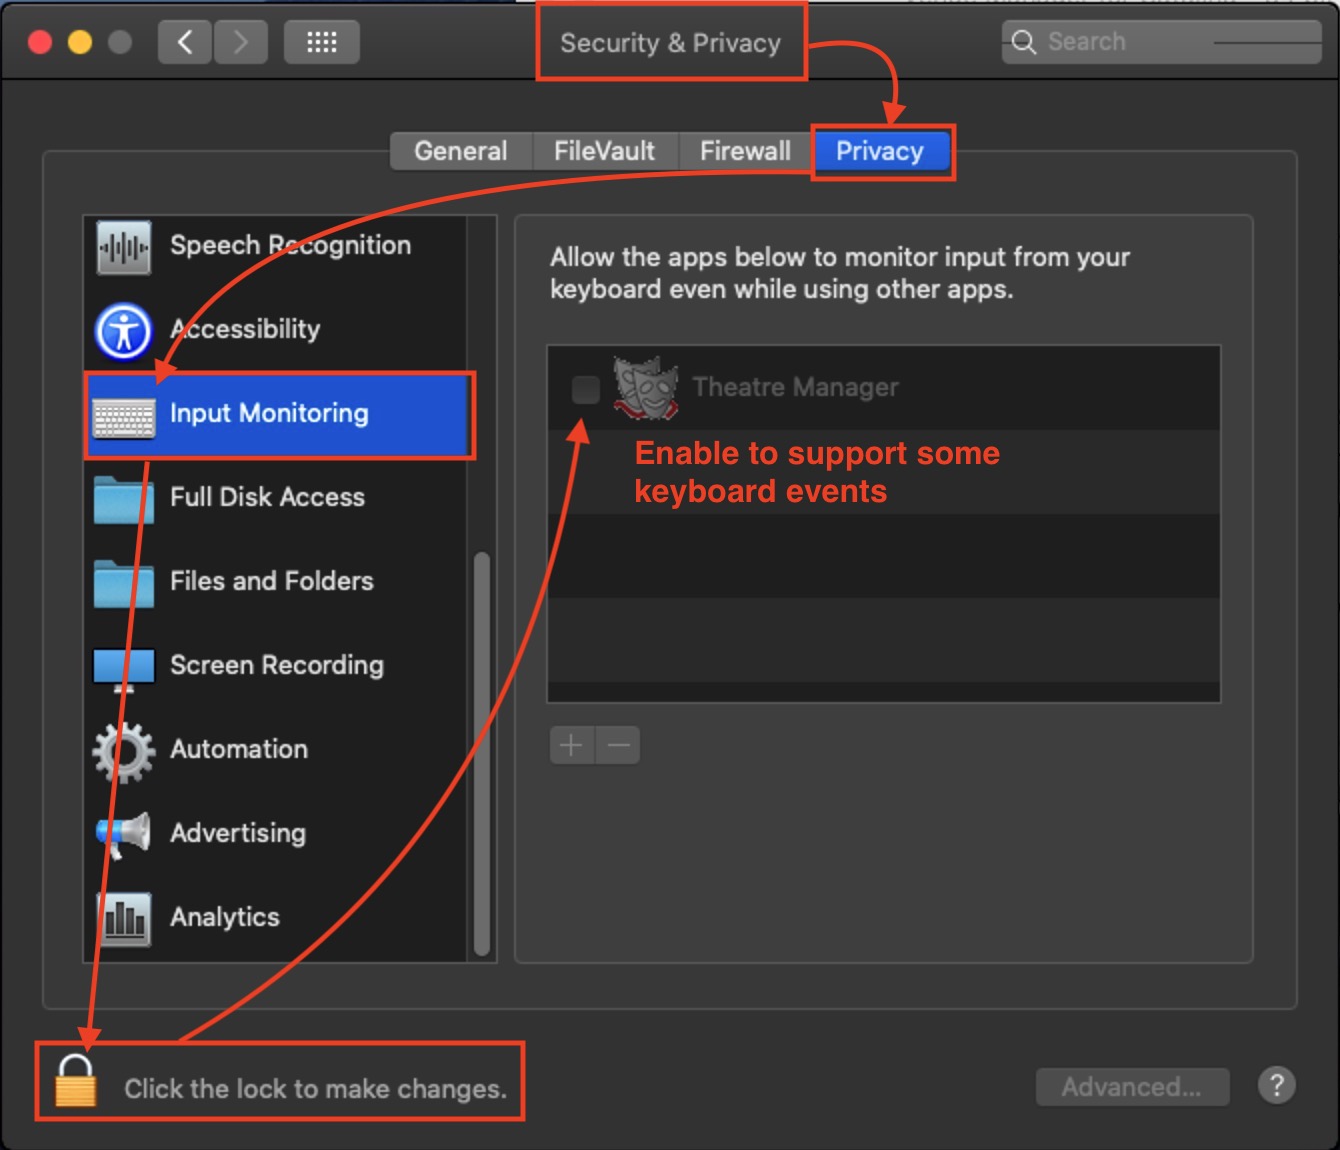 (Optional) if you are running Catalina, you may need to make a change to system preferences to allow permission.
|
||||||
| 8. | In a production environment, once connected to the database in step 5, you can run the TMSetup file on any other machine in the network. After changing the pg_hba.conf file, and by editing the serial.txt file, you should be able to connect to the database.
|