Macintosh Theatre Manager
 |
During a Full Install you will need to provide the administrator password to your machine. If you do not know this, contact your IT support or Systems Administrator. |
|
You may need to go to Apple Menu >> System Preferences >> Security & Privacy to allow apps that are downloaded from anywhere. |
|
If you are unable to install, you might need to use the following commands in terminal before running the installer More info is under disable power saving settings - Step 1:
sudo spctl --master-disable
|
| 1. | Download the Theatre Manager Mac installer if you have not done so. This link is supplied upon request.
|
||||||
| 2. |
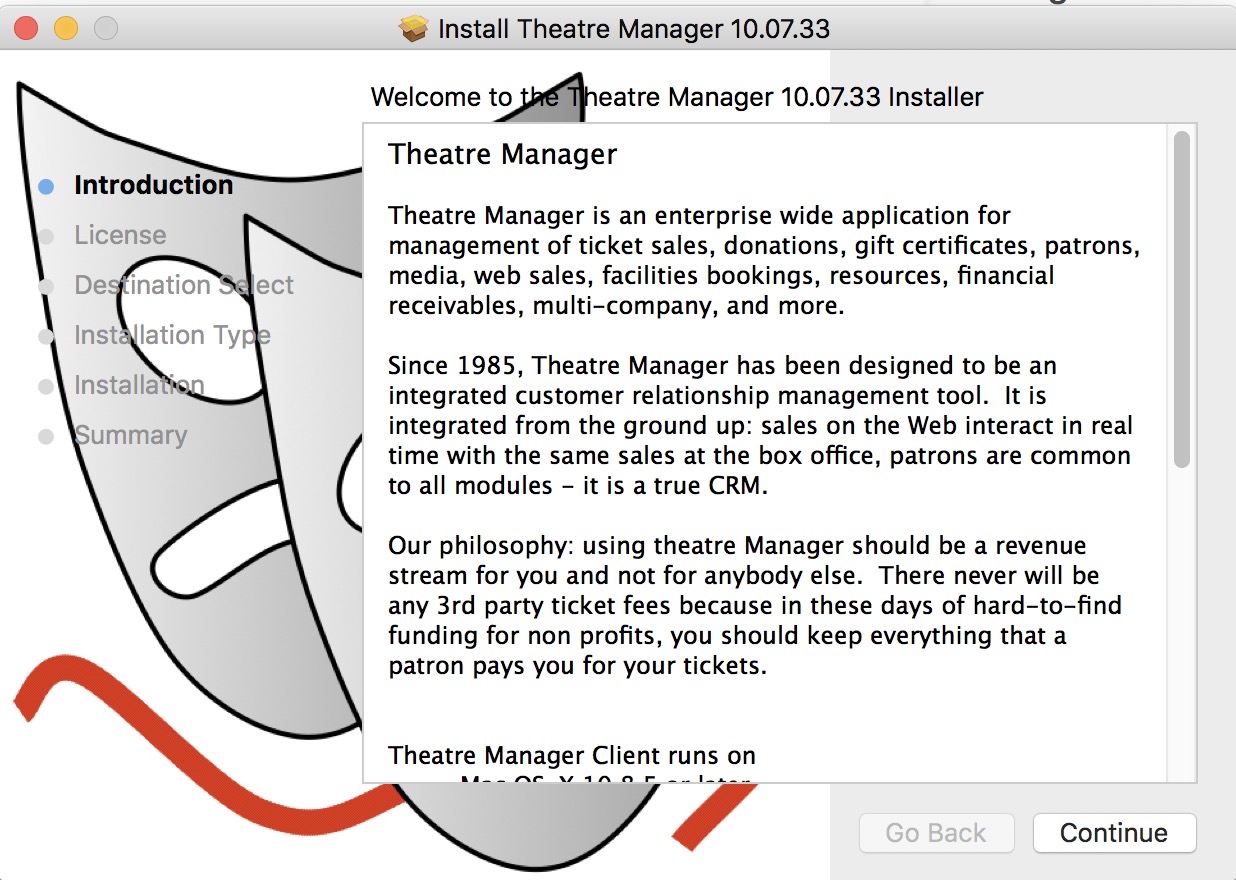
Click continue
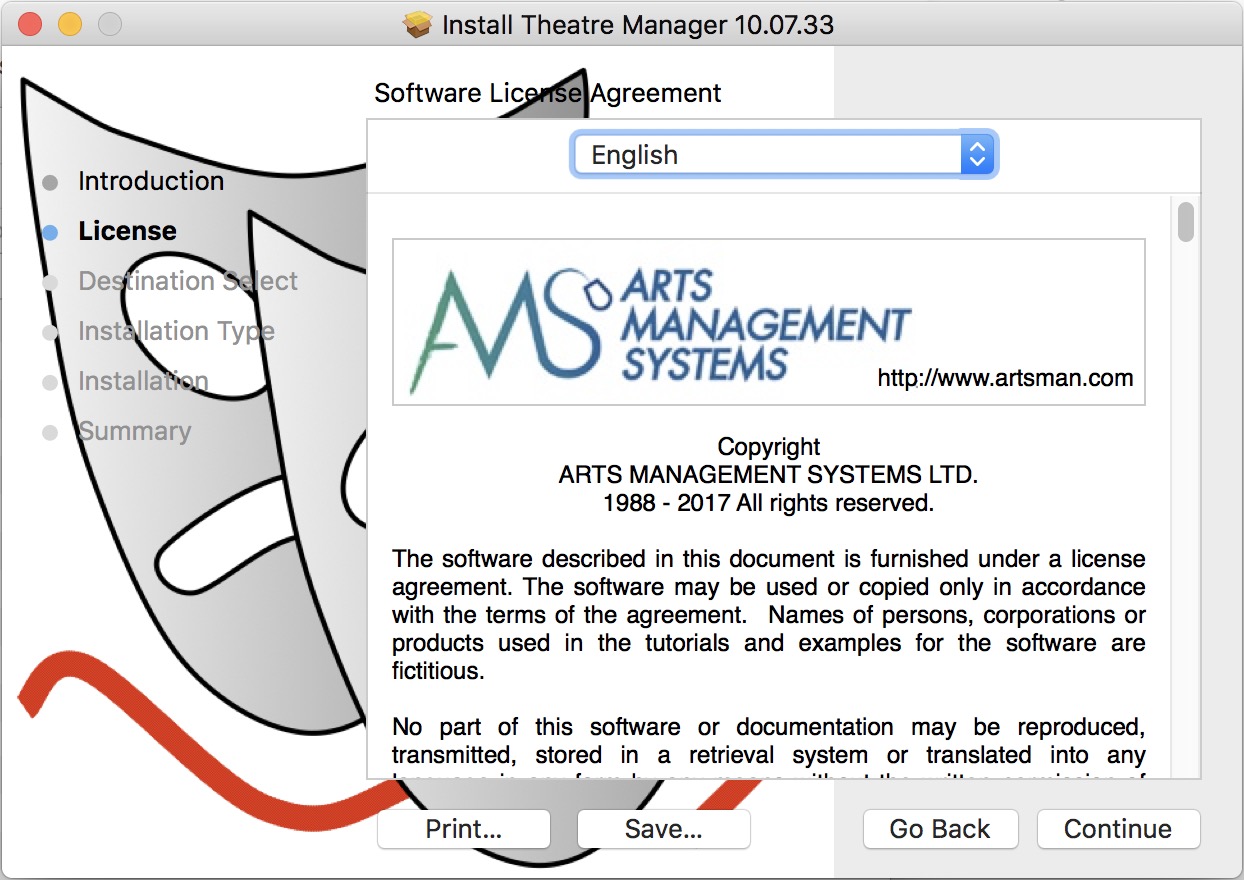
Click continue and read the license agreement
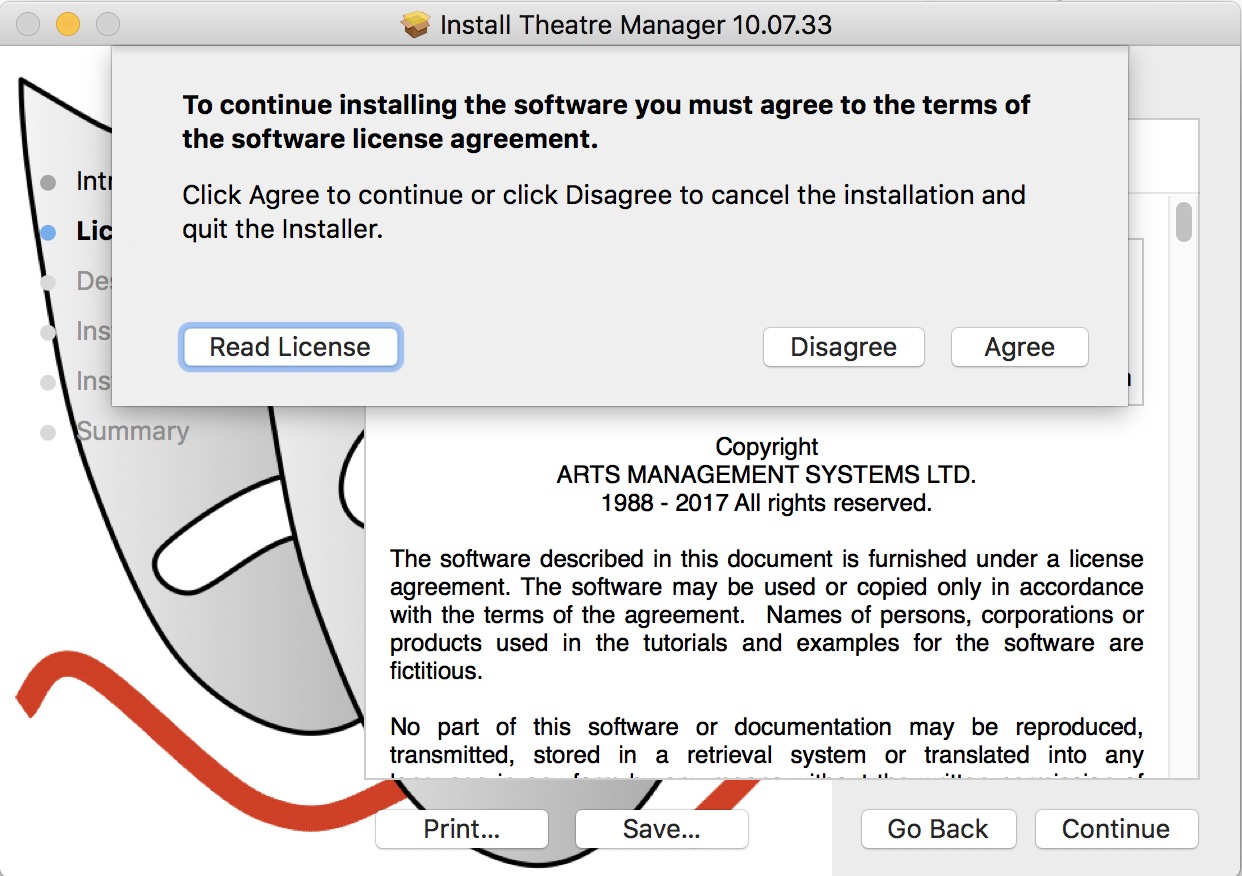
Click 'Agree' to accept the agreement and continue
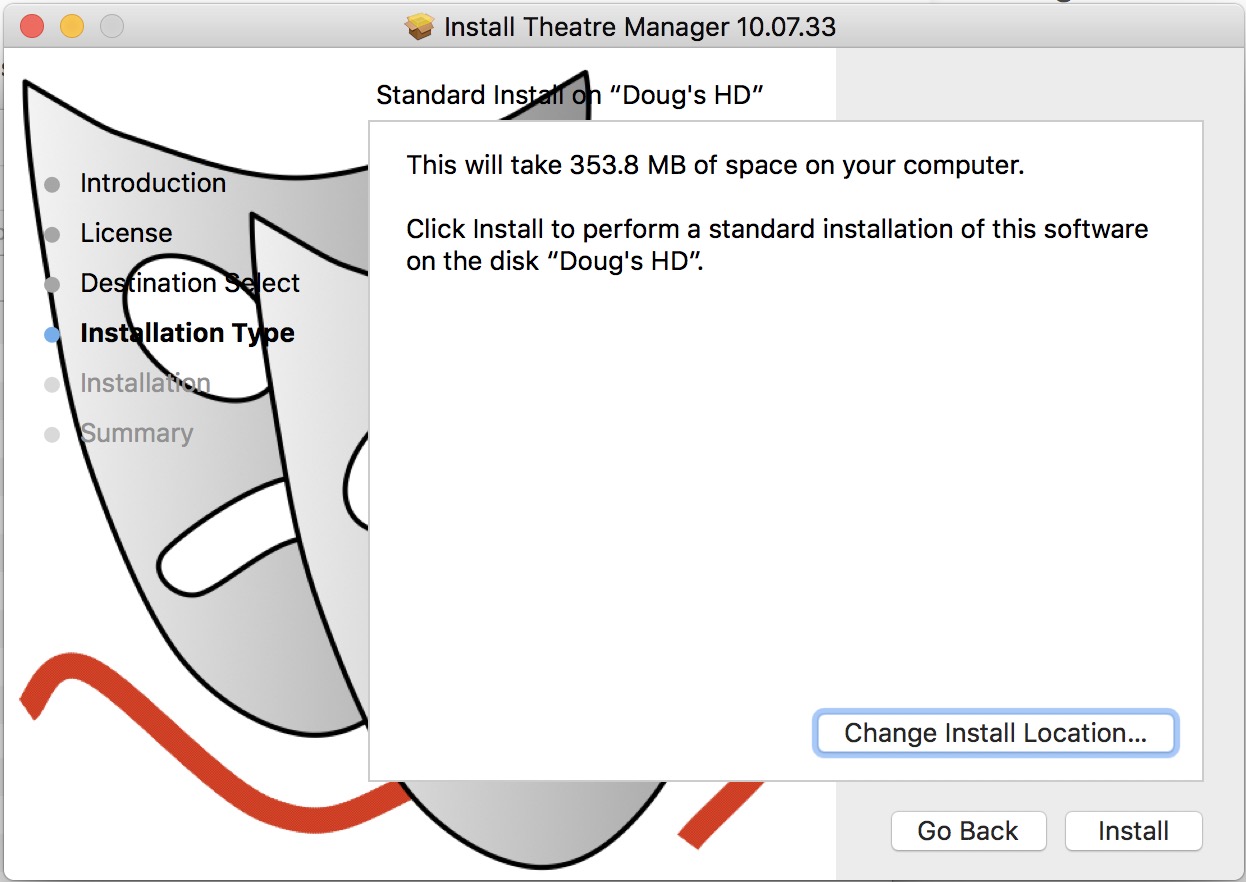
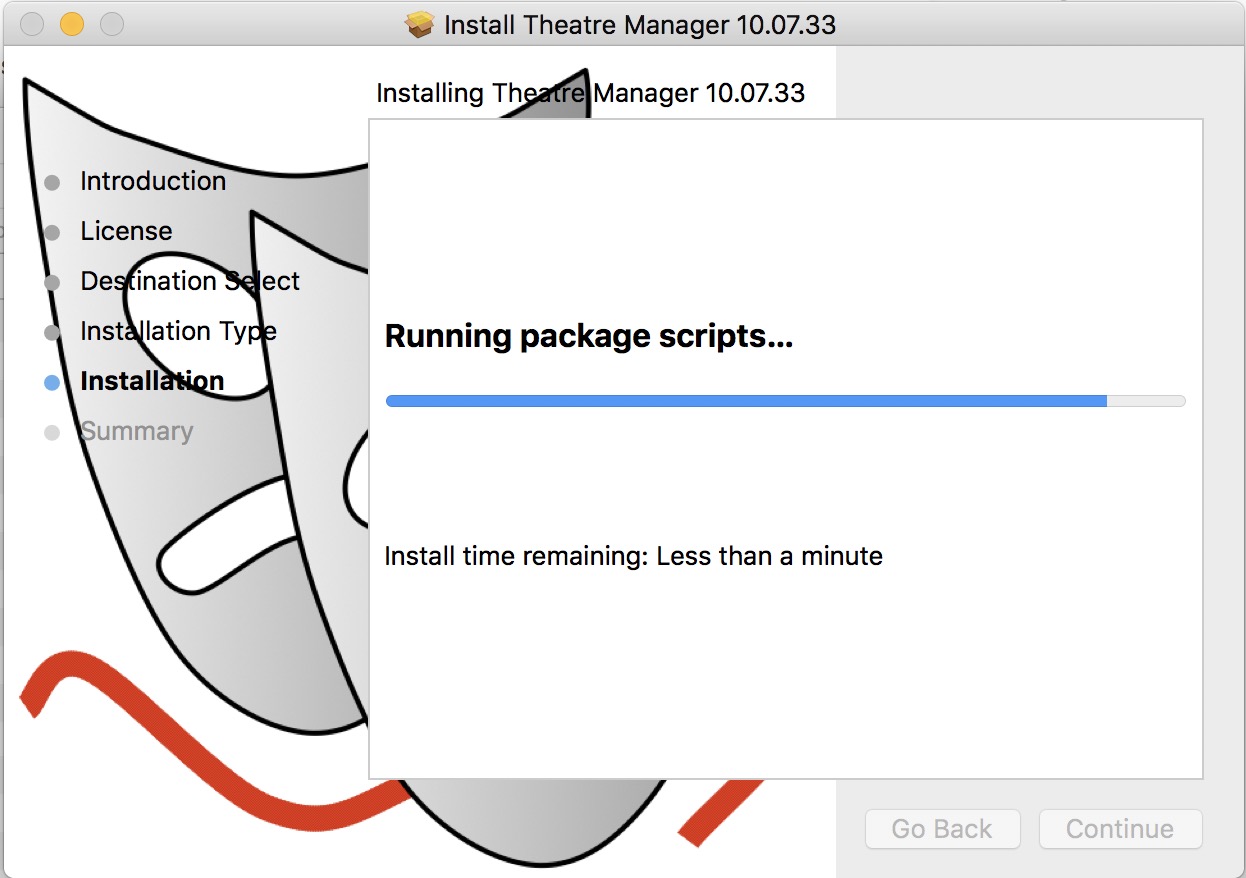
Click Install
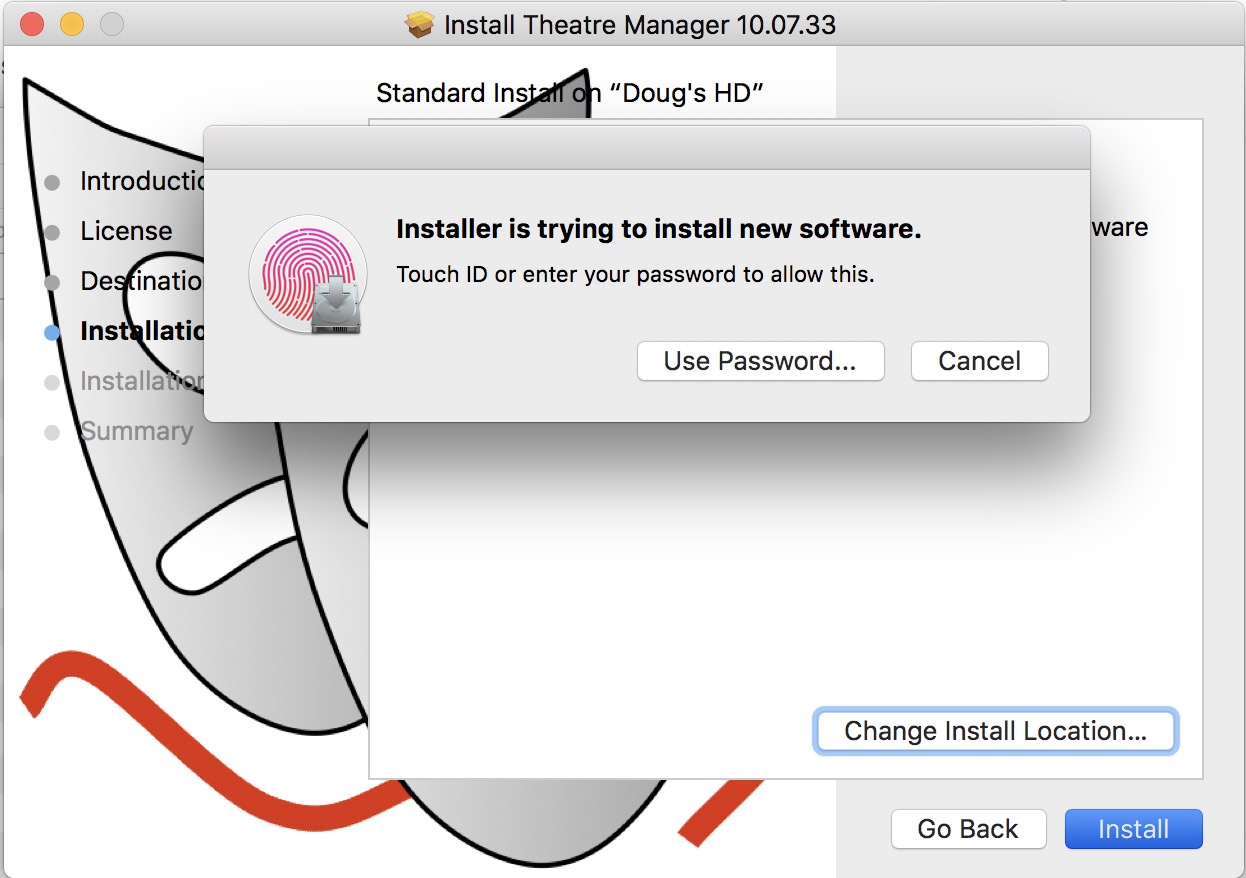
Enter your password (or if you have a Mac with Touch ID, use your finger)
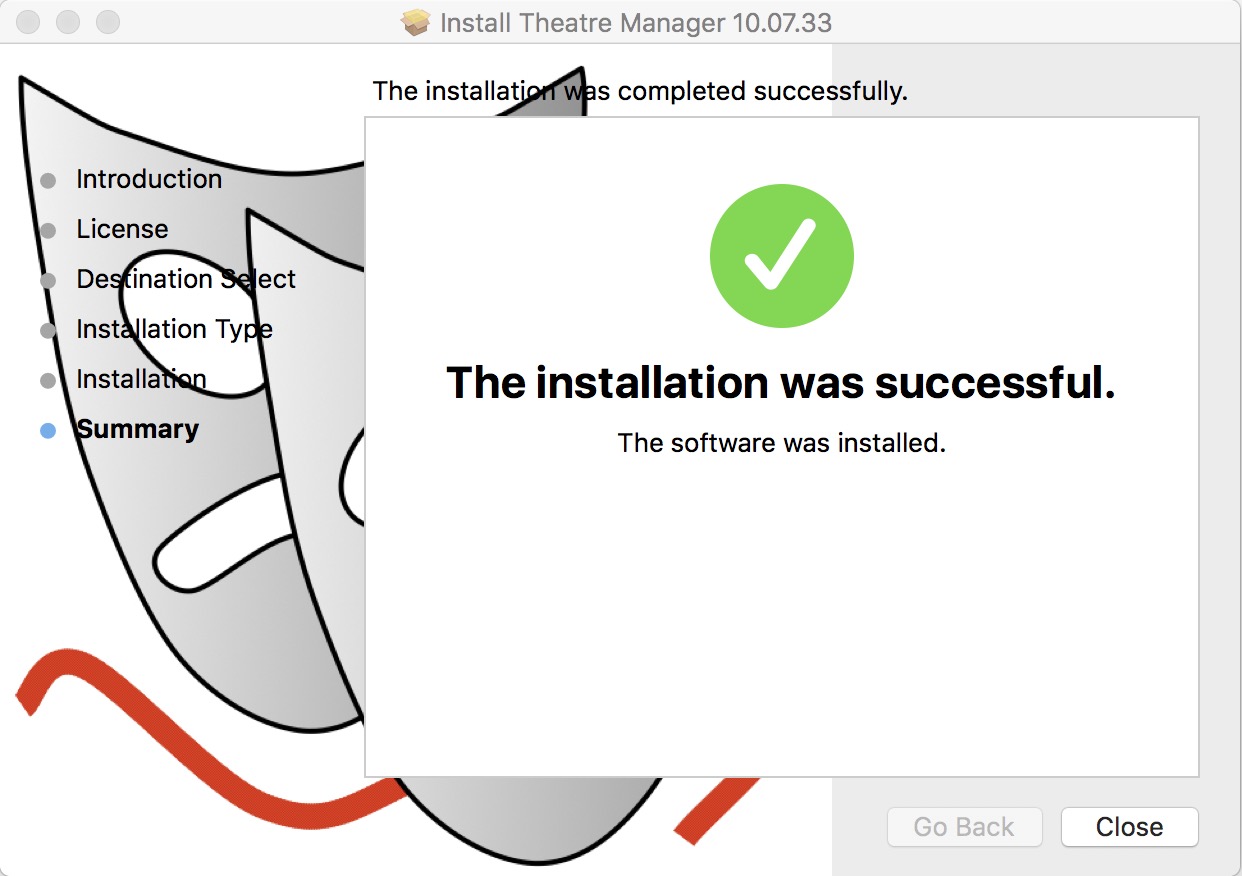
Click 'Close' when done. |
||||||
| 3. | After installation, look for Theatre Manager link on the desktop and double-click on it to start it up. There will also be a file called TMPreview.pdf on the desktop that illustrates some key features of TM. | ||||||
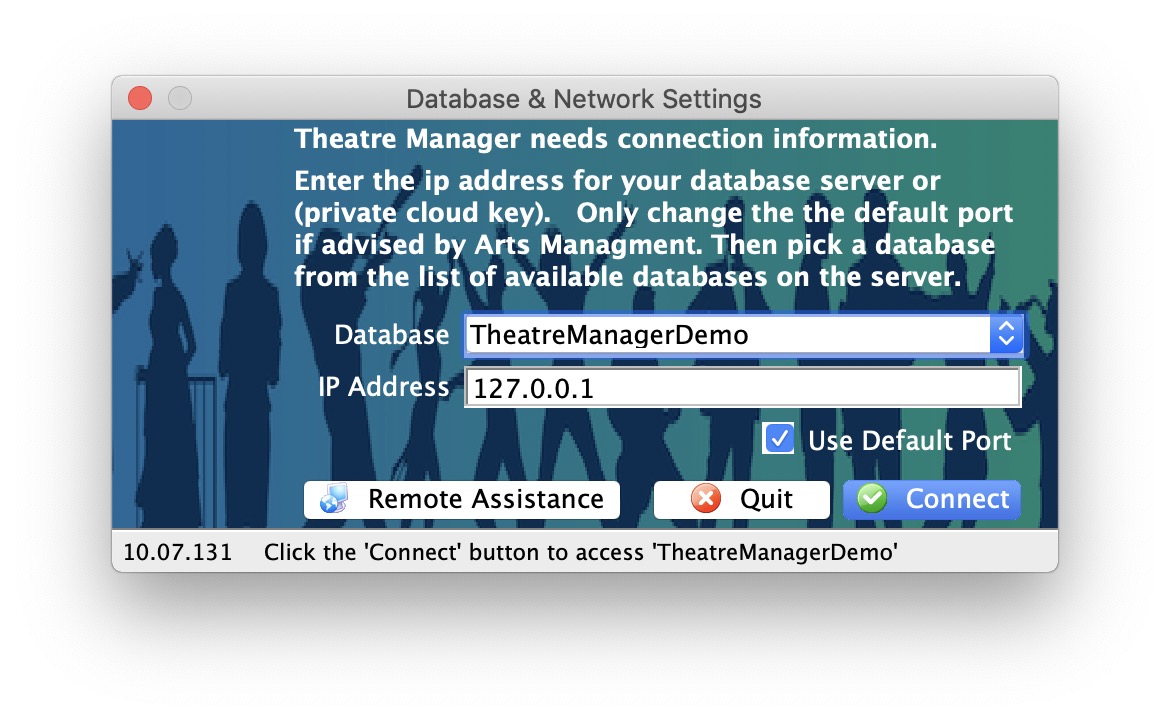
| 4. |
If you cannot connect to the database, check the following settings:
|
||||||
| 5. |
 (optional)
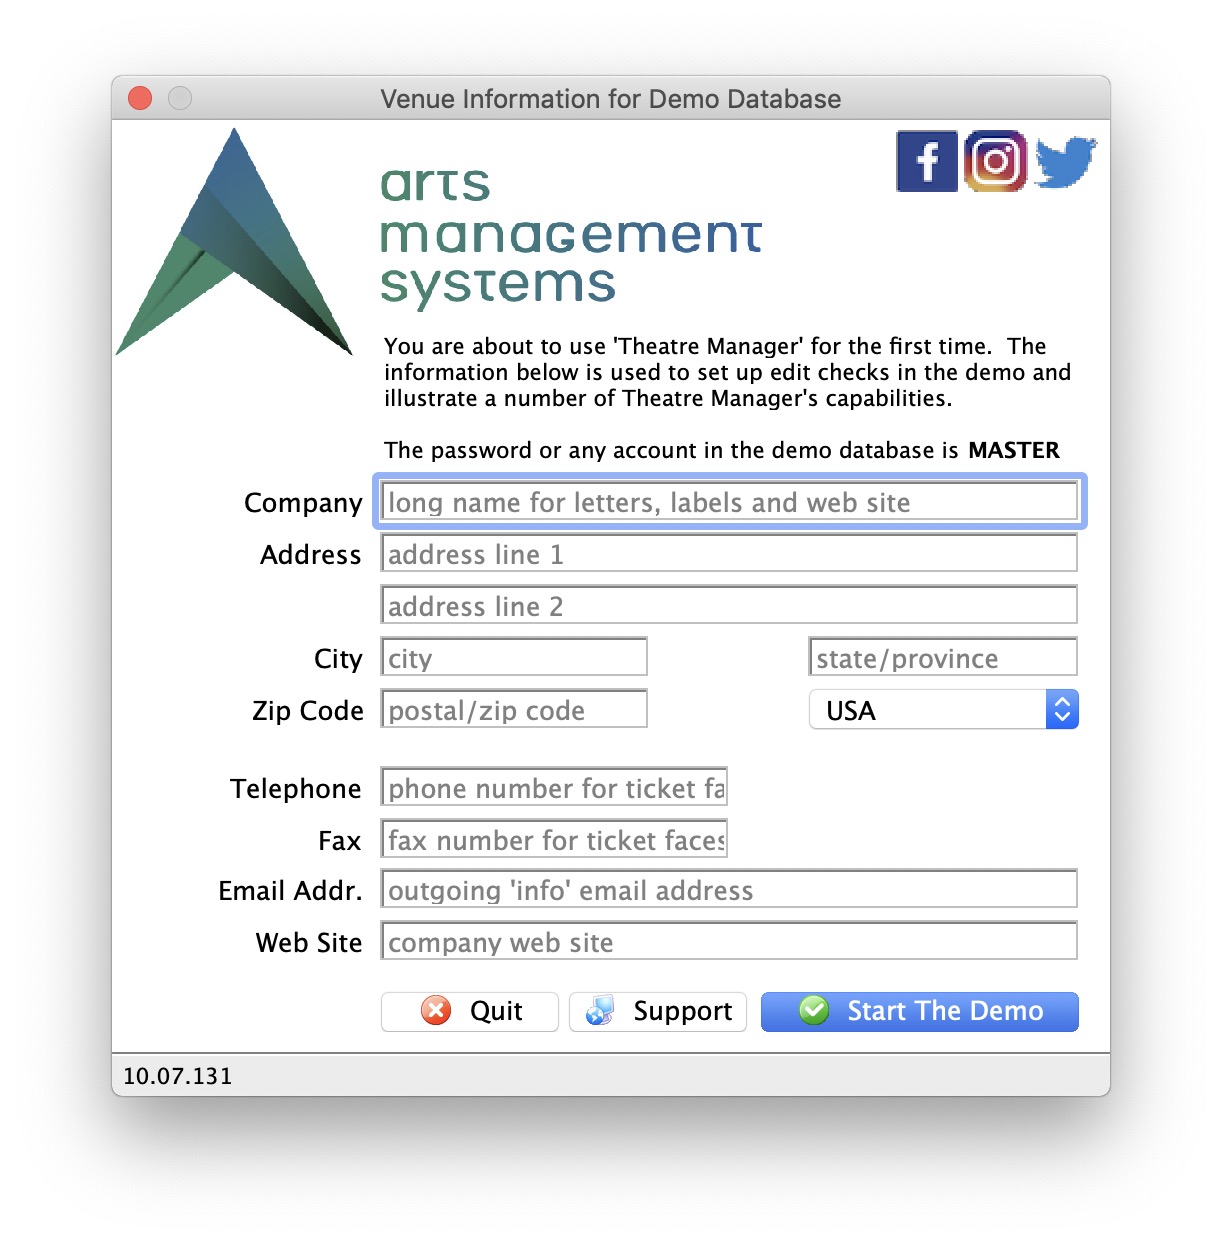
If you are running a demonstration copy of Theatre Manager, you will see a first time setup screen asking you for your company information. All fields except the second line of address and the web site are mandatory. After you put this in the first time, you will not see it again.
(optional)
If you are running a demonstration copy of Theatre Manager, you will see a first time setup screen asking you for your company information. All fields except the second line of address and the web site are mandatory. After you put this in the first time, you will not see it again.
These fields are used during the demo to show how Theatre Manager verifies information for you. For example, the city, state and country you enter becomes the default country for new patrons that you may add to the database. The area code for the phone number fields becomes the default for patron entry, etc. Notice how Theatre Manager converts whatever you type into the proper case as it tries to assist in data entry. |
||||||
| 6. |
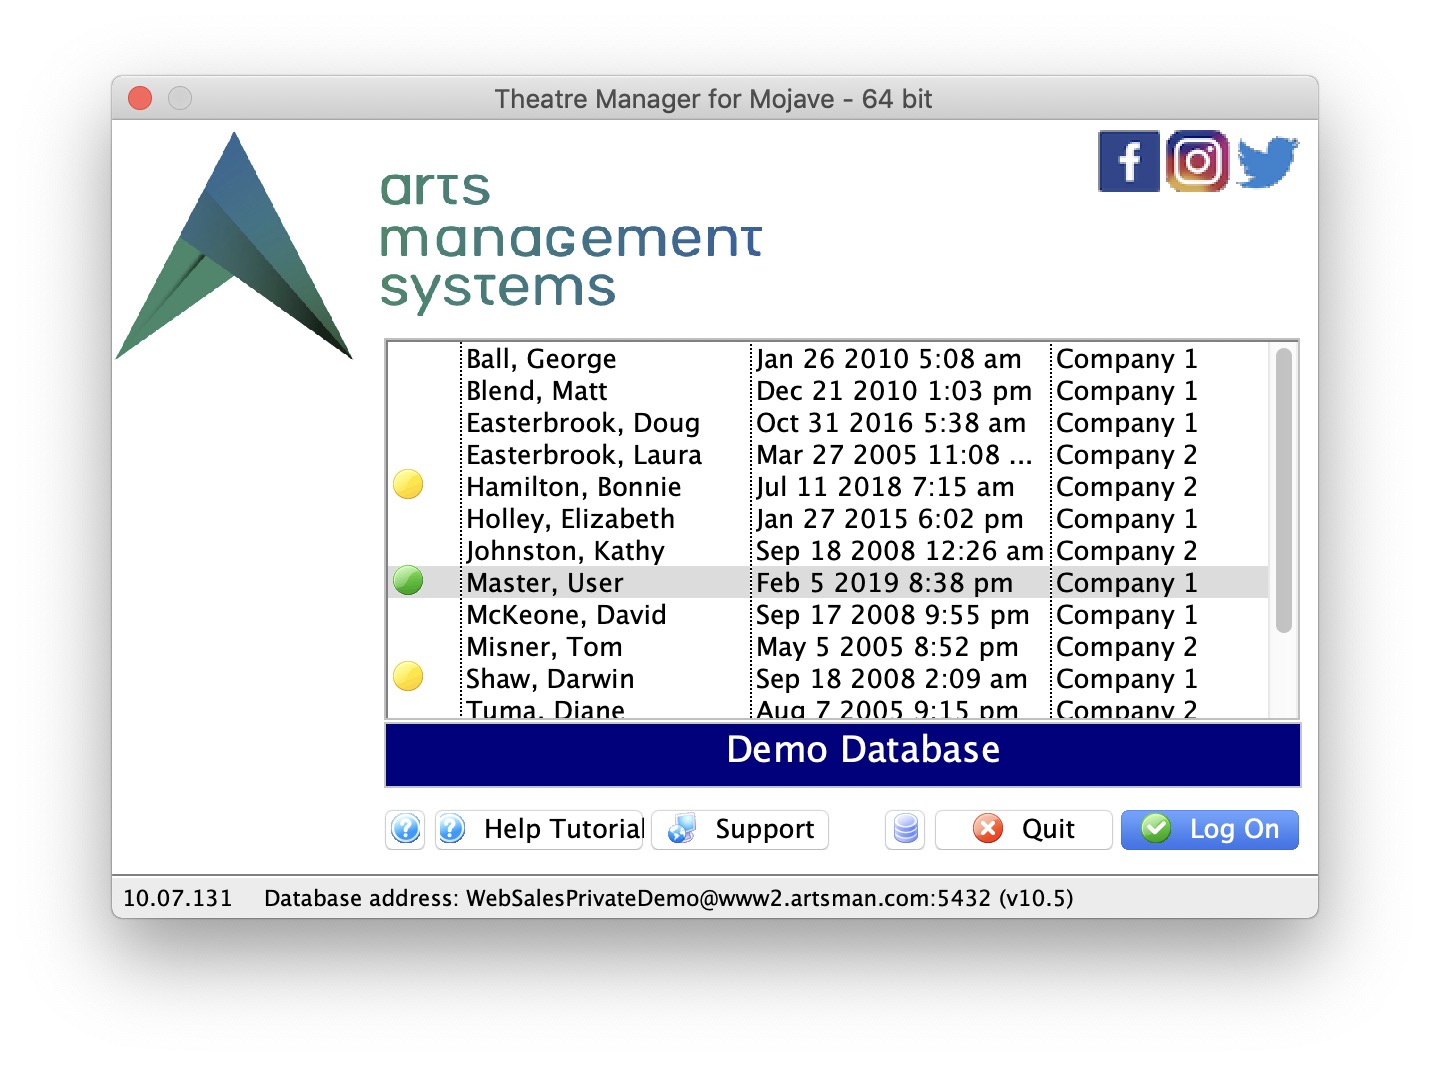 Then, if you are able to connect to the database and enter the company information, you will see the login window below. The password for any of the users in the demo is 'master' (without the single quotes).
|
||||||
| 7. |
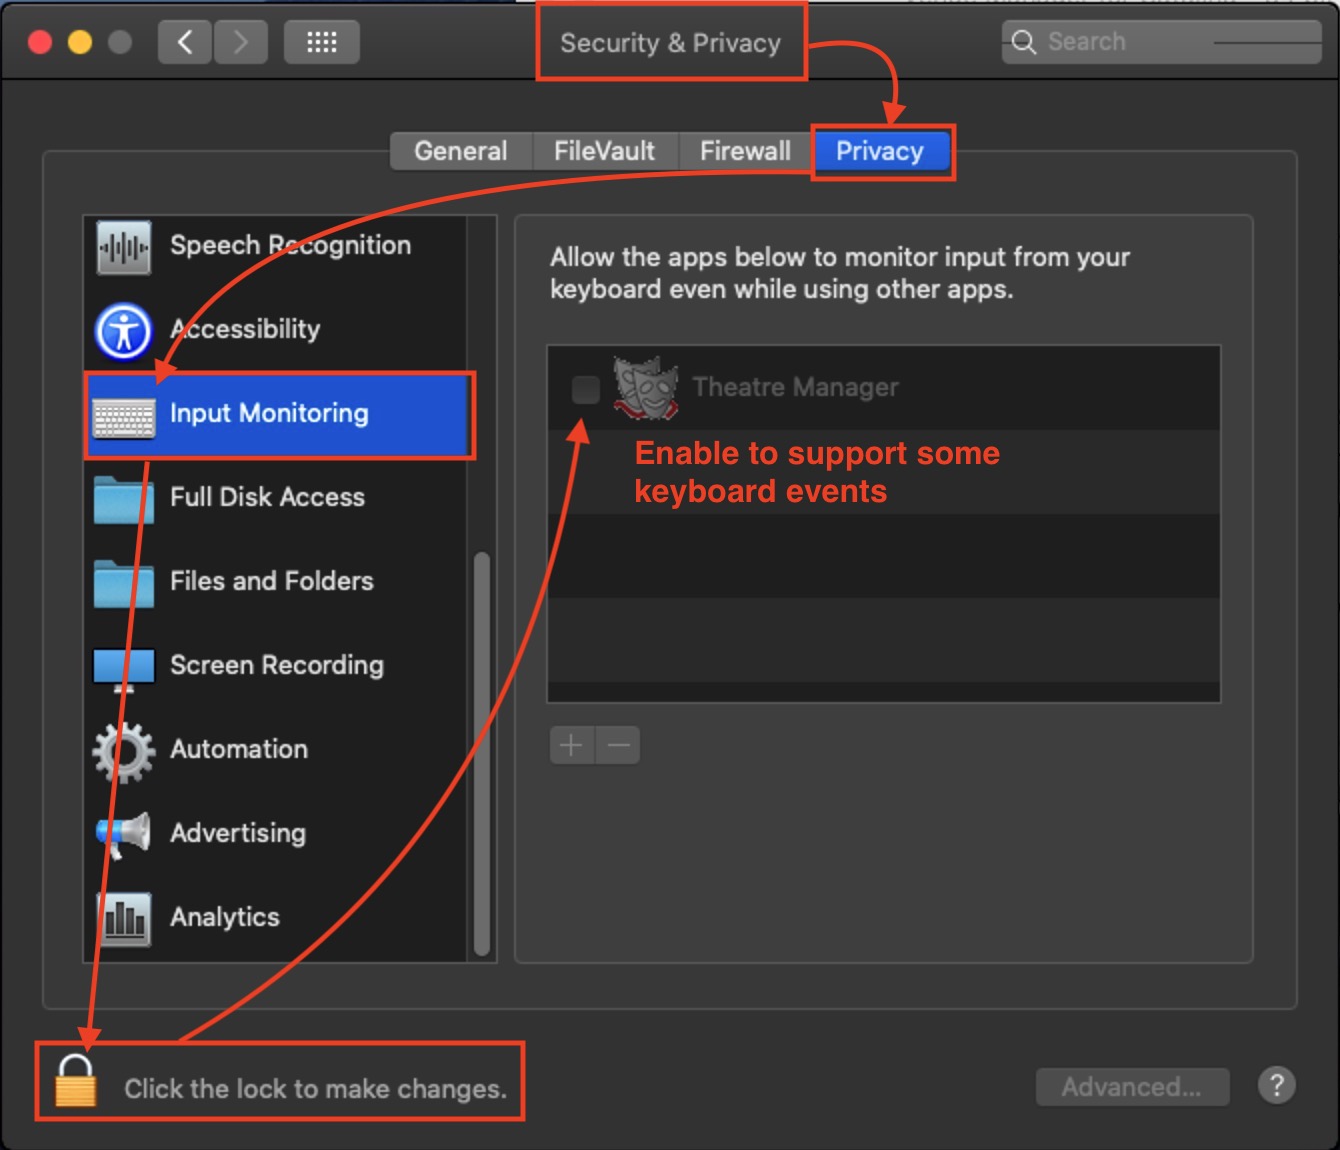 (Optional) if you are running Catalina, you may need to make a change to system preferences to allow permission.
|
||||||
| 8. | In a production environment, once connected to the database in step 5, you can run the TMSetup file on any other machine in the network. After changing the pg_hba.conf file, and by editing the serial.txt file, you should be able to connect to the database.
|

Enabling installation in Security and Preferences
|
Apple requires that users acknowledge that they trust the installer. The exact message you get may vary depending on the version of macOS you are using.
|
|
You can make apple run any installer option-double clicking on an installer and you should see a button that says 'open anyway' |
|
If you are unable to install, you might need to use the following two commands in terminal before running the installer More info is under disable power saving settings - Step 1:
sudo spctl --master-disable
|
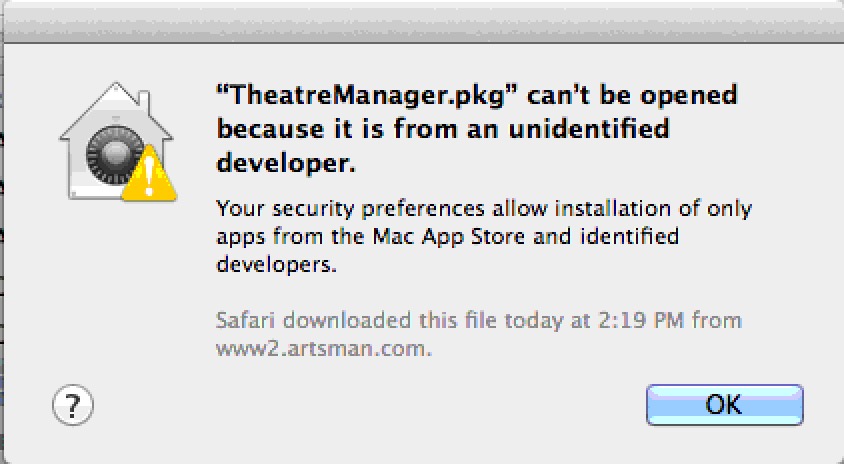
If you run the TM installer and receive a message similar to the one above (implying you have to provide permission). then:
- Select the Apple menu at the upper right of your computer screen
- Select System Preferences
- Select Security & Privacy which is on the top row of the preferences (it may be called Firewall in older versions of macOS).
- Click the General tab
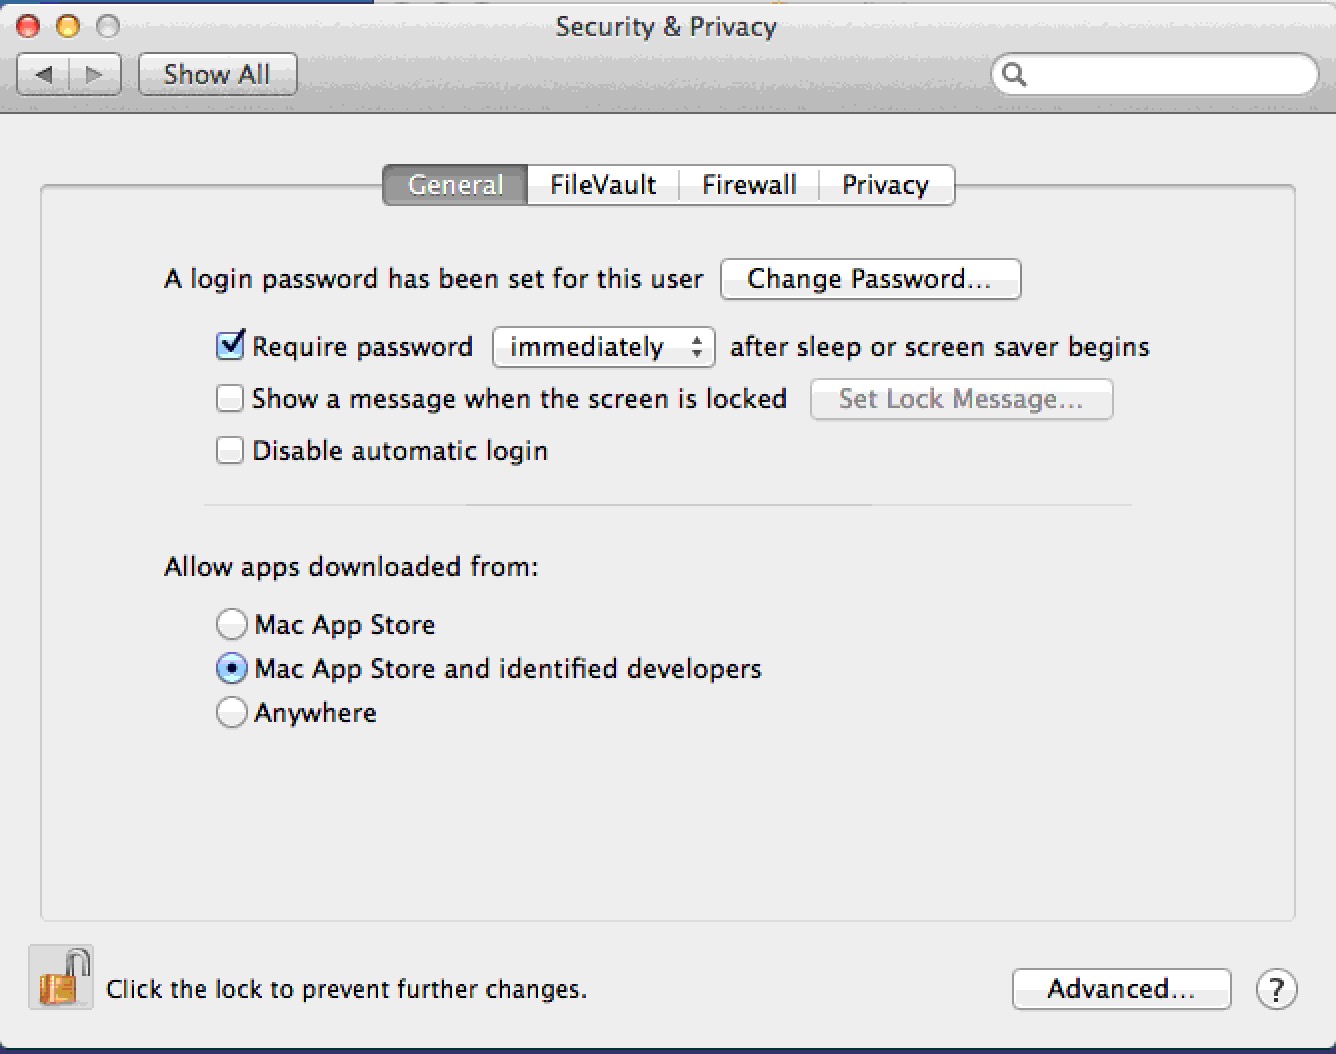
- You will see a screen similar to the one below. Do one of the following
- Click on the third option at the bottom saying Anywhere to allow apps downloaded from 'Anywhere'.
- If that is not visible, then you should see an option to click a button that says Open Anyway to run the installer. If so click Open Anyway
- This will start the installation process
Using Network User Profiles - Mac
|
Follow the steps below if you have Network Users set up and performance of TM seems slow when everything is run across the network. |
Primary Method for Network User Profiles - just install Theatre Manager
In macOS, Theatre Manager is designed to store key application components in the local user's 'Application Support' directory. This allows multiple local users on the same machine to use Theatre Manager.
Network Users have a different 'home' directory setup where the key files are not stored on the local machine. When Theatre Manager is installed, it will save some of its files in the network directory - but you may experience some performance issues if the network or server drives are slow.
Alternate method for running Theatre Manager with Network User Profiles:
If performance seems a little slow with a normal installation that users the network profiles, Theatre Manager can be configured a little differently, as follows.
- Make sure:
- Theatre Manager is already installed on the machine using the TMSetup application -and-
- Nobody is currently using Theatre Manager on the machine
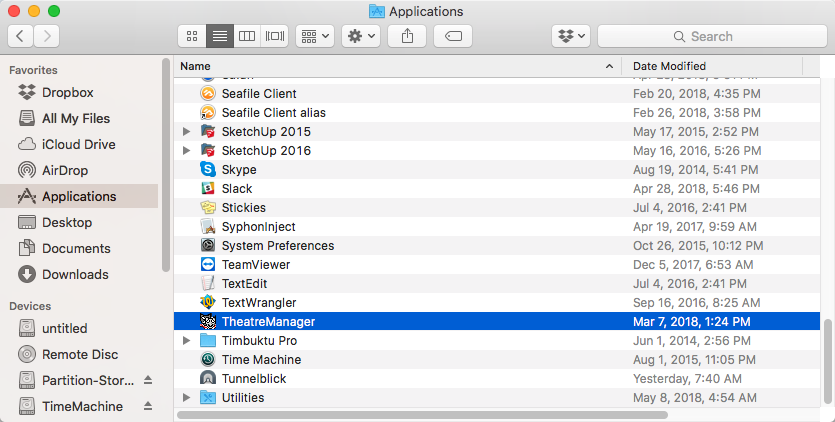
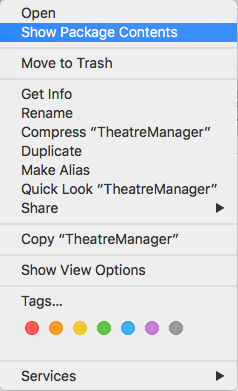
- Go to the Applications Folder
- Right click on the Theatre Manager application and select Show Package Contents from the context menu
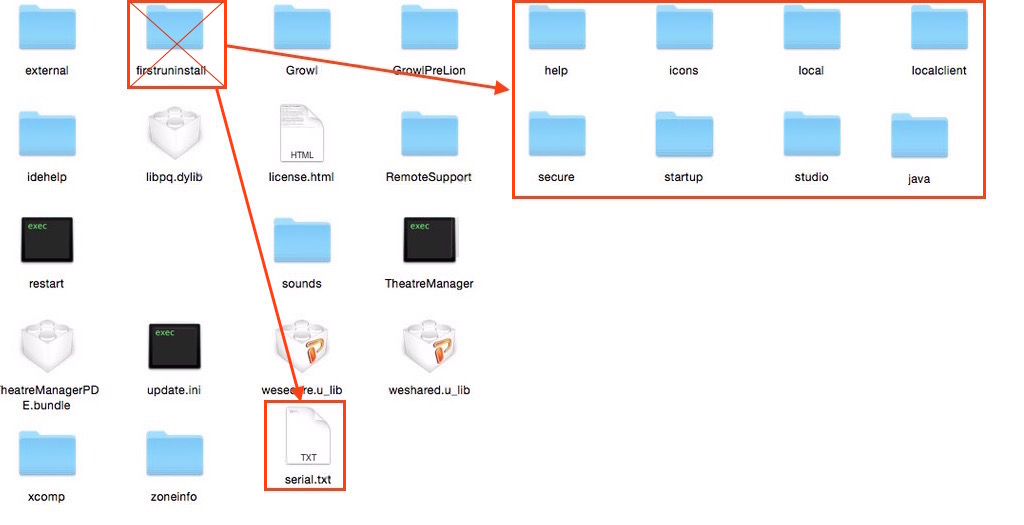
- Navigate to Contents --> MacOS --> firstruninstall folder
- Copy the entire contents for the firstruninstall folder.
- Navigate back to the MacOS folder.
- Paste the contents of the firstruninstall folder into the MacOS folder.
- You may be asked to replace the serial.txt file
- Respond 'yes'
- Delete the firstruninstall folder. The contents of the MacOS folder should now be similar to below.
- Test that Theatre Manager starts up and you see the login window.
- Log in as a couple of other network users and try again
|
If you get an error message starting Theatre Manager about permissions writing to a directory, you may need to type the following in Terminal: sudo chmod -R -v 777 /Applications/Theatre Manager |
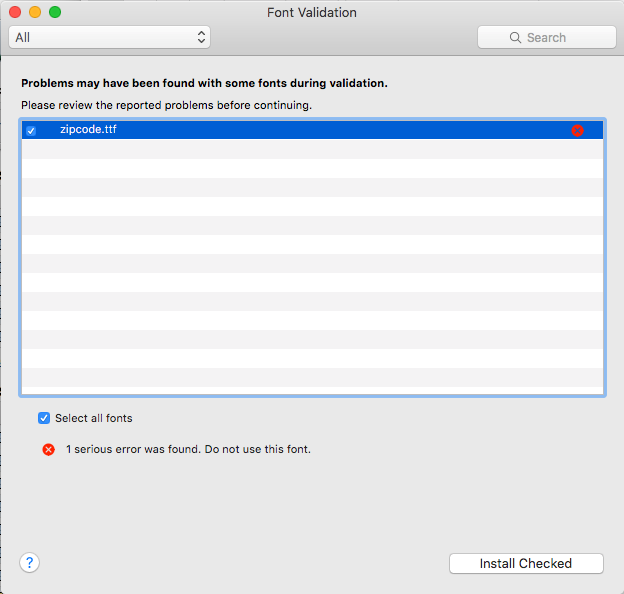
Missing Zip Code or USPSIMBStanda Font
- ZipCode, and
- USPSIMBStanda
To fix the message:
- Open the hard drive on your Mac, or open Finder
- Go to the Applications directory
- Find the TheatreManager application
- RIGHT+click on it and choose Show Package Contents from the menu
- Go into Contents >> MacOS >> Fonts The Fonts folder will have both fonts in it.
- Double click on each font, one at a time
- Click the Install Font button in the lower right corner
- Check the box next to the font name
- Click the Install Checked button in the lower right corner
- Repeat for the other font
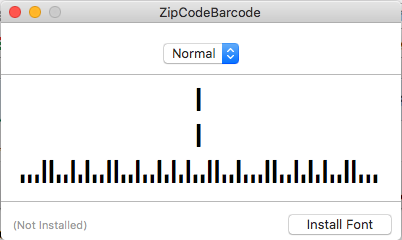
macOS will bring up a Font Validation screen.
|
There will be a message that it has found a problem with the font. Ignore this. |