You are here

How To

Subscribe to Syndicate

https://diataxis.fr/how-to-guides/

  • How-To guides are aimed towards users, Tutorials are aimed towards learners
  • How-To guides in your documentation helps frame the picture of what your product can actually do
  • How-To guides can be thought of as recipes, directions that guide the reader through the steps to achieve a specific end

Creating a Notification

You must have purchased the Web Sales Module to use Work Flow Notifications.

Using Work Flow Notifications, you cab take common situations, such as donations being sold or changed, or patrons creating records via the internet, and send notification emails to certain employees who will be responsible for tracking changes to the database.

To create a new workflow notification, you perform the following steps:

Exporting Ticket Faces

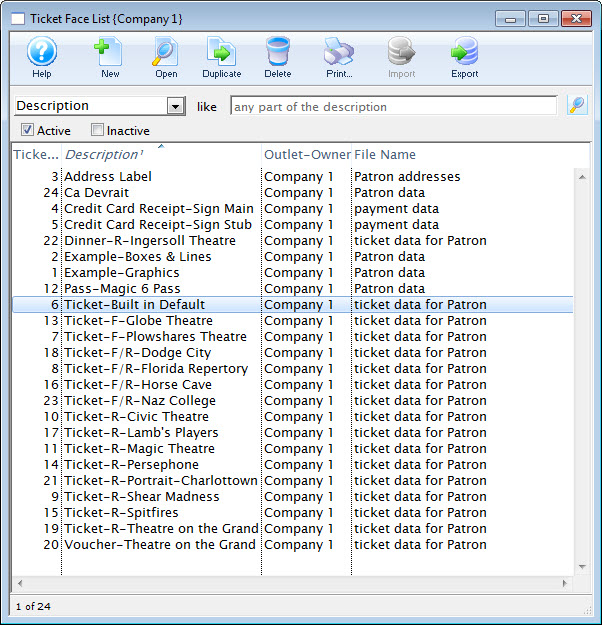
  1. Open the Ticket Faces List window.

    Click here to learn how to access this window.

    Click here for a detailed description of this window and it's functions.

  2. Select the ticket face to be exported.

    Single click on a ticket face to select it.

Creating the Logical Seat Order - Step 3

Once you have placed all the seats on the map, the next step is to set those seats into a specific order so that the system can assign them the physical seating descriptions.

Each seat has its own number called a logical seat. The logical seats start numbering at 1, and continue through to the physical number of seats in the theatre. This is analogous to having a serial number stamped under each seat.

Placing Seats on a Pricing Map - Step 2

When you use reserved seating, you need to place those seats on the graphic map in Theatre Manager. Prior to placing seats on the Pricing map, a graphic representation of the venue must be placed into the graphic map window. Click here for more detail. If the venue is non-graphical or will be used for festival seating (General Admission) or traveling troupe ticket sales, placing seats on the map is not required.


Naming Seats for the Price Map

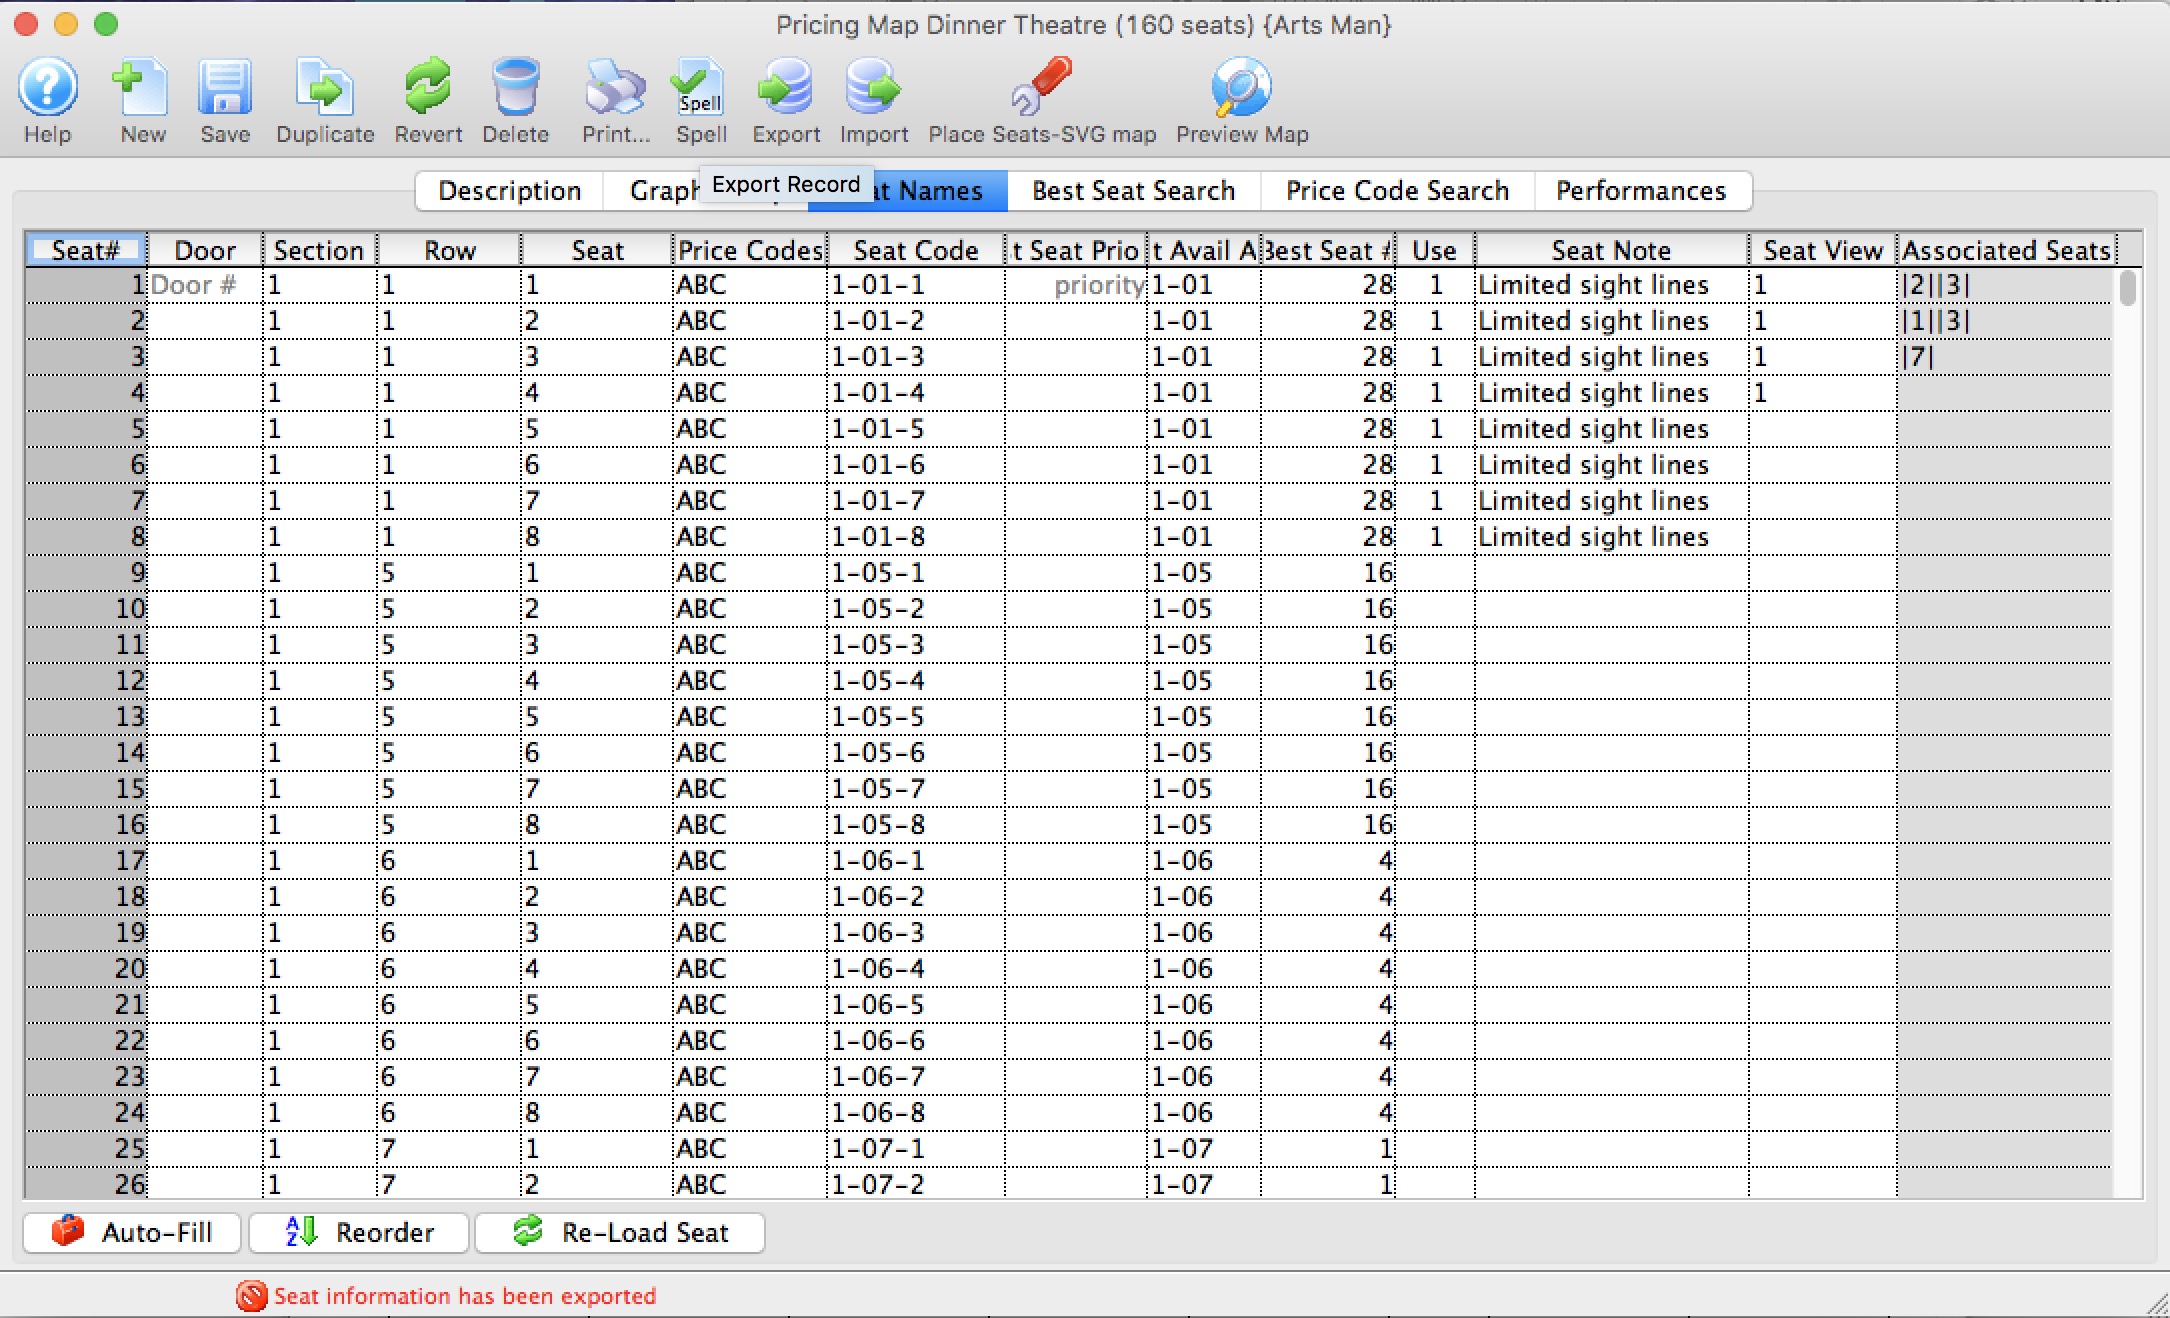
Once all seats have been placed, the next step is to name the seats so that the patrons can find them. Prior to naming seats, they should be re-ordered into a sequence using the logical seat number.

Importing Seat Names

When importing seat names the file must be in tab delimited format ie. after each entry there is a tab space and a carriage return at the end. Most spreadsheet programs should be able to save in this formation.

  1. Open the Pricing Map for editing.

    Click here to learn how to open Pricing Maps.

  2. Click the Seat Names tab.

    The Seat Names window opens.

Exporting Seat Names

You can export Seat Names to a text file for easy editing in most spreadsheet programs.

  1. Open the Pricing Map for editing.

    Click here to learn how to edit Pricing Maps.

  2. Click the Seat Names tab.

    The Seat Names window opens.

Finding a Venue

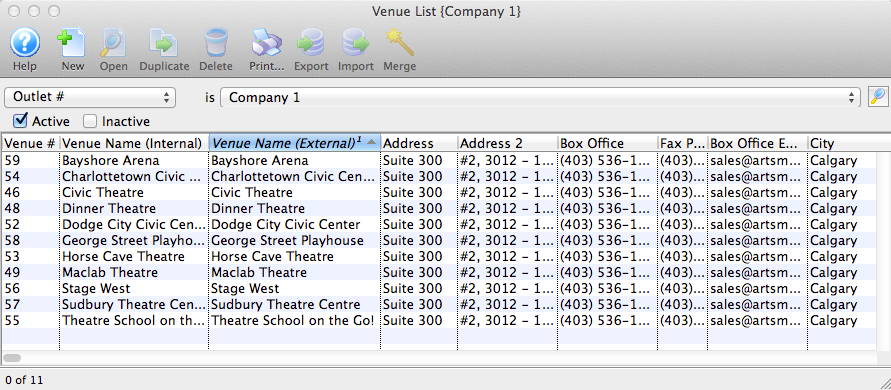
If you have many venues, you can need to search for the required venue. This can be executed quickly using the Venue List window.

To access Venue List Window, you perform the following steps:

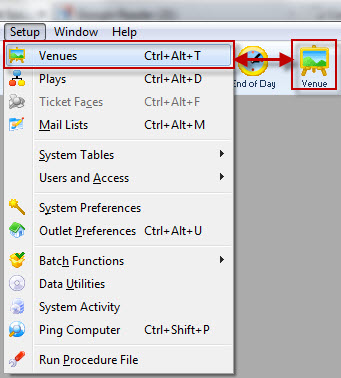
  1. Venues are accessed through the Setup >> Venues menu.

    Alternatively you can click on the Venues button on the main Theatre Manager toolbar.

    The Venue List window opens.

Exporting the Pricing Map Graphic

You may want to export a graphic file that has already been imported in Theatre Manager for editing.

  1. Theatre Maps is accessed through the Setup >> Theatre Maps menu.

    Alternatively you can click on the theatre maps button on the main Theatre Manager toolbar / ribbon bar.

    The Theatre Map List window opens.

Editing a Pricing Map

To edit a map, you perform the following steps:
  1. Pricing Maps are accessed through the Setup >> Venue menu.

    Alternatively you can click on the Venue button in the Theatre Manager toolbar / ribbon bar.

    The Venue List window opens.

    Click here, for more information on the Venue List window.

Pages

Subscribe to RSS - How To