You are here

How To

Subscribe to Syndicate

https://diataxis.fr/how-to-guides/

  • How-To guides are aimed towards users, Tutorials are aimed towards learners
  • How-To guides in your documentation helps frame the picture of what your product can actually do
  • How-To guides can be thought of as recipes, directions that guide the reader through the steps to achieve a specific end

Mail List Double opt in

CASL (Canada's Anti-Spam Law) has 3 basic mechanisms to provide permission to email your patrons:
  • Explicit Consent which is implemented using a mail list that is set up as either Double opt-in is the preferred choice if you wish to have the patron explicitly confirm their email address and/or permission to be emailed

Mail Lists - adding patrons through drag and drop

You can drag people from the patron list, from another mail list or drag an entire mail list from the list of mail lists to add those people to a mail list manually

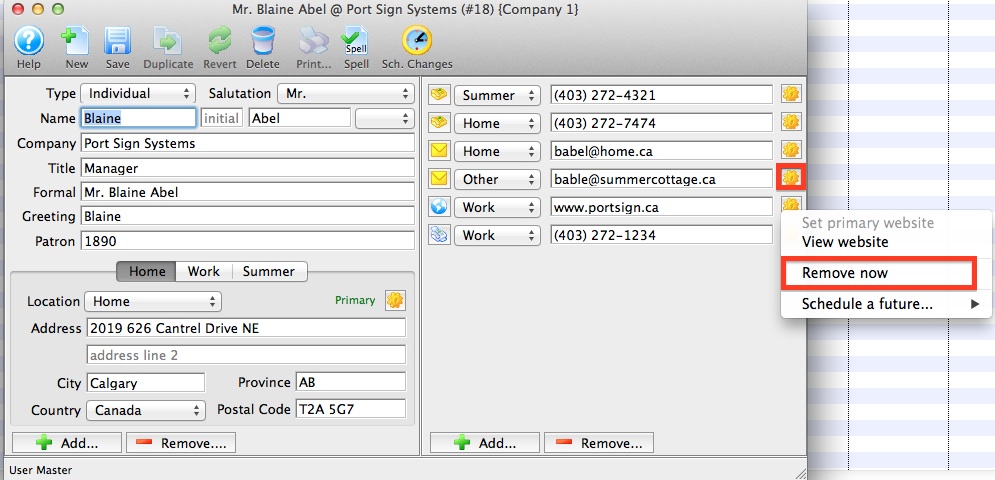
Alternate Way To Remove A Contact

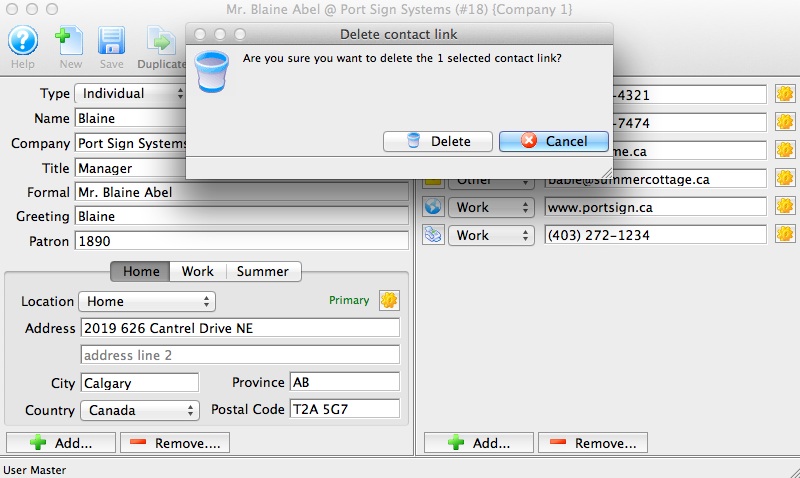
  1. Click on the "Gear" next to the contact. A sub window appear. Mouse over or rollover the Remove Now and end by clicking.

  2. Confirm the contact to remove.

Remove Contact Information

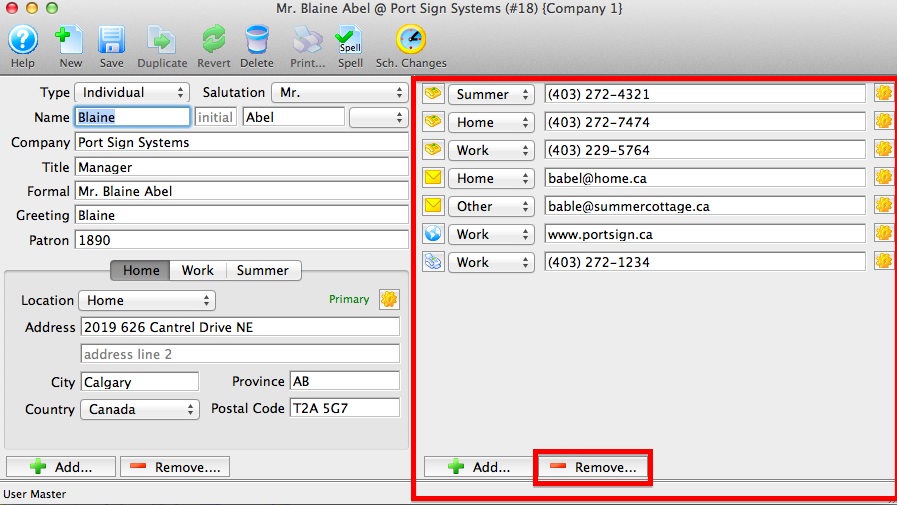
When a patron's contact type(s) changes or becomes no longer valid, the phone number, email address, fax number or website can be remove as long as it NOT the primary contact.

  1. To Remove a contact type from the patron's record, click on the REMOVE button at the bottom of the Contact window.

Add Contact Information

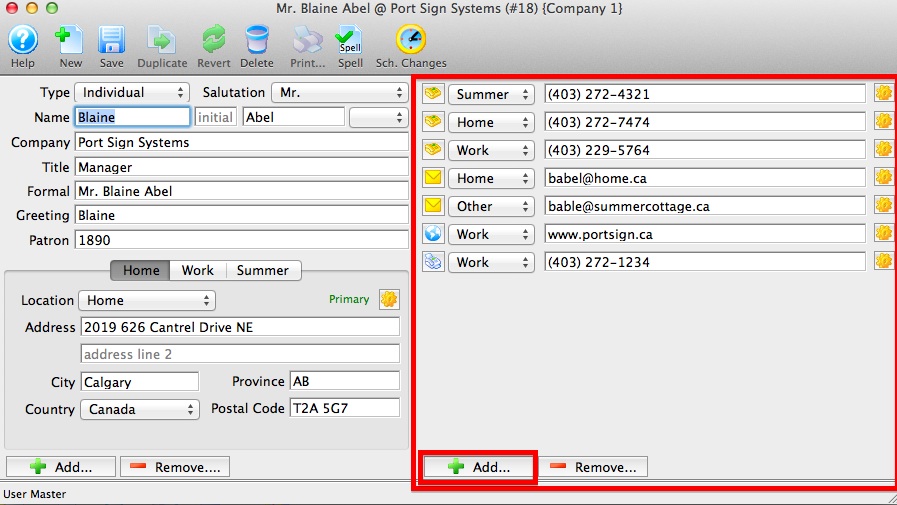
A patron may have as many contact types such as phone numbers, email addresses, fax numbers or websites as are needed.

  1. To Add a new contact type to patron's record, click on the ADD button at the bottom of the the Contact window.

Exporting A List of Schedule Changes

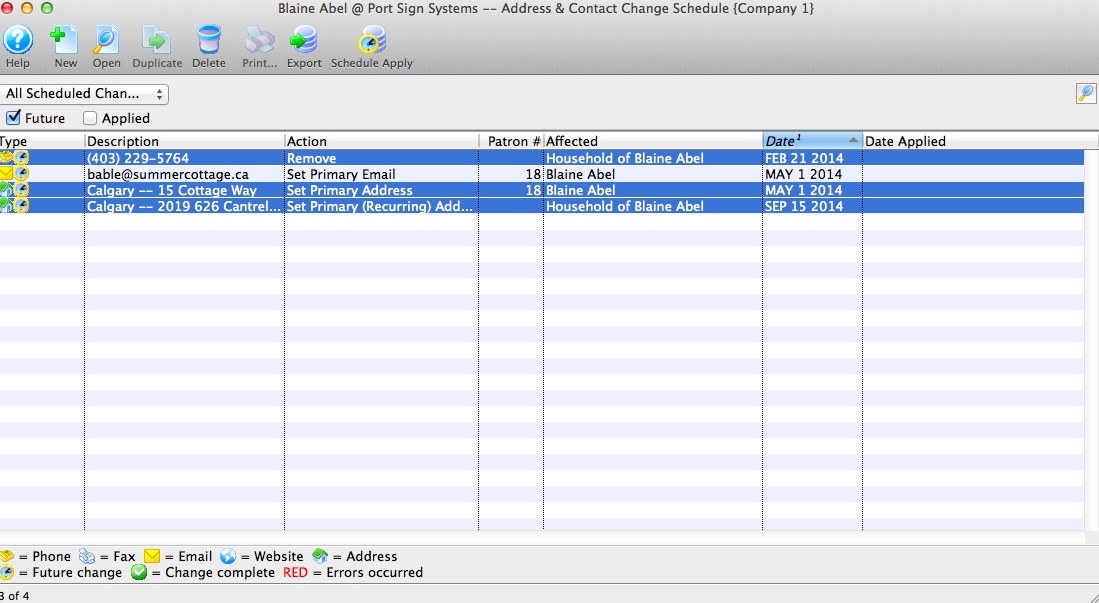
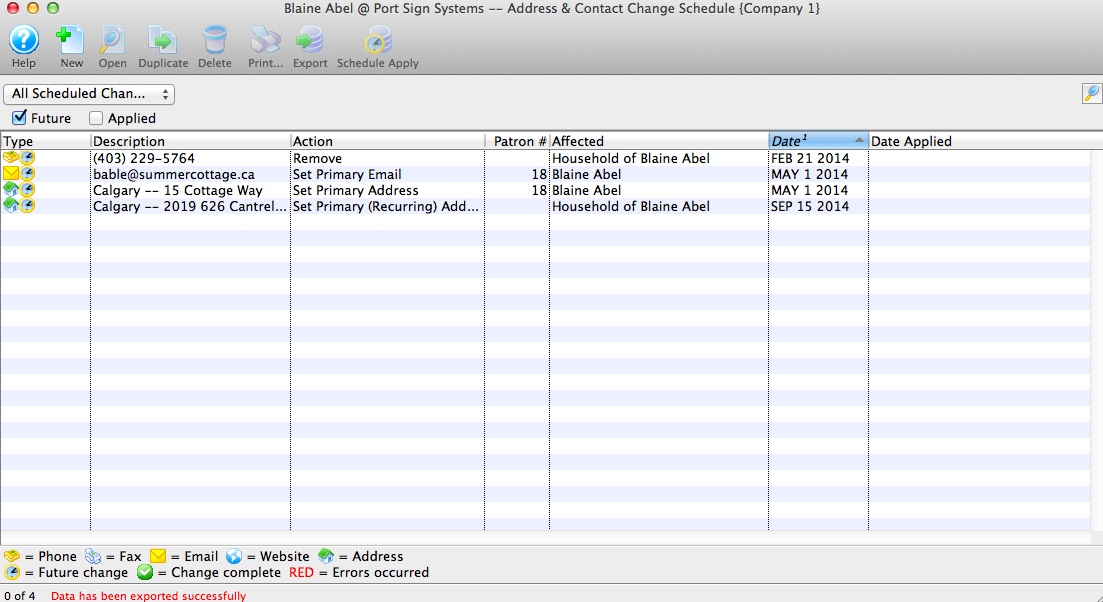
Allows for individual or groupings of Scheduled Changes to be exported to a tab delimited or MS Excel workbook file.

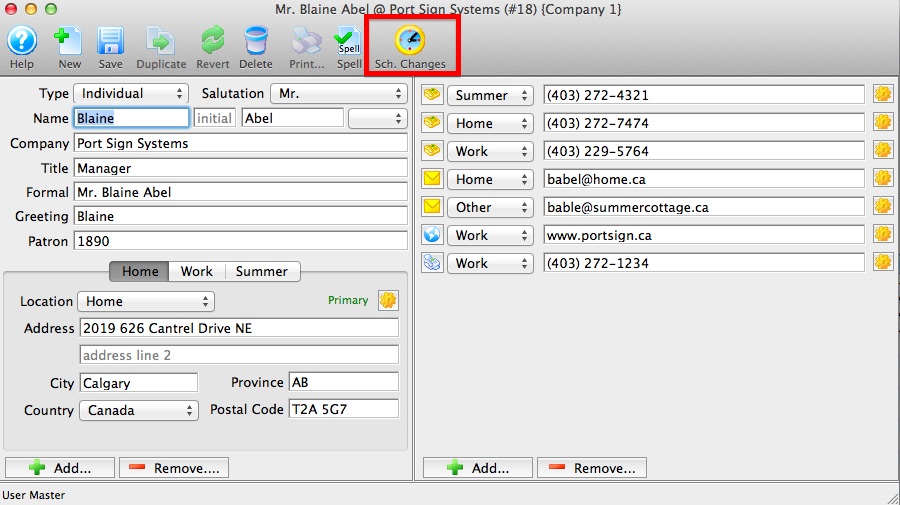
  1. Use the Schedule Change button to open the Schedule Change window.

  2. Highlight one or all Scheduled Change lines.

Apply Schedule Change Now

Rather than waiting until it's scheduled date for an automactic change, the contact information can be manually changed by using the Schedule Apply button from the toolbar.

  1. Use the Schedule Change button to open the Schedule Change window.

  2. Highlight the contact information line in the Schedule Change window.

Editing Scheduled Change

The Schedule Change window opens displaying a list of existing scheduled changes that can be opened for viewing or editing. Use the magnifying glass to search for a current listing. The search criteria can be modified by selecting Date, All Scheduled Changes, Future or Applied.

When you make a scheduled address or phone change , you likely need yo make TWO scheduled changes. For example:

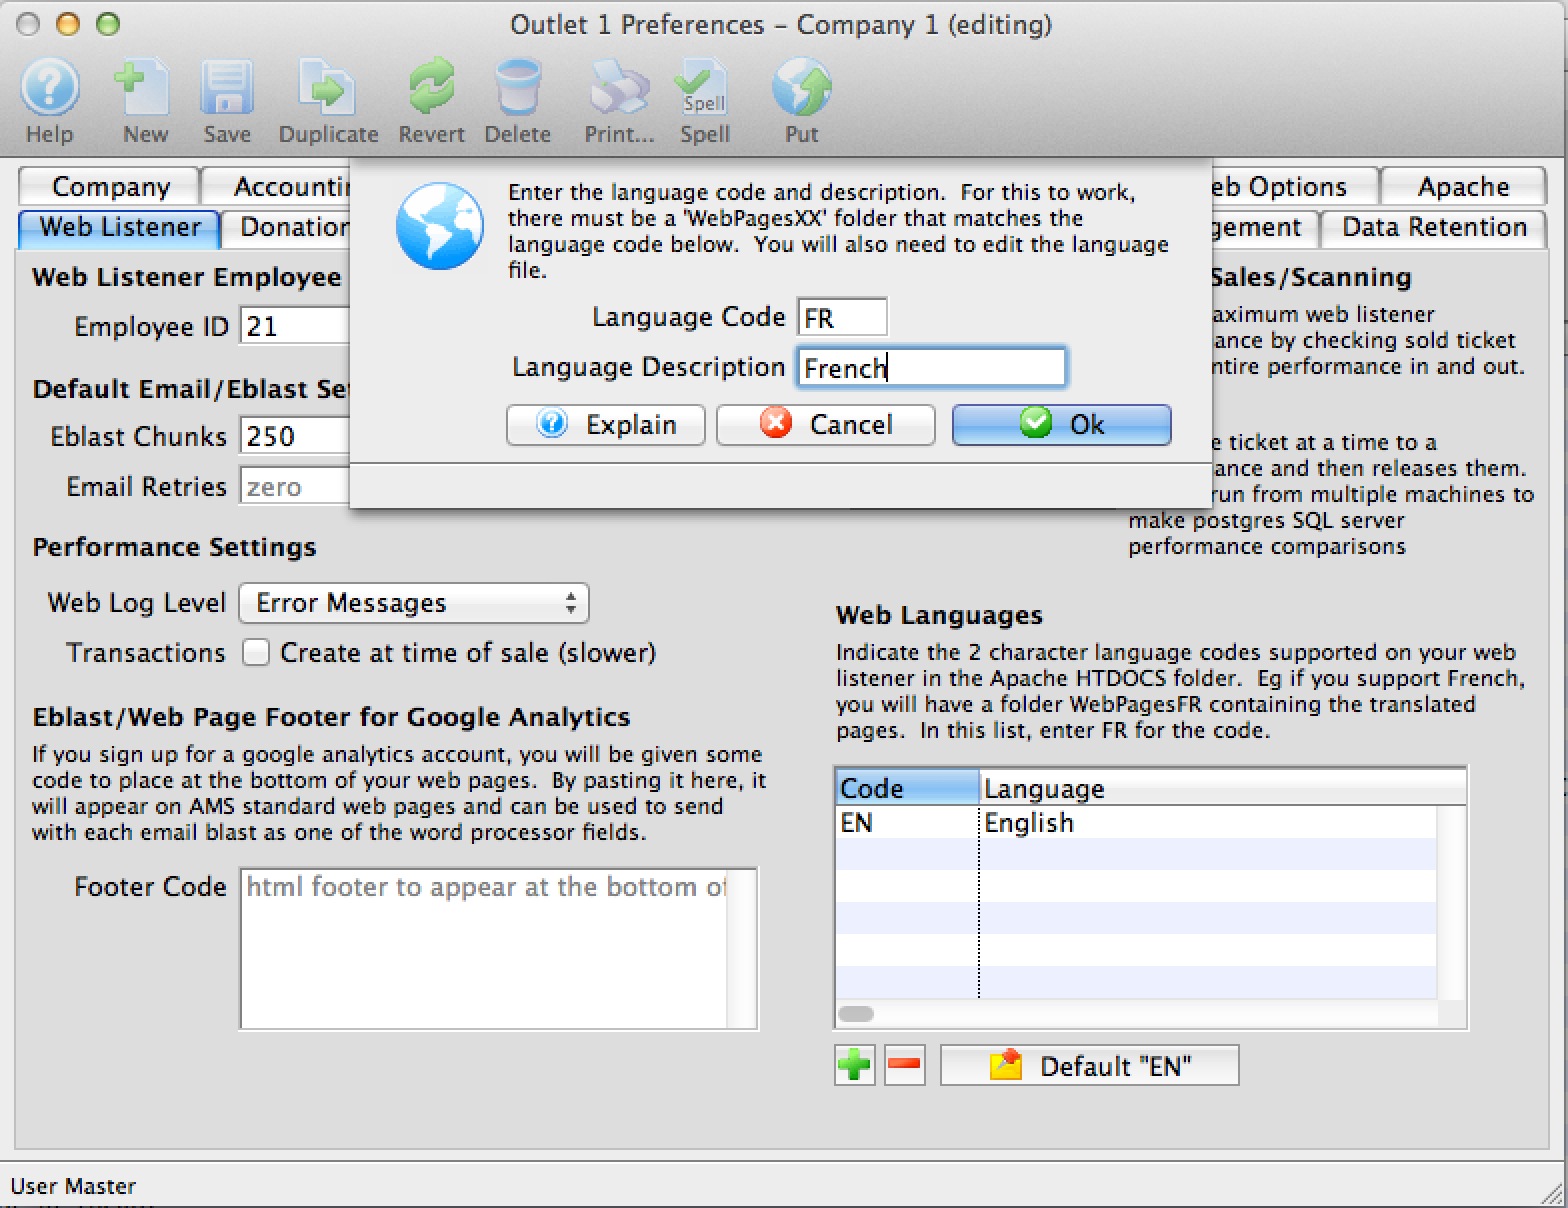
Web Page Languages

You can add multiple languages to your web site by doing a couple of things:

Remote Ticket Printing-Parallel

Things you will need:

  • A Printer with a parallel connection
  • A windows based computer with XP or later.
  • A real parallel port on your remote computer or laptop (it can be via a PCMCIA add on card if need be
  • Windows Terminal Server 2003 or later in your computer room.
  • A connection to the internet at the remote box office.

Pages

Subscribe to RSS - How To