Tags
 Tags are notations that can be applied to some records within Theatre Manager (like hashtags) that can be used for searching for some data in arbitrary groupings, such as for reports, building mail lists, exporting data or using in charts.
Start creating tags using the Tag List Window
Once a tag is created, you can associate one or more of them with the following data records:
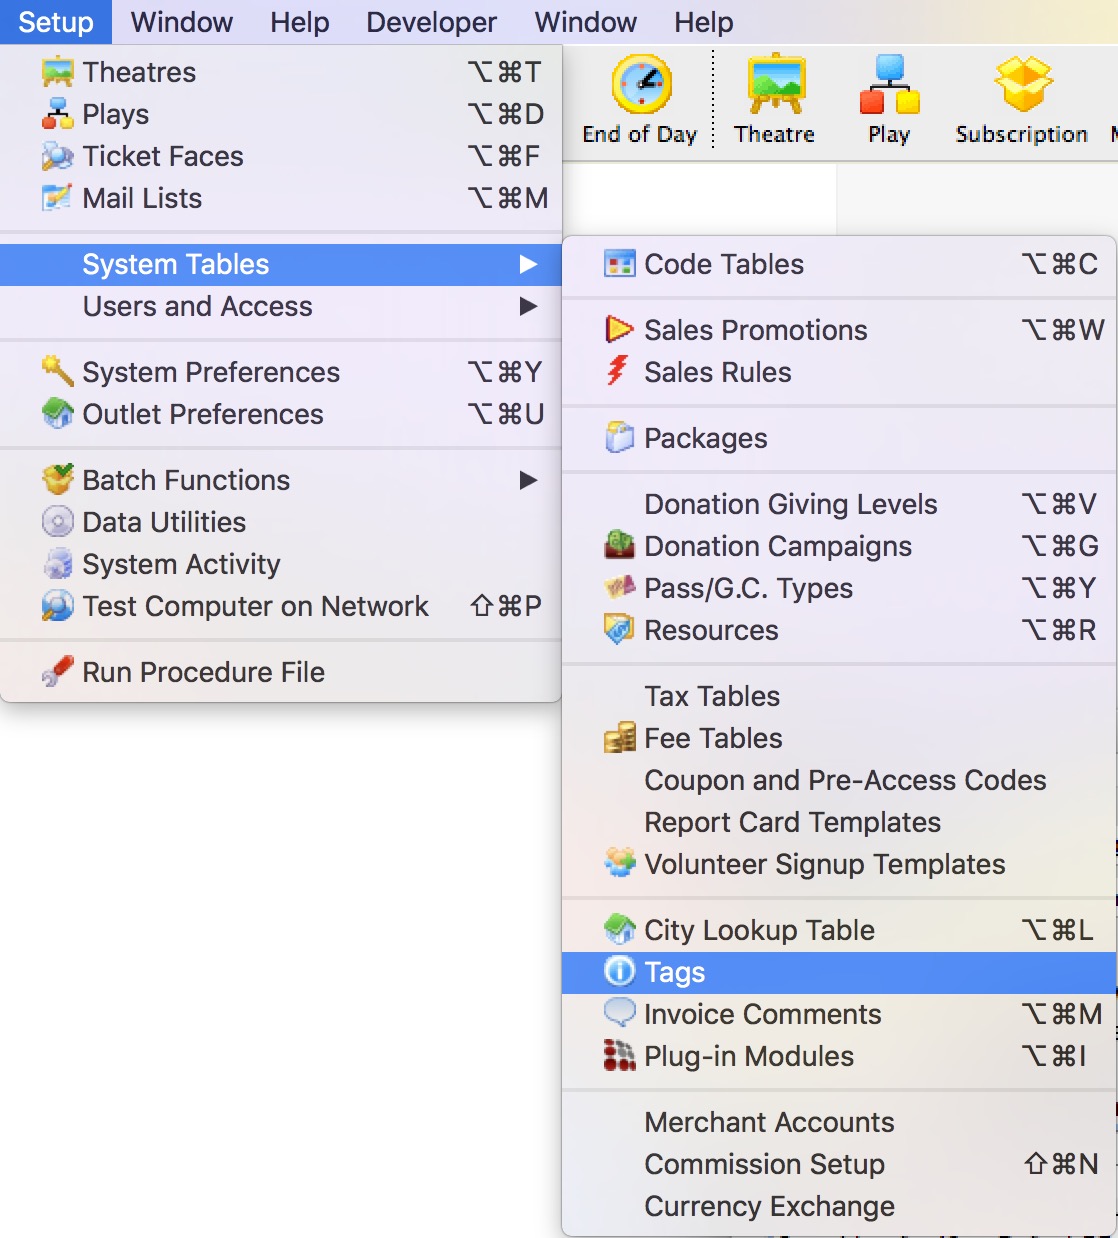
Tags must exist before you can use them. Tags are created using the Setup->System Tables->Tags as shown in the image to the right.
Tag List Window
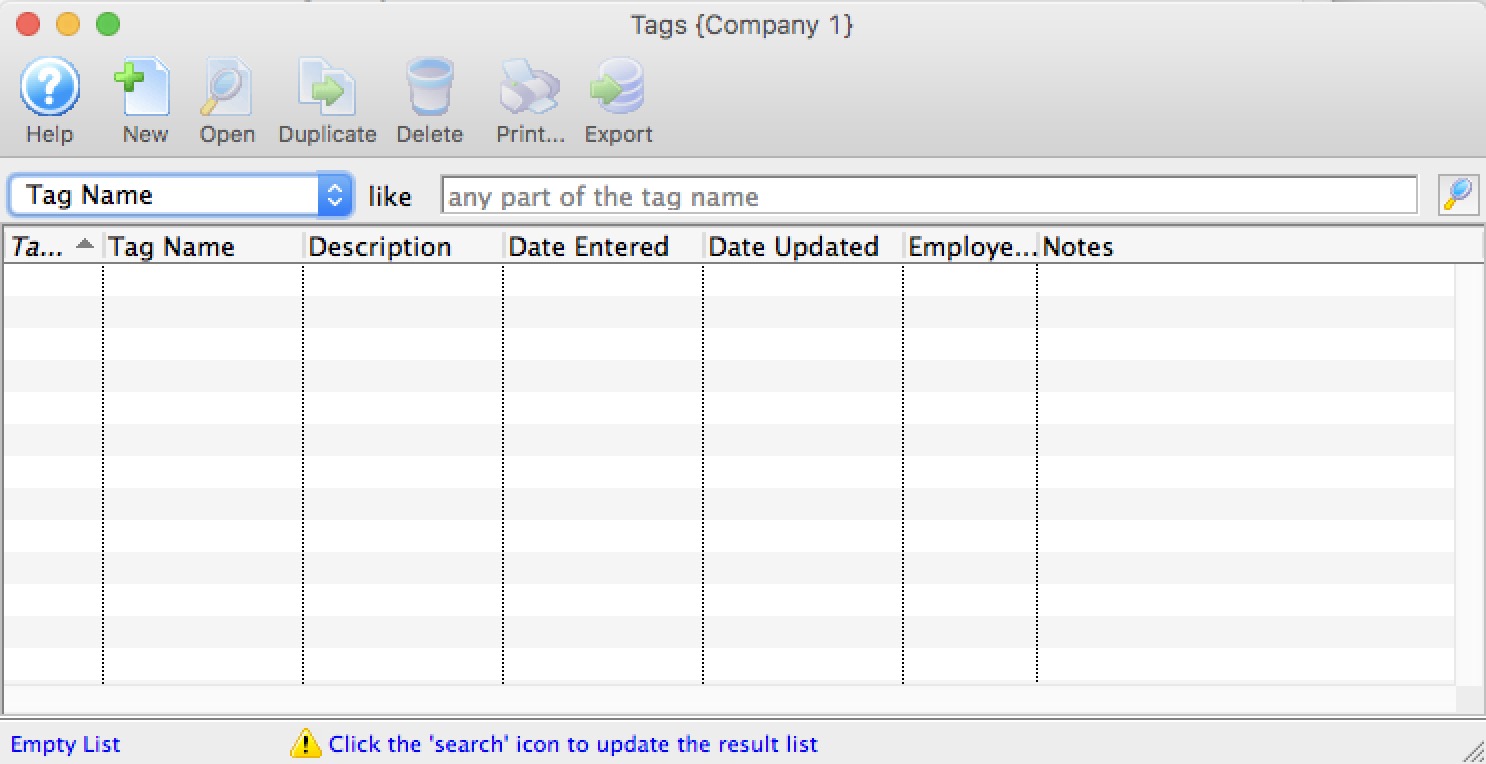
The parts of the window are as follows:
 |
Inserts a New tag through the Tag Detail Window. For more information on inserting tags click here. |
 |
Opens a window to edit a tag through the Tag Detail Window. For more information on editing tags click here. |
 |
Deletes a Tag if it is not associated with any data record. For more information on deleting tags click here. |
 |
Generates a report displaying the list of tags to the screen or default print location. |
 |
Exports the selected tags in various export formats. |
| Tag Name | Search options for locating tags. You can search by various fields |
| Like | Enter a word or part of a word t search by. |
| Tag Name | Name of the Tag. |
| Description | Description of the Tag. |
| Tag Group | A way to group tags for convenient purposes. The Tag Groups are set up in code tables. |
| Outlet Owner | Outlet that owns for the tag. |
| Changed By | Last employee to edit the tag. |
Tag Detail Window
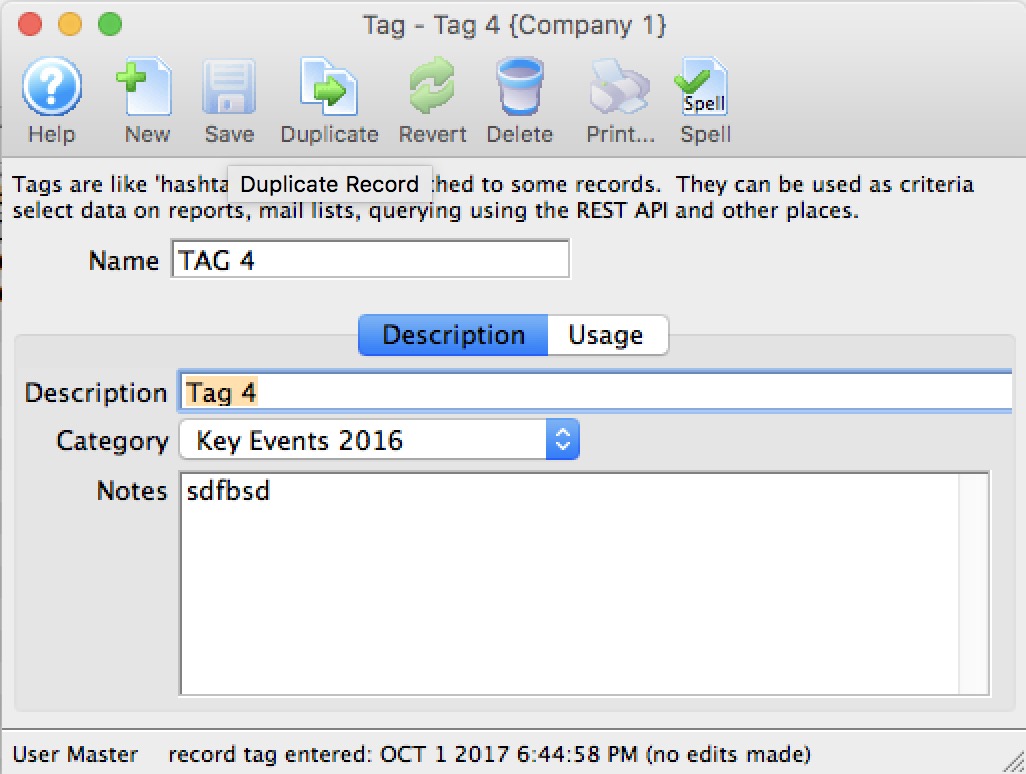
Parts of the Tag Window
 |
Insert a New tag through the Tag Detail Window. For more information on inserting comments click here . |
 |
Saves tags when edited in the Tag Detail Window. For more information on editing tags click here. |
 |
Creates a copy of the current tag. |
 |
Undoes changes to the last saved point. |
 |
Deletes a tag. For more information on deleting tags click here. |
 |
Checks the tag for spelling errors. |
| Name | A short name of the tag that will display on records that use the tag |
| Description | Brief description of the tag. |
| Category | Each tag can be placed in a tag category for convenience purposes. The tag categories are set up in code tables. |
| Notes | A longer description of the user of the tag. Currently only for informational purposes, but may be used at a future time if allowed online. |
Add Tags
- Open the Tag List window

Click here to learn how to access this window.
- Click the New
 button.
The Tag Detail window opens.

- Enter the name of the tag.
- Enter a description of the tag.
- Select the tag group that you want this tag to belong to (tag groups are set up in code tables)
- Enter notes that describer the purpose of the tag
- Click the Save
 button to save the tag.
The tag is saved and added to the Tag List window.
Edit Tags
- Open the Tag List window.
Click here to learn how to access this window.

- Select the tag you wish to edit.
Single click on a tag name in the list to select it.
- Click the Open
 button.
The Tag Detail window opens.

- Change data as needed
- Click the Save
 button to save the changes.
Delete Tag
- Open the Tag List window.
Click here to learn how to access this window.

- Select the tag you want to delete.
Single click on a tag to select it.
- Click the Delete
 button.
A Delete confirmation dialog opens.
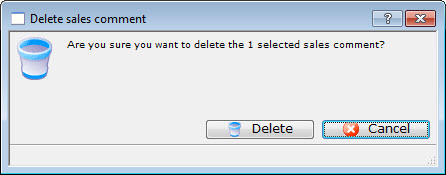
- Click the Delete
 button.
Tag Usage
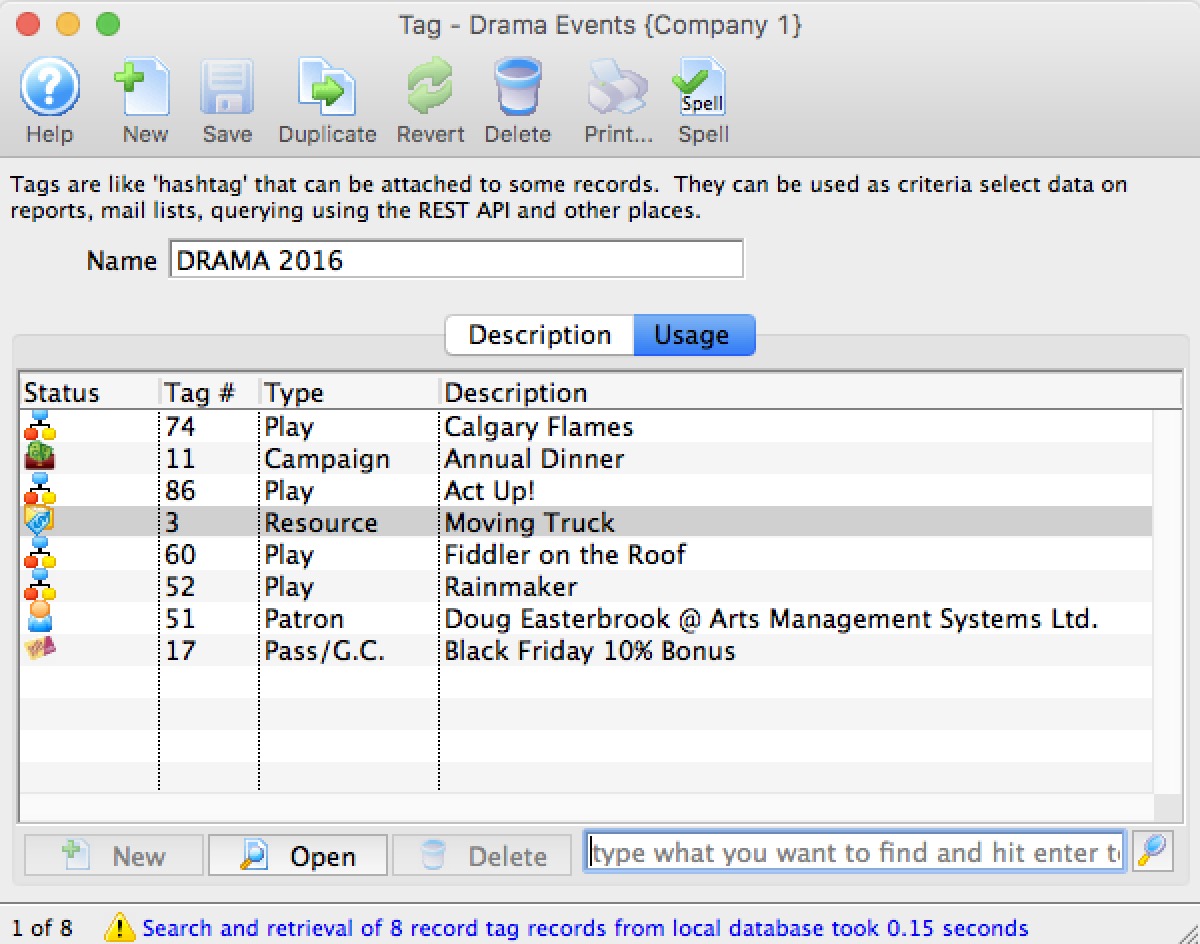 The tag usage tab allows you to find out where certain tags are referenced within the system.
Merging Tags
- Open the Tag List window.

Click here to learn how to access this window.
- Select the tags to merge.
Do this by holding <CTRL> (Windows) or <OPTION> (Mac) as you click the tags in the list to be merged.
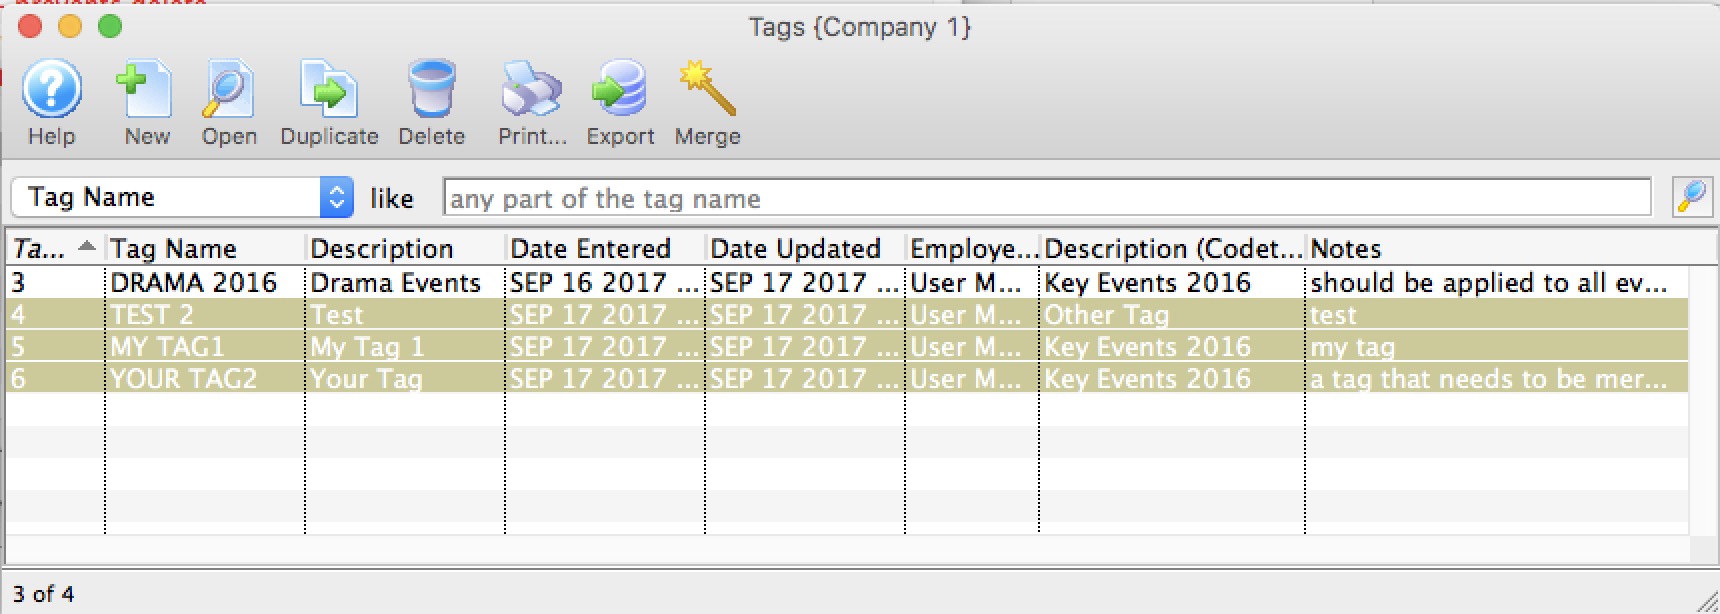
- Click the Merge
 button.
The Merge Tags window opens.
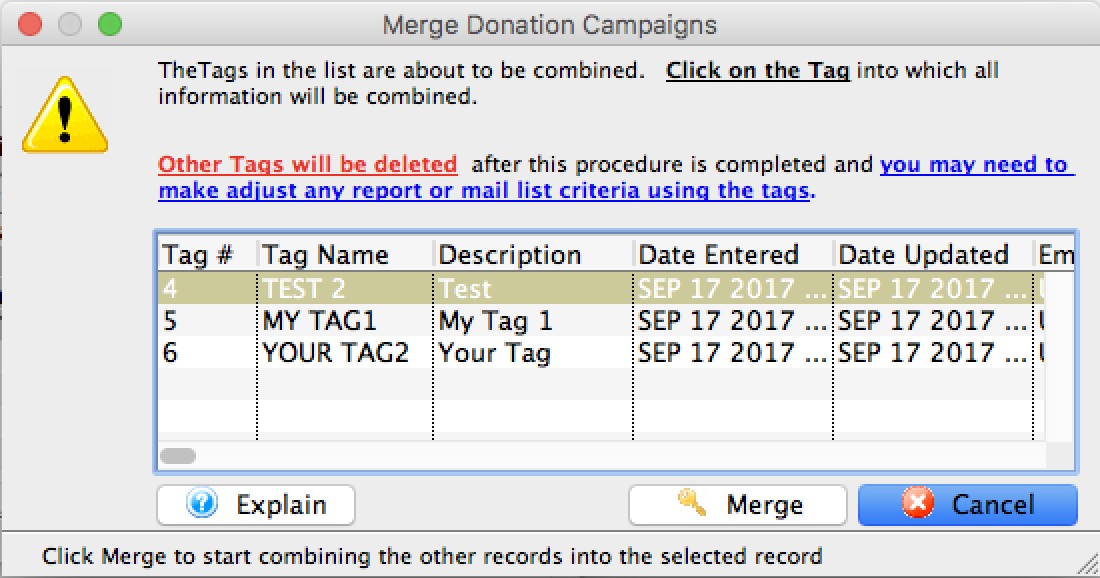
- Choose the tag that the all the others will be combined into.
- Click the Merge
 button.
A merge confirmation dialog opens.
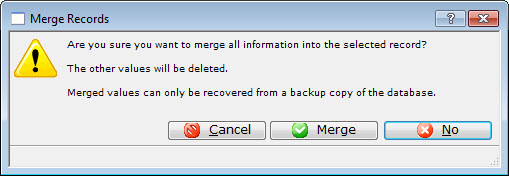
- Click the Merge
 button.
The tags are merged and displayed in the tag List as the tag you chose to merge into.
What could tags be Used for?
Possible use of Tags for Web Sites
Populating a marketing web site via the REST API -- with the goals of:
- multiple genres for events (eg dance, comedy, musical)
- ability to set where the event might go on the web site (e.g is it at the top, or is it elsewhere)
- Set up tag groups in code tables. These might be used for things like 'these tags used for web positioning' 'these tags used for genre' 'these tags used for other stuff'
- create your actual Tag Names. You can call them things like broadway, drama, top-of-marketing-web-site or bobs-your-uncle -- anything you want. Each tag is associated with a tag group.
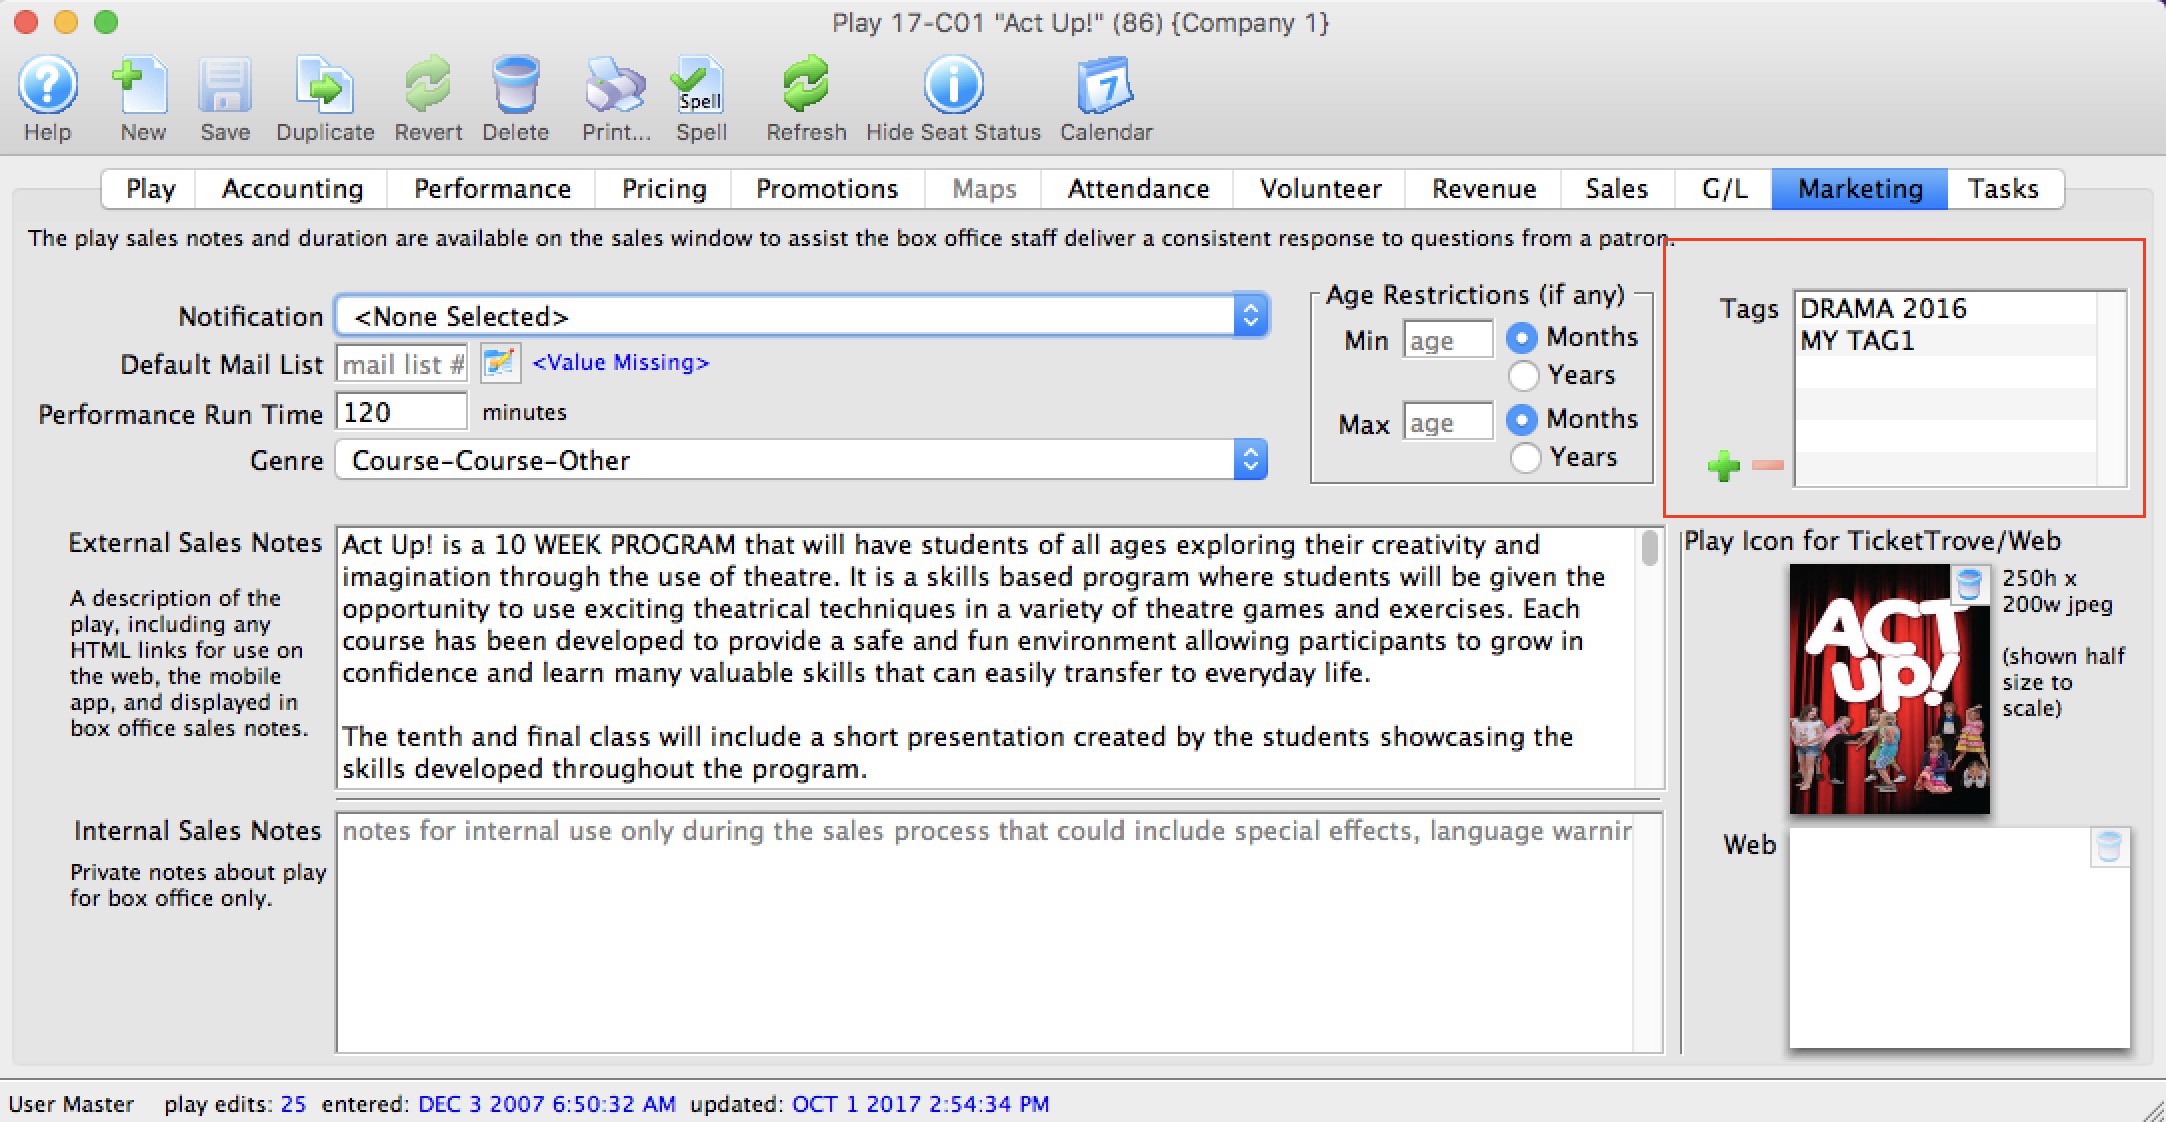
- Assign the tags to the records you want. eg stick tags on an event per the picture below
- Use the REST API to pull out record per tag or to actually pull out all tags for a record. There are 3 examples at the bottom of the REST query example web page.
- run a report for all plays with the tag 'broadway'
- export all donations for donation campaigns with the tag 'capital' and 'restricted'
- add all patrons to a mail list with the tag 'cool dudes and dudettes'
- run the api to extract all events and picture that go to the top of your marketing site.
- and in the future, we might use this as one way to categorize things on reveal
How to do it:
What else?
You can search for records associated with tags in mail lists, reports and exporting. That means you could: