
Main menu
You are here
Creating Manual GL Entries
Manual G/L entries are most commonly used to correct an entry when an incorrect G/L account is selected. They can also be used to account for expense transactions that take place outside of Theatre Manager.
Steps to Create A Manual GL Entry
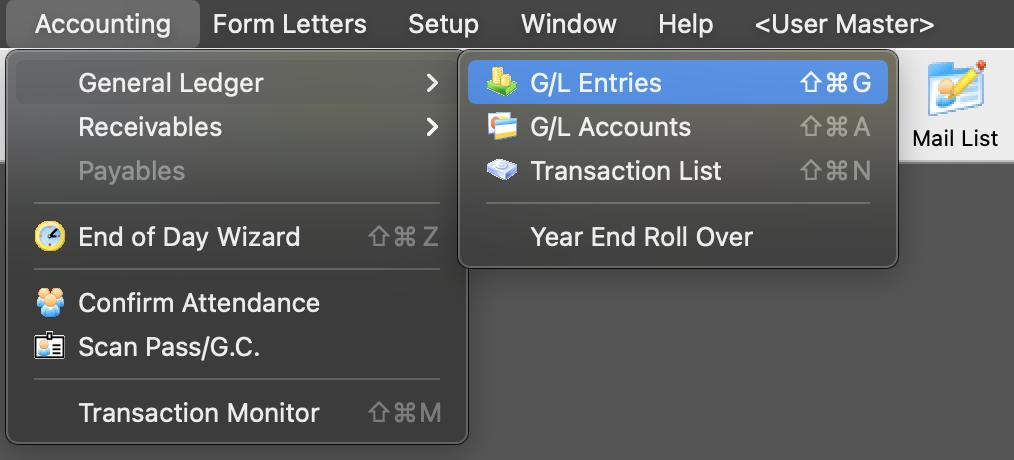
In the Main Menu, selecting Accounting -> General Ledger -> G/L Entries
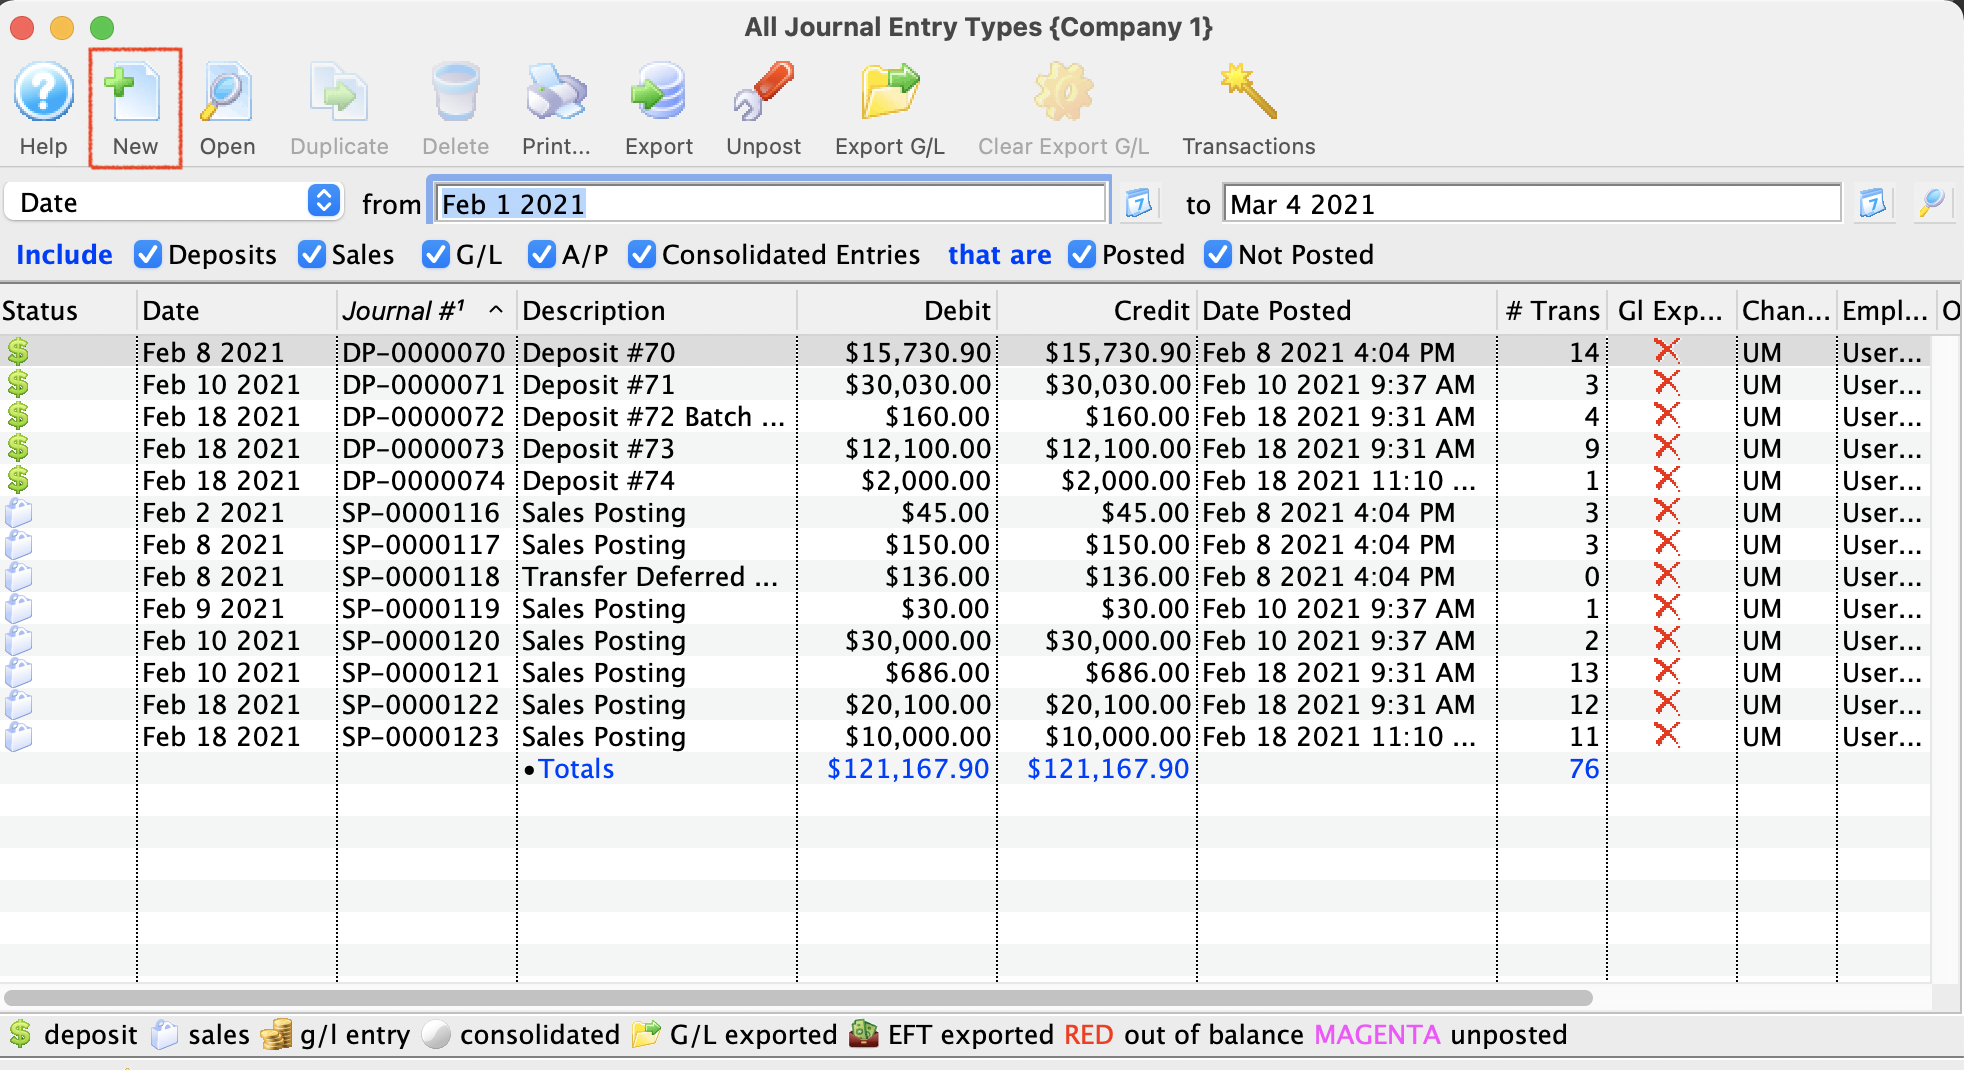
- Inside of the Journal Entry Type Window, Click the New button
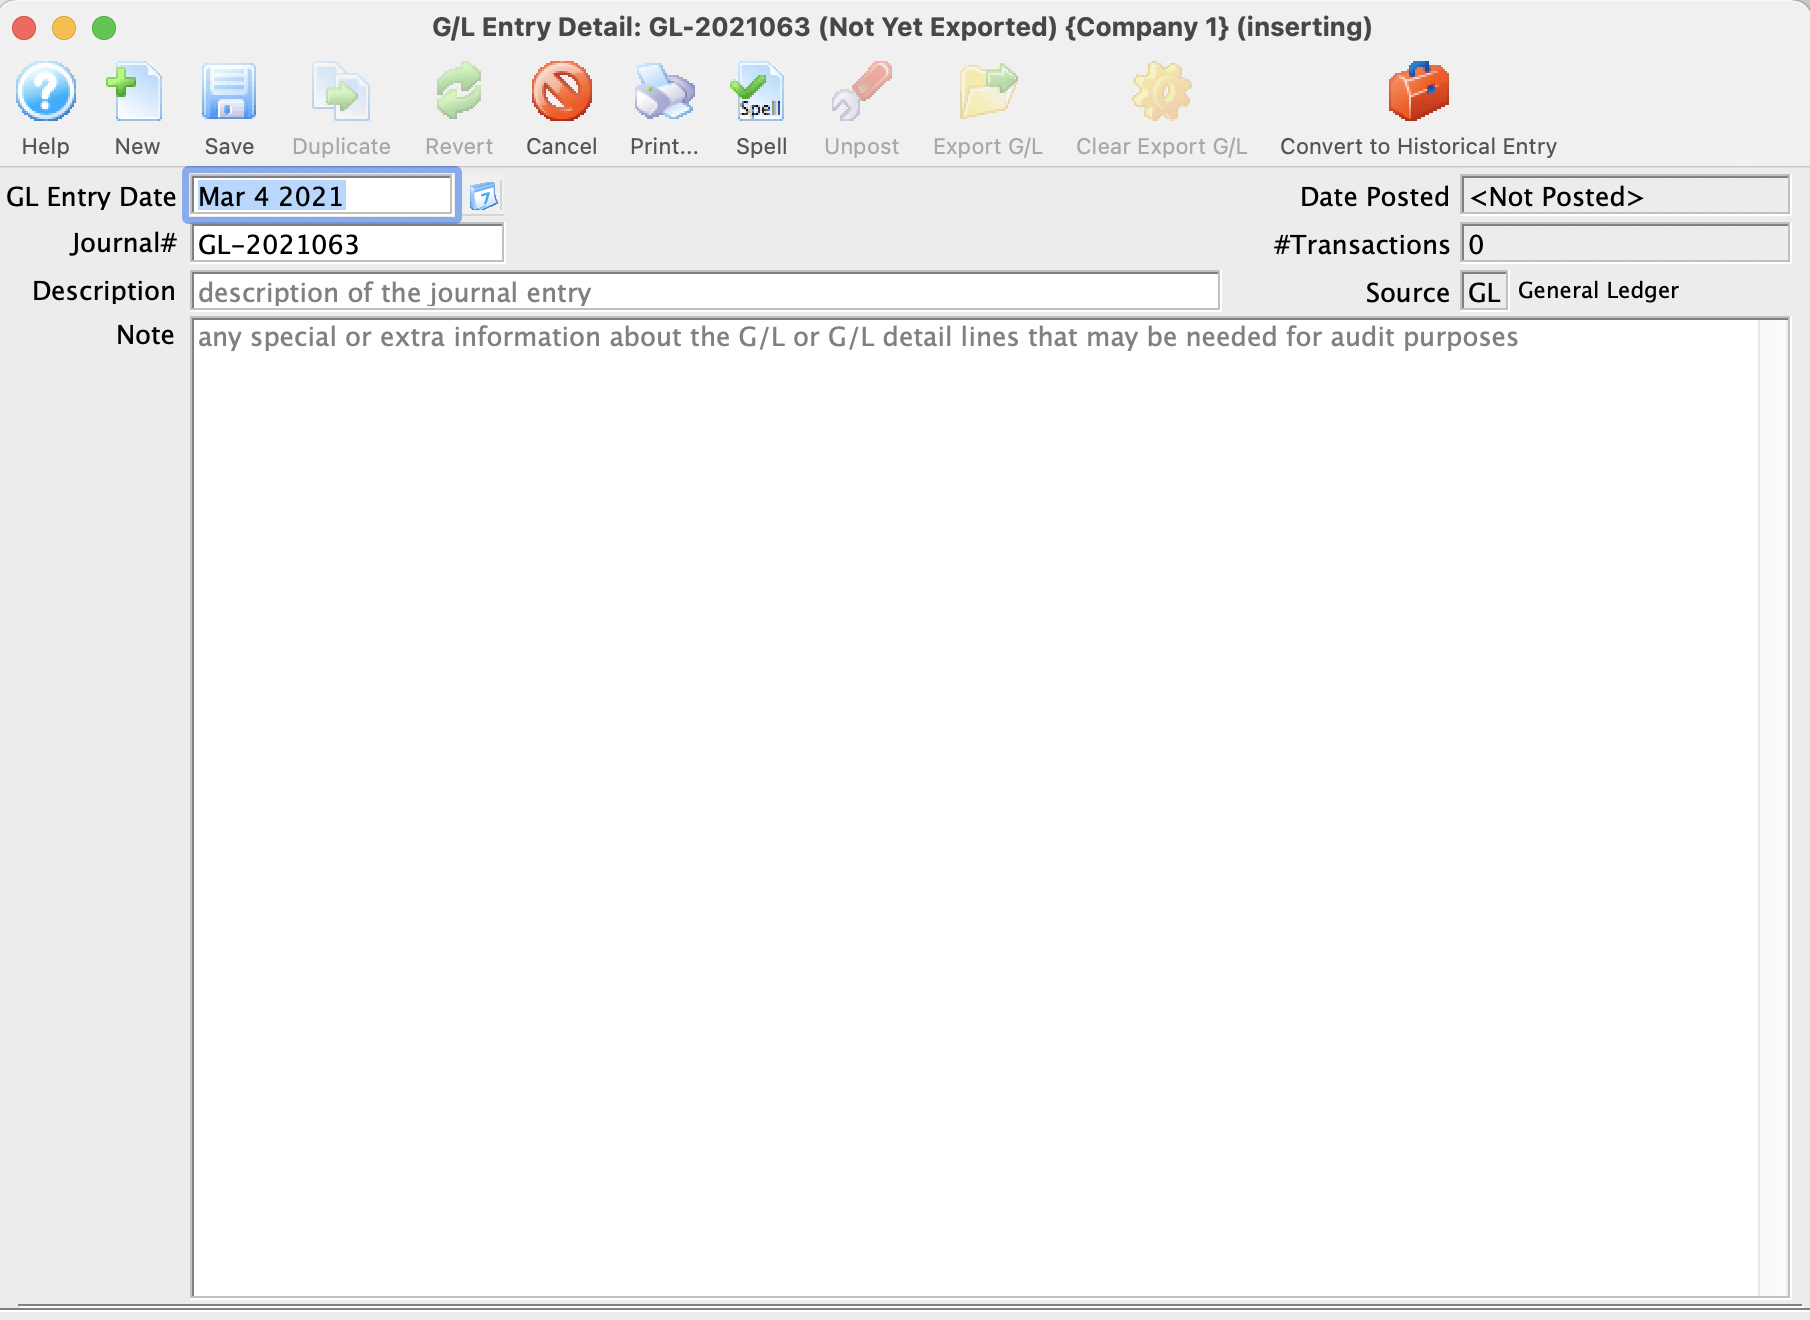
- This opens up the GL Entry Detail Window. To start, enter the date you are creating the entry.
- Enter a Description for the entry.
- Enter a detailed note indicating the reason for the entry.
- Click the Save button at the top of the window. After clicking Save, the G/L Entry Detail Window will update to allow input of the actual G/L entry.
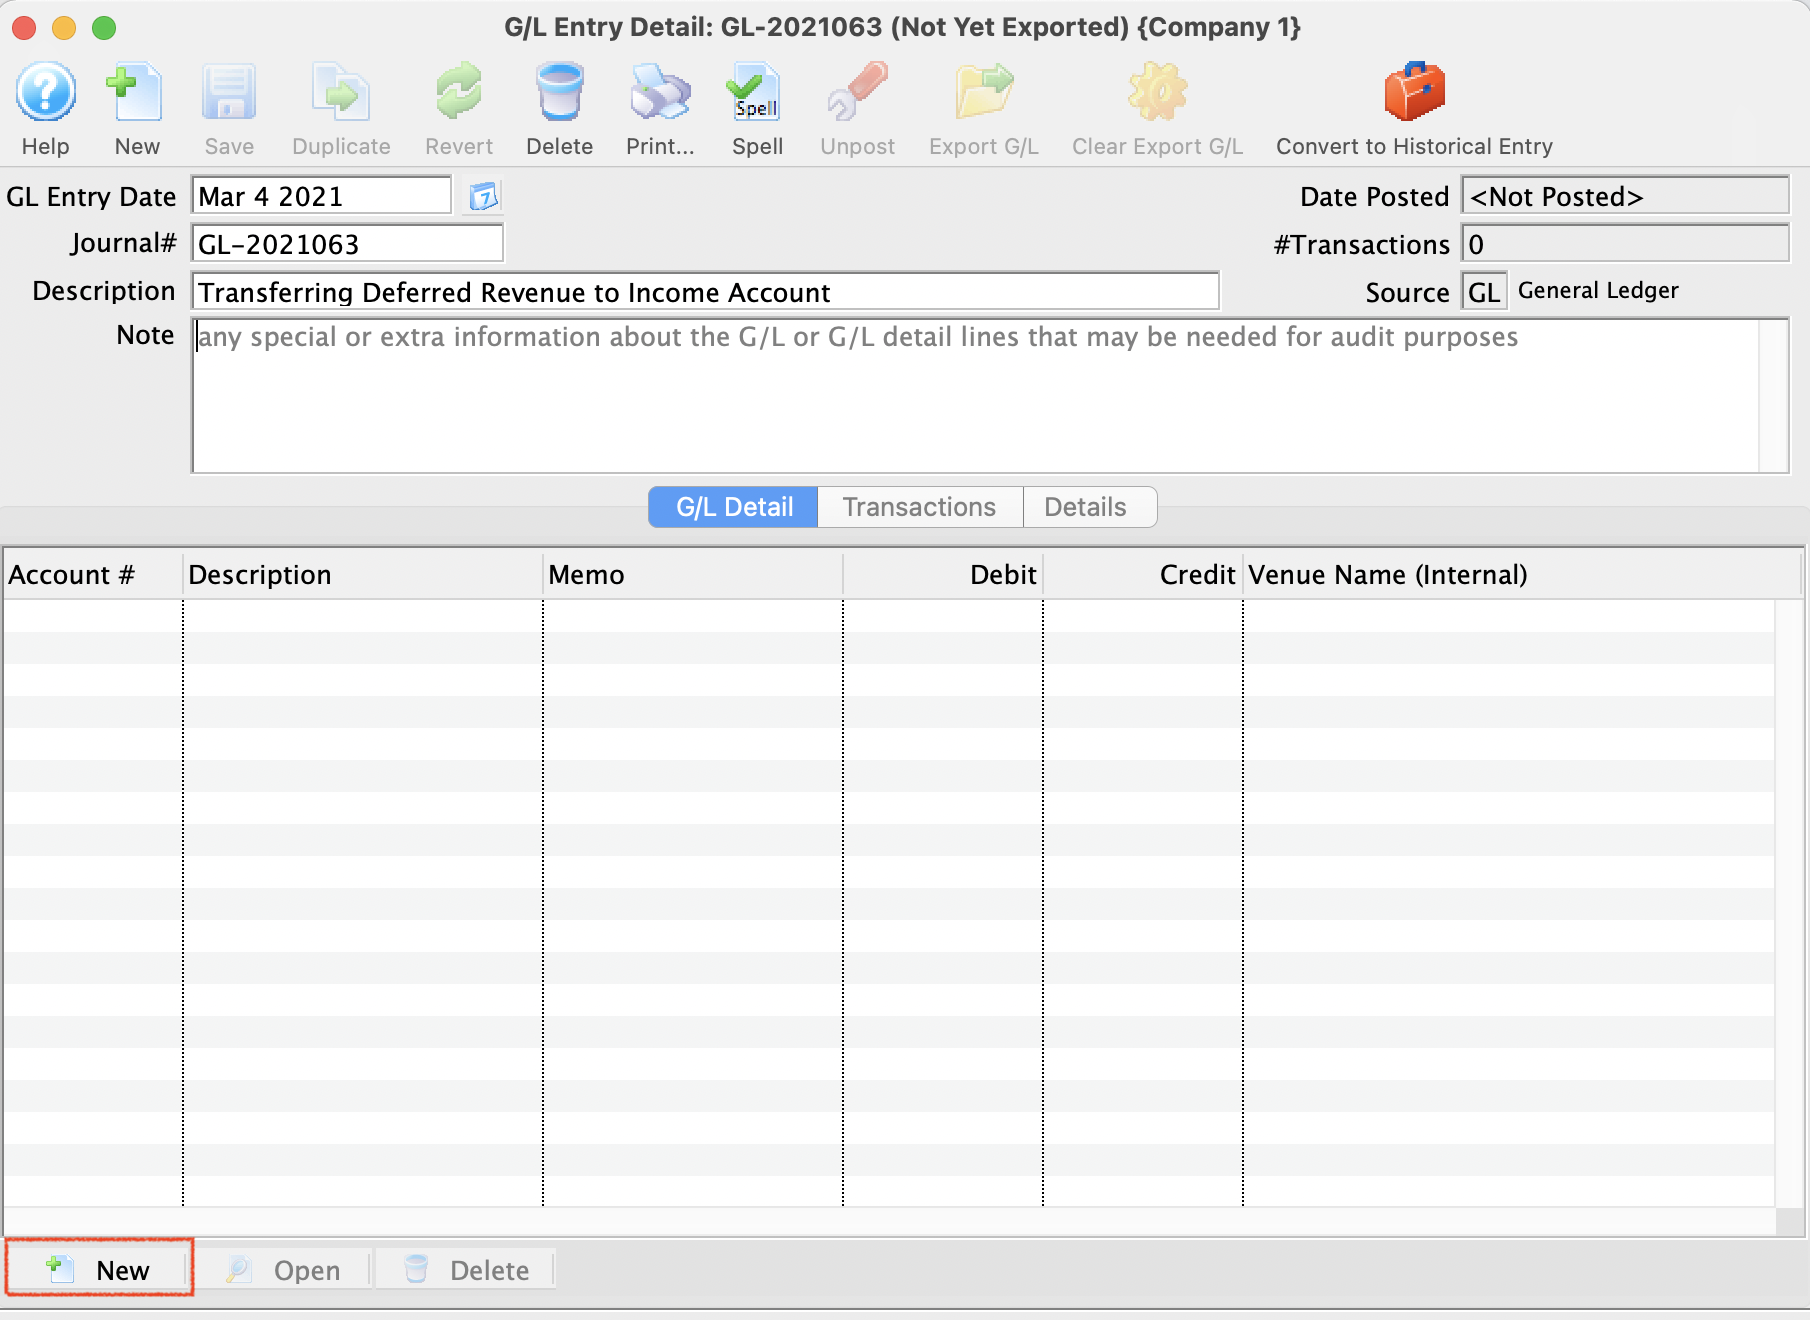
- Click the New button in the lower left corner of the G/L Entry Detail window.
- Click the account icon to the right of the Account field.
- Select the CREDIT G/L account.
- Click the Select button in the lower right corner to select the account number.
- If this GL Entry is for a specific event, use the lookup to locate the event code.
- Enter the Amount of the CREDIT.
- Click the OK button.
- Click the New button in the lower left corner of the G/L Entry Detail window.
- Click the account icon to the right of the Account field.
- Select the DEBIT G/L account.
- Click the Select button in the lower right corner to select the account number.
- If this GL Entry is for a specific event, use the lookup to locate the event code.
- Enter the amount of the DEBIT.
- Click the OK button.
Depending on the date, the entry will be posted the next time the End of Day Wizard is run and the Post to G/L step is taken.