Merchant Profiles
 |
A merchant provider may charge service fees or fixed costs for using this service to offset associated costs with maintaining customer and credit card information on their servers. Moneris charges money; and is not recommended for this feature. |
|
If you only need to save credit cards for post dated or recurring payments, PCI Schedule D - post dated may suffice for your needs.
Contact your merchant provider customer support representative to determine if there will be any additional fees to your organization. |
Merchant Profiles are for organizations who are concerned with PCI compliance and wish (or are required to) maintain a PCI Schedule-C compliance within Theatre Manager.
Using Merchant Profiles reduces the exposure risk by maintaining full credit card information directly on the merchant provider's secure PCI-certified servers without having the requirement to store and maintain credit card numbers within Theatre Manager's database. Using Merchant Profiles in a PCI Schedule-C setup, allow full access to Theatre Manager's features such as Post-Dated Payments, Recurring Donations, and the Auto-Renew Season Subscriptions which would typically require a credit card number to be kept on file for each subsequent payment.
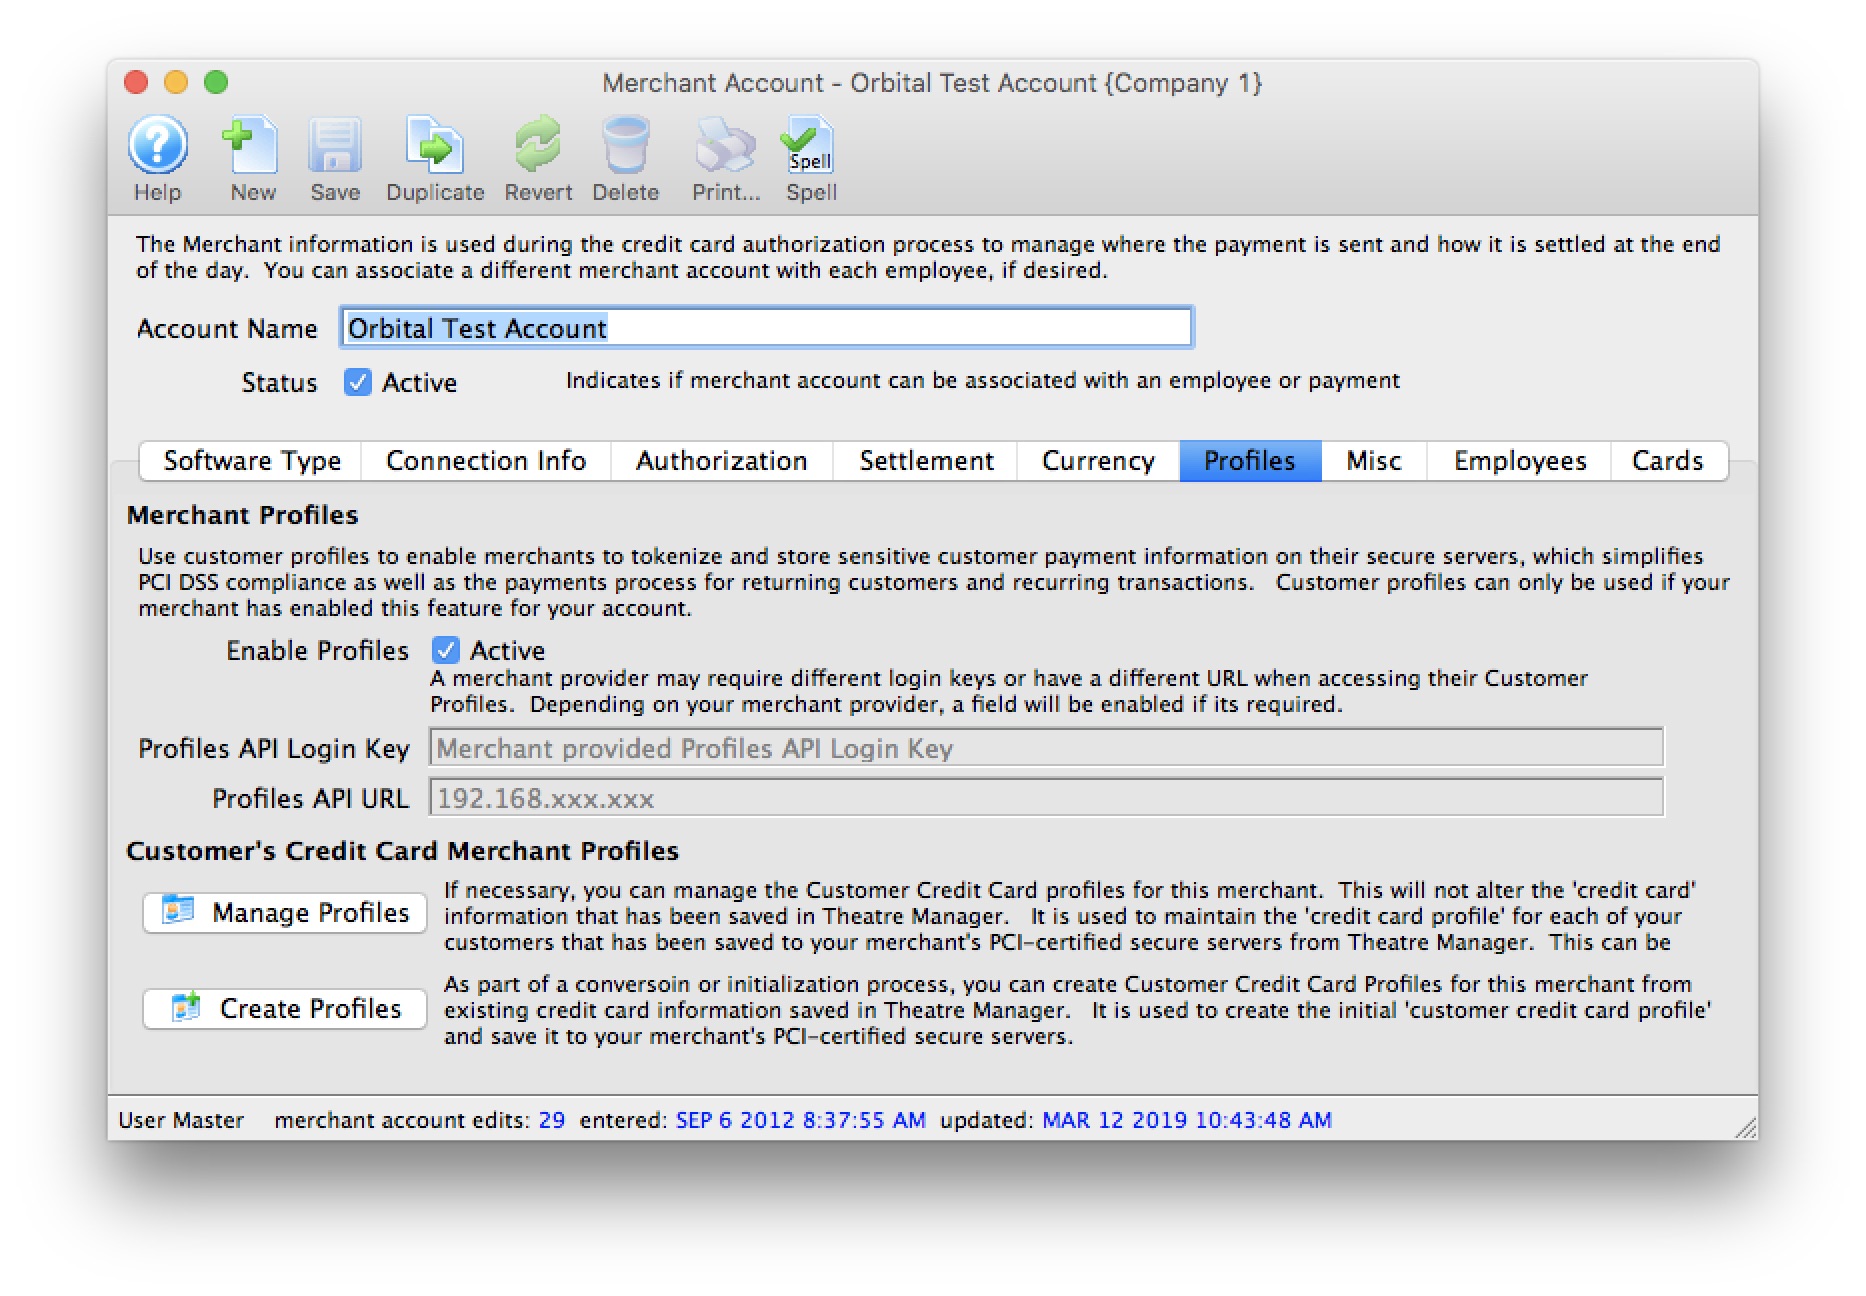
Parts of the Profiles Tab
| Enable Profiles | 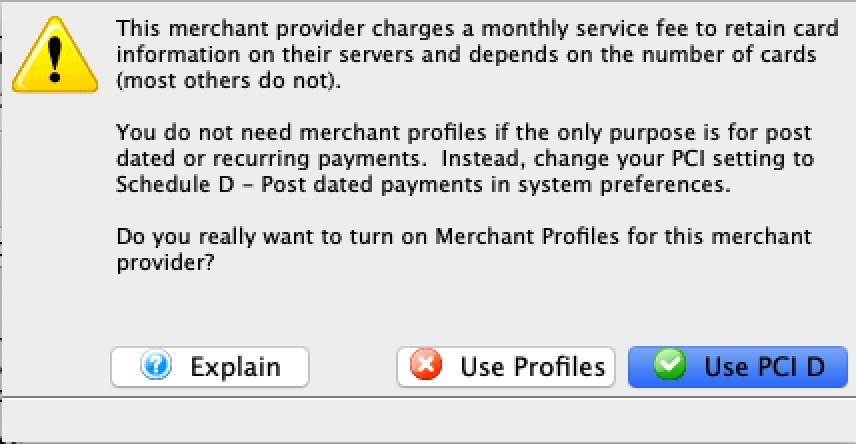 Indicates if this merchant provider account has been enabled to store credit card payment profiles on the merchant account's server.
|
||||
| Profiles API Login Key | The secure API Key used to access credit card profiles on the merchant provider's server.
|
||||
| Profiles API URL | The IP Address to use to access the Credit Card Profiles on the merchant provider's server.
|
||||
| If necessary, you can manage the Customer Credit Card profiles for this merchant. This will not alter the 'credit card' information that has been saved in Theatre Manager It is used to maintain the 'credit card profile' for each of your customers that has been saved to your merchant's PCI-certified secure servers from Theatre Manager. This can be used to cross reference and match the information between the two systems. | |||||
| As part of a conversoin or initialization process, you can Create Customer Credit Card Profiles for this merchant from existing credit card information saved in Theatre Manager. It is used to create the initial 'customer credit card profile' and save it to your merchant's PCI-certified secure servers. |
How Does This Work?
Merchant Profiles allows you to store credit card numbers directly with your merchant provider, on their servers, and then access those saved credit card numbers at any time for subsequent processing without the cardholder being present.
- During the first interaction using the customer's credit card, the credit card number and limited customer information is transmitted and saved on your merchant provider's server.
- A unique token/key is returned from your merchant provider and stored encrypted within Theatre Manager in replacement of the customer's full credit card number profile.
- Future interactions with the customer such as Post-Dated Payments, Recurring Donations, and the Auto-Renew Season Subscriptions, would then transmit the saved token/key rather than the full credit card number during the authorization process.
- Your merchant provider would then cross-reference this token/key to the actual credit card number during the authorization process within their own systems. At no time is the full credit card number displayed or directly visible during the authorization process.
What are the Benefits and Why Should I Use Profiles?
- Merchant Profiles are for organizations who are concerned with PCI compliance and wish (or are required to) maintain a PCI Schedule-C compliance within Theatre Manager.
- Mitigate the cost and risk of storing customer account data by keeping cardholder profiles in a secure, external database maintained by your merchant provider. This can help you reduce the risk of keeping cardholder data in-house and support your Payment Card Industry (PCI) compliance initiatives by protecting data at-rest.
- Saves time by eliminating the need to rekey a card account number and expiration date for each transaction.
- Allows your organization to make the changeover from Schedule-D to Schedule-C PCI Settings while retaining virturally all Theatre Manager's benefits as if still functioning in a Schedule-D environment.
- For clients currently operating in a Schedule-C environment, enabling merchant profiles would allow future interactions with our customers for Post-Dated Payments, Recurring Donations, and Auto-Renew Season Subscriptions.
- For clients who wish to remain in a Schedule-D environment, previously used credit card numbers are masked to the box office staff members during the payment process. Providing further protection from anyone accessing a patron's full digit card number.
A masked card means that it will be displayed in the payment window as '#### **** **** ####'. This renders the PAN useless for all purposes. However, given the first 4 and last 4 digits of any card, you can still validate you're using the correct merchant profile for authorizing the card.
- For clients who wish to remain in a Schedule-D environment, the function of storing previously used encrypted credit card information will remain the same - even with merchant profiles enabled. Using merchant profiles would add another layer of security protection to the full digit card number from being displayed or accessed.
What Will I See Differently in Theatre Manager?
If your PCI Settings are set to Schedule C to shred cards immediately after use:
- You will not notice much difference at all from what you see now. What the box office will benefit from is the ability to create and maintain future interactions with the customer such as Post-Dated Payments, Recurring Donations, and the Auto-Renew Season Subscriptions, would then transmit the saved token/key rather than the full credit card number during the authorization process.
- If your settings are to default the last used credit card for a patron, you will now see a masked the credit card number default for patrons who have previously purchased. The masked number is ok to accept as is for payments without changing it. The payment will use the merchant profile that was created for that credit card number.
If your PCI Settings are set to Schedule D to retain encrypted credit card data in Theatre Manager:
- The main change you will realize is that Theatre Manager will protect any known credit cards for patrons by only displaying merchant profile for a patron. Initially, it will appear as if all credit cards are missing from Theatre Manager, however, they still exist. They are in the background if access to them is required. After using the function to build merchant profiles for known credit cards, the transition to using merchant profiles will more seamless.
- If your settings are to default the last used credit card for a patron, rather then displaying the full set of credit card digits, it will mask the credit card number for patrons who have previously purchased. The masked number is ok to accept as is for payments without changing it. The payment will use the merchant profile that was created for that credit card number.
- During the payment process, if you're searching for known credit cards for a patron, it will only display credit cards that have a merchant profile created for it. Although Theatre Manager may have the credit card on file, if there is no merchant profile created for it, it will not display. If this is a concern, use the function to build merchant profiles for known credit cards, the transition to using merchant profiles will more seamless.
Steps to Start Using Merchant Profiles
- Contact your merchant provider representative and have them enable the module "Customer Payment Profiles" (*read the stop sign below*) on your merchant account.

Each merchant provider has its own unique name for the setup and maintaining of "Customer Payment Profiles." When talking with your merchant provider, use the following name to describe the feature you'll be activating:
- Authorize.Net - use the feature name Customer Profiles
- Bambora - use the feature name Payment Profiles (Theatre Manager's interface with Bambora to maintain Merchant Profiles is currently under development).
- Elavon - use the feature name Card Manager Transactions
- Moneris - use the feature name Hosted Vault
- Paymentech Oribital - use the feature name Customer Profile Management
- After contacting your merchant provider representative and they have confirmed "Customer Payment Profiles" has been enabled on your merchant account:
- set Enable Profiles to "active" to activate the feature within Theatre Manager.
- For Authorize.Net - set the Profiles API URL.
- For Bambora - set the Profiles API Logon Key anbd the Profiles API URL.
- Save the change to the merchant information.
- Log out of Theatre Manager.
- Log into Theatre Manager to start processing credit cards as normal. Customer Payment Profiles will start to be created automatically for each credit card processed.
Steps to Verify if Merchant Profiles are Being Created
- Follow the steps for Accessing the Merchant Profiles Customer List to view a patron's payment profile.
- If a profile exists, Theatre Manager and your merchant provider are functioning correctly.
- If there are no profiles, contact Arts Management Support to review your Merchant Profile Setup.
Can I Stop Using Merchant Profiles?
Yes, at any time. All pre-existing merchant profiles will remain within Theatre Manager's database for future use if merchant profiles is re-enabled for this merchant account. |
If your PCI Settings are set to Schedule D to retain encrypted credit card data in Theatre Manager, and if you process any new credit cards while the Enable Profiles is inactive, a merchant profile will not be created. If you choose to Enable Profiles later on, it is suggested using the function to build merchant profiles for known credit cards, to make the transition back to using merchant profiles more seamless. |
|
If your PCI Settings are set to Schedule C to shred cards immediately after use, and if you process any new credit cards while the Enable Profiles is inactive, a merchant profile will not be created. If you choose to Enable Profiles later on, you will require the full credit card number again before processing another new payment for that patron's credit card. |
- Set the Enable Profiles flag to "inactive" to stop the feature within Theatre Manager. This will only inactivate it within Theatre Manager.
- Save the change to the merchant information.
- Log out of Theatre Manager.
- Log into Theatre Manager to start processing credit cards as normal. Customer Payment Profiles will no longer be displayed or created automatically for each credit card processed.
If I change Merchant Providers, will the Existing Merchant Profiles continue to work with the New Provider?
No. The Customer Payment Profile's created by the merchant provider are uniquely linked to that merchant provider and your merchant account number. Customer Payment Profiles cannot be shared between different providers or accounts.
Building Merchant Profiles for Existing Cards
Merchant Profiles can be created and saved on your merchant provider's secure PCI-certified servers using the existing credit card information in Theatre Manager.
This window is used as an analysis tool to determine the critical and primary credit card profiles that should have a Merchant Profile created.
Parts of the Merchant Profiles Creation Window
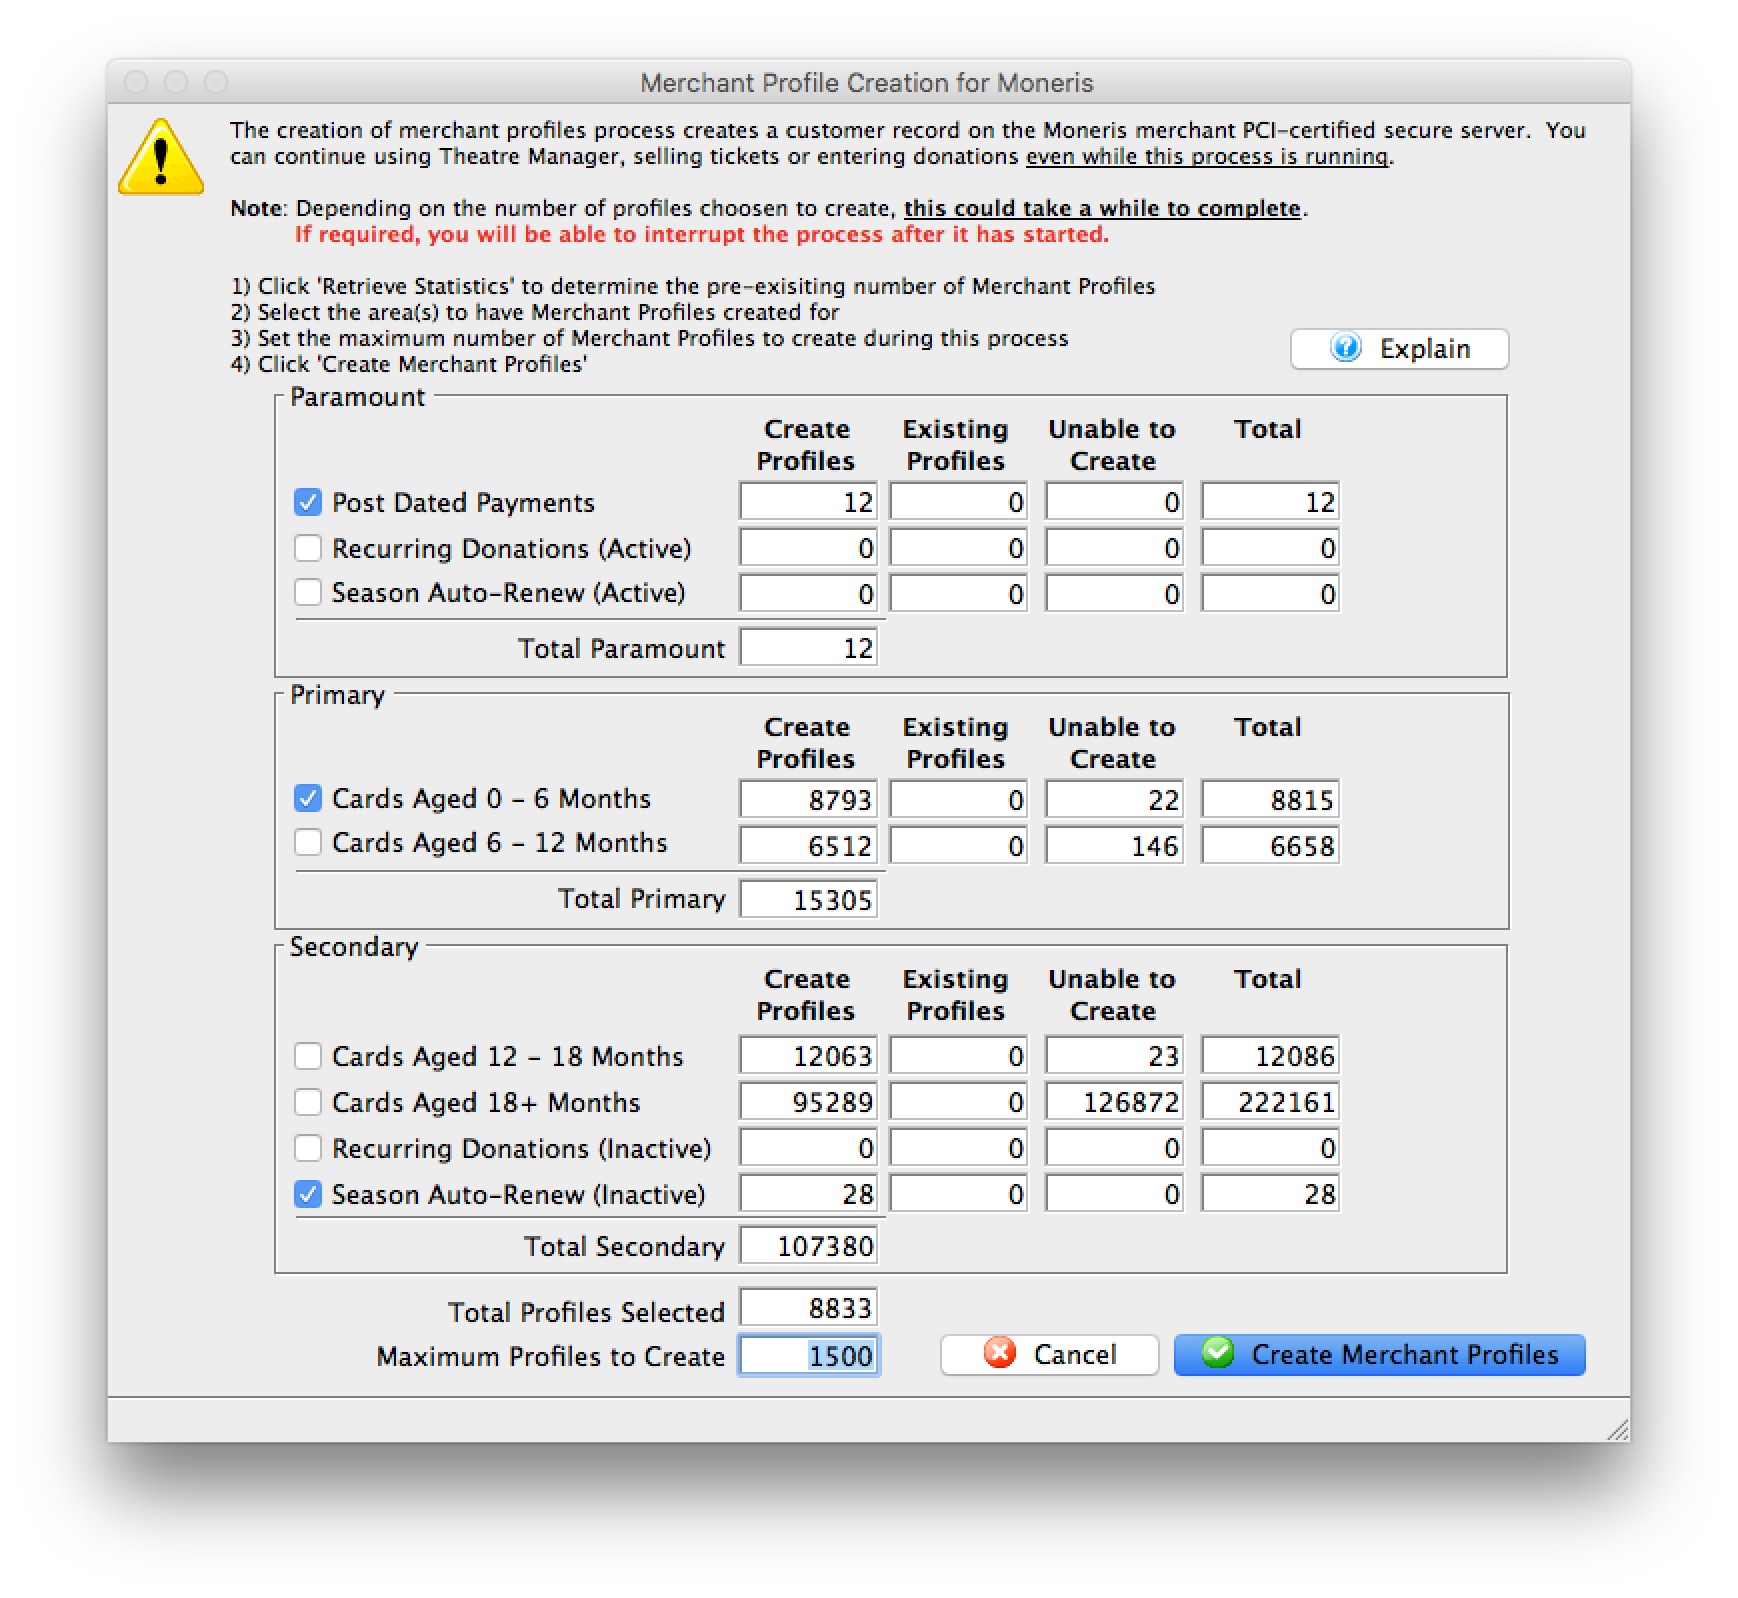
| Post Dated Payments | Select to include credit cards from non-deposited (future dated) post dated payments. | ||
| Recurring Donations (Active) | Select to include credit cards from active and ongoing recurring donations. | ||
| Season Auto-Renewal (Active) | Select to include credit cards from active Season Subscriptions that are setup with Auto-Renewals. An active season is defined as the current and previous seasons. | ||
| Cards Aged 0 - 6 Months | Select to include credit cards that have been used or updated within the previous 6 months. | ||
| Cards Aged 6 - 12 Months | Select to include credit cards that have been used or updated within the previous 6 to 12 months. | ||
| Cards Aged 12 - 18 Months | Select to include credit cards that have been used or updated within the previous 12 to 18 months. | ||
| Cards Aged 18+ Months | Select to include credit cards that have been used or updated over 18 months ago. | ||
| Recurring Donations (inactive) | Select to include credit cards from inactive or completed recurring donations | ||
| Season Auto-Renew (Inactive) | Select to include credit cards from inactive Season Subscriptions that are setup with Auto-Renewals. An inactive season has the season pages flagged as inactive or is 2+ seasons ago. | ||
| Total Profiles Selected | The total number of credit cards selected to create merchant profiles. | ||
| Maximum Profiles to Create | The maximum number of merchant profiles to create during this process. | ||
 |
Query Theatre Manager's database to determine the possible number of merchant profiles that can be created; the number of existing merchant profiles; and the number of known credit cards that are unable to be used for creating a merchant profile.
|
||
 |
Start the process for creating merchant profiles for the selected credit card numbers.
|
 |
Before proceeding, verify that this merchant account has credit card payment types(i.e. VISA, MC, DISC, AMEX, etc.) created and assigned in code tables. If a payment method does not exist as a credit card type for this merchant, a merchant profile will not be created. |
- Open the Merchant Profile Creation window.
Click here to learn how to access this window.
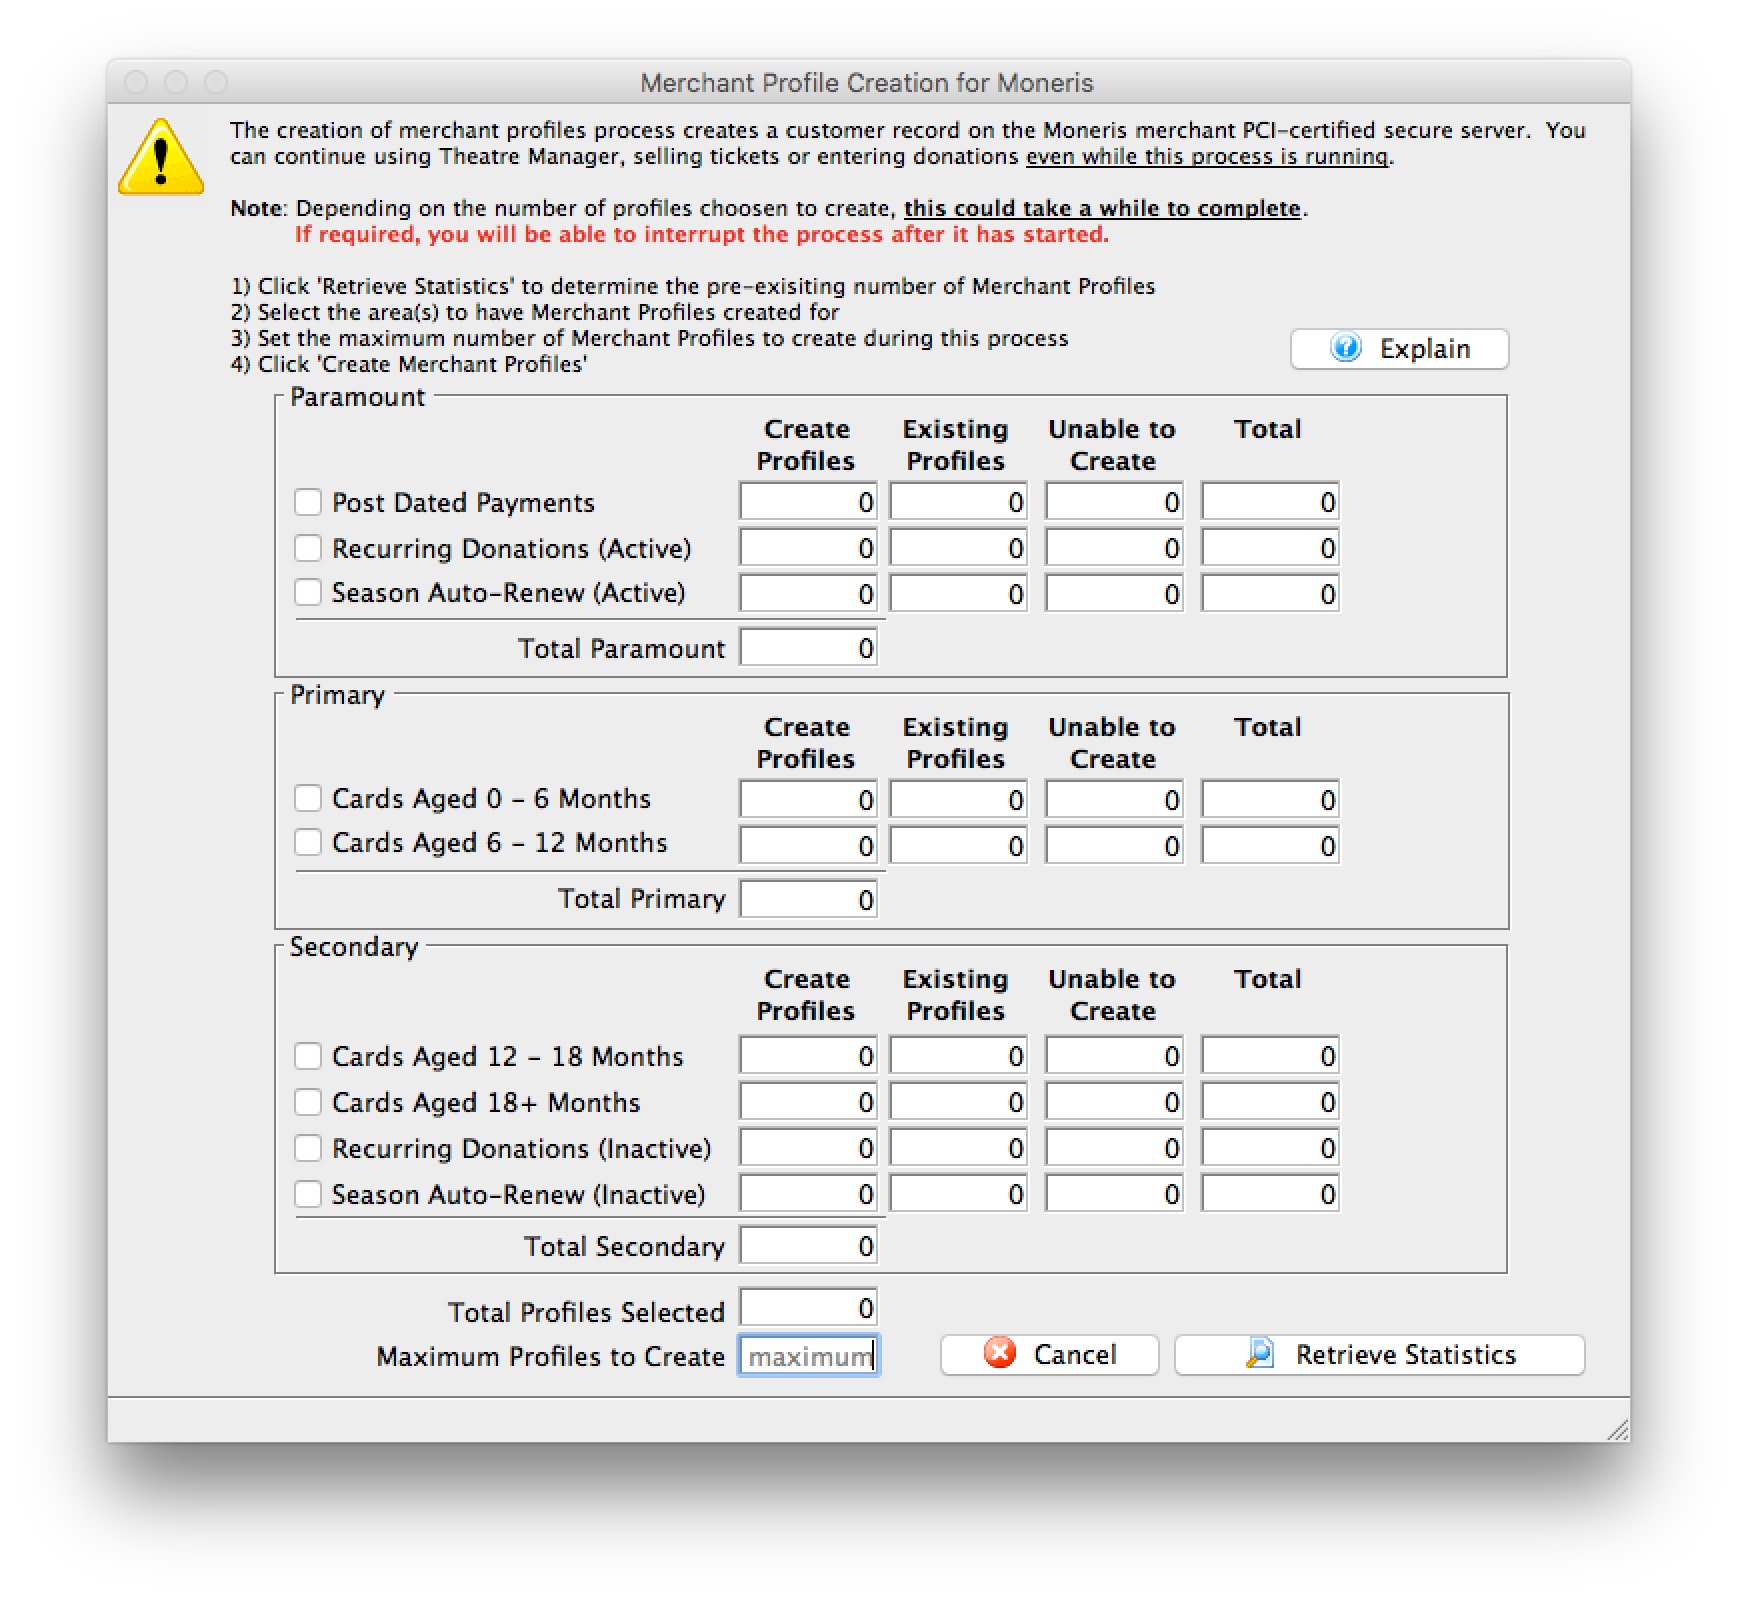
- Click Retrieve Statistics.
A confirmation window will open prior to proceeding.
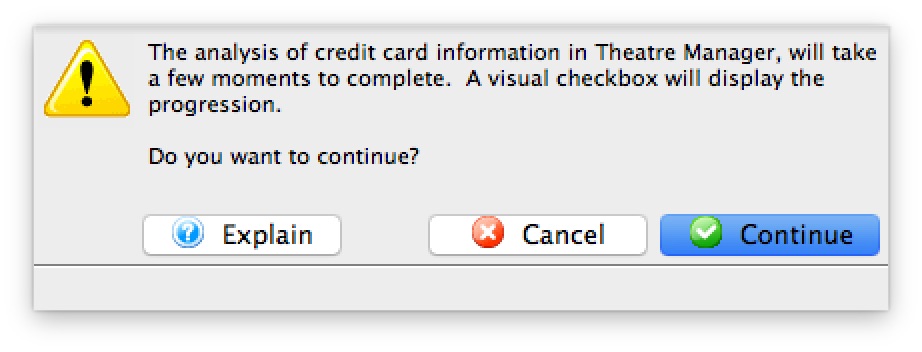
Depending on the number of existing credit cards in Theatre Manager, the credit card analysis tool determining the number merchant profiles to create may take a while to complete. - Click Continue.
A progress checklist window will open.
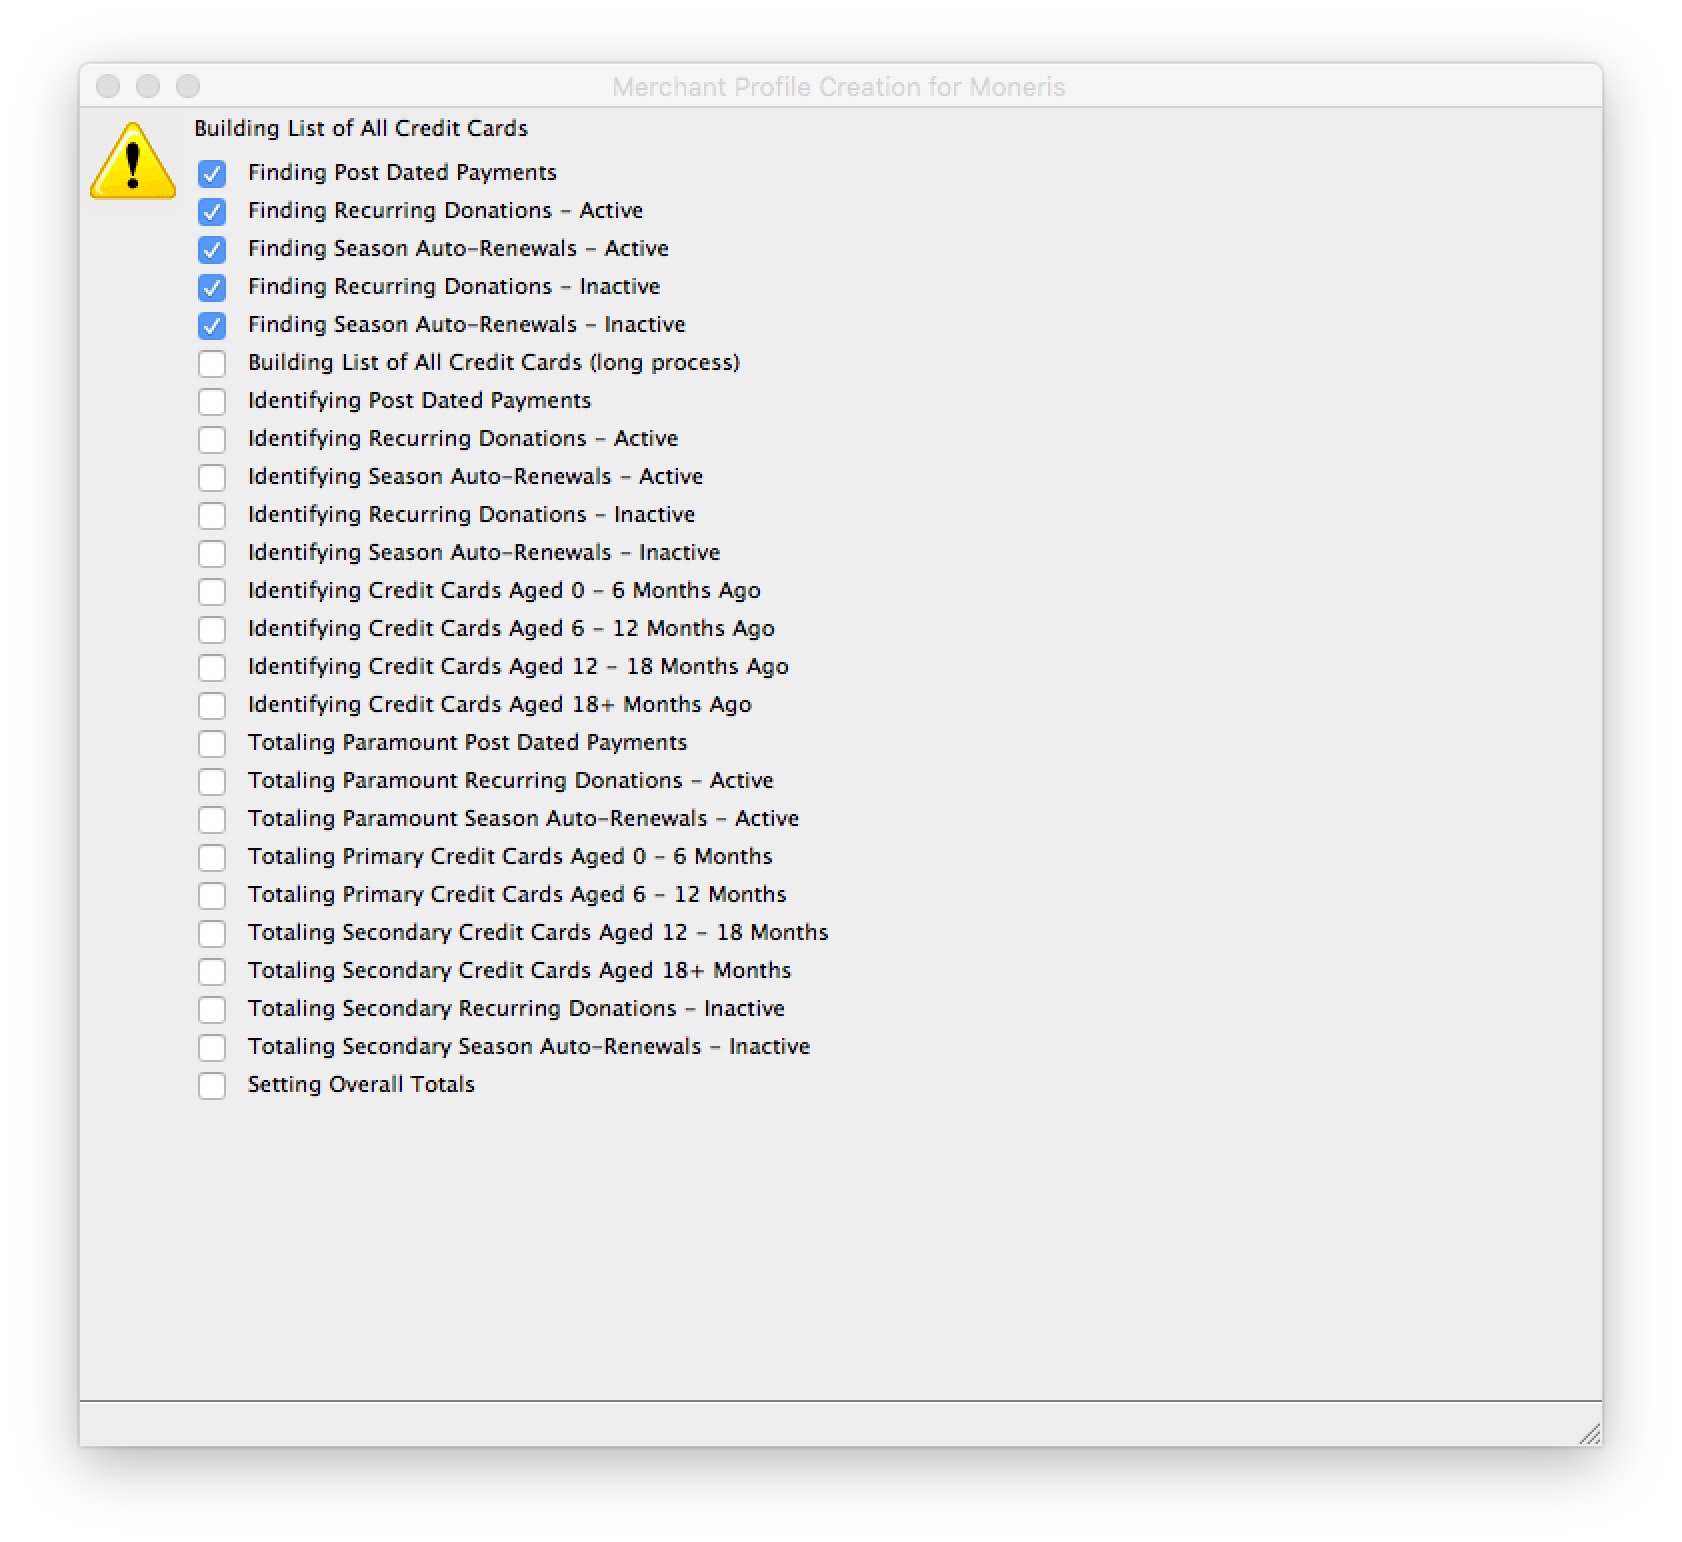
- Select the area(s) to have merchant Profiles created for.
- Set the maximum number of Merchant Profiles to create during this process.

If the Maximum Number of Profiles to Create is less than the Total Profiles Selected, the credit card list will be sorted in the following sequential order in attempts to create the most important credit card profiles first: - Post Dated Payments
- Recurring Donations (Active)
- Season Auto-Renew (Active)
- Cards Aged 0 - 6 Months
- Cards Aged 6 - 12 Months
- Cards Aged 12 - 16 Months
- Cards Aged 18+ Months
- Recurring Donations(InActive)
- Season Auto-Renew (InActive)
- Credit card last used/updated date
- Click Create Merchant Profiles.
A confirmation window will open prior to proceeding.
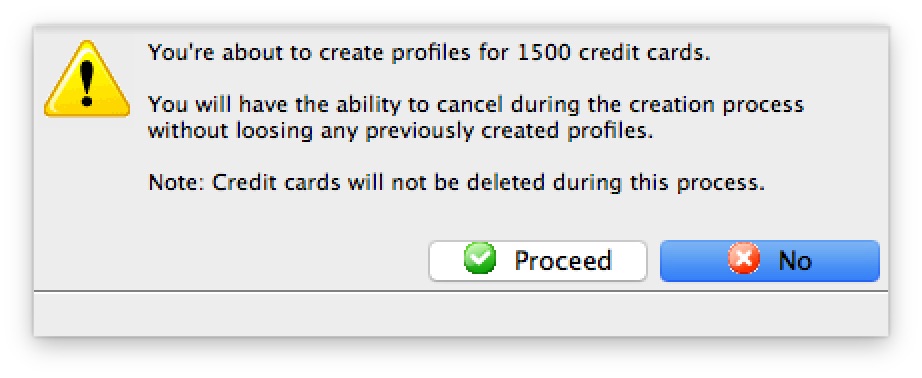
Depending on the number of merchant profiles requested to create, the process may take a while to complete. - Click Proceed.
A progress window will open.
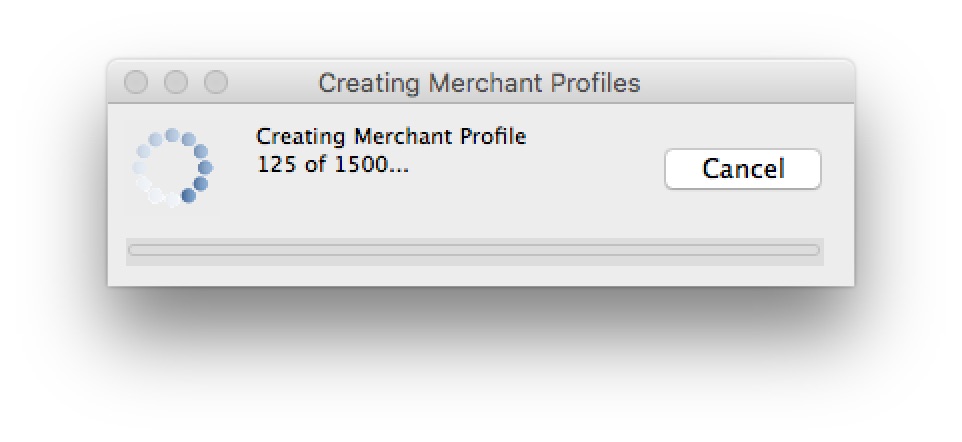
Clicking cancel on the progress window will stop the process. All merchant profiles that have been created up to the time the cancel button was clicked, will remain. - Upon Completion of the Routine.
A status window will open.

If a message that 0 merchant profiles were created after running the Building Merchant Profiles for Existing Cards function: 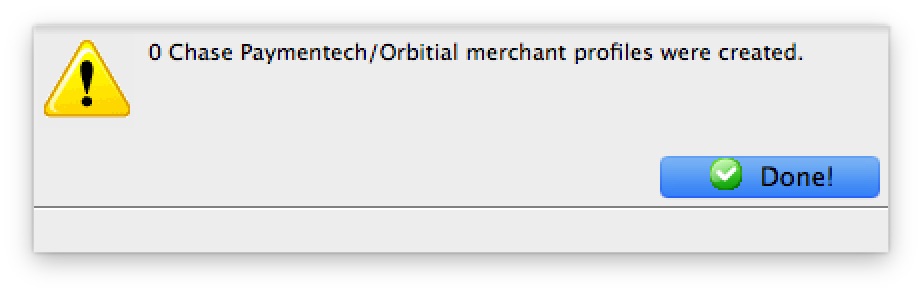
- Verify that this merchant account has credit card payment types(i.e. VISA, MC, DISC, AMEX, etc.) created and assigned in code tables.
- Verify the Profiles API Login Key and/or Profiles API URL are valid if your merchant account requires either of these 2 fields.
- Contact your merchant provider representative to confirm they have enabled the "Customer Payment Profiles" feature on your merchant account.
- Authorize.Net - use the feature name Customer Profiles
- Bambora - use the feature name Payment Profiles
- Elavon - use the feature name Card Manager Transactions
- Moneris - use the feature name Hosted Vault
- Paymentech Oribital - use the feature name Customer Profile Management
Each merchant provider has its own unique name for the setup and maintaining of customer's payment profile information. When talking with your merchant provider, use the following name to describe the feature you'll be activating:
Creating a Merchant Profile
Merchant Profiles are created automatically when the Merchant Profile option is enabled for a merchant provider. When a credit card number is provided as a form of payment and a merchant profile does not already exist for this specific patron/payment combination, Theatre Manager will communicate with the merchant provider directly to get a Client Token and Payment Token assigned for the patron's payment information.
Patrons will have a separate Client Token/Payment Token combination for each credit card number used for payment.
|
Merchant Profiles are not shared between merchant providers, even if the merchant account is with the same merchant provider. If you have multiple merchant accounts setup for different operational unit within your organization (i.e. box office sales, internet/web sales and/or development) and each merchant account is enabled to maintain profiles, then a patron could have multiple Client Token/Payment Tokens for the same credit card if the patron provides payment with those different operational units. In most cases the organization only has a single merchant account, thus there would only be a single Client Token/Payment Token for each patron credit card. |
|
For patron credit card security reasons, functionality to manually enter the Client Tokens/Payment Tokens generated by a merchant provider into Theatre Manager is not allowed. |
Deleting a Merchant Profile
- Open the Merchant Profiles List window.
Click here to learn how to access the Merchant Profiles List window.

- Select the Merchant Profile to be deleted.
Single click on a Merchant Profile to select it.
- Click the Delete
 button.
The Delete Record confirmation opens.
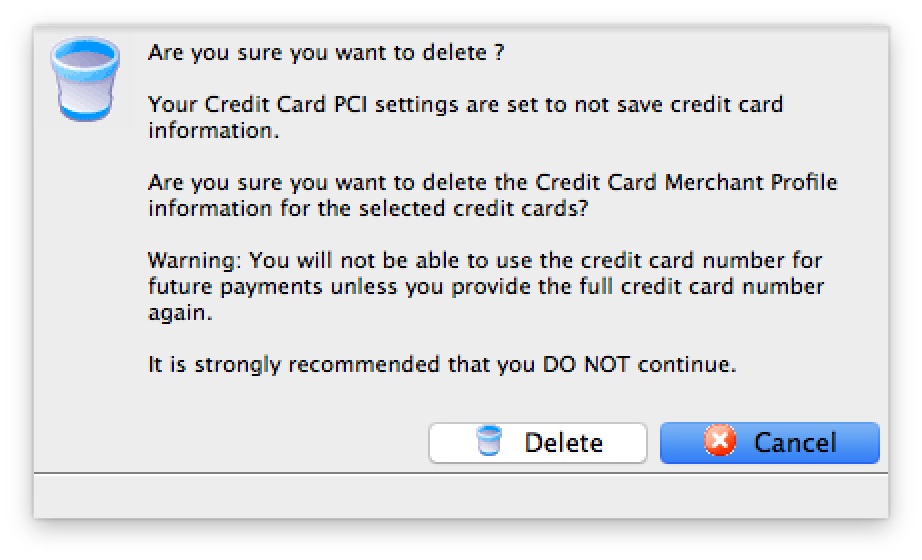
- Click the Delete
 button.
A second Delete Record confirmation opens.
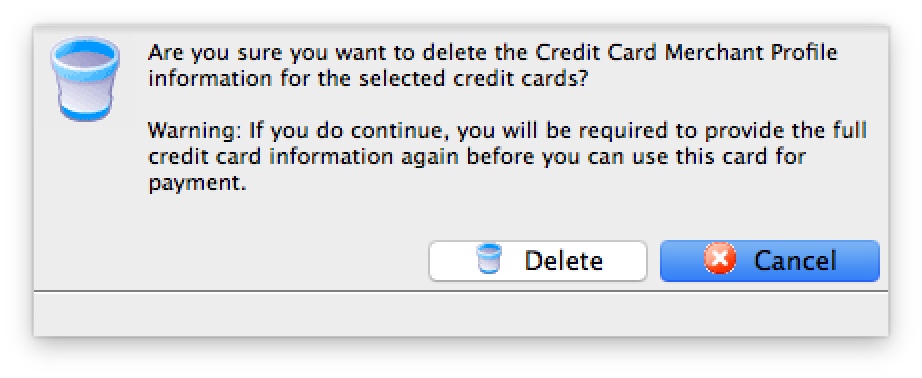
- Click the Delete button.
The Merchant Profile from Theatre Manager is now deleted.
Theatre Manager does a best attempt to delete the customer profile from the merchant provider's servers. There could be a circumstance where the customer profile cannot be deleted using the API calls from Theatre Manager. If this occurs, login into your merchant provider's web portal and delete the customer profile manually.
If the Merchant Profile is referenced by other files in the system, you will be unable to delete it and Theatre Manager will not delete the customer profile from the merchant provider's servers.
Merchant Profiles Customer List
The Merchant Profiles List can be used to review the customer profiles created and located on your merchant provider's secure PCI servers. This list can also be narrowed to only patrons on a specific grouping by using select criteria. This window is only visible to an employee if they have been granted access under Employee Setup.
Merchant Profiles List Buttons
 |
Opens the Merchant Profile Detail window for the selected profile. Click here for more information about the profile detail window. |
|
Deletes the merchant profile. Click here for more information on deleting profiles. |
 |
Prints a report the of the profiles in the merchant profile list to screen or default print location. |
 |
Exports the data from the merchant profiles list into a tab delimited format and saves it to a selected location. |
 |
Opens the Patron record for the selected patron. |
Parts of the Merchant Profiles List Window
| Patron # | The unique identifier for this patron account. |
| Type | Type of Patron account. |
| First Name | The first name of the patron. |
| Last Name | The last name of the patron. |
| Company | The company that the patron works for. |
| Profile # | The company that the patron works for. |
| Credit Card | The credit card number. |
| Expiry Date | Date the card will expire. |
| Name on Card | Name printed on the credit card used for added security when processing the card. |
| Active | The state of the card and if it can be selected to process credit card transactions. Expired, lost or stolen cards can be set to an inactive state. |
| Blacklisted | Indicates if this credit card is blacklisted for this patron. If blacklisted, the patron cannot use the card again unless this card is reset. |
| Merchant # | The unique identifier for this merchant account. |
| Merchant Description | The internal description to identify the merchant account. |
Accessing the Merchant Profiles Customer List
There are a few ways to access the customer payment profiles, depending on the end result.To view all merchant profiles created for a specific merchant:
- Open the Merchant List window.
- Edit the merchant account.
- Click the Profiles tab.
- Click the Manage Profiles button.
To view all merchant profiles for a specific patron:
- Open the Patron Window.
- Click on the Credit Card Tab.
- Right-mouse-click on the patron's credit card list within the patron window.
- Select "Merchant Profiles" from the context pop-up menu.
To view merchant profiles for a specific patron while making a payment:
- Open the Payment Window for an order.
- Choose a credit card payment method from the list of payment options.
- Click on the Credit Card Lookup button.
Merchant Profiles Customer Detail
Parts of the Merchant Profiles Detail Buttons
|
Deletes the merchant profile. Click here for more information on deleting profiles. |
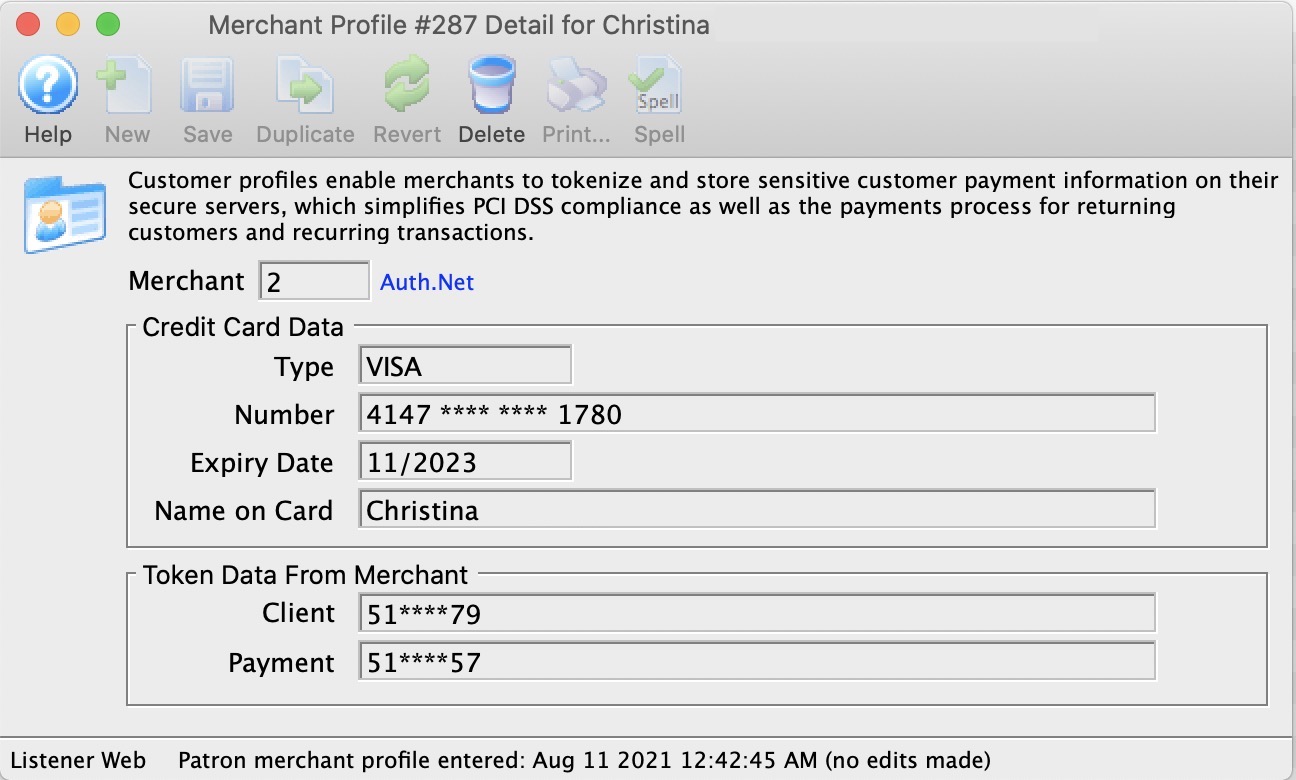
Parts of the Merchant Profiles Detail Window
| Merchant | The unique identifier and internal description for this merchant account. | ||
| Card Number | The credit card number. | ||
| Expiry Date | Date the card will expire. | ||
| Name on Card | Name printed on the credit card used for added security when processing the card. | ||
| Client Token | The unique identifier assigned by the merchant provider for this patron's customer information. | ||
| Payment Token | The unique identifier assigned by the merchant provider for this patron's payment information.
|