Adding the Graphic Map
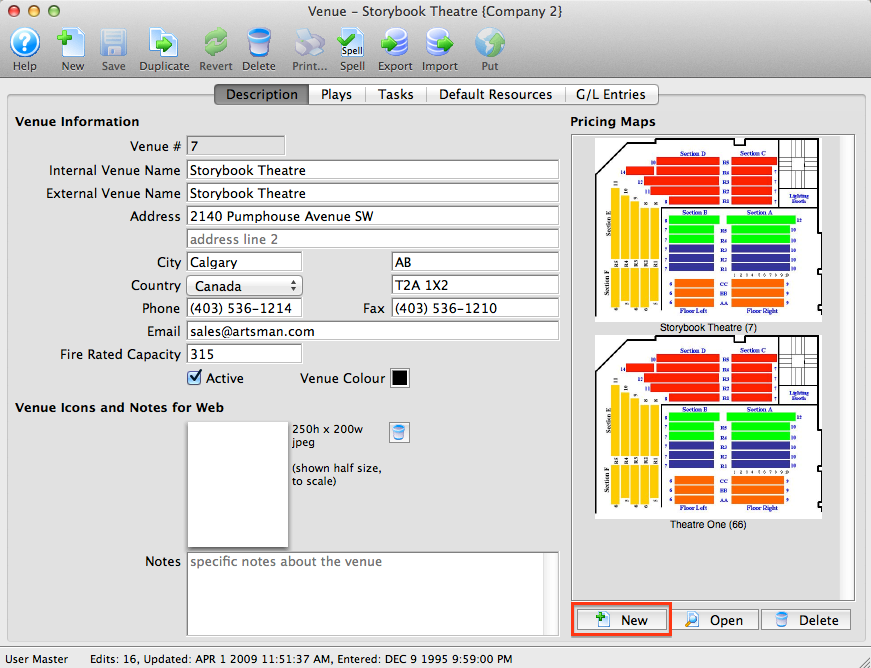
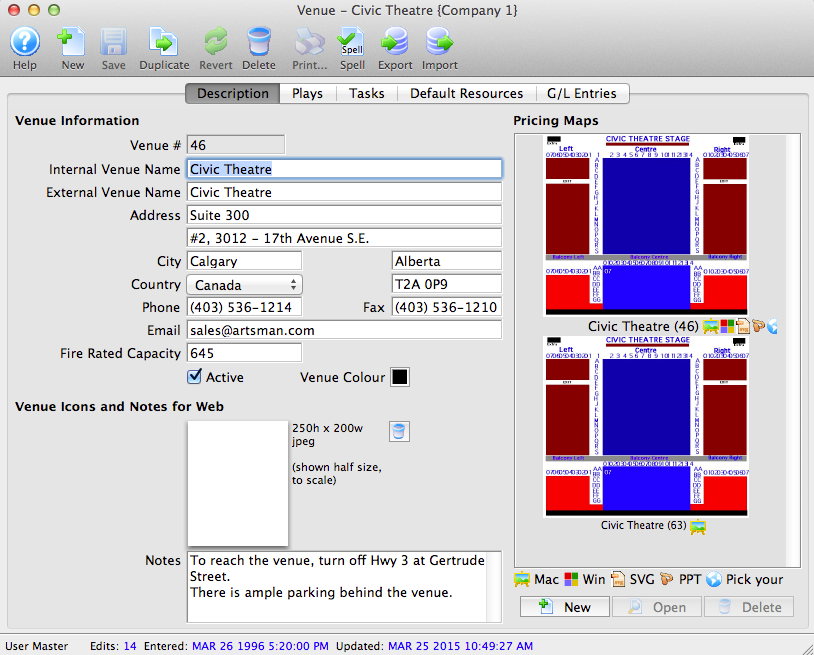
As noted earlier in this section, each Venue can contain multiple Pricing Maps.
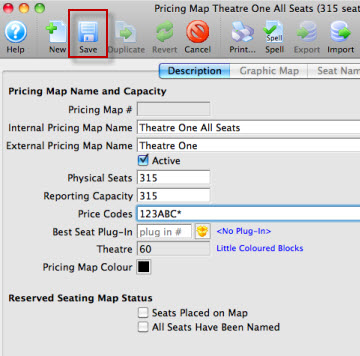
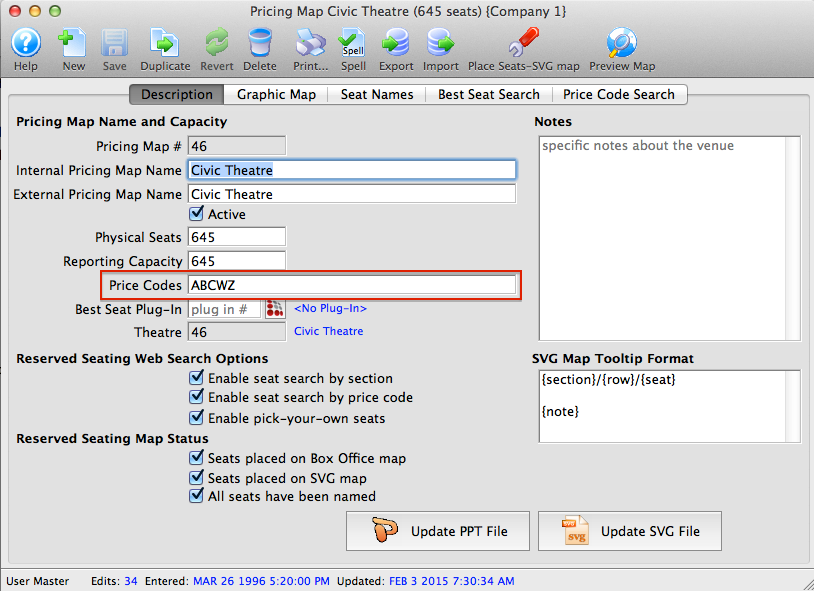
- To add a new Pricing map, click the New
- Enter the Price Map Name and Capacity information.
- Enter the Price Codes you wish to use on this Pricing Map.
- Enable or disable the default Reserved Seating Search options you wish to use for this Pricing Map.
- Click here for more information about Enabling seat search by section.
- Click here for more information about Enabling seat search by Price Code.
- Click here for more information about Enabling Pick Your own Seats online.

The "Seats Placed" and "Seats Named" checkboxes will automatically populate when the map is complete.
- When complete, click the Save
 button.
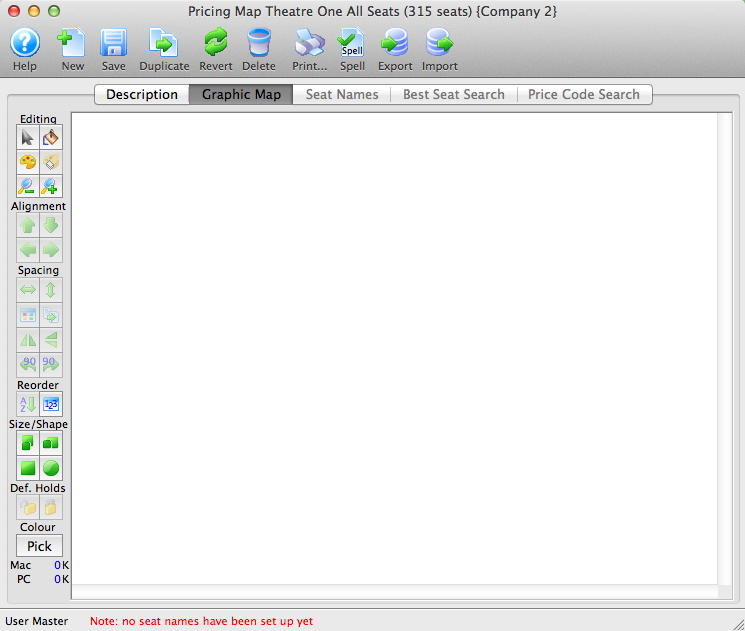
You can now add the Graphic Map.
- Click the Graphic Map
 tab.
tab.
The Graphic Map tab opens. Click here for more information on the graphic map tab.
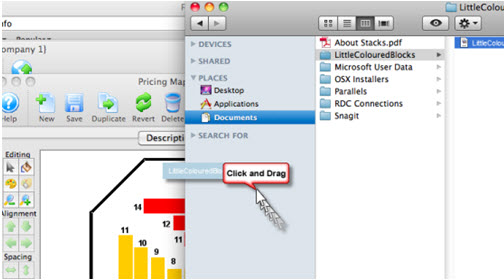
- Drag and Drop your graphic onto the Graphic Map page.
Click here for information on creating your graphic map in a program outside of Theatre Manager.
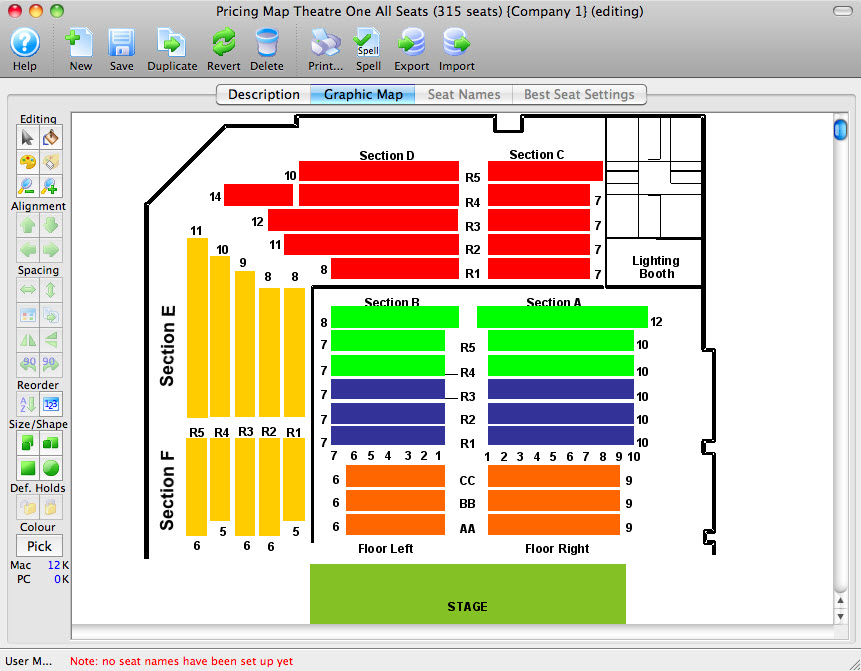
You can now add your seats to the map.
 button in the Theatre window.
The Pricing Map opens. Click here for more information on the Pricing Map window.

Importing a Graphic Map
|
All graphic maps start with e PPT document that is exported to an SVG |
When needed, open the PowerPoint image file in OpenOffice to create the SVG file.
The easiest way to place an SVG graphic map file is to simply DRAG the file from the folder it is located in and DROP it in the white space of the  tab in Theatre Manager.
- Open the Theatre Map Window.
Click here to learn how to access the window.
- Click on the Venue you wish to import a Graphic Map to, and then click the
Open
 button.
- Double-click on the Pricing Map on the right-hand side where you want to add a graphic.
- Click on the Graphic Map tab.
- DRAG the SVG file from the folder it is located in and DROP it in the white space of the Map Tab inside Theatre Manager.
The Pricing Map opens. Click here for more information on the Pricing Map window.
Importing Theatre Map Files from other Venues
If your organization performs at another venue that also uses Theatre Manager, it may be helpful to import the Pricing Map they use rather than to build a map from scratch. You can edit the Pricing map later to reflect your Price Zones, however the graphic itself along with all the seats and their positioning can be imported into your database using this method. This can save you considerable time over creating a new Pricing Map. Please feel free to contact Arts Management Systems if you need assistance in discussing sharing the file with the other venue.
The map you wish to import must have been exported out of the neighbouring organization's database using the .tmm (TM Map Interchange) format.
To export a map using the .tmm format, perform the following steps:
- Open the Pricing Map that you want to save as a .tmm file.
- Click the
 button.
- Choose "TM Map Interchange Format (.tmm)" from the menu
- Save the file to a thumb drive or other location where you can retrieve it easily
To import a Theatre Map file, you would perform the following steps.
- Create a venue (if you do not already have one) for the imported Pricing Map.
- Open the Pricing Map Window for the venue.
Click here to learn how to access the window.
- Click the Import
 button.
The Import Theatre Map window opens.
- Select the Theatre Map File you exported above.
- Click the Open
 button.
The Theatre Map window opens.
Add Price Codes to an Existing Pricing Map
Price Codes are composed of letters, numbers or characters and - in general - represent geographic regions of the venue. For example, "A" may represent the Orchestra Section, while "B" represents the Balcony. Furthermore, you can have multiple Price Codes on each seat that mean different things. An Orchestra seat may have both "A" and "1" enabled for "Single" (A) and "Subscription" (1) pricing.
When additional Price Codes are required for an event / play they need to be added at the map level. The Price Codes then become accessible in the Pricing tab of Events/Plays setup using the same map.
To add price codes, you perform the following steps:
- Click the Venue / Theatre
 button in the main Theatre Manager toolbar / ribbon bar.
The Theatre List window opens.
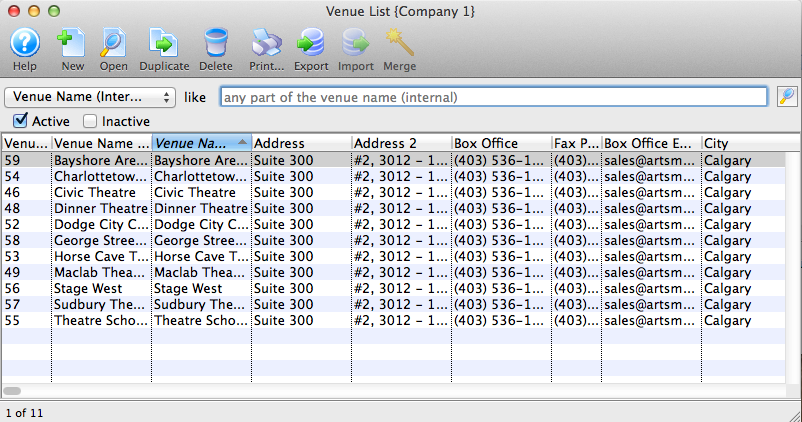
- Select the Theatre /Venue.
The Venue / Theatre window opens.
- Choose the Pricing map requiring the additional price codes (double click on it).
For more information on building a new map click here.
- Add the desired letter(s) to the Price Code field.
Price Code letters, numbers and symbols should be entered side by side without spaces, commas, dashes or other separators.
- Select the Seat Names tab at the top of the window.
For more informaton on the seat names tab click here.
- Add the letter(s) entered above in the Price Code column next to each seat needing access to this code. Alternatively the seat names can be exported, altered outside of Theatre Manager and imported back into the map.
For more information exporting seat names click here. For more information importing seat names click here.
- Click the Save
 button at the top of the window.
- Close the map.
The Price Code(s) have now been added to the Events / Plays using this map number. You may need to review existing Events / Plays to disable the new Price Code. You may also want to review the Disabled Price Codes field of your Sales Promotions to ensure the new Price Code is disabled where required.
For more information on disabling promotions click here.