Printing a Form Letter or Email
In Theatre Manager, Form Letters can be printed and emailed. It is also possible to print address labels for letters that have been printed. Printing begins at the Form Letters Menu under Tasks.
Various criteria can be used to select a batch of letters for printing, but since letters are assigned to or created by specific employees, it is easiest to print unprinted letters using the employee(s) responsible for them. For descriptions of how to do so, follow the links below.
Printing Unprinted Form Letters
- Letters can be printed for a single employee. Click here for more information.
- Letter can be printed for all employees. Click here for more information.
Printing Labels for Printed Letters
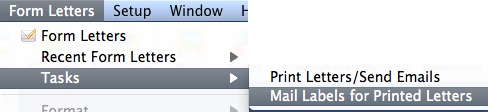
- Address Labels can be printed in conjunction with printing Form Letters. Click here for more information.
- Address Labels can be printed for Form Letters well after the letters have been printed. Click here for more information.
Printing Unprinted Letters for an Employee
This print method is used to print all unprinted letters for an employee.
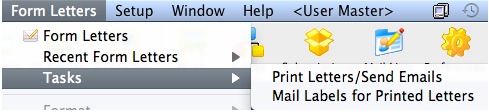
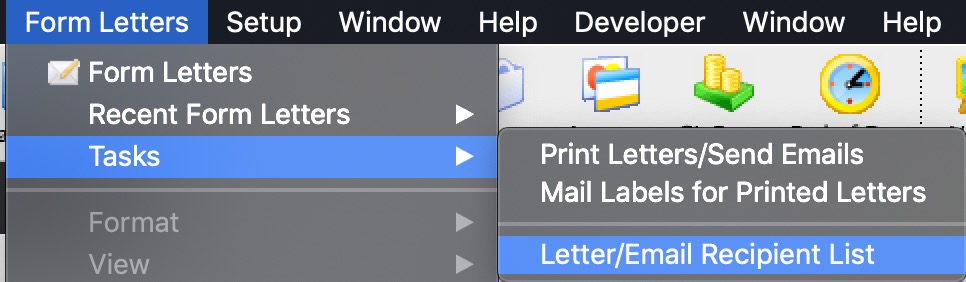
- Go to Form Letters >> Tasks >> Print Letters/Send Emails.
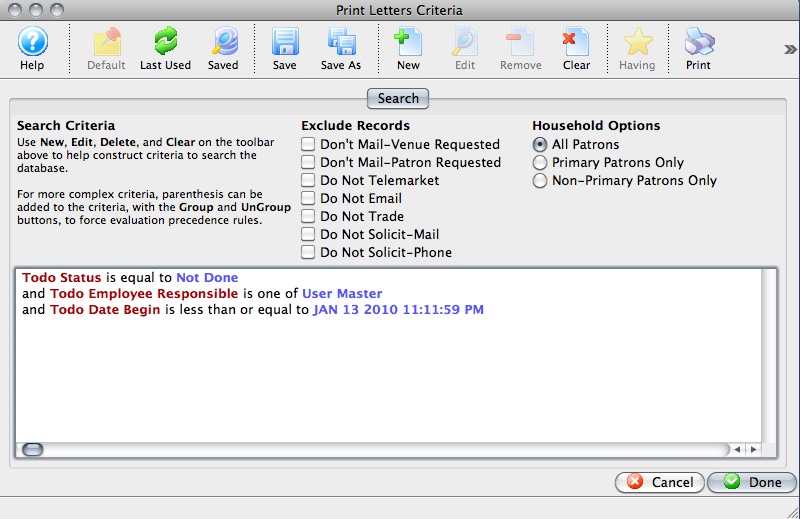
The Print Letters Criteria window opens.
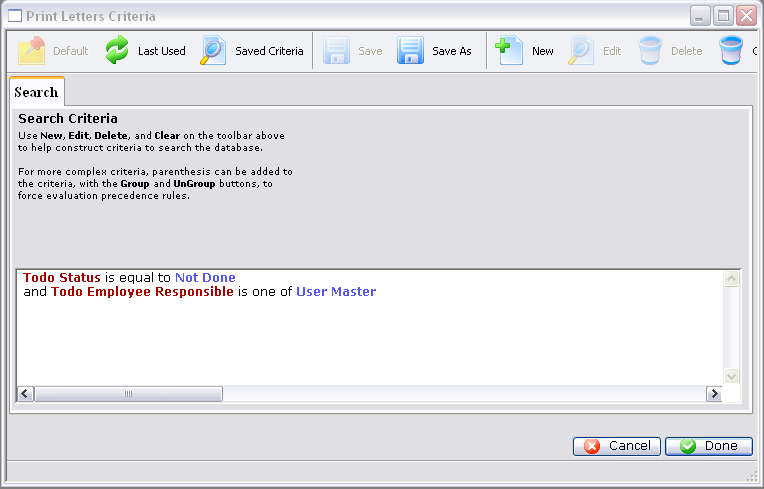
- Adjust the criteria as needed.
If you need to edit a set of criteria, double click on it.
- When complete, click the Done
 button.
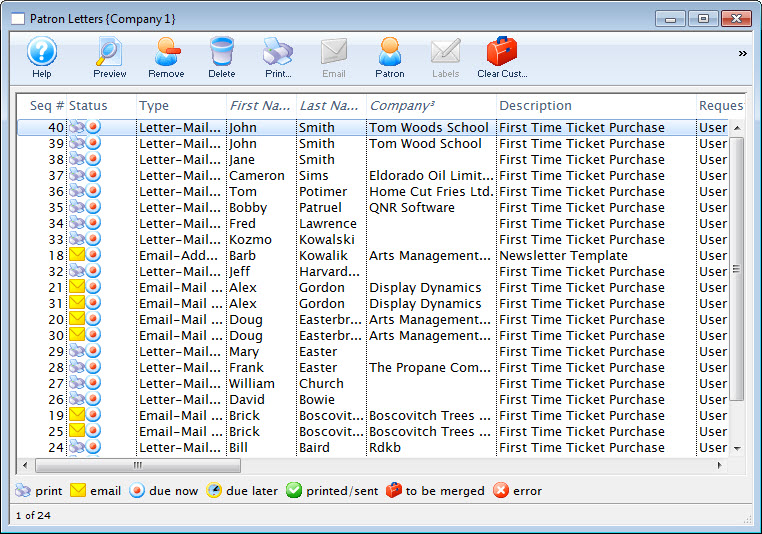
The Patron Letter window opens.
- Make any necessay changes to the letters.
Any letters you delete from this window will be also deleted from the Patron's record.
Click here for more information on this window.
- Click the Print
 button
to print all letters that are not yet printed or the Send
button
to print all letters that are not yet printed or the Send  button
to send all emails.
button
to send all emails.
The print dialog for your operating system opens.

Remember that in order to send e-mails, a Web Sales listener must be active.
- After printing has completed, you are returned to the Patron Letters window.
All printed letters have a green checkmark in the status column.
For more information about printing address labels, click here.
Printing Unprinted Letters for all Employees
To print all unprinted letters for an employee, you perform the following steps.
- Go to Form Letters >> Tasks >> Print Letters/Send Emails.
The Print Letters Criteria window opens.
- Click on the "Todo Employee Responsible" criteria and click
the Delete
 button.
The criteria changes to now find all letters that are marked as Not Done.
- Click the Done button.
The Patron Letter window opens.
- Make any necessary changes to the letters.
Any letters deleted from this window are deleted from the Patron's record.
Click here for more information on this window.
- Click the Print button
to print all letters that are not done or the Send button
to send all emails.
The print dialog for the operating system opens.

Remember that in order to send e-mails, a Web Sales listener must be active.
- After printing is complete, you are returned to the Patron Letters window.
All the printed letters will now have a green checkmark in the status column.
For more information about printing address labels, click here.
Patron Letters Window
To open the Patron Letter Window, go to Form Letters > Tasks > and Select a Print option (either letters/emails or labels).
The Print Letters Criteria screen will open with settings to print letters that have not been printed for the current employee. Click Done to open the Patron Letter Window which will show all letters matching that criteria.
Parts of the Patron Letter Window
 |
Opens the selected letter in a preview window similar to the Form Letter window. The letter can be customized from this window. |
|
Deletes the selected letters from the patron's record. |
|
|
Prints all letters marked as Due Now. |
|
Sends all emails marked as Due Now. |
 |
After letters have been printed, allows for printing address labels for the letters. |
 |
Changes the view to show all letters. This is the standard view. |
 |
Changes the view to show all letters marked as Not Done. |
 |
Changes the view to show all letters marked as Due Later. |
 |
Changes the view to show all letters that were done during this session. |
 |
Changes the view to show letters that were done during a previous session. |
 |
Changes the view to show all messages related to letters that were completed. |
| Todo Type | A type code showing what operation is to be performed for the letter or email. |
| Status | Icons representing the status of the letter. Refer to the legend at the bottom of the window for more information. |
| Type | The type of letter or email that is being printed or sent. |
| Patron Name | The full name of the patron that the letter is attached to. |
| Description | The name of the letter or email being used. |
| Requested by | The employee who requested the patron/letter merge. |
| Date Begin | The date and time that the letter or email is scheduled to be printed or sent. |
| Status | The current status of the letter in regards to being Done or Not Done. |
| Priority | Any priority that has been given to the letter. |
| Date End | The date and time that the letter or email is scheduled to be completed by. |
| Date Printed | The date the letter was printed or that the email was sent. |
| Notes | Any notes associated with the letter. |
| Email Address | The email address of the patron. |
| Patron # | The patron's record number. |
Context Menu |
|
| Set Destination | Allows changing the destination for the currently selected letter from printing to email or vice versa. |
| Set Status | Allows changing the status of the currently selected letter from Not Done to Done, and to also change from Due Now to Due Later. |
| Preferences | Allows adjusting and saving the preferences for this window. |
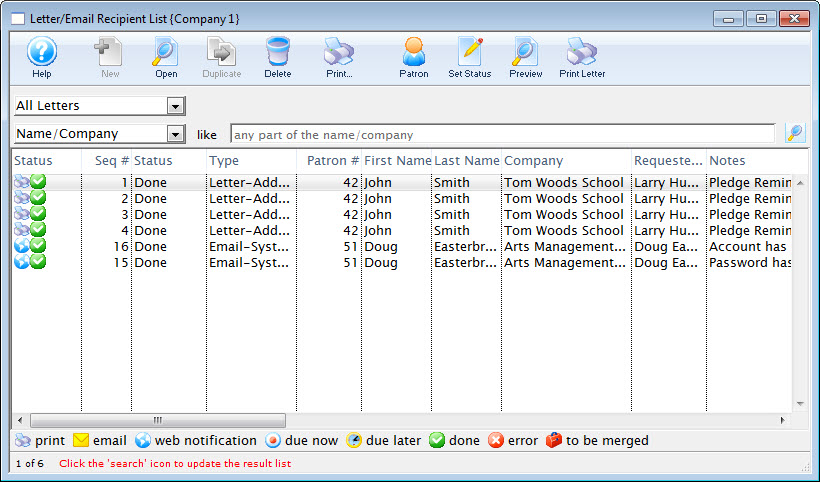
Letter / EMail Recipient List
 Allows you to find out who received a letter or eblast and/or look at the current status of a series of letters.
You can search by a number of data fields such as when it was sent, the letter, when it was opened, etc. This means that this window can be used to do things like:
- Search by date sent to see what went out on a particular day or for a time period
- Search by letter to see who got a particular bit of correspondence.
- If it was an eblast, you can also see who opened it.
- Highlight a number of the lines based on status to see how many were sent and how many were opened
- Have a look to see what is due the future
- Select a number of emails and:
- change their status to Not Done to resend them -or-
- mark them done if you need to have them on the patron's file but never intended to send them, -or-
- delete them
|
While this allows you to see both sent and unsent letters/emails, you can also use the Manage Pending/Unsent Emails to handle only emails that are not sent. |
Parts of the Letter / Email Recipient List
 |
Opens the Form Letter Window and created a new Form Letter. Click here for more information on creating a Form Letter. |
 |
Opens the currently selected Form Letter. Click here for more information on finding a Form Letter. |
 |
Duplicates the currently selected Form Letter. Click here for more information on duplicating a Form Letter. |
|
Deletes the currently selected Form Letter. Click here for more information on deleting a Form Letter. |
|
Prints the currently selected Record. |
 |
View or Edit the selected patron. |
 |
Changes the status from done to not done (or vice versa) |
 |
Opens the selected letter for editing. |
|
Prints the currently selected Form Letter. Click here for more information on printing a Form Letter. |
| Status | This column displays the printed status of the letter, whether it is done or not. |
| Type | This column displays the type of the letter, if it was a single letter or was it a merged letter |
| Date Begin | Date the letter was added to the patrons record. |
| Date End | The last date the letter was updated. |
| Date Printed | The date which the letter was printed. |