Main menu
You are here
Step 1: Install PostgreSQL database server
When you run the installer for the database components, it will put the actual installer files into the Macintosh HD/Users/Shared directory along with all the support files needed for the rest of the steps.
The actual Postgres install process is part of the install process. If you cancel the setup of Postgres, you can always start it again by repeating the process from the start.
Installing PostgreSQL on a Macintosh
 |
Before starting the install, please check that the computer date and timezone settings are correct. Failure to do so may cause Postgres to think it is in a different timezone. |
|
If you are unable to install, you might need to use the following commands in terminal before running the installer More info is under disable power saving settings - Step 1:
sudo spctl --master-disable
|
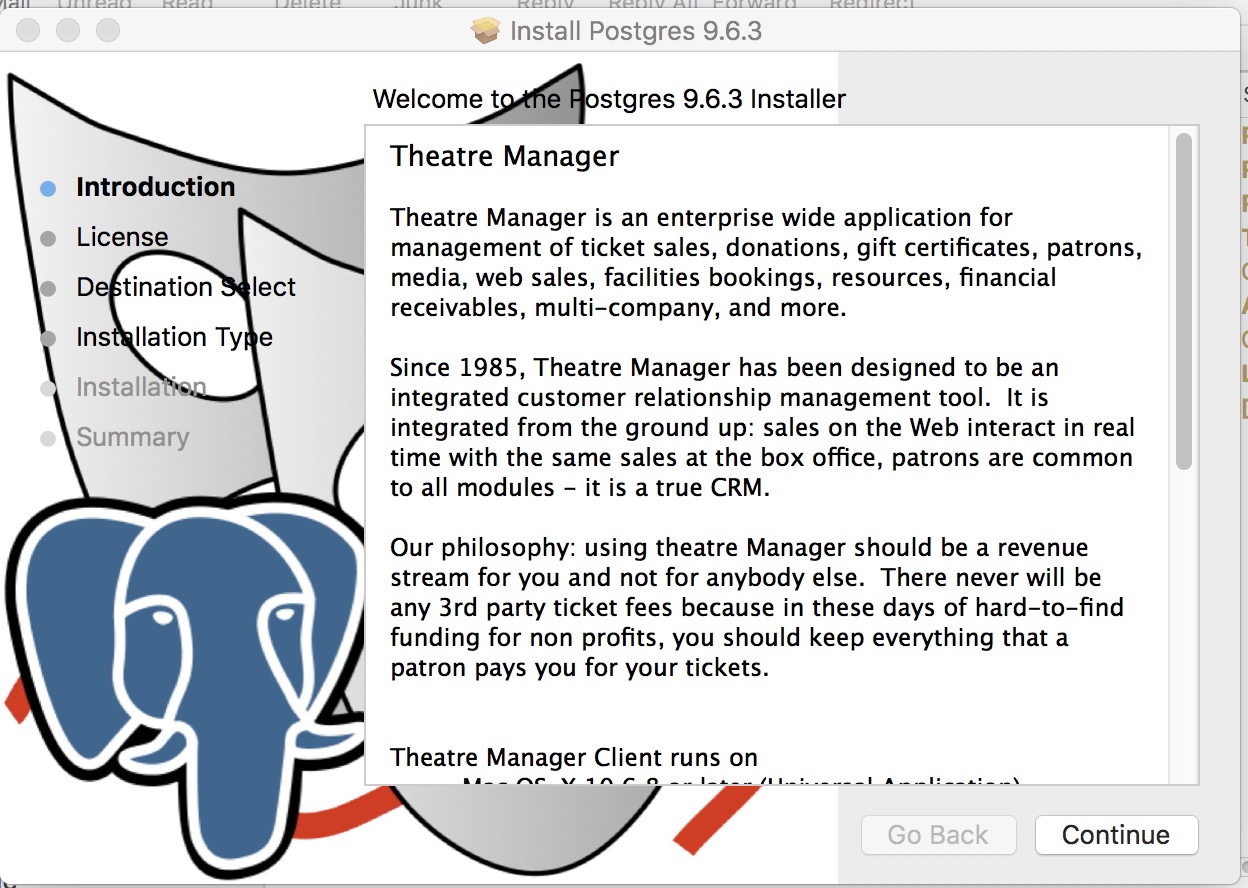
| 1. |
|
| 2. |
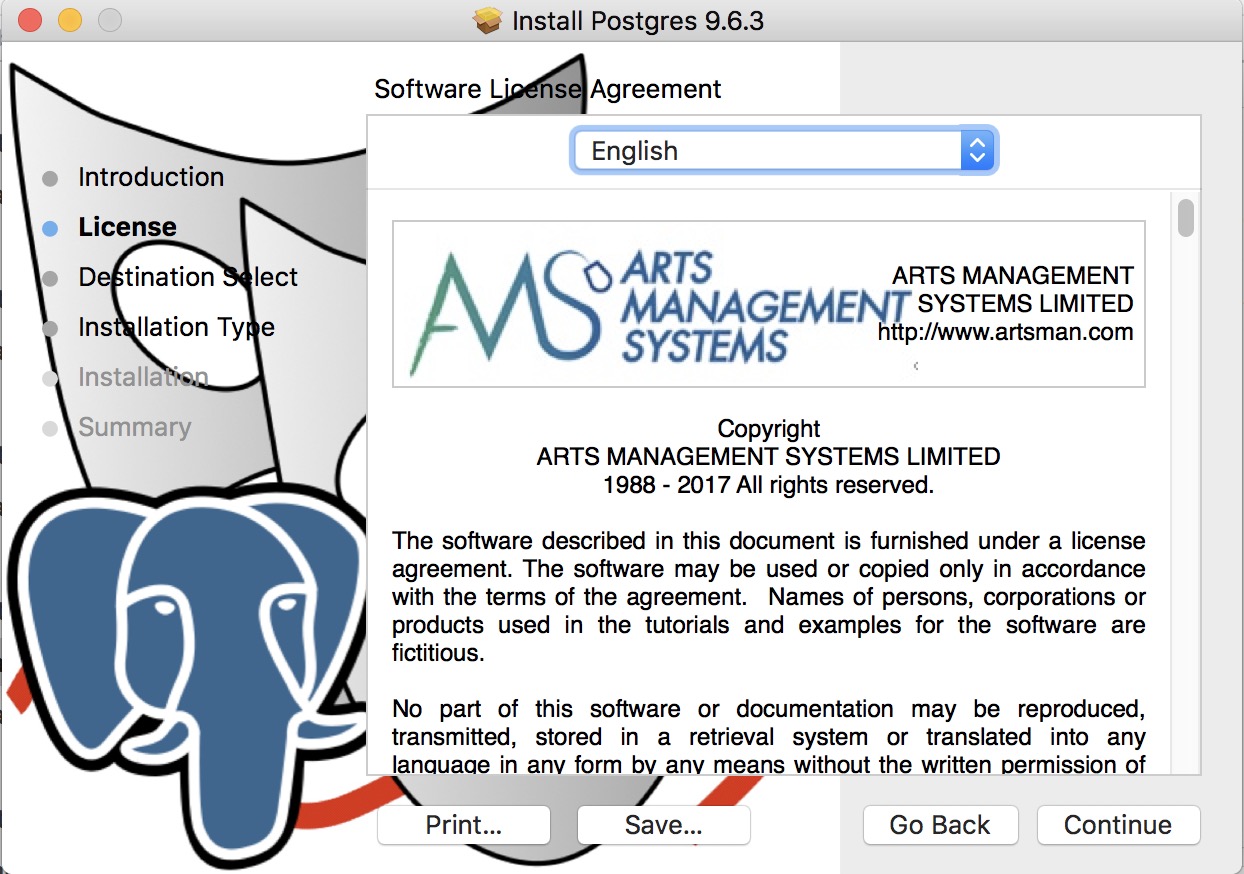
Click Continue on the Licence Agreement screen after reading it.
|
| 3. |
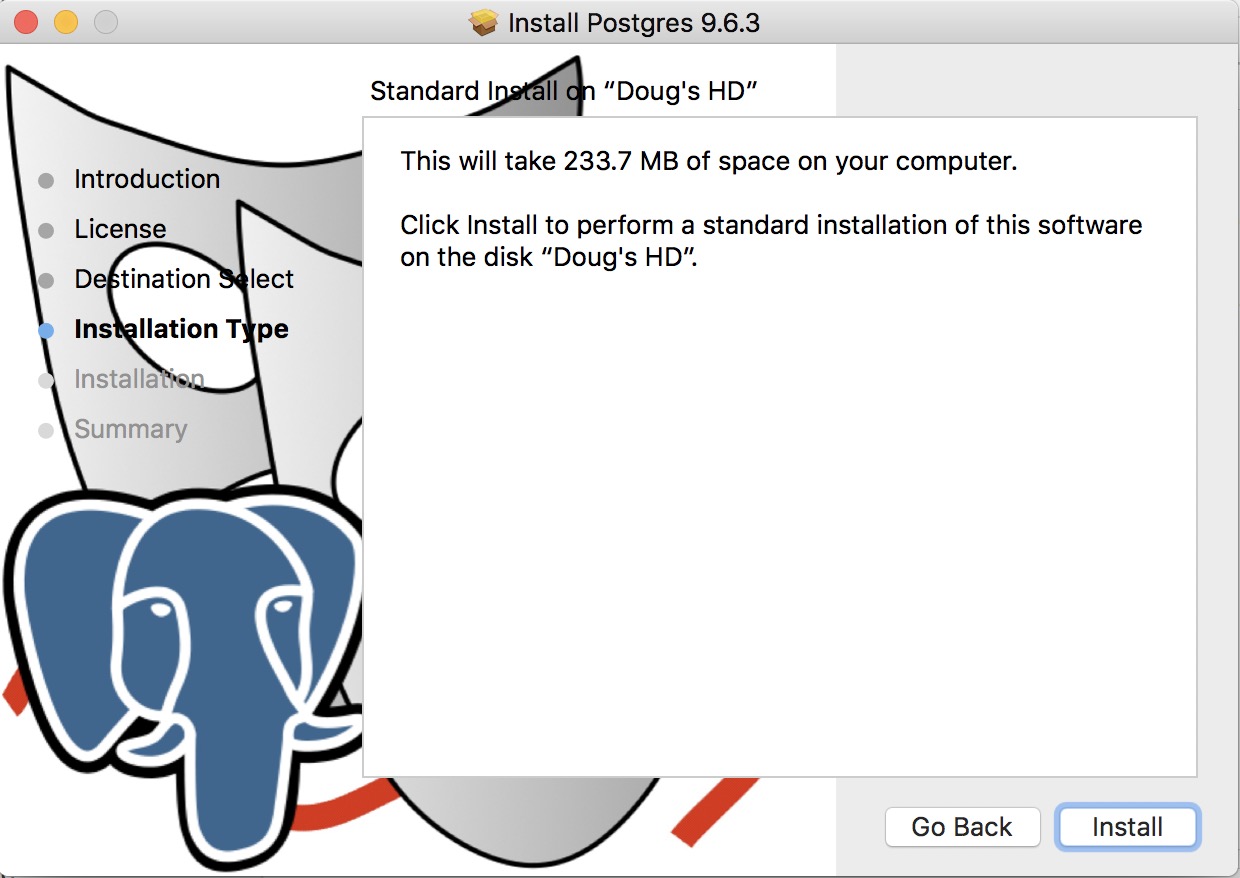
Click Install to begin the actual install.
|
| 4. |
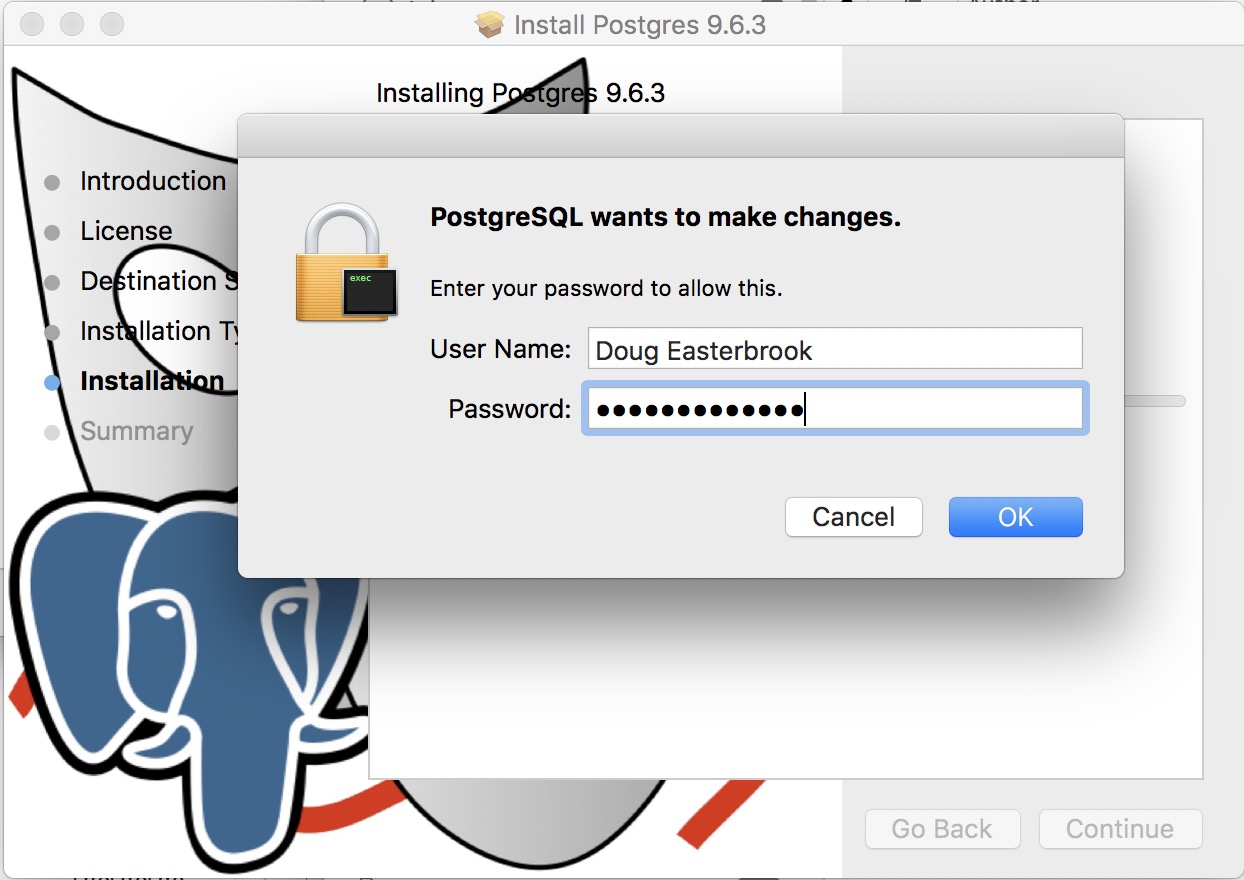
You will need to enter an administrator user ID and password to continue
|
| 5. |
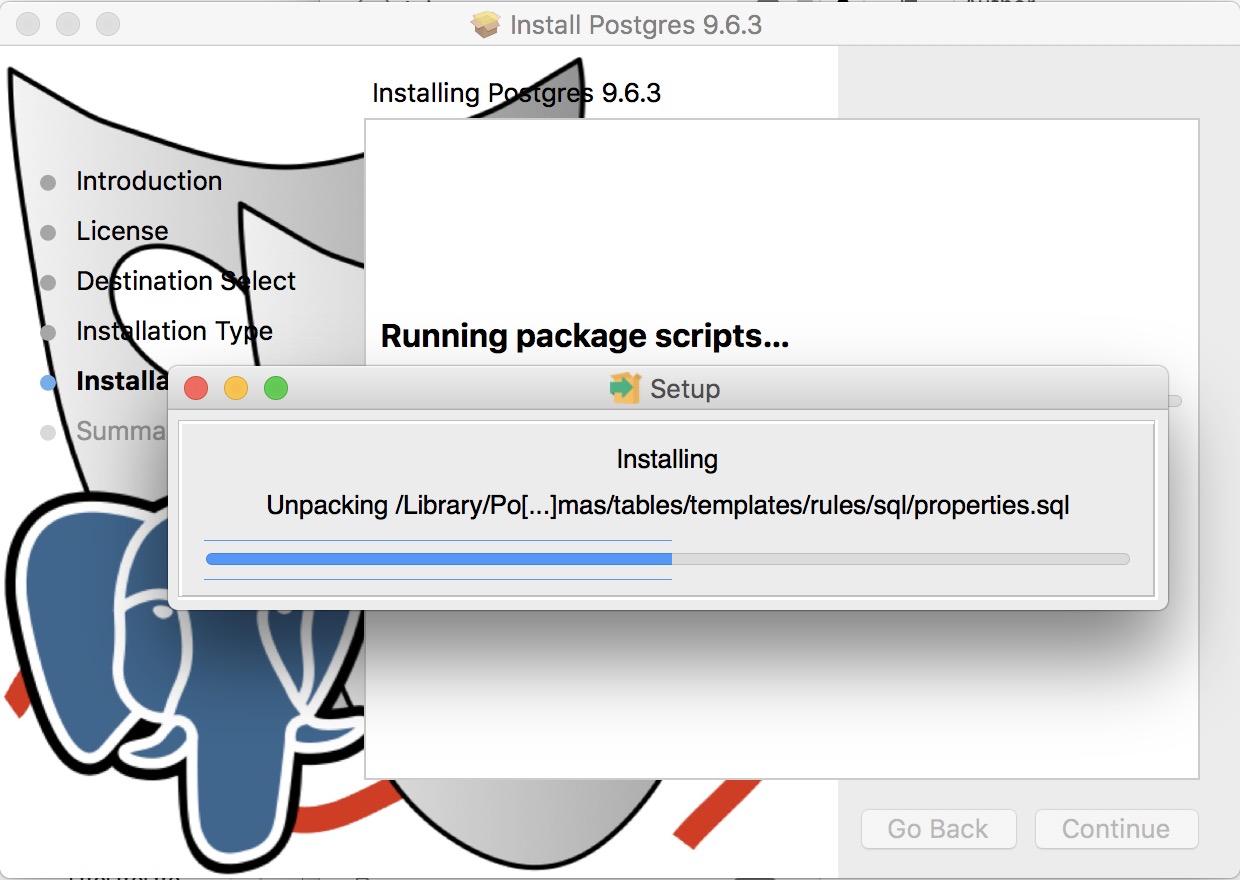
You will see the installation progress as the Postgres database engine is installed
|
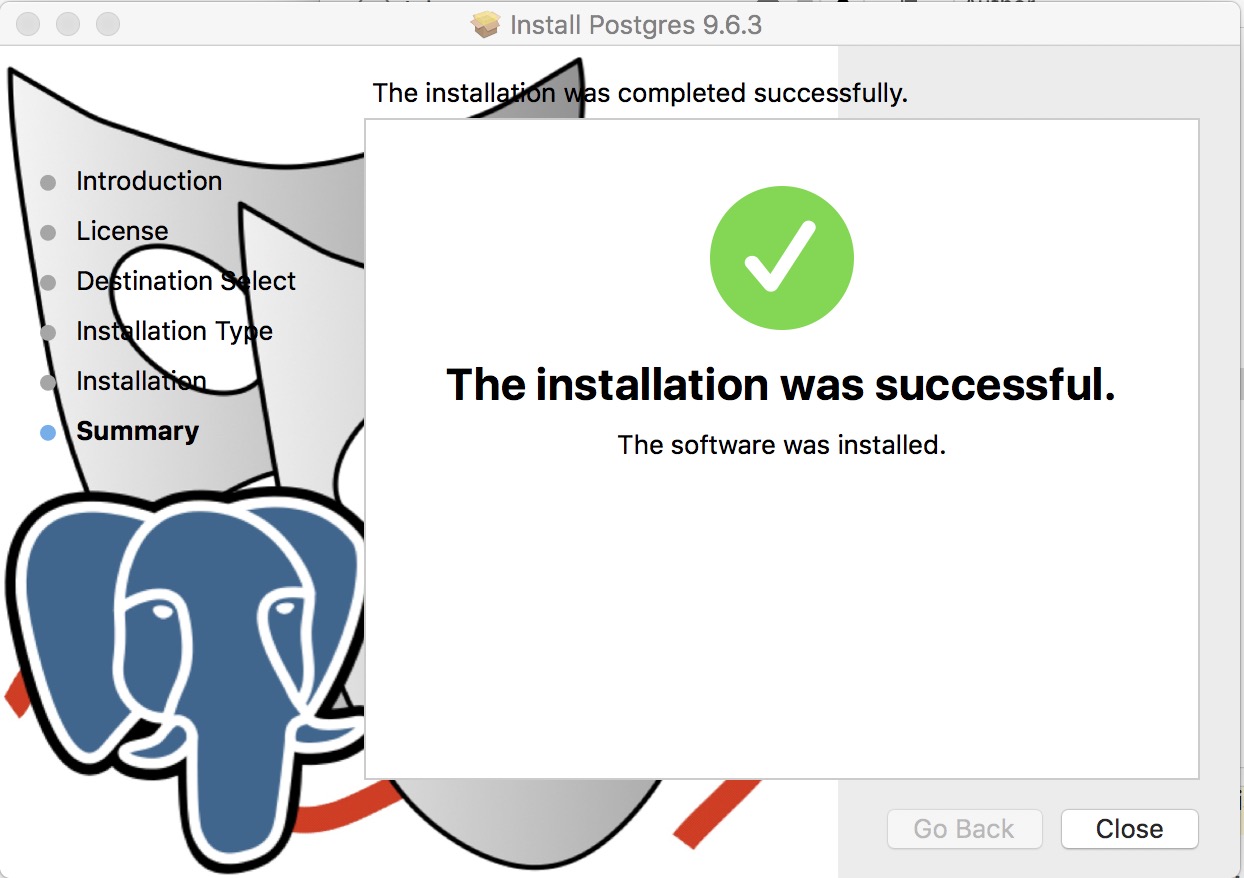
| 5. |
When the isntaller is finished successfully, click the Close button
|