Adding Employees and setting up access rights
Adding Employees
- Login to Theatre Manager as a Master User, or Outlet Administrator where applicable.
- Create a patron record for the employee.
Click here to learn how to create patron records.
- Highlight the employee's patron record from the patron window
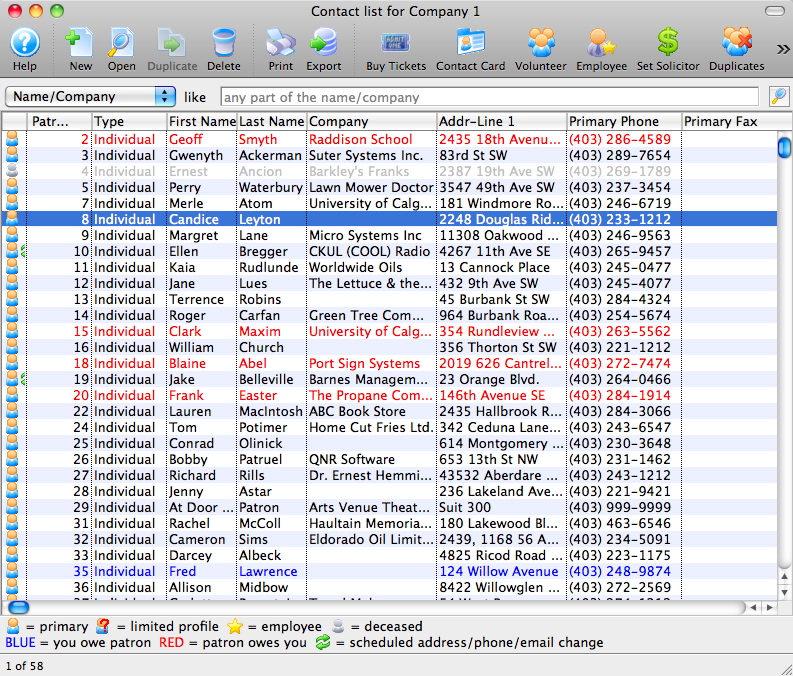
- Click the Employee
 button.
A confirmation dialog opens.
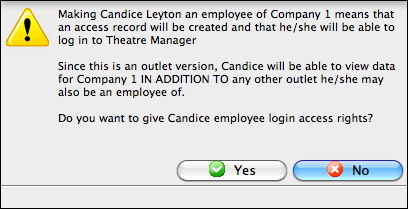
- Click the Yes
 button.
The employee data window opens.

- Click the Password
 button to set a password for the employee.
For more information on setting an employee password, click here.
- Click the Preferences
 button to set the employee preferences.
For more information on setting employee preferences, click here.
- Make any required changes to the Access
 tab.
tab.
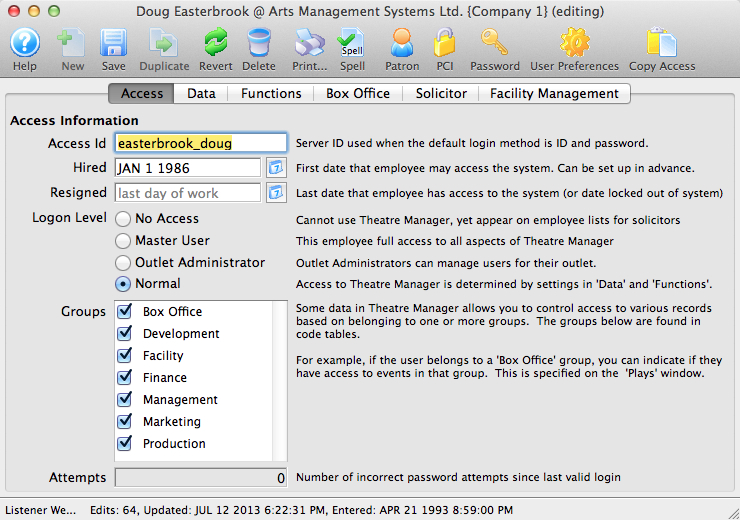
For more information about the Access tab, click here.
- Make any required changes to the Data
 tab.
tab.
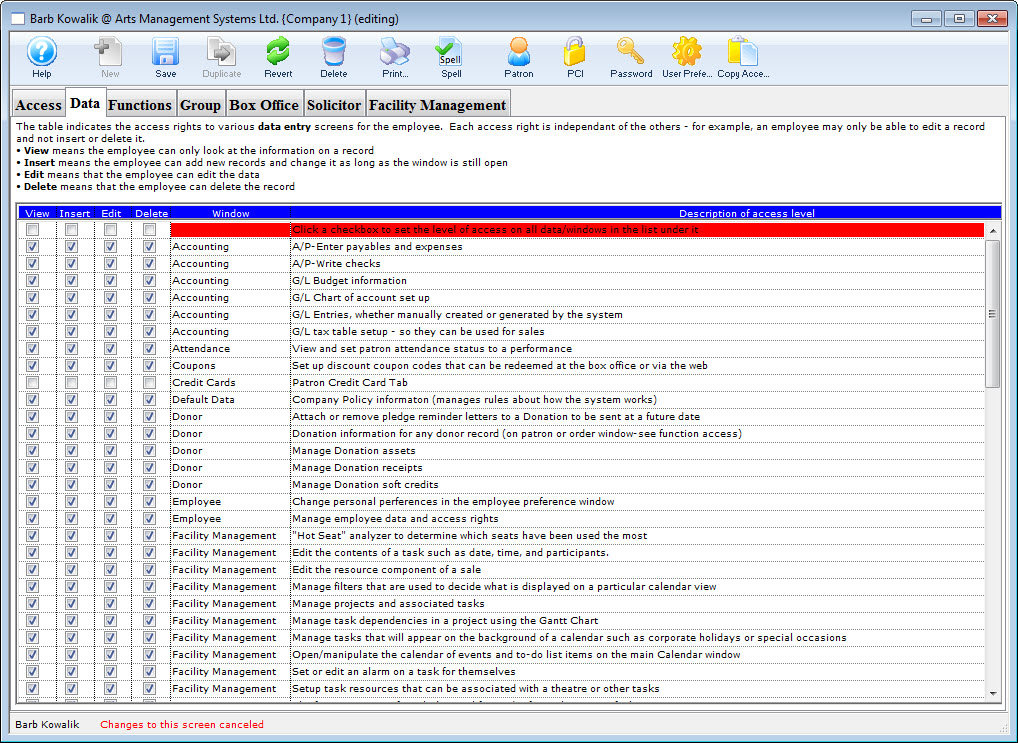
For more information about the Data tab, click here.
- Make any required changes to the Functions
 tab.
tab.
For more information about the Functions tab, click here.
- Make any required changes to the Group
 tab.
tab.
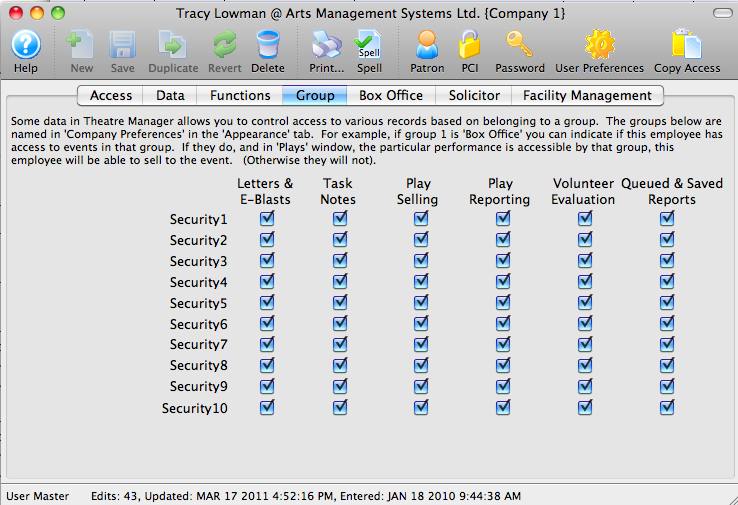
For more information about the Group tab, click here.
- Make any required changes to the Box Office
 tab.
tab.
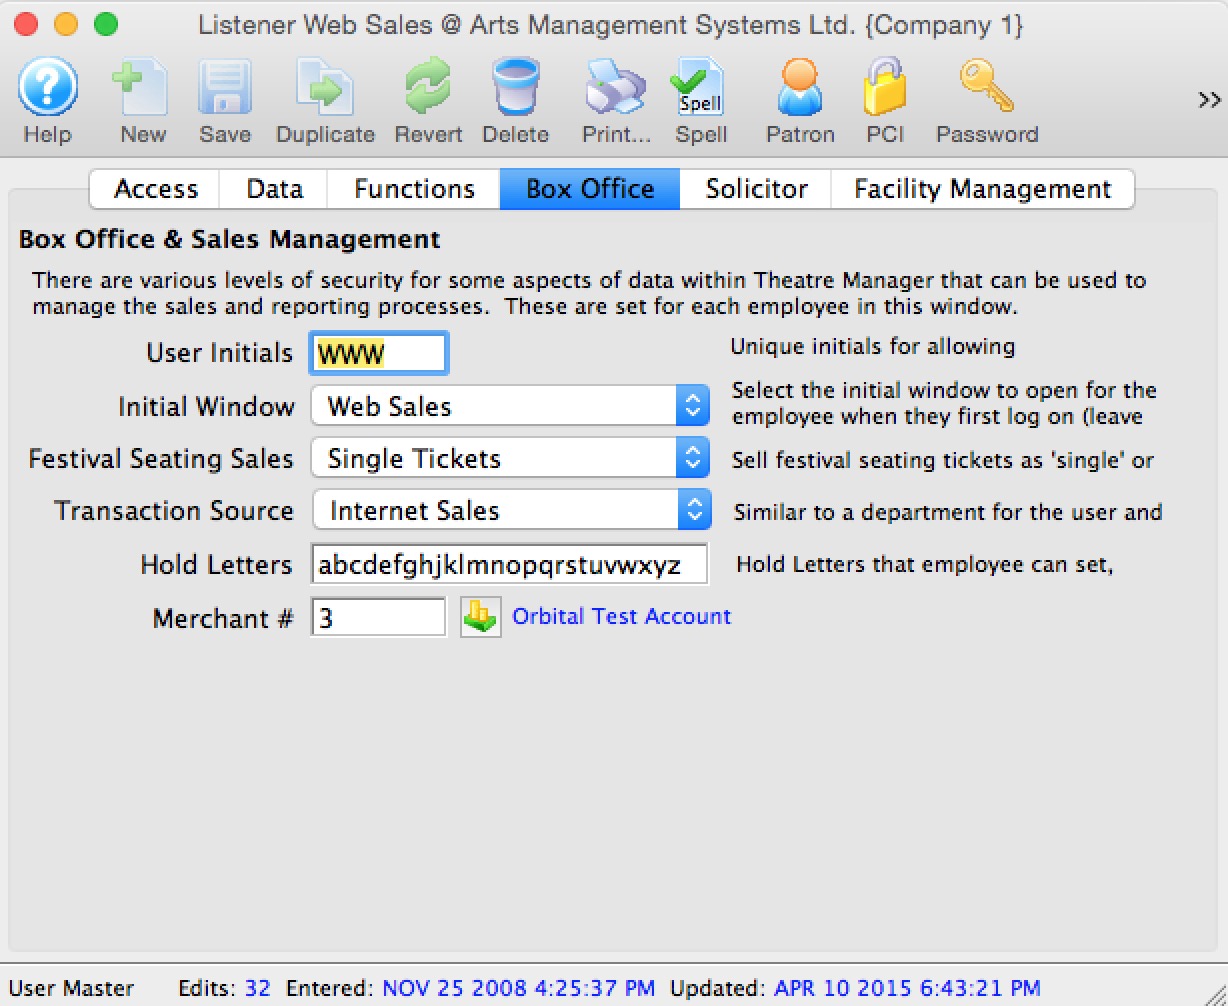
For more information about the Box Office tab, click here.
- Enter the information on the Solicitor
 tab.
tab.

For more information about the Solicitor tab, click here.
- Enter the information on the Facility Management
 tab.
tab.
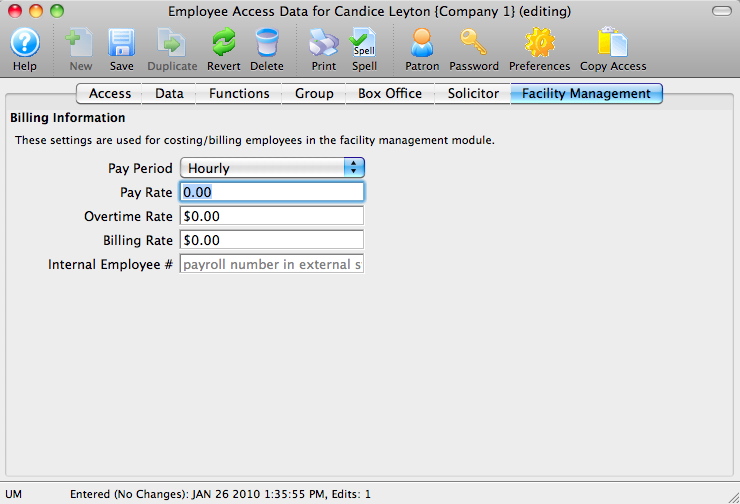
For more information about the Facility Management tab, click here.
 |
Sites set up with the Outlet Edition of Theatre Manager must have their Outlet Administrator perform employee setup functions. The Master User in the Outlet Edition is only intended for use in setting up the Outlet Administrator Employees. |
Copy Access from one Employee to another
When inserting a new employee record it may be decided the new employee should receive the exact same access levels to Theatre Manager as a pre-existing employee. If so, copy the access from the existing employee to the new employee. This is a time saving feature so access to data and function levels do not have to be hand-picked for each employee. This function is only used for employees who have Normal Access, as Master Users already have access to everything.
- Open the Employee List window.
Click here to learn how to access the Employee Data window.

- Select the Employee to copy the access to.
Single click on the employee line to select it.
- Click the Open
 button.
The Employee Data window opens.
- Click the Copy Access
 button.
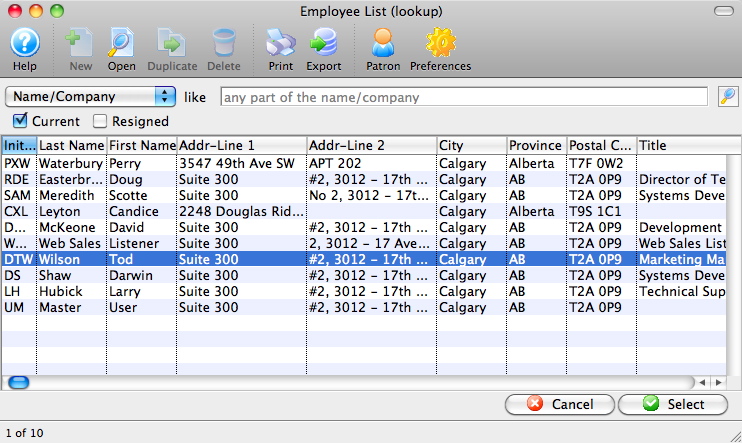
The Employee List opens.
- Click the Search
 button.
These are the employees access can be copied from.
- Select the Employee to Copy Access from.
Single click on an employee to select them.
- Click the Select
 button.
This completes the process. The employee access has been copied.
Adding and Removing Access to Data
- Open the Employee Data window for the Employee.
For information on how to access the Employee Data window click here.
- Click the Data
 tab.
tab.
When a box is checked an employee has the selected access rights to that data. If the box is unchecked an employee does not have the unchecked level of access rights to the data.
For more information on the data tab click here.
- Click on the desired box next to the access level to change the status.
- Click the Save
 button.
Changes to the Data tab have now been saved.
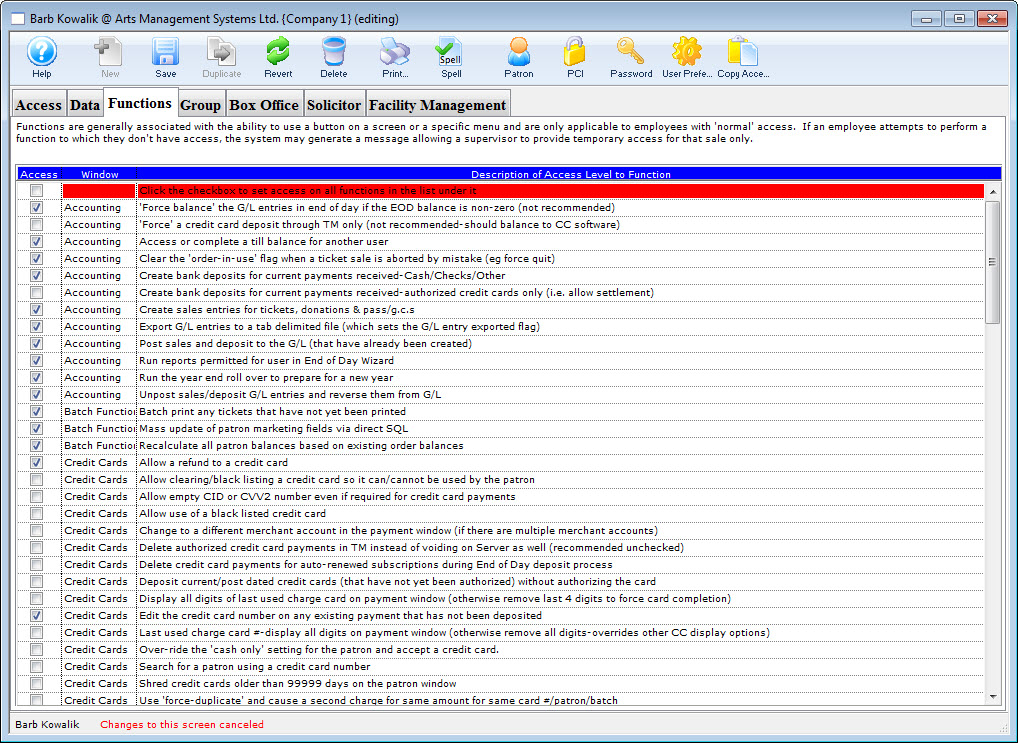
Adding and Removing Access to Functions
- Open the Employee Data window for the Employee.
For information on how to access the Employee Data window click here.
- Click the Functions
 tab.
tab.
When a box is checked an employee has access to the function. If the box is unchecked an employee can not access the function.
- Click on the box next to the function to change the status.
- Click the Save button.
Changes to the Functions tab have now been saved.