AMS Cloud Setup
AMS Cloud Setup
 |
If your database is not in the cloud, pick Local Database and follow instructions for Changing Database. You may have to unclick/click 'Default Port' to allow you to enter the IP address of the database. |
|
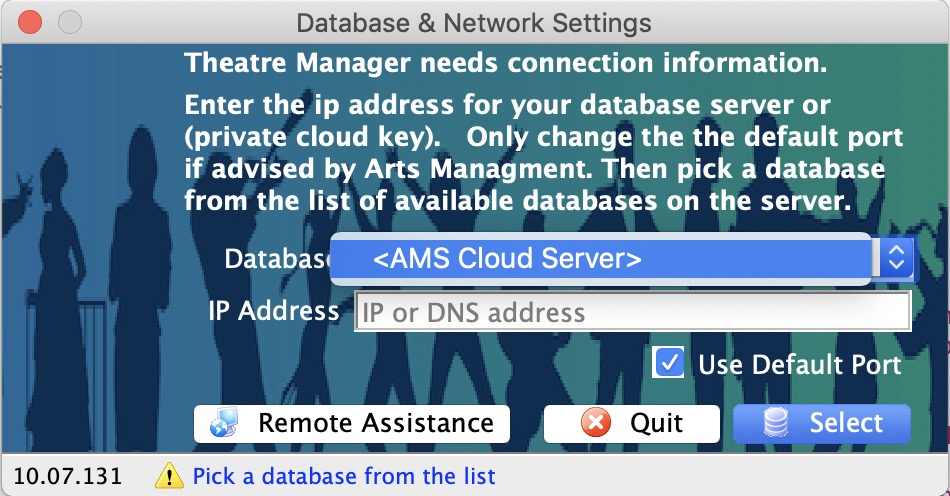
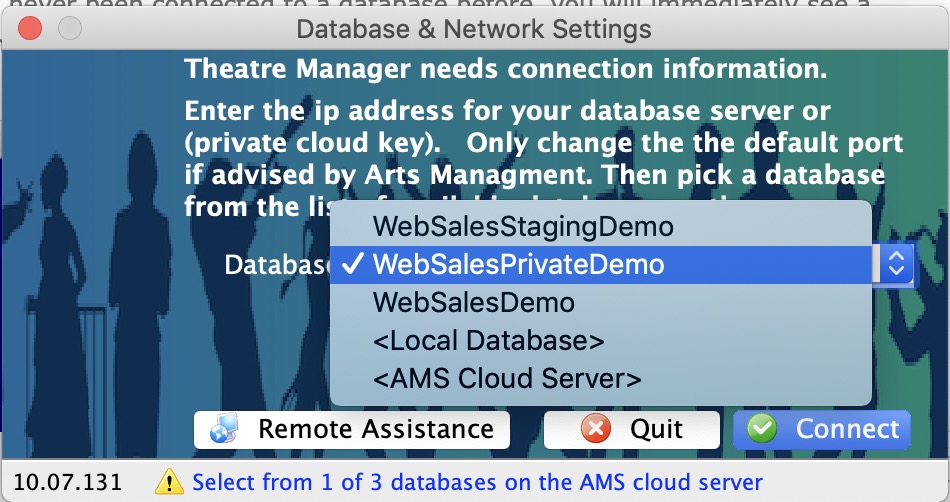
If this is a new machine with a newly installed copy of Theatre Manager and you want to log into the cloud, then just pick <AMS Cloud Server> from the database list. |
- Start Theatre Manager.
- If you have never been connected to a database before, you will immediately see a dialog asking you to select a database. Select <AMS Cloud Server> from the popup list.
- If you have previously connected to a Theatre Manager database before, you will see the familiar list of users. Click the Change DB button at the bottom left of the screen and then follow the instructions above.
- If you have never been connected to a database before, you will immediately see a dialog asking you to select a database. Select <AMS Cloud Server> from the popup list.
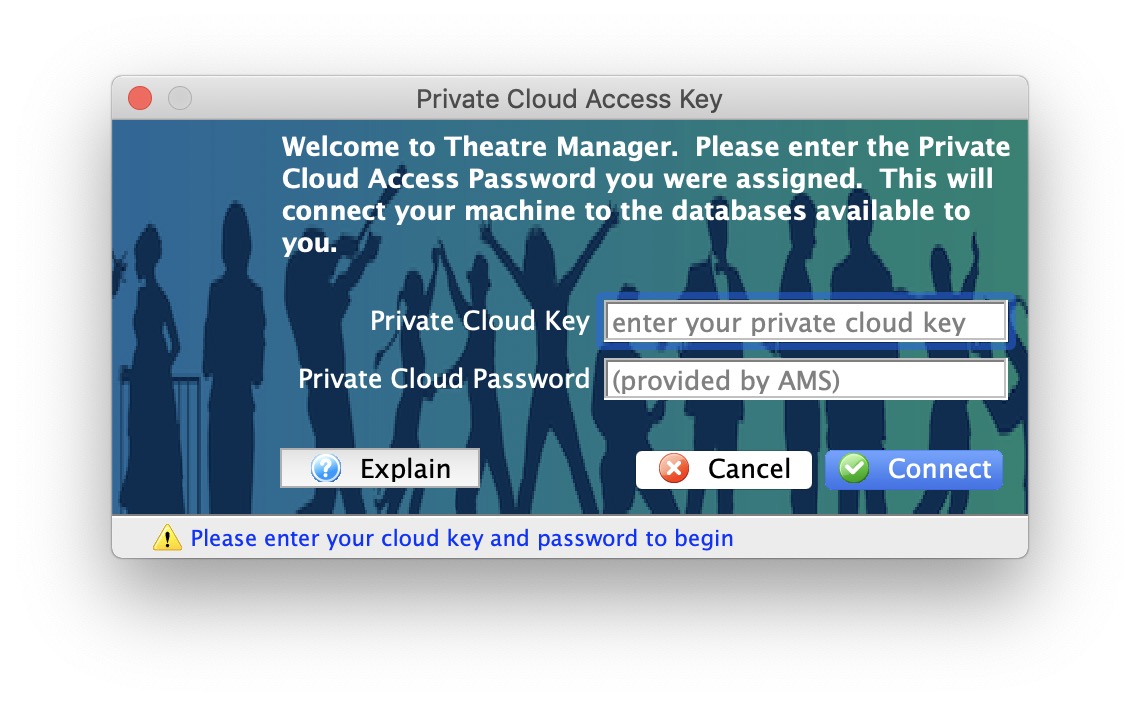
- You will be prompted with a dialog asking you to:
- enter the unique Private Cloud Key that you have been given
- the Private Cloud Password specific to your venue
- If there:
- Are two or more databases in your cloud setup (eg: your main database and a training one), then you will be asked to pick your database.
- Only one database is available in your cloud setup, you will be taken directly to the next step.
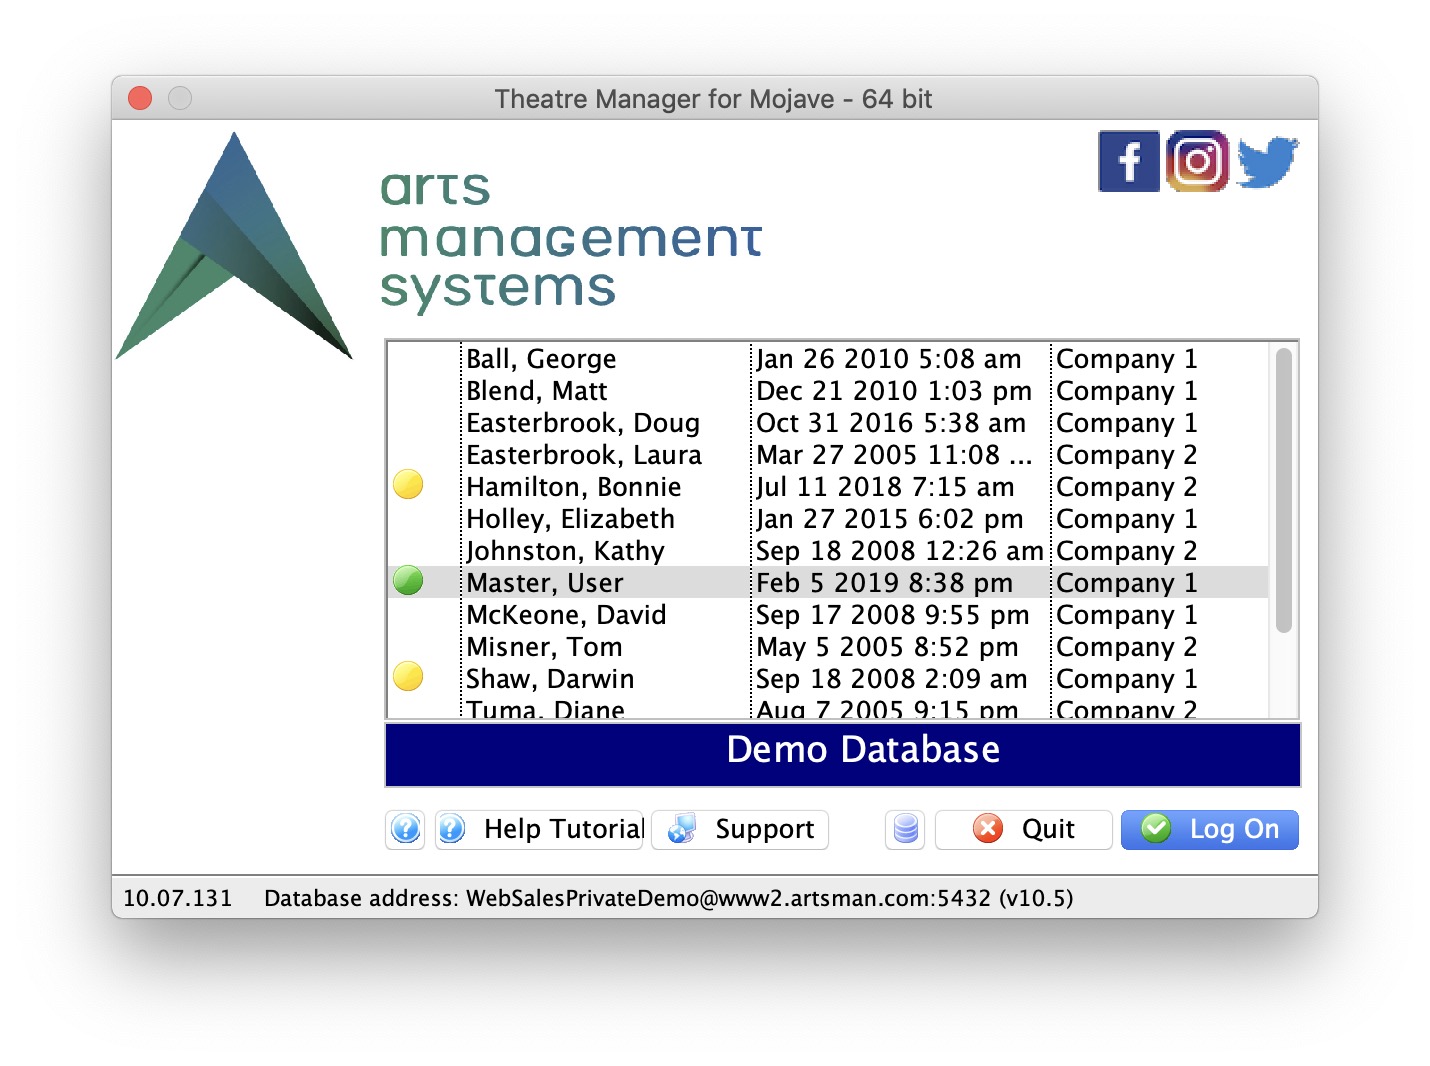
- You will see a list of people who can login
-
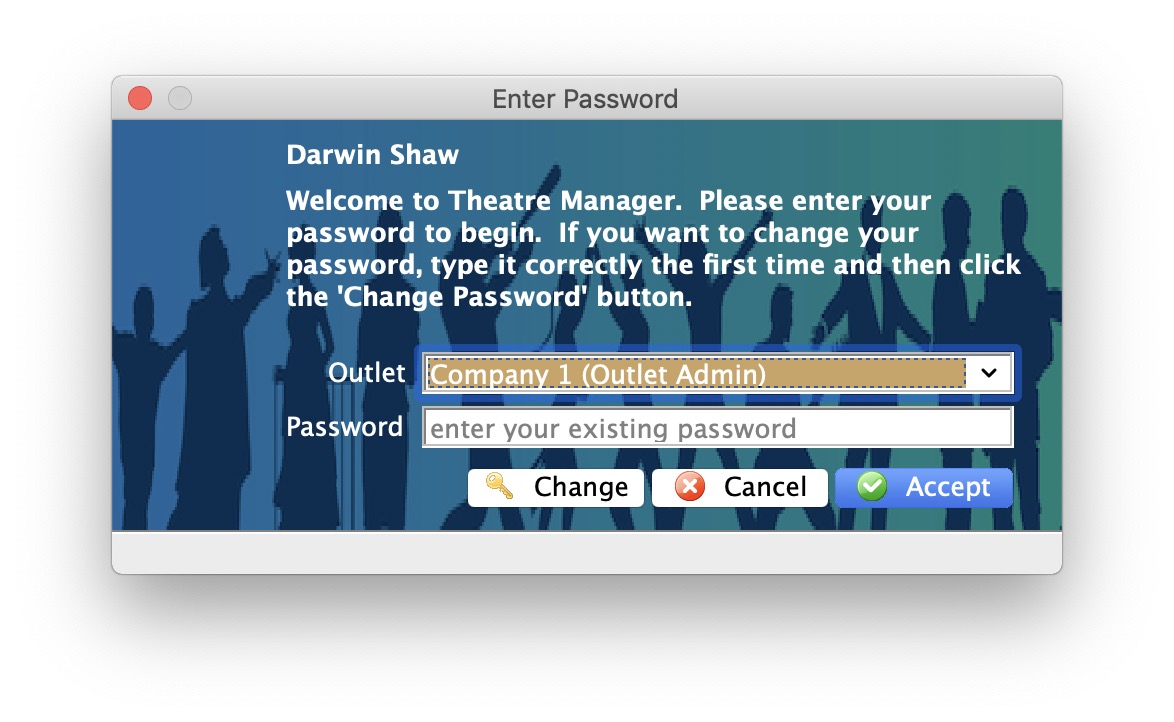
Double-click to select one and enter your password
 |
Any database in the AMS cloud can be set one of:
You can enhance settings by using Merchant Profiles (available with most providers) to store credit cards for all customers at your merchant service provider. |
|
If there are users at the venue with different local time zones, you may need to provide the LocalTimeZone parameter in the Theatre Manager preferences file. This is only needed if the users time zone does not match the time zone setting in the company preferences->Report/Misc tab |