Package Setup
Package Setup
Creating a Package
Creating a Package
- Open the Package List window.
Click here for more information on the Package List window.
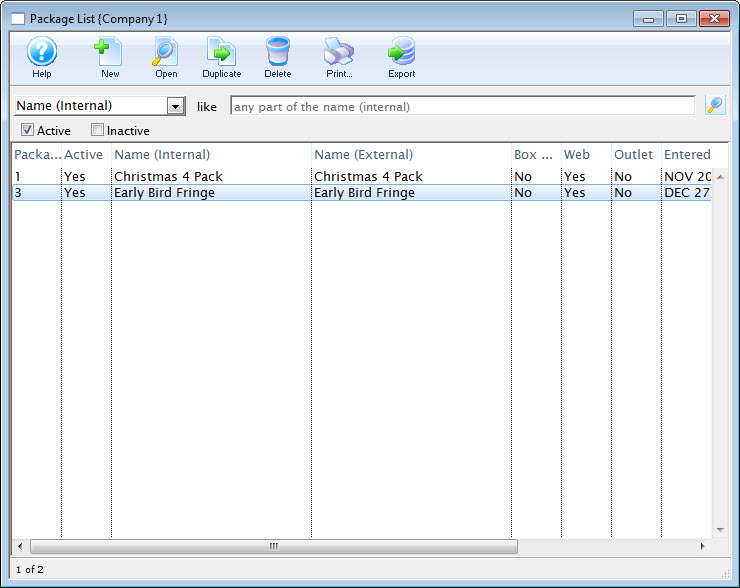
- Click the New
 button.
The Package Detail window opens.
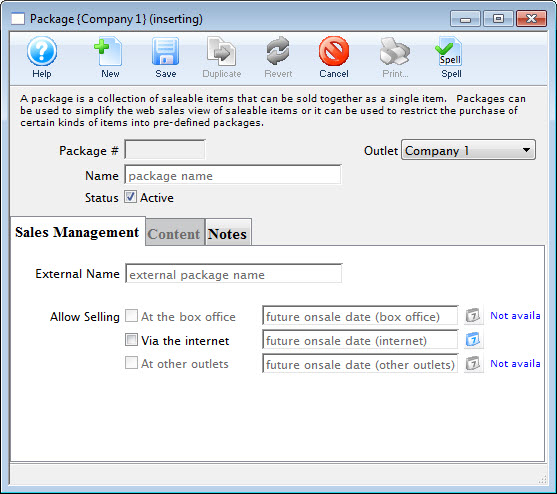
- Enter the name for the package.
- Edit the External Name.
The External Name populates automatically with the information entered in the Name field. Altering this information may not always be necessary.
- Click the Save
 button.
- Select the
 tab.
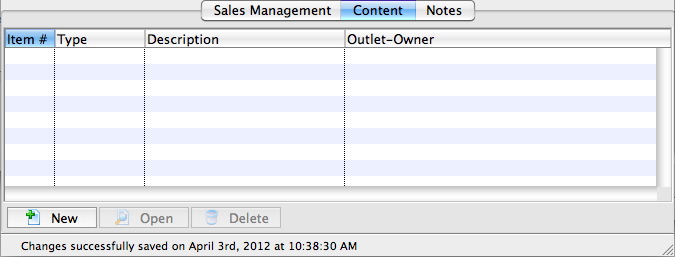
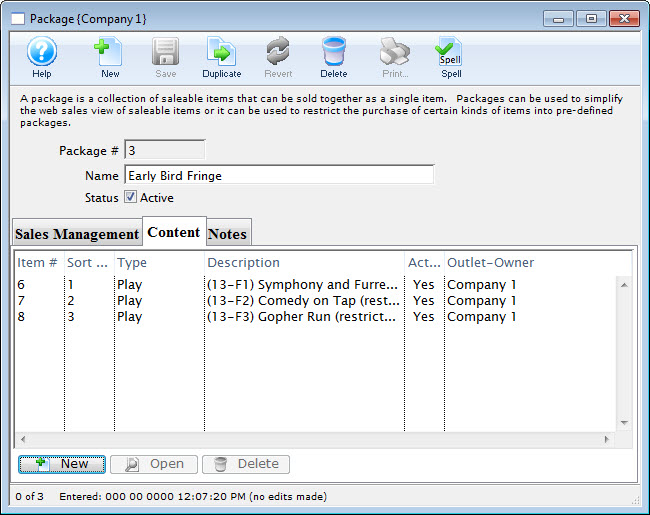
- Add items to the package as need.
For details on adding items to a package, click here. Add as many items are are required for the package.
- Select the
 tab.
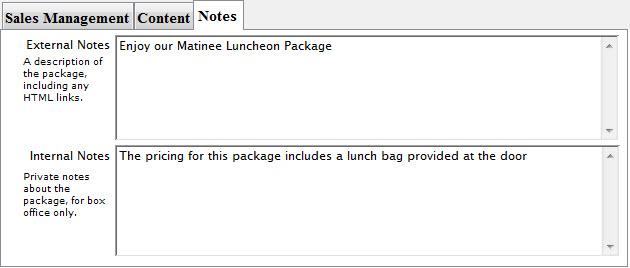
- Add any external or internal sales notes, as required.
- Select the
 tab.
- Check the box next to Via the Internet.
- Click the
 button.
The package is now saved to the database and can be used in online sales.
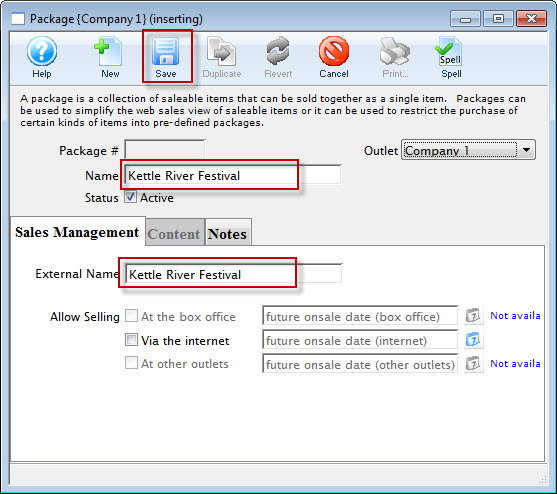
The Content tab is now available for selection.
This makes the package available online.
|
Only do this for testing the package, or when you are ready to have the package available for purchase. |

Adding Items to a Package
Adding Items to a Package
- Open the Package List window.
Click here to learn how to access the Package List.
- Double click on the desired package.
- Select the tab.
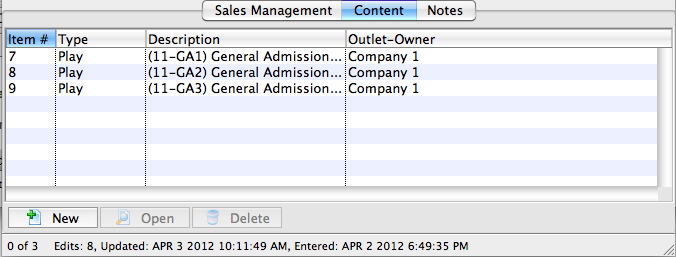
- Click the New
 button.
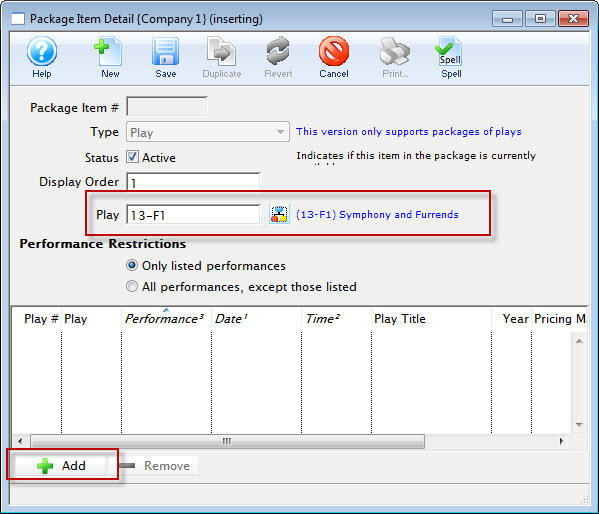
The Package Item Detail window opens.
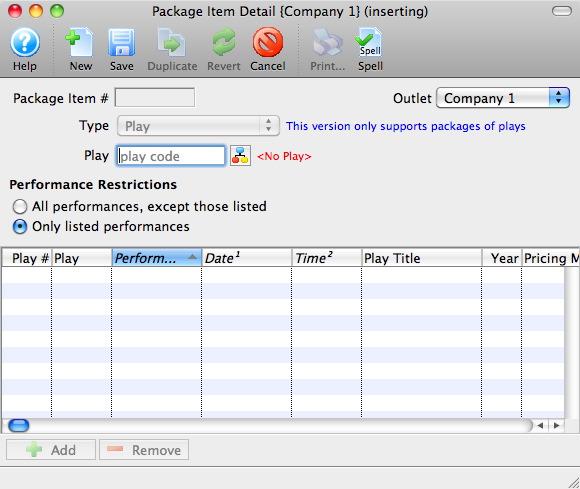
- Click the Event/Play Add
 button.
The Event List window opens.
Click here for more information on searching for Events.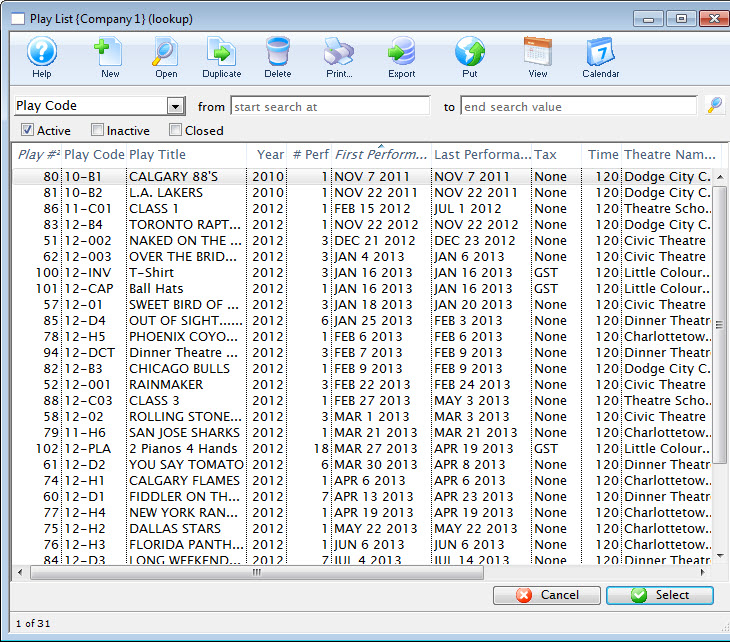
- Select the desired Event.
Single click on the event to select it. If multiple events are required for the package you must add them individually.
- Click the Select
 button.
- Choose the desired Performance Restrictions option.
- Click the Add
 button.
The Performance List window opens.
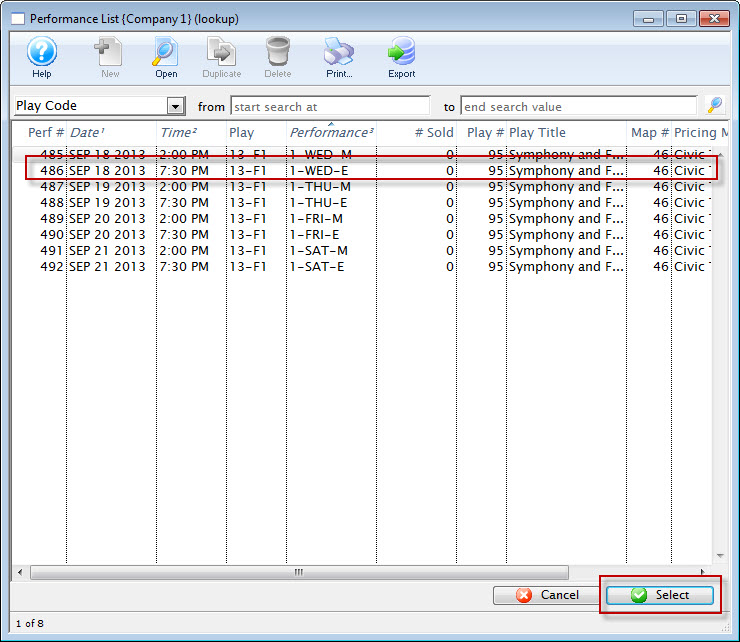
- Select the desired Performances.
Single click on a performance to select it. To select multiple performances, use the CTRL key (Windows) or the OPTION key (Mac).
- Click the Select button.
- Close the Package Item Detail window.
To continue to add more performances to the package, repeat the select and Add steps.