Step 3: Configure PostgreSQL server parameters
Step 3: Configure PostgreSQL server parameters
Another way to get the key config parameters is to use pgtune and paste the results at the bottom of the postgresql.conf file
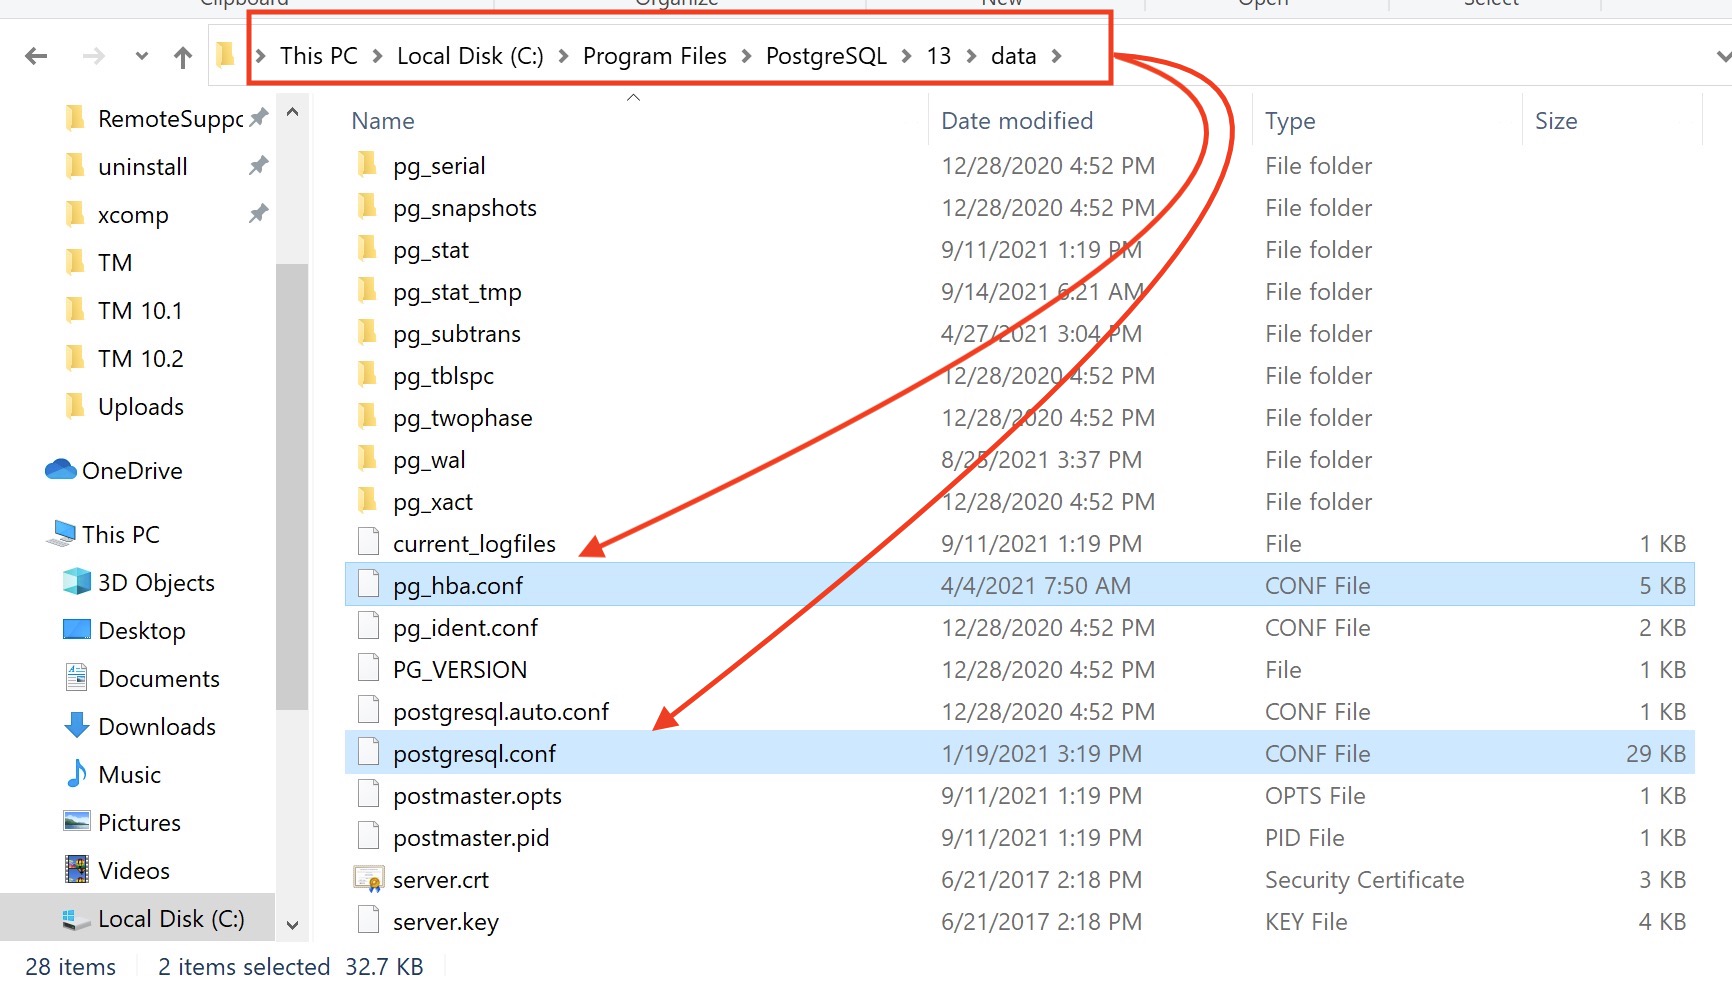
| 1. | Configuring postgres entails editing two files in the 'data' folder of the current postgres installation as highlighted below:
|
||||||||||||||||||||||||
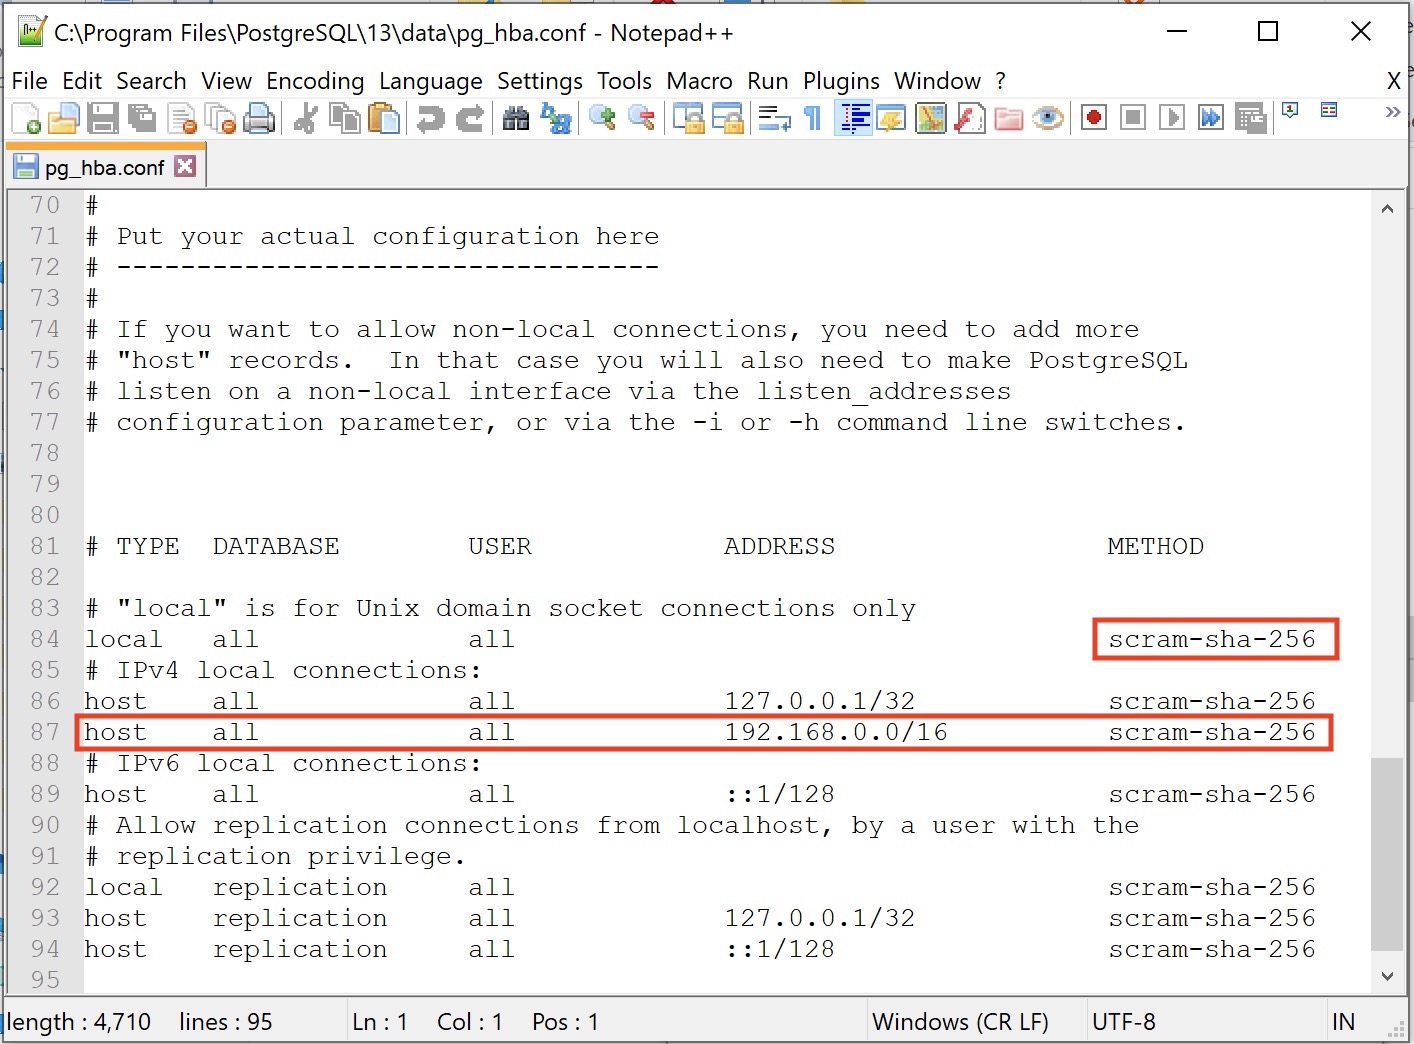
| 2. |  edit the pg_hba.conf file using Notepad++
|
||||||||||||||||||||||||
| 3. |
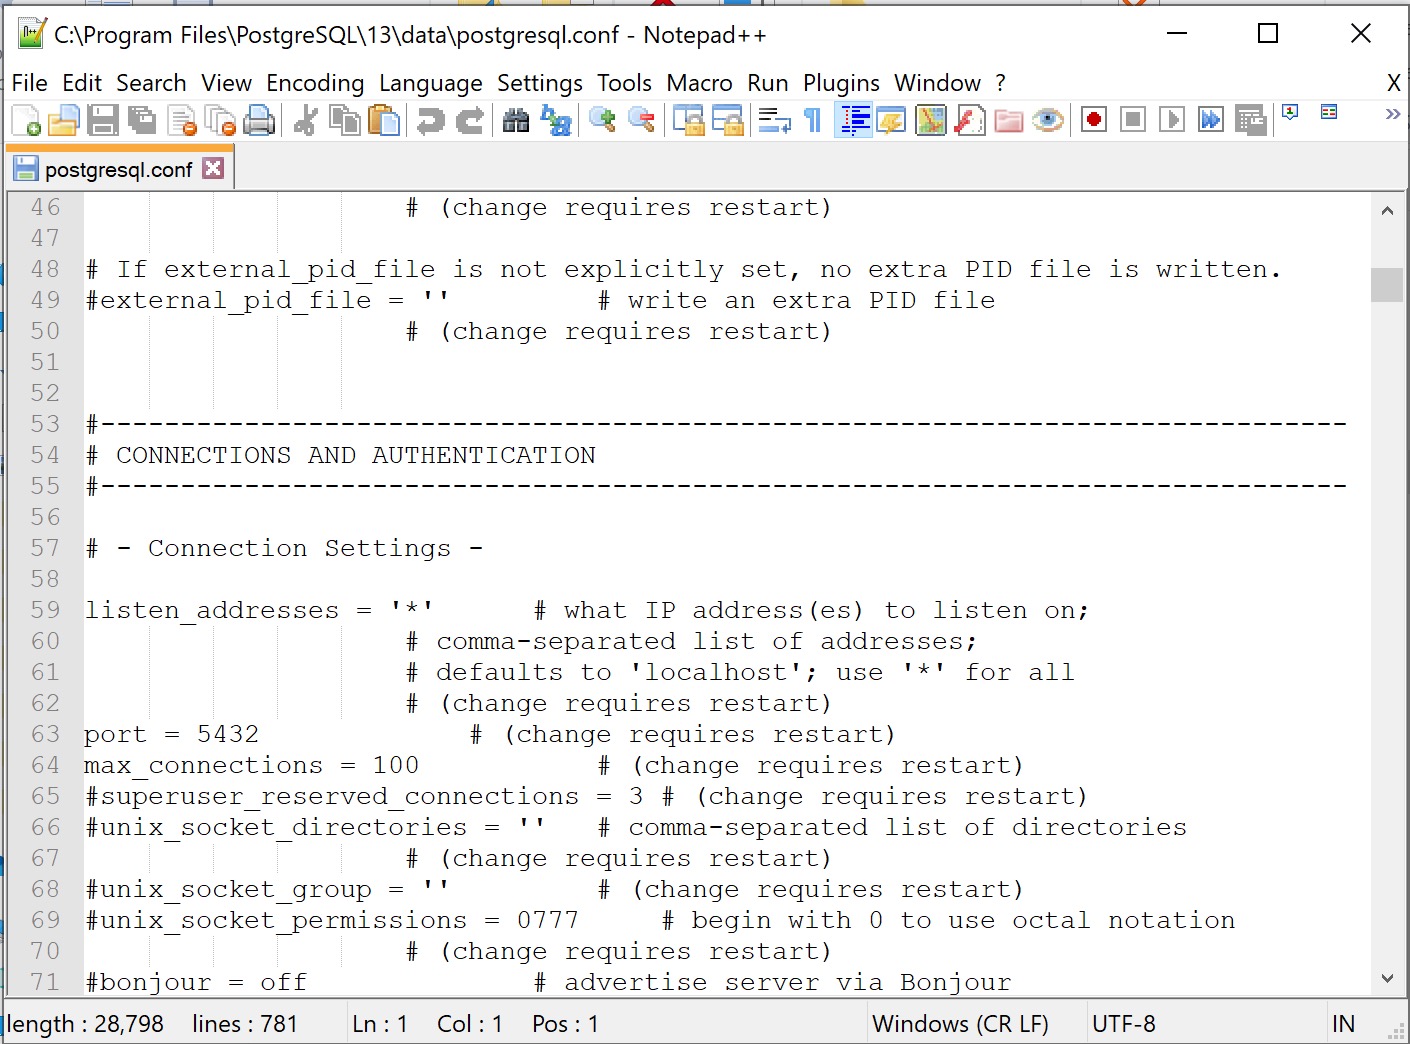
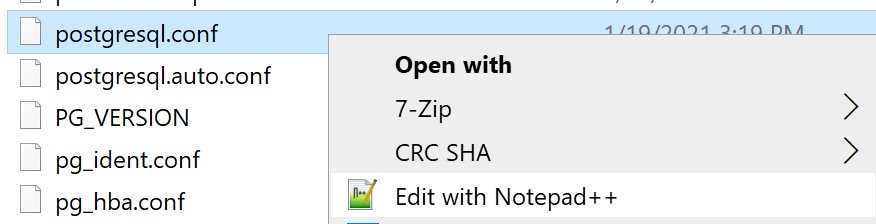 Edit the postgesql.conf file. Some notes about editing:
Reference for postgres.conf file parameters https://www.postgresql.org/docs/current/static/runtime-config.html |
||||||||||||||||||||||||
| Note: the best place to get memory values is from the 'Activity Monitor' on the 'Task Manager'. See an example below for what this screen looks like. To find it, right click on the task bar and pick 'Task Manager'. 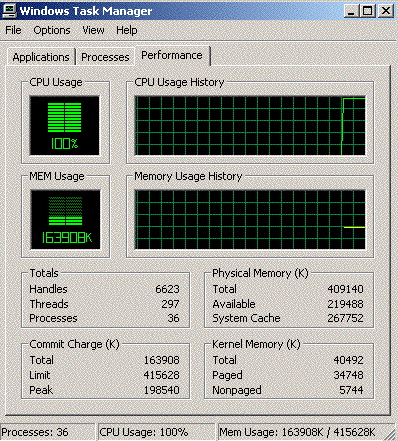 |
|||||||||||||||||||||||||
| Save your changes and RELOAD the server (see step 4) for most changes. If the change does not take effect, you may need to RESTART the server. This is usually only when first installing Postgres as changes to this file are rare | |||||||||||||||||||||||||

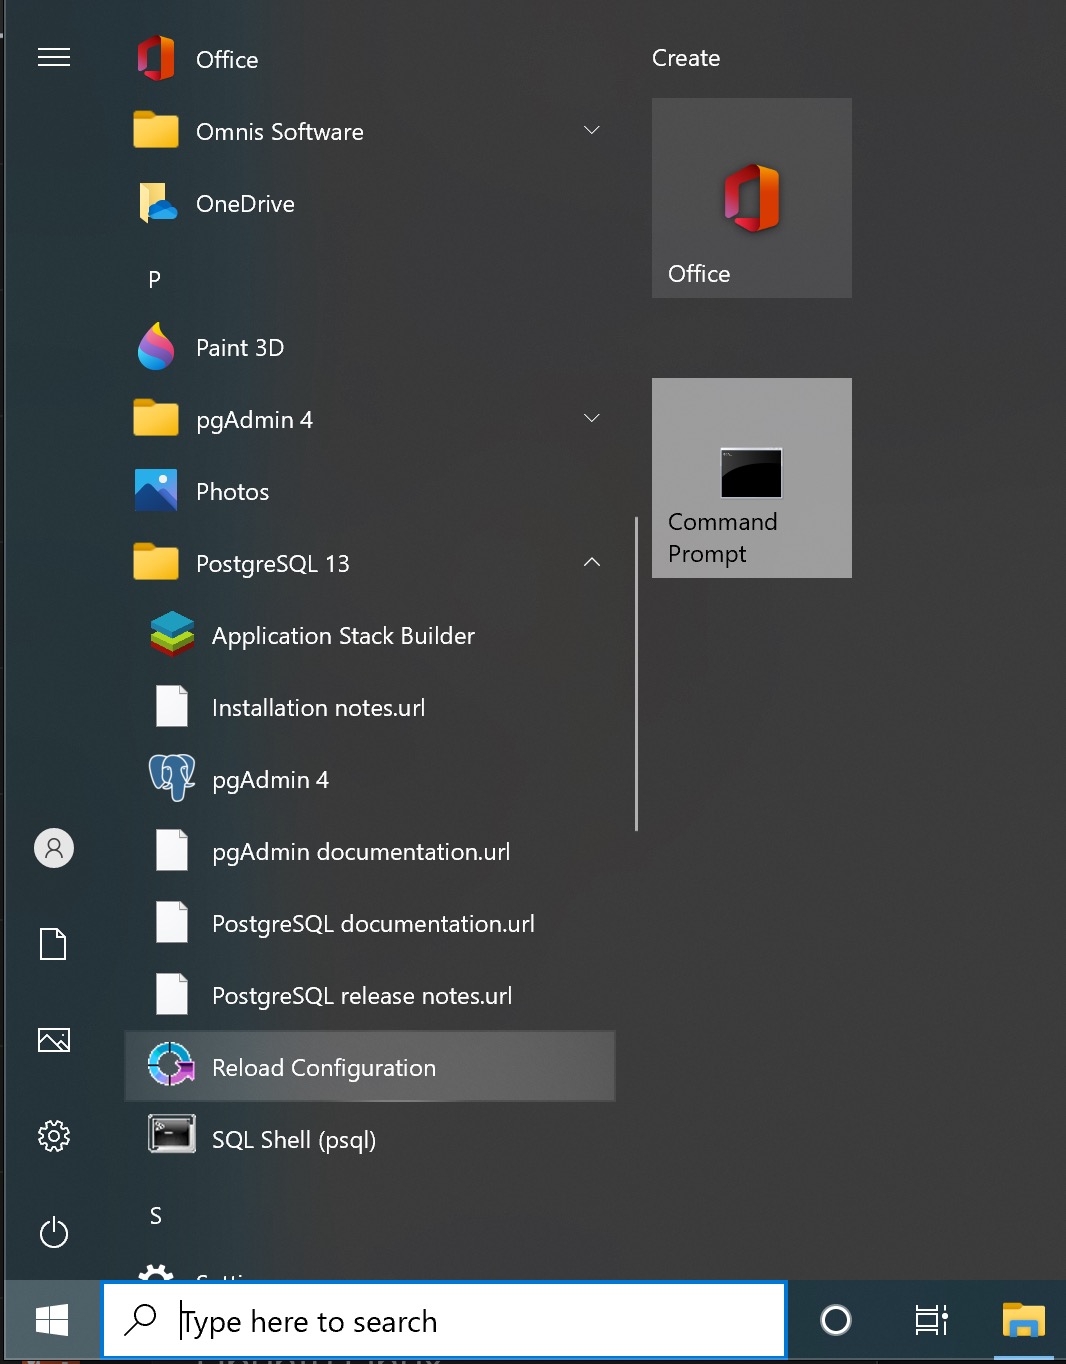 Reload or restart the postgres server to cause the new settings to be used.
All changes to the pg_hba.conf and many changes to postgresql.conf can be reloaded. That put the parameters in place without restarting the server, so any services (like web sales) that are running, continue to run.
A reload is done by:
- using the windows start menu
- finding the 'PostgreSQL application grouping
- using the reload Configuration application
A few changes to the postgresql.conf file will require the postgres server to be completely restarted. This is usually noted in the comments beside the parameter. If this is required, the general steps are below. It is very rare that these parameters are changed after installation - so it might be best to ask support to help you with a complete server restart if you are not familiar:
- Open services control panel
- Find the postgresql service
- Stop the postgresql service
- Start the postgresql service
- Make sure it is running
- Restart the web services
Windows Self Signed TLS Certificate
Windows Self Signed TLS Certificate
Making your own Self Signed TLS Certificate
It is generally best to create your own certificate. It takes about 30 seconds to do, and has the advantage that the certificate is unique to your database.
Start a CMD prompt, type the following 3 commands, and then follow the instructions as prompted. You can copy/paste the commands.
|
cd C:\OpenSSL-Win32 cd bin openssl req -newkey rsa:4096 -nodes -keyout server.key -x509 -days 365 -out server.crt |
Answer all the questions you are asked and when done, find the files in the C:\OpenSSL-Win32\bin directory called:
- server.crt
- server.key
Using a supplied self Signed TLS Certificate
We have created a 4094 bit TLS certificate and included it with the installer. While it is better to create your own, if you need one fast to get started, you can use ours and create your own later (per the step above).
Go to the C:\BoxOffice folder and find the files called:
- server.crt
- server.key
Installing the server.crt and server.key Files
- Select both the server.crt and server.key files and right-click to COPY them
- Navigate to the postgres data directory which is C:\Program FIles\Postgres\x\data where 'x' is the version of PostgreSQL you have installed.
- Right-Click and PASTE them into the data directory
- You will need to restart the Postgres server for the changes to take effect