Postgres Setup Pages (OSX)
 |
These steps are no longer required if you are using Postgres 9.3 or later on OSX. All current installers use Postgres 9.6 or later. |
Mac OS X Lion or later - Multiple Drive Setup and Install
|
The steps outlined are similar if you have a Mac Mini or Mac Pro running OS X 10.6.x or earlier. You will have an install DVD and can do most of the steps without connecting to the internet. |
The general process to prepare such a machine for optimal performance is:
- Save any data or databases that you have on the machine
- Stripe the drives
- Reinstall Lion Server
- Install Postgres as normal
- Restore a database to that server
The steps have a degree of technical complexity and assume you are able to interpret and adapt to variations in the process yourself.
Striping a Mac with two or more drives under Lion or later
Since Lion does not come with any install disks, you will need to follow a special procedure to stripe the drives on Lion servers as follows:
- Make a backup of any data on the computer that you deem important if you have been using it for a while
- Connect the Mac Mini/Mac Pro to the internet, a monitor and keyboard. The internet is important as it will be required to restore the operating system
- Restart the Mac with the Apple and R keys held down simultaneously. This will boot from the internal Lion partition on the drive
- When the machine responds with the OS X operating system installer screen, select the language of your choice and begin the install
- The next screen will be the utilities window. Select Disk Utility and:
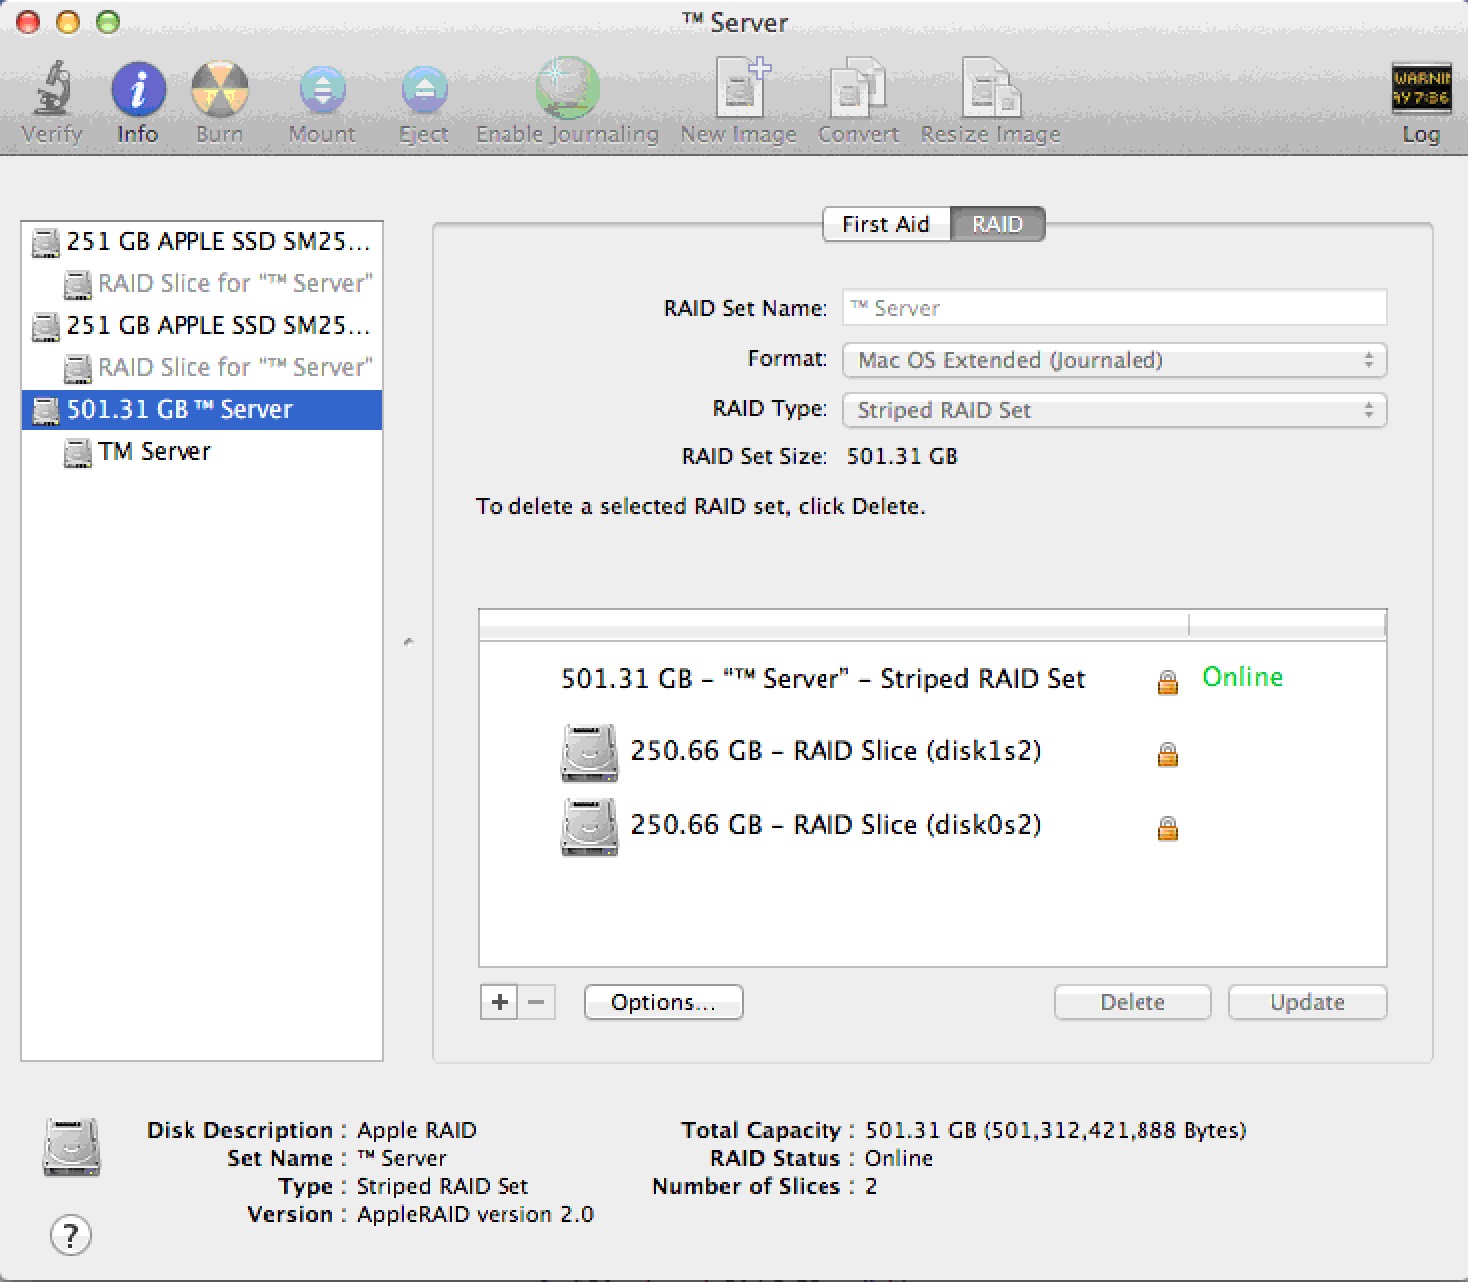
- After selecting a drive, click on the the 'RAID' tab.
- Select STRIPED RAID SET for the 'RAID Type' prompt. The default is a mirrored drive set, so be careful; otherwise, you will end up starting over.
- Drag both individual drives into the RAID Stripe and verify that the estimated size of the RAID set is the total of both drives. (it should look similar to the diagram below)
- Create the RAID Striped Set.
- After confirming you want to do this, Partition Utility will bring the RAID array back online.
- Quit 'Disk Utility'
- On the main window, you should now select 'Reinstall Mac OS X Lion' (optionally, you could restore from a time machine backup). Follow any/all prompts and reinstall Lion. It may say that File Vault or some other features are disabled - it's the price of gaining a lot of performance from the dual drive server.
- The download from the Apple web site may take a while, so let the installer do its thing.
Post Installation Steps
- After installing and configuring, download any updates using 'Software Update'. You may need to repeat this step until there are no more updates available.
- Configure the server with a static IP address
- Disable Airport, Spotlight indexing, Time Machine and any power saving settings
- Setup the firewall as required
- Ensure the backup script is setup and thoroughly tested and that there is a step that can successfully FTP the database to another machine (or copy it using the Unix 'cp' command). If a hard drive in the striped RAID set dies, none of the data on any drive is recoverable so OFF-MACHINE backups are mandatory.
Step 2: Create user and import Database
|
This step is no longer required -- the installers do it for you |
In most circumstances, you can skip this and the remainder of the steps if you are only installing a demo. If you are not, you will need to proceed to steps 3 and 4.
Installing a demo if one was not installed
The database server needs a specific user called TheatreManager with specific privileges that will be assigned as the owner of each database. We also want to import a demo database. This step assumes that you have installed things into the /Users/Shared directory. If you did not, then you will need to edit the script and do this step manually.
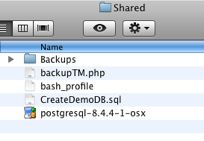
| 1. | Go to /Users/Shared directory. You should see some files and folders with names that look like below.
|
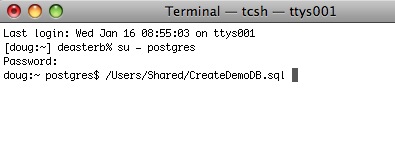
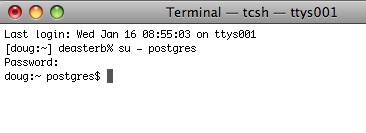
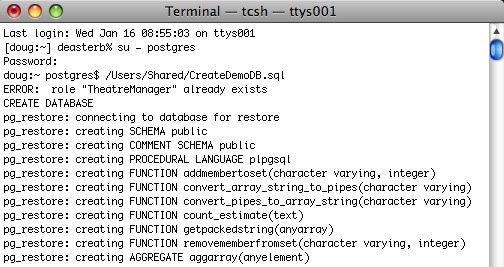
| 2. | Start terminal and change the user to 'postgres' by typing: su - postgres Press RETURN and then type the postgres user's password (password will not display anything)
|
| 3. | Drag the script '/Users/Shared/CreateDemoDB.sql onto the terminal window. This shortcut saves typing anything. Click into the terminal window and then press RETURN to start the command. If it does not run, then possible issues are:
|
| 4. | The script will run and load up the TheatreManagerDemo database. You can modify this script to load up a customer database if necessary by editing it in BBedit or in TextEdit (make sure to save it as text if you use TextEdit - its preference, unfortunately, is to save as a .rtf document). Note, any WARNING messages from the TheatreManagerDemo database creation can be ignored. These warnings are normal.
|
.bash_profile in terminal
|
This step is no longer required if you are using Postgres 9.3 or later. All current installers use Postgres 9.6 or later. |
Otherwise, this step is not required under most circumstances.
| 1. | Start Terminal and navigate to the home directory for postgres user.
Type: cd /Library/PostgreSQL/9.3 |
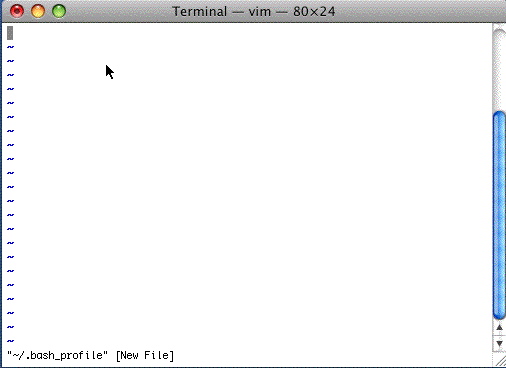
| 2. | Next, let's update the profile for Terminal to that it makes life easier in Postgres from this point on. Type
it will open with an empty window as below.
Just like when using VI for the other two files, type: to put you in insert mode |
| 3. | 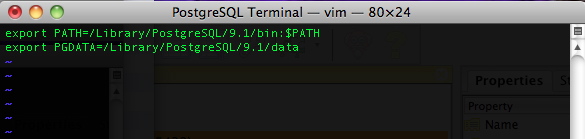
Type the two lines into the file exactly as shown. When done, type, in this order: hit the '' key (the insert mode will dissappear) (the window will show the 'Entering Ex mode' message) and the window will clear and you will be back at Terminal. The next time you start Terminal under the Postgres user account, you will have access to the Postgres commands and data directory in a more convenient fashion. |
OS X Shared Memory Settings
|
This step is no longer required if you are using Postgres 9.3 or later. All current installers use Postgres 9.6 or later. |
If you used the Theatre Manager Postgres installer, it will detect if you have more than 2 GB of RAM in your machine and automatically insert these into the /etc/sysctl.conf file for you. After installing Postgres the first time, simply reboot the server - these settings will have been done for you and you need not continue with the steps below.
BEFORE STARTING: Ensure you are in Terminal at your own user, not postgres. This is a fairly technical topic and the reference: http://www.postgresql.org/docs/9.0/interactive/kernel-resources.html
| 1. |
Open Terminal again and type: su - [Your UserName] Type vi /etc/sysctl.confType I to insert data Add the lines: kern.sysv.shmmax=1610612736kern.sysv.shmmin=1 kern.sysv.shmmni=256 kern.sysv.shmseg=64 kern.sysv.shmall=393216 kern.sysv.maxproc=2048 kern.maxprocperuid=512 These settings reflect the maximum size of a shared buffer. These settings assume you are running at least 2GB of RAM. If you have less RAM, these settings may need to be altered. shmmax is the key setting; it is in bytes. If the machine has more memory to use, then this could be increased as well. shmall is the shmmax setting divided by 4. Hit the Esc key Hit Shift Q Type wq Hit Enter Restart OS X after doing this. This is required to apply the changes.
Restart OS X after doing this. This is required to apply the changes. |
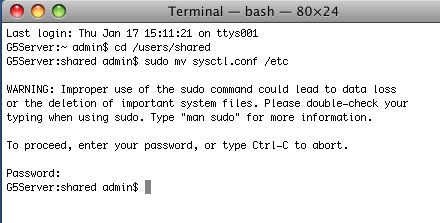 There is a sample of this file in /users/Shared/ from the install. If your machine has 2GB of RAM or more, you could move it to the right folder instead by: