Submitting CSR for TLS Certificate Creation
To submit the request for TLS Certificate Creation, you will need the Certificate Signing Request (CSR) file called server.crt created from the previous step.
Submitting CSR for TLS Certificate - NameCheap
Step 1: Access GeoTrust's Vendor Portal
- Access the NameCheap vendor portal via https://www.namecheap.com/myaccount/login.aspx?ReturnUrl=%2f
- Enter user name artsman
- Enter password refer to Daylite
- Click Sign in and Continue
Step 2: Place Order for Certificate - PositiveSSL Multi-Domain
- Click Security >> TLS Certificates.
- Click the Buy Now button under the PositiveSSL Multi-Domain option.
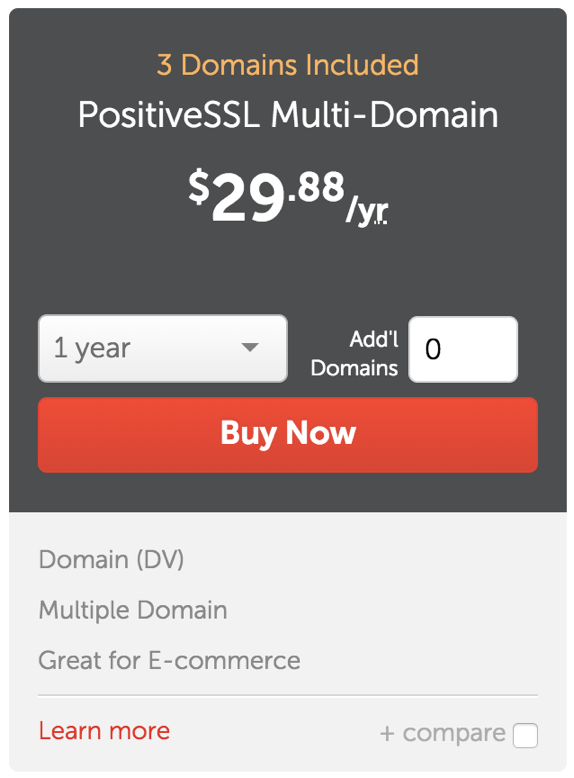
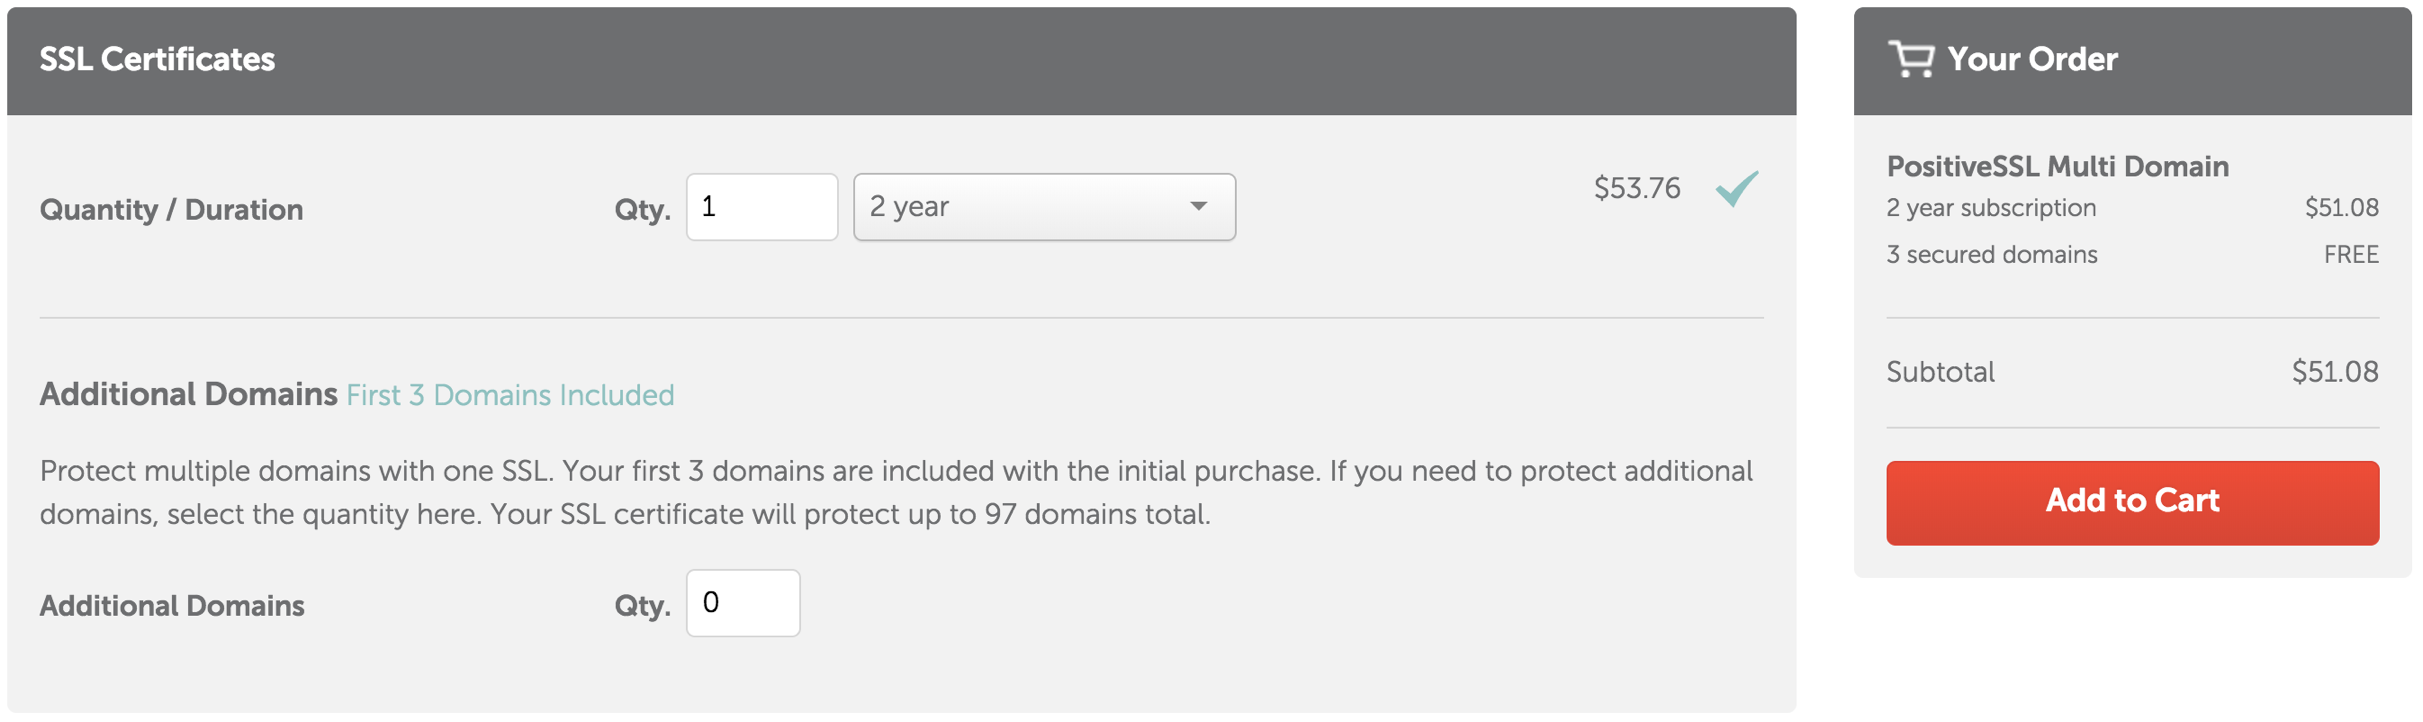
- Select the number of years the TLS purchase will be valid for. Most clients purchase for 2 years.
- Click the Add to Cart button.
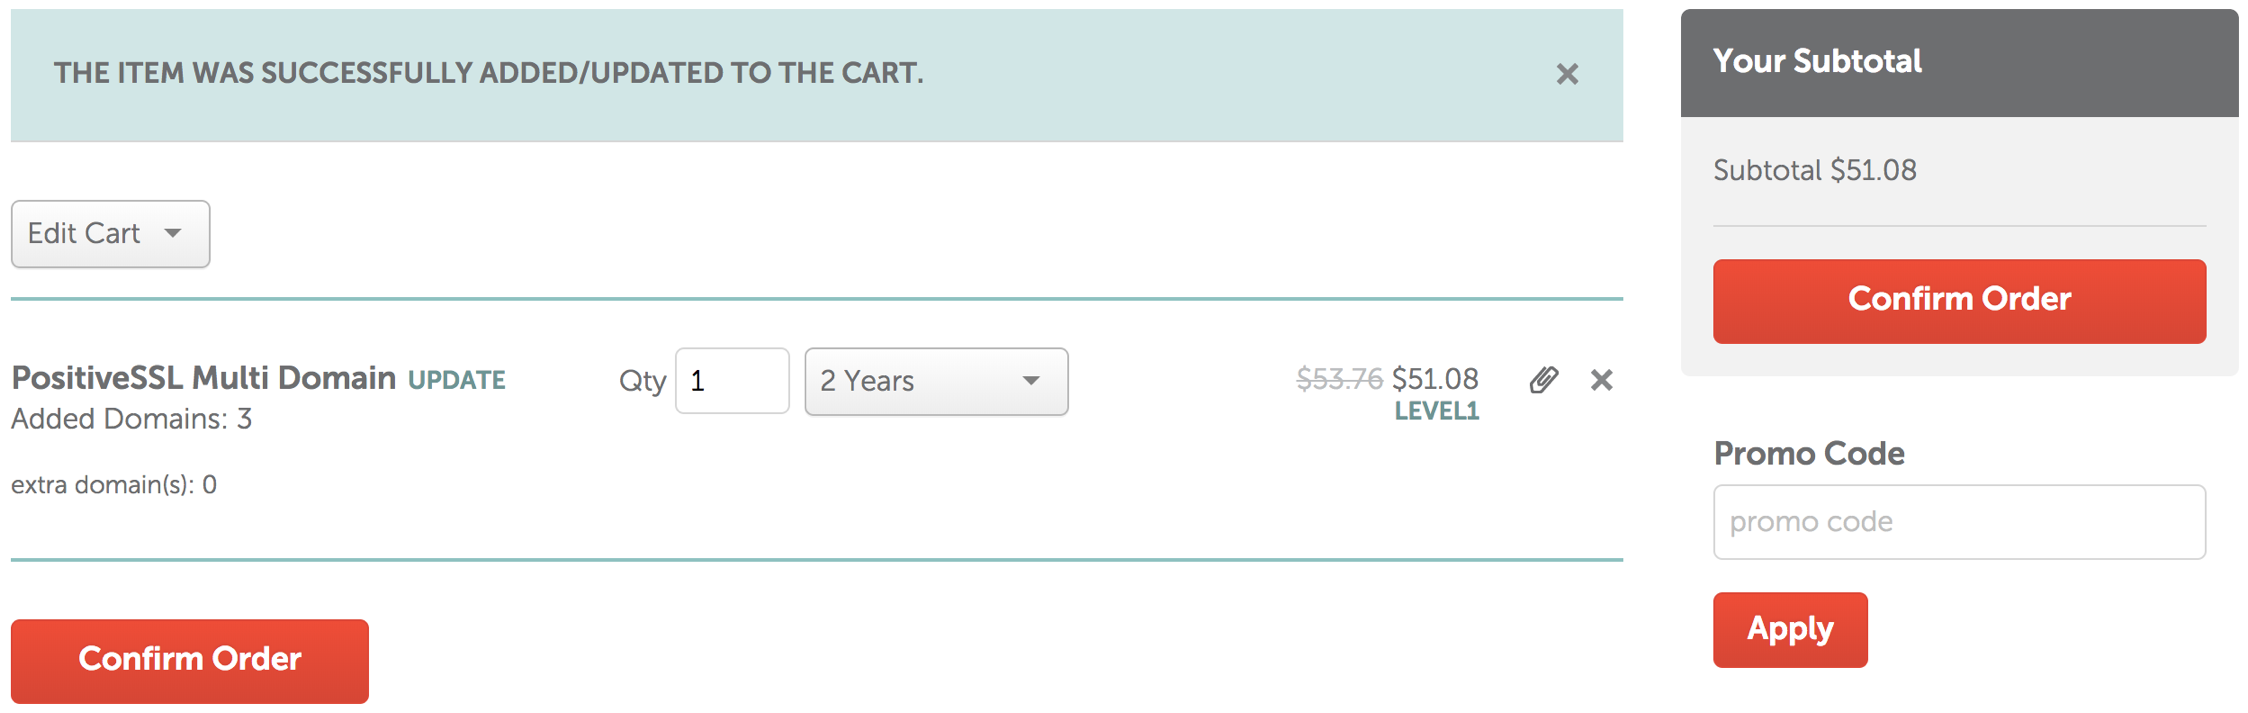
- After reviewing the order details are correct, click the Confirm Order button.
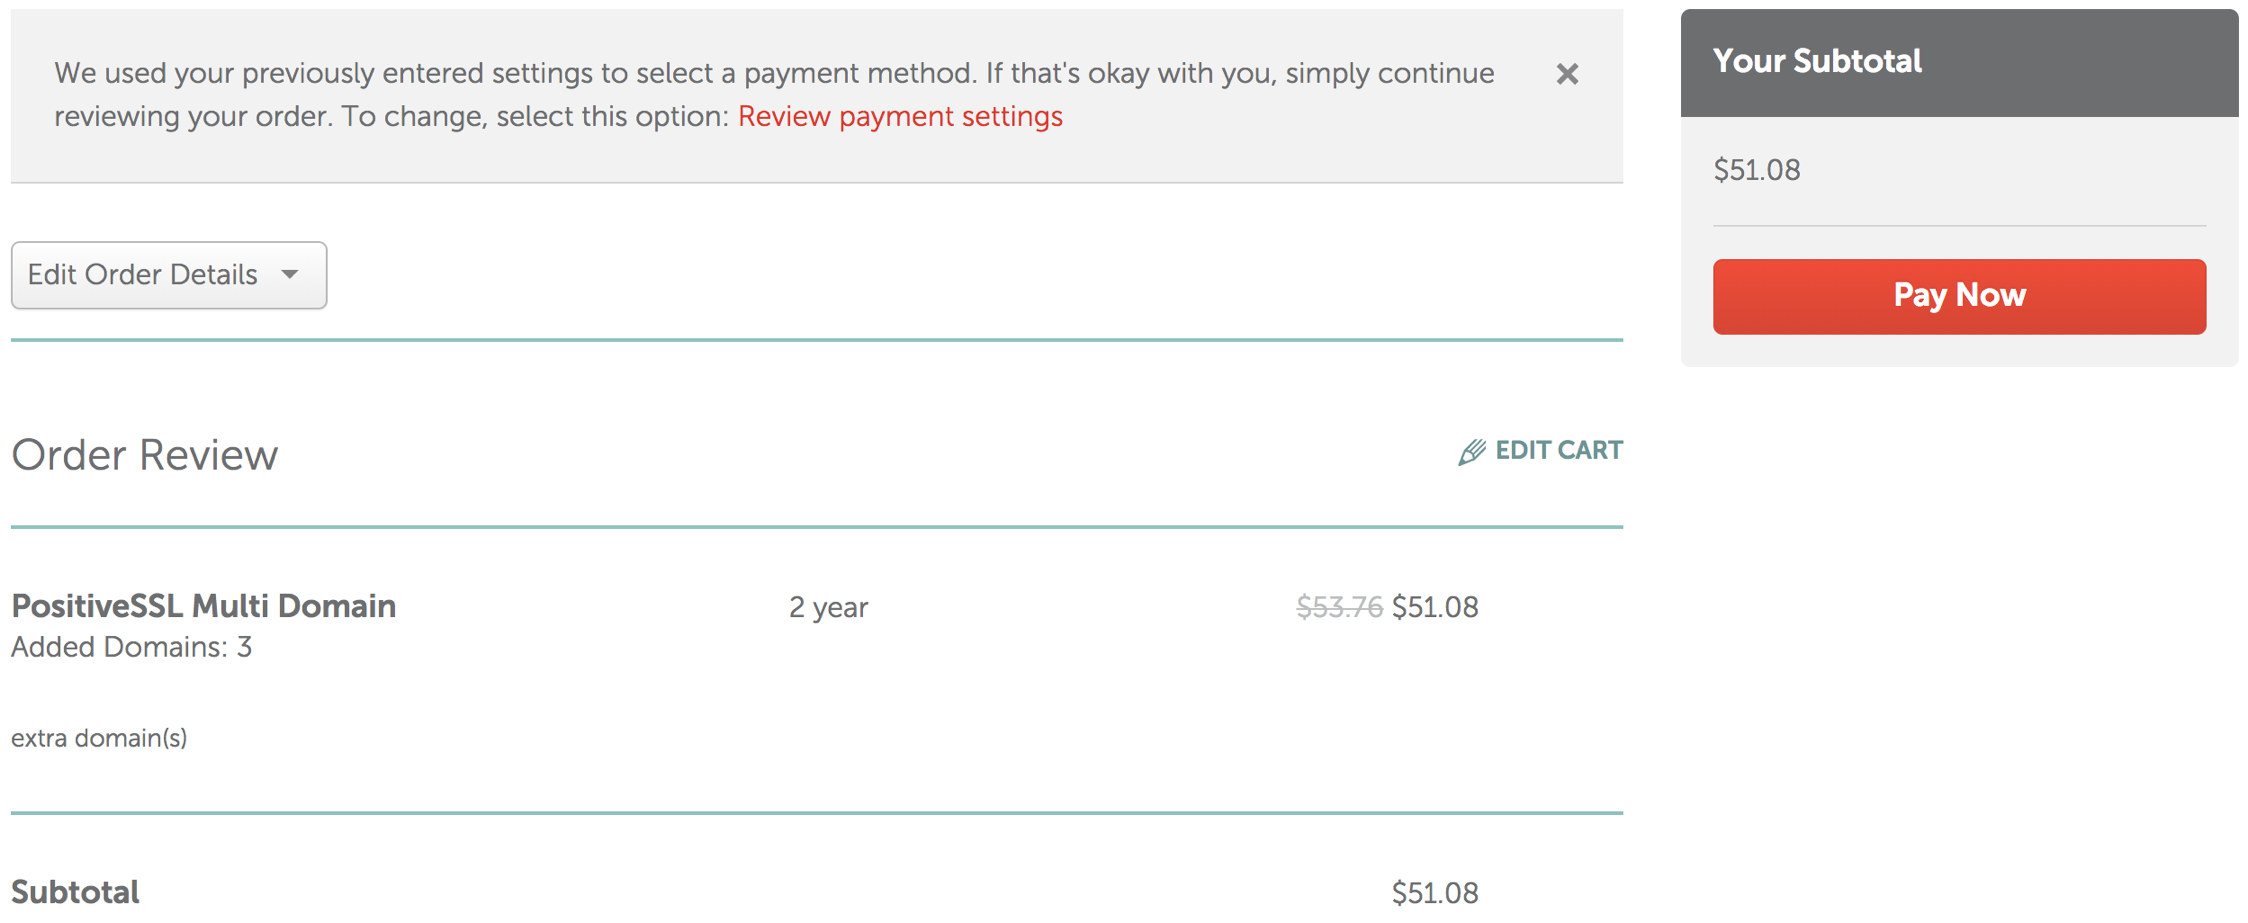
- Click the Pay Now button to purchase the PositiveSSL Multi-Domain SSL.
Step 3: Activate the TLS Certificate - PositiveSSL Multi-Domain
- Click the Manage button in the Purchase Summary window.
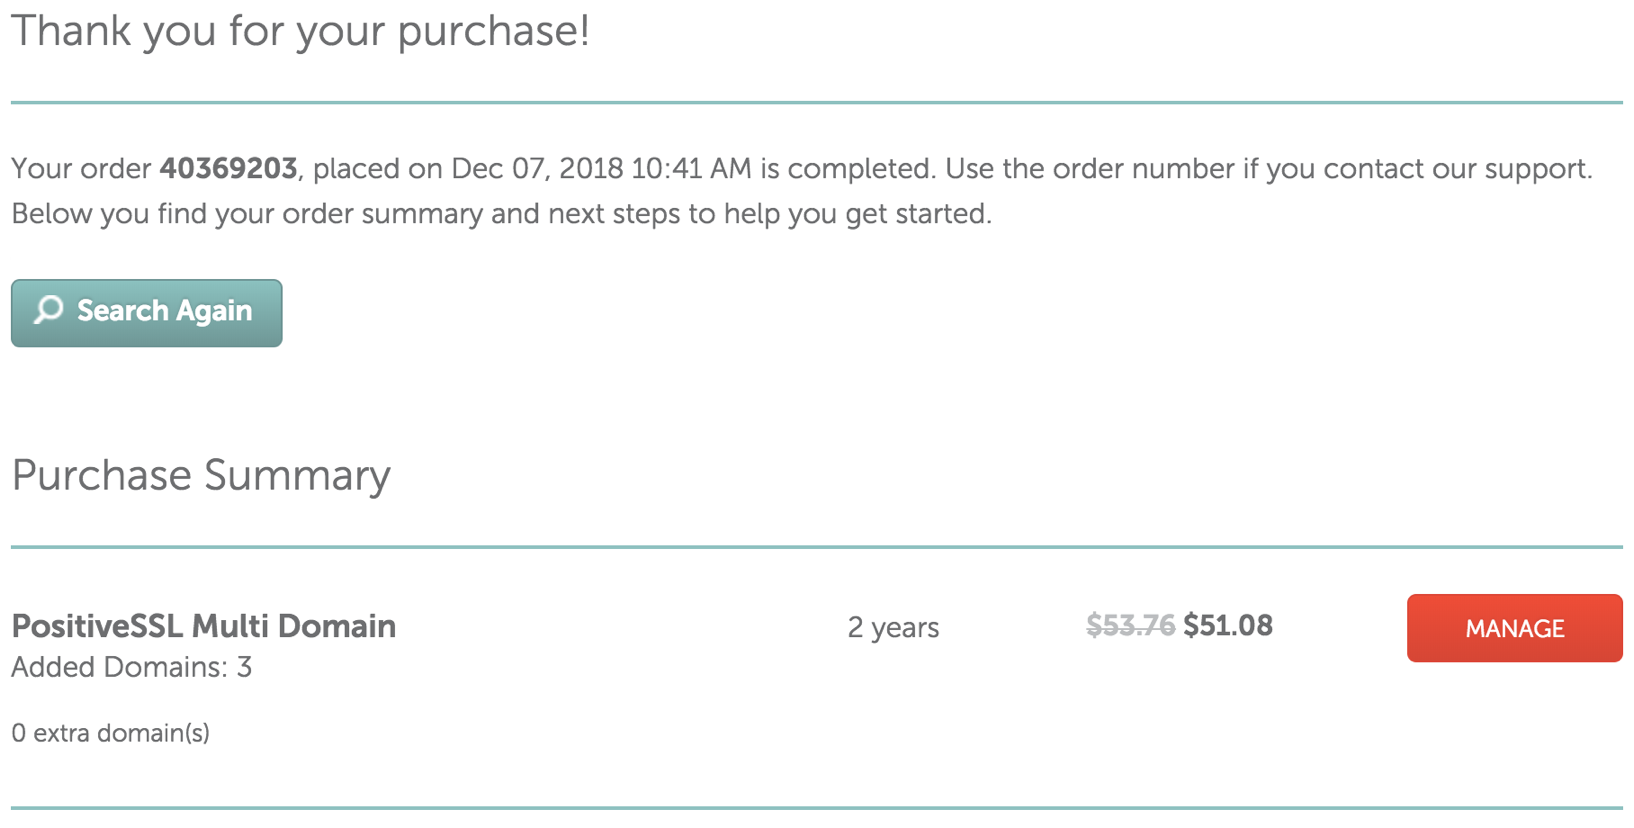
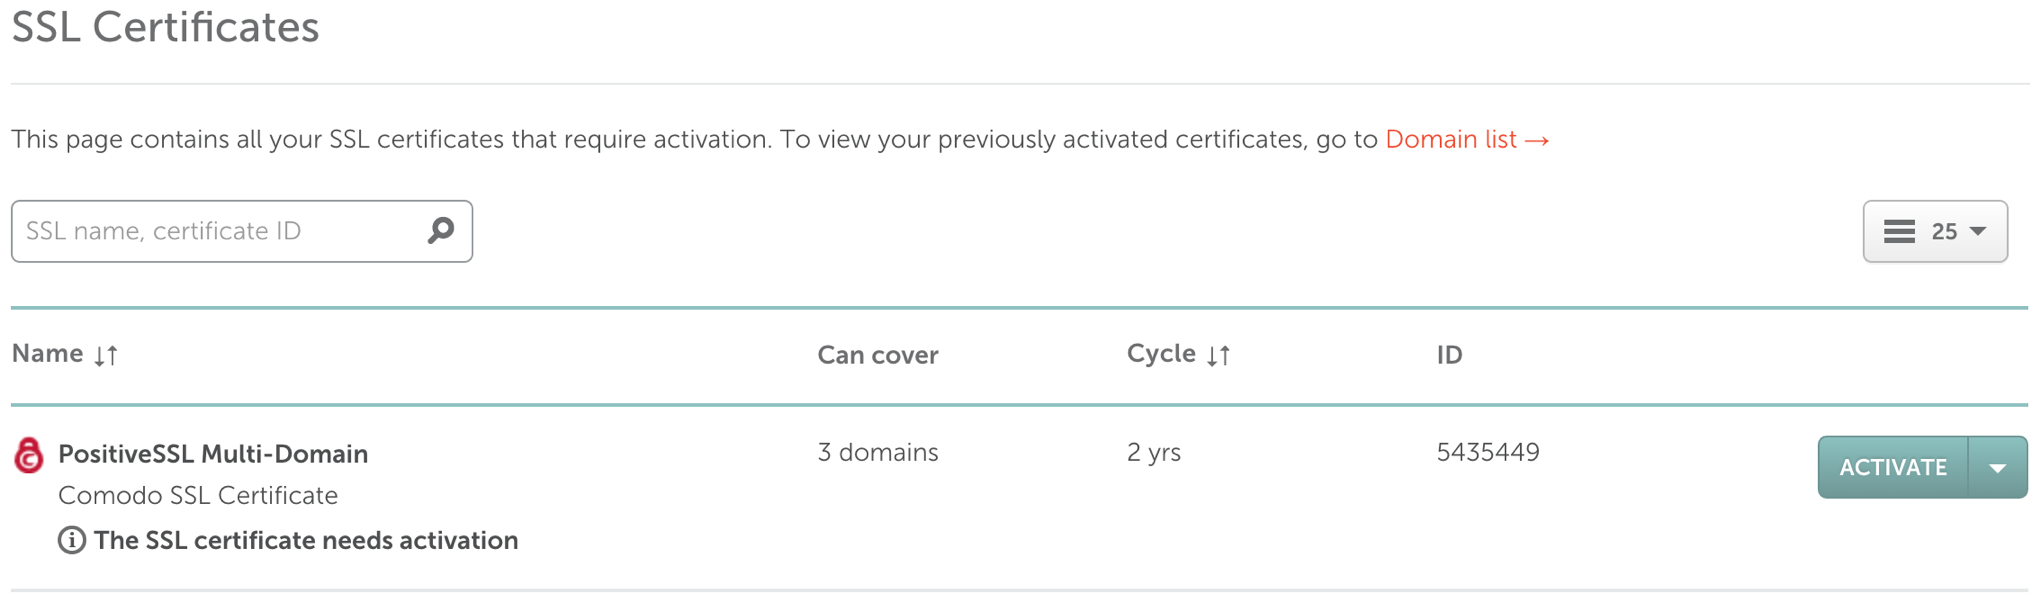
- Click the Activiate button to start the activation process.
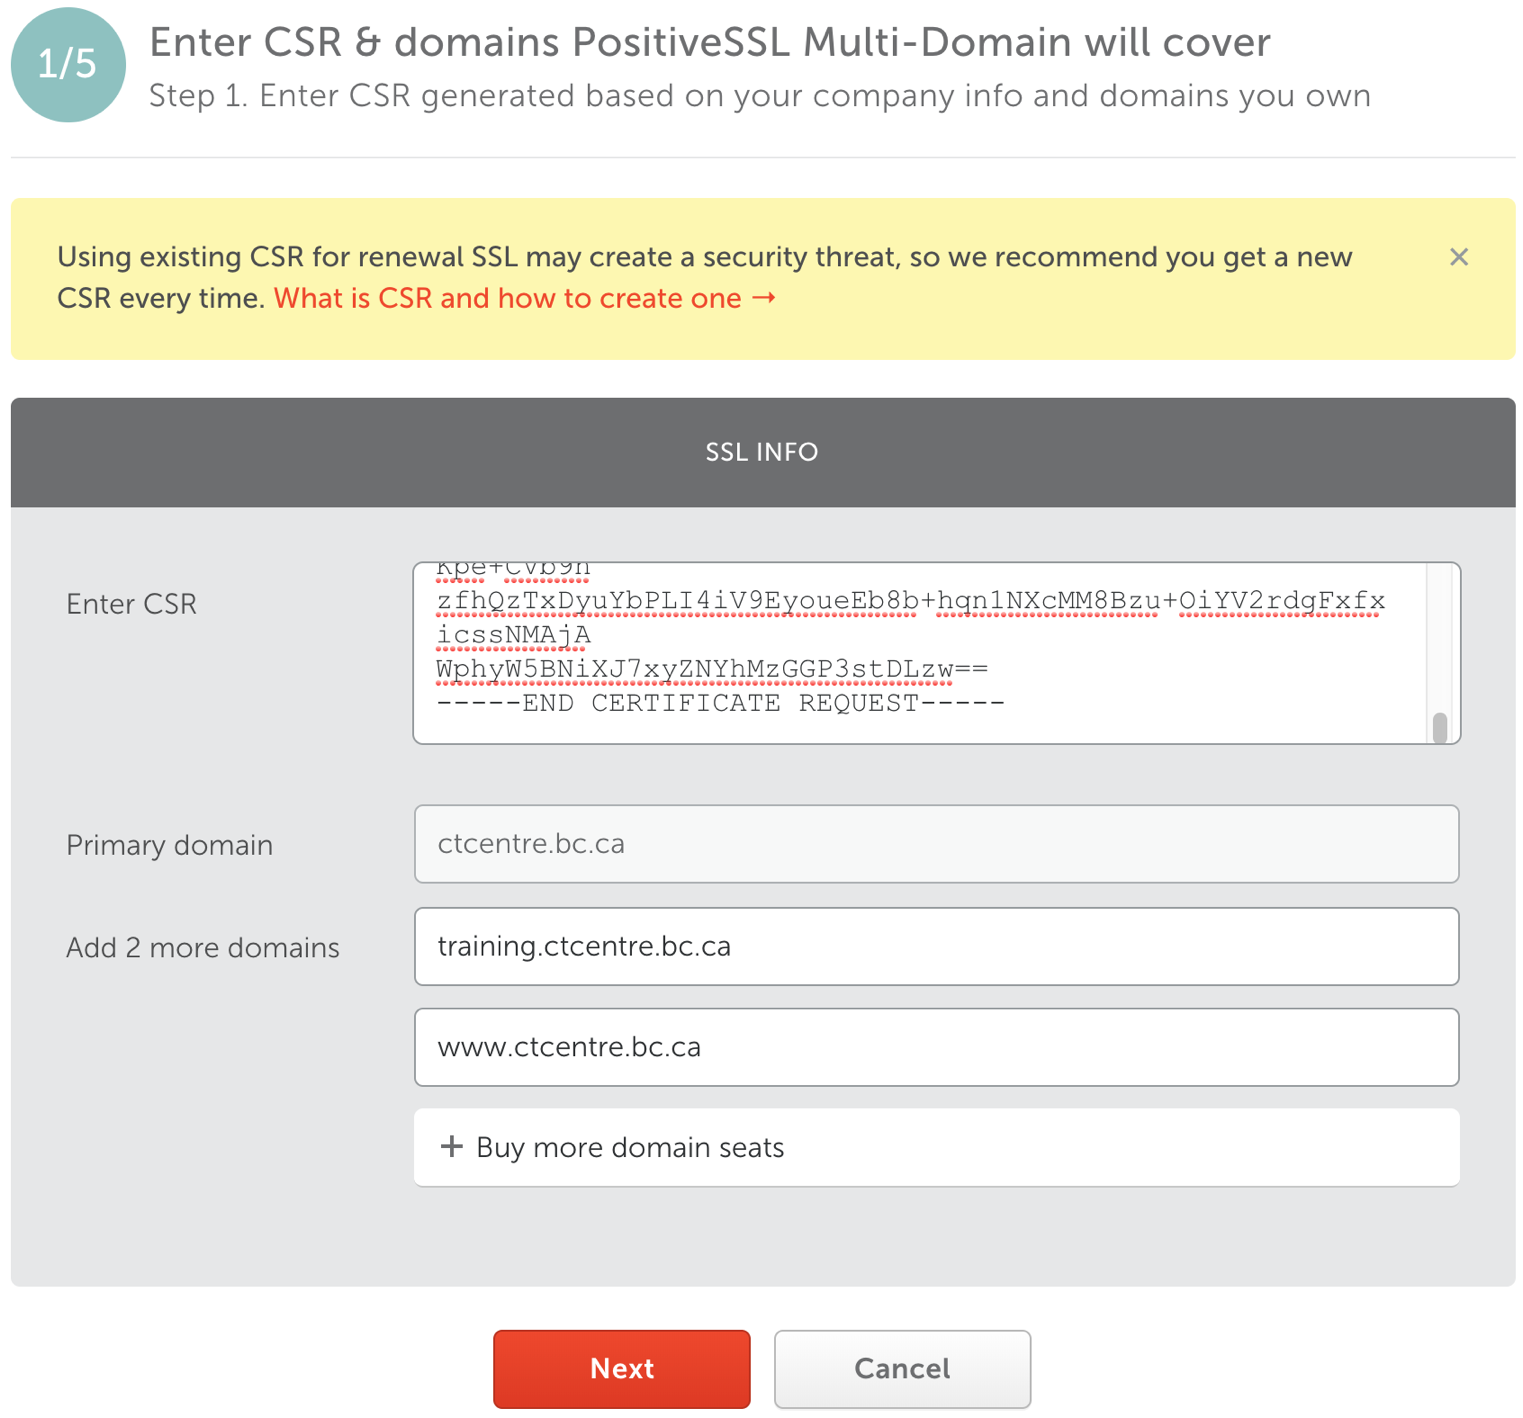
- Step 1: Enter CSR & domains PositiveSSL Multi-Domain will cover
- Copy and Paste the content from the .CSR file into the Enter CSR field. The Primary Domain field will populate with the domain name.
- Enter the additional domain names in the Add 2 more domains fields.
- Click the Next button.
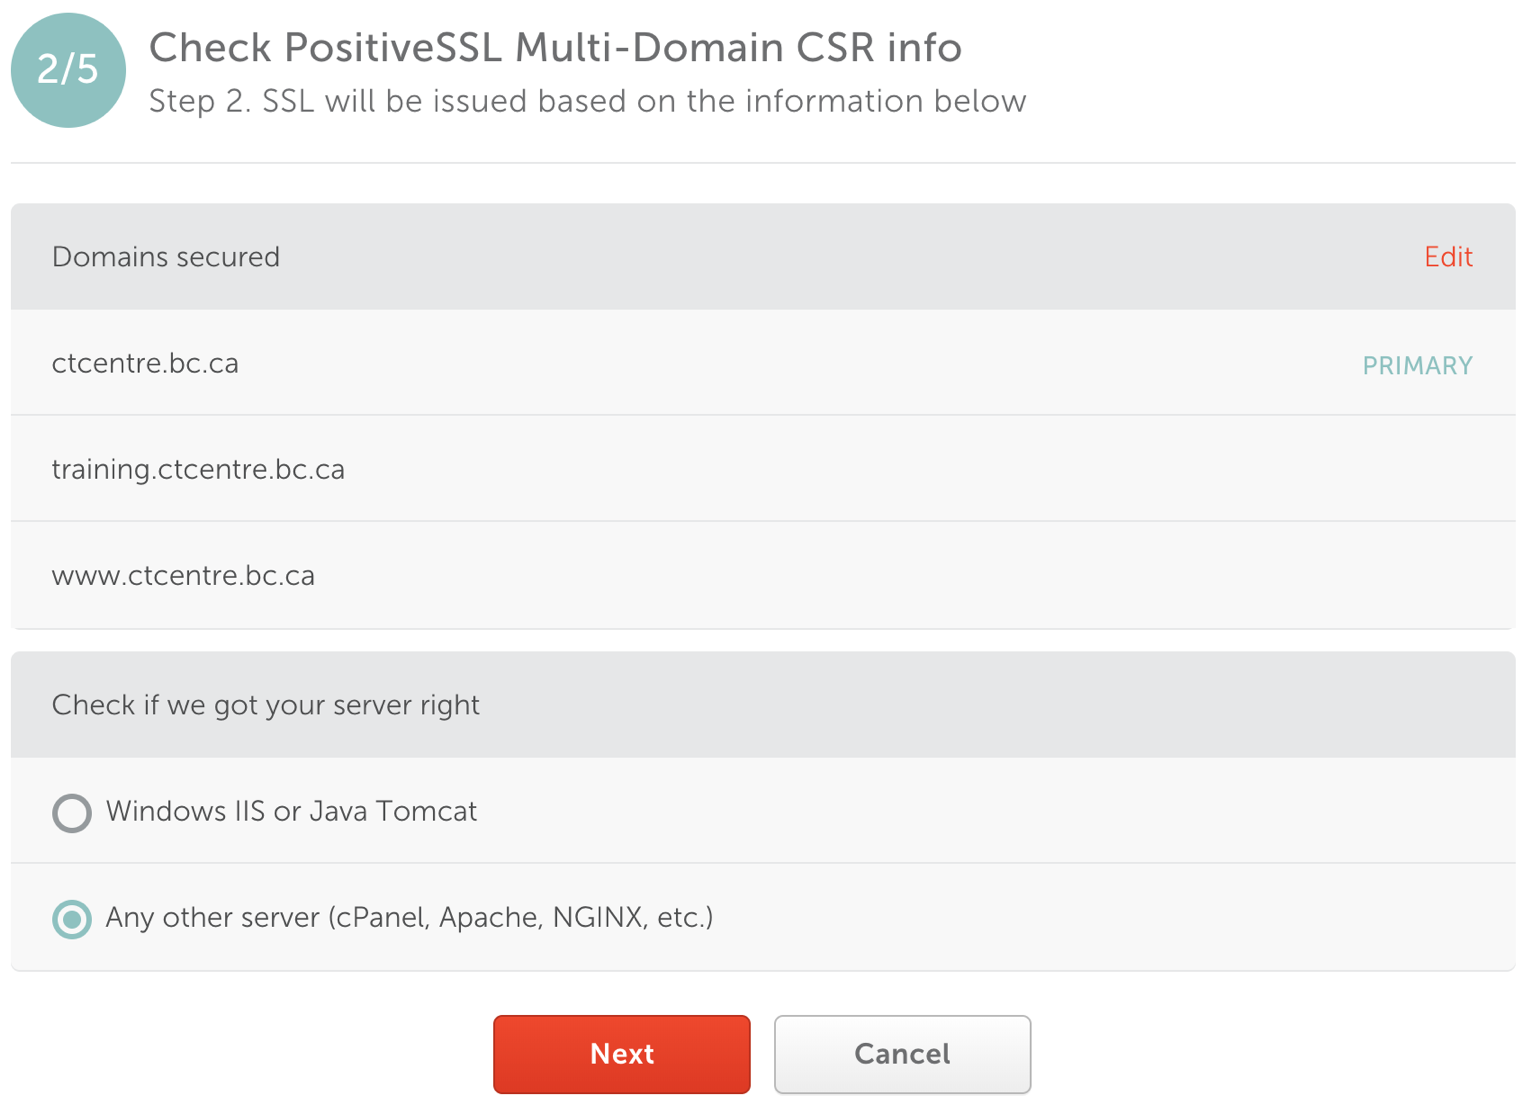
- Step 2: Check PostiveSSL Multi-Domain CSR info
- Review the Domain names.
- Select the web server. This is usually set to Any other server (cPanel, Apache, NGINX, etc.).
- Click the Next button.
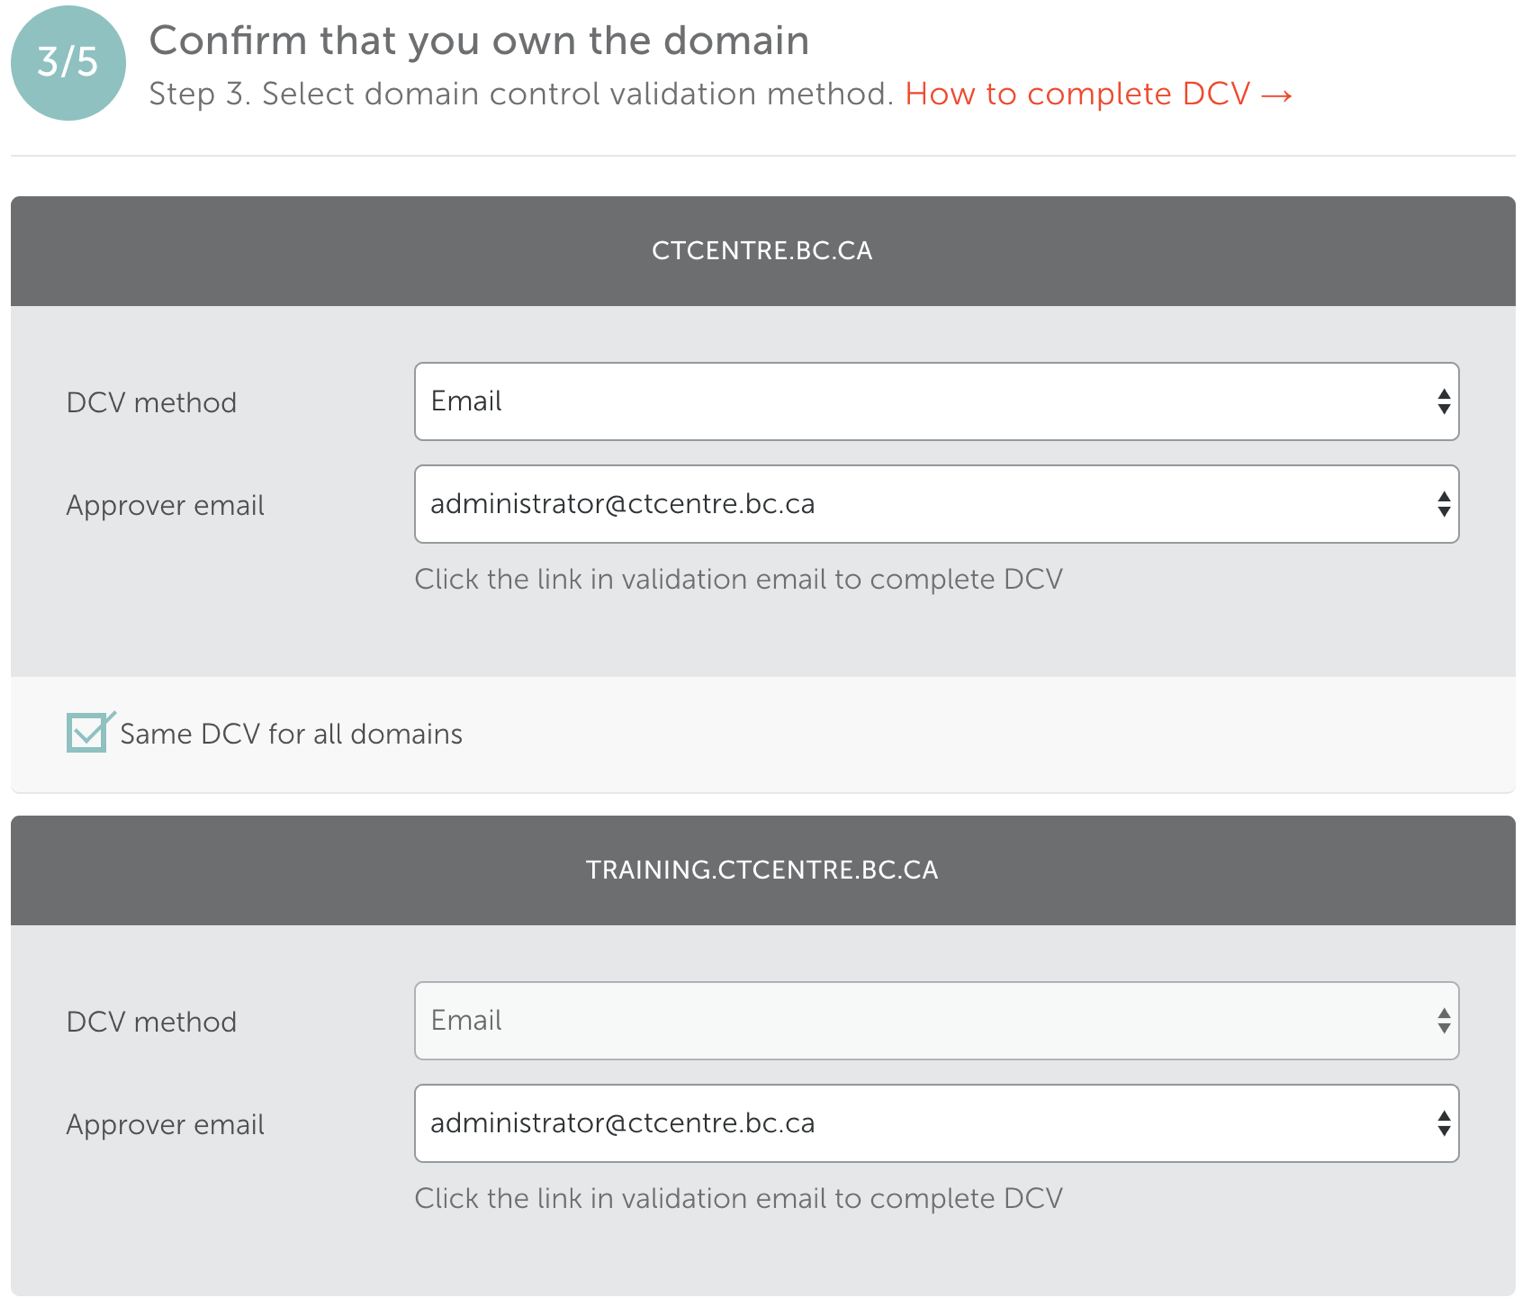
- Step 3: Confirm that you own the domain
- Choose the Approver emailfrom the drop down for the domain.
- Check the Same DCV for all domains box. This will ensure one email goes to the client to approve all three domain names.
- Select the same email Approver email address for the remaining domains.
- Click the Next button.
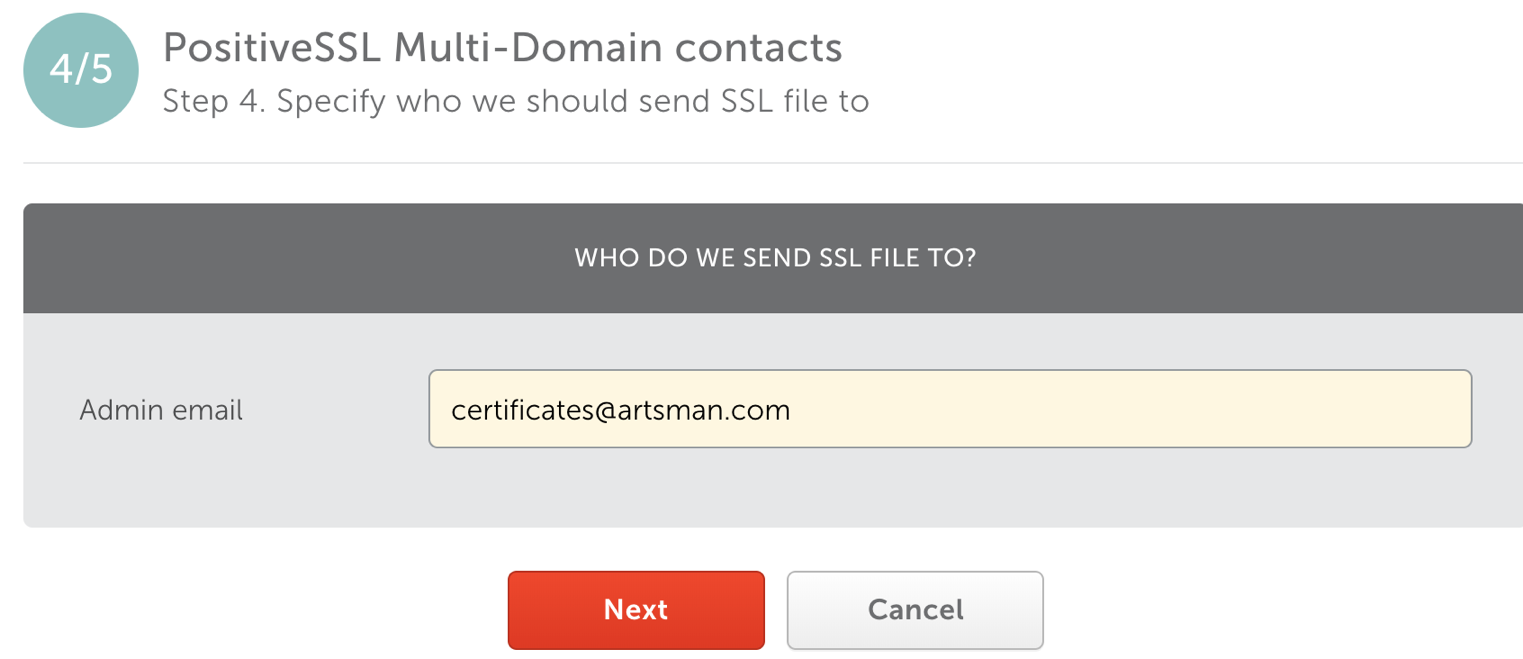
- Step 4: PostiveSSL Multi-Domain contacts
- Edit the Admin email to be certificates@artsman.com. This is the email the .crt file will be sent to.
- Click the Next button.
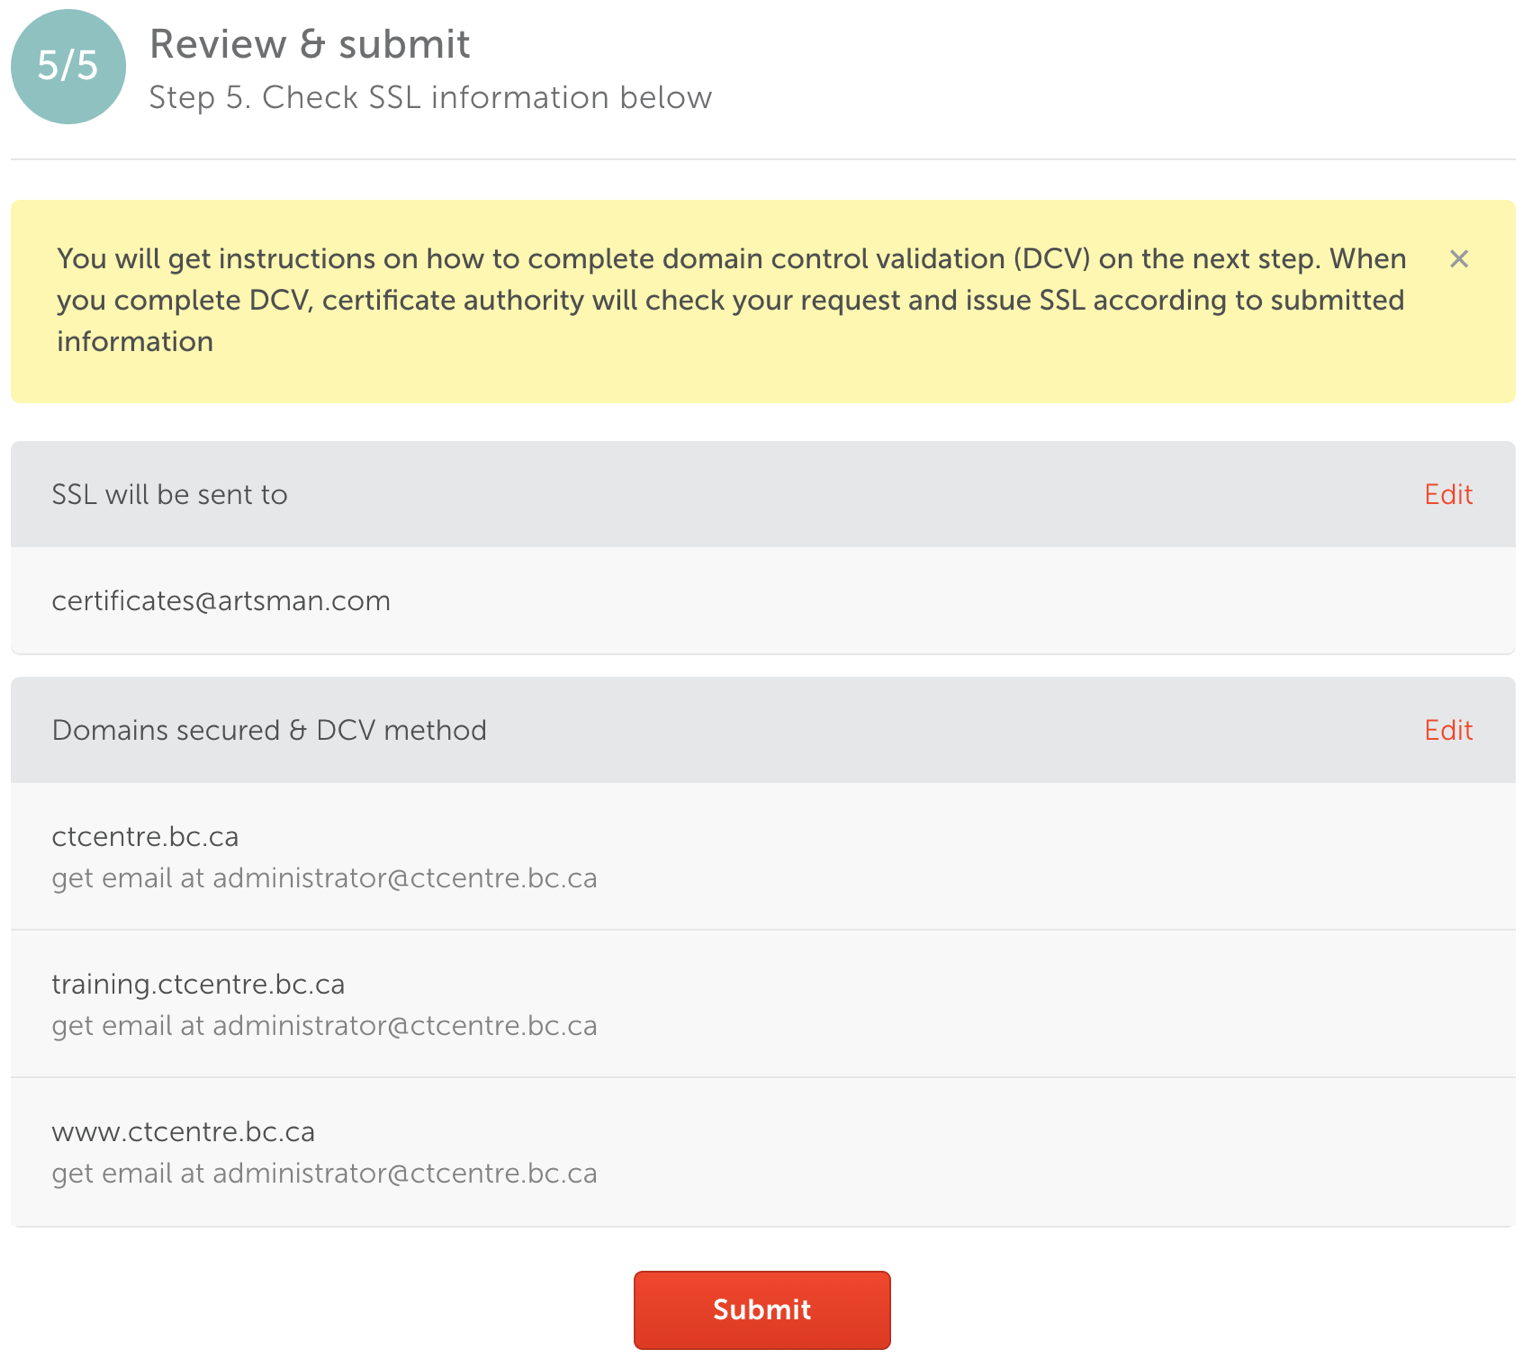
- Step 5: Review & submit
- Review the TLS details to ensure they are correct.
- Click the Submit button.
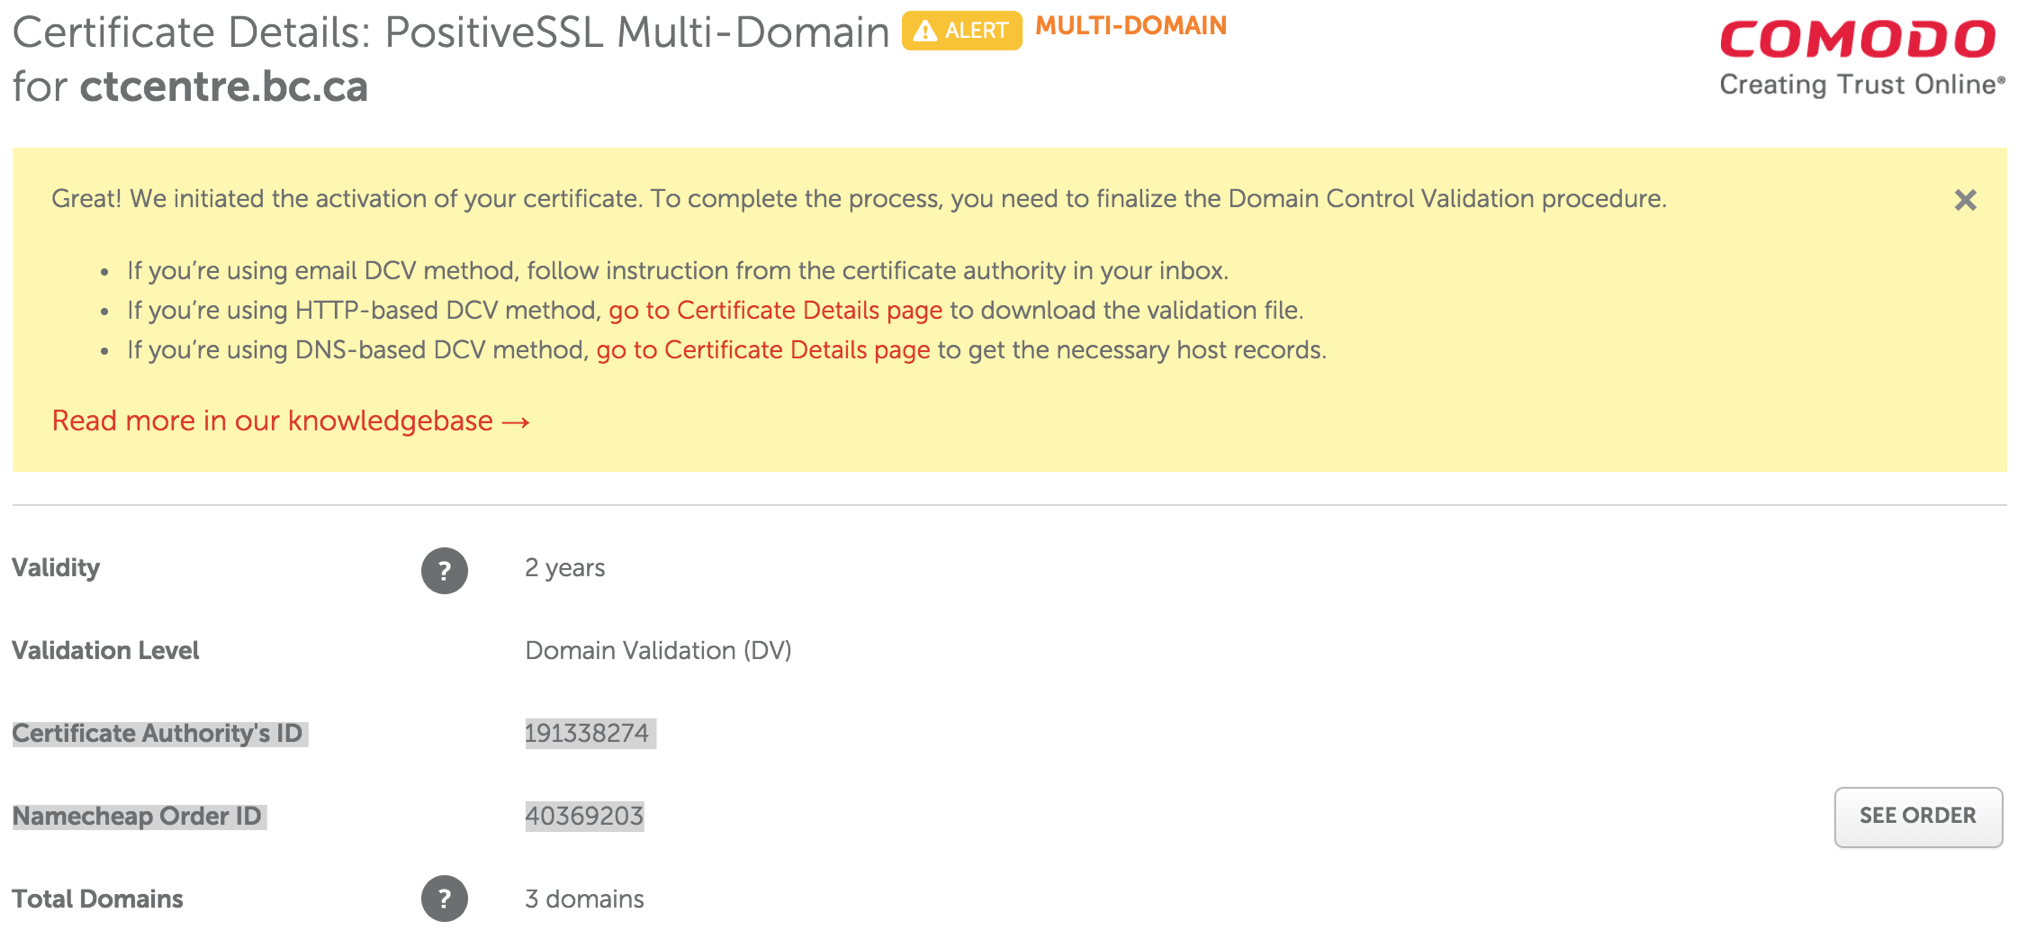
- Copy and Paste the Certificate Authority's ID and Namecheap Order ID details along with the date into the Daylite Order/Install TLS Task.
Submitting CSR for TLS - GeoTrust
 |
Geotrust TLS certificates are no longer used - refer to Name Cheap TLS Certificates instead. |
Step 1: Access GeoTrust's Vendor Portal
- Access GeoTrust's vendor portal via
- Enter user name artsman
- Enter password refer to Doug, Darwin or Dave for the password
- Click Log on
Step 2: Place Order for Certificate - QuickSSL Premium Enrollment
- Click Order Certificates in the left side navigation bar.
- Click Place Order for the ACTIVE QuickSSL Premium contract.
- Validity Periods
Select Validity Period (1 year, 2 years, 3 years, etc) based on what the client purchased in their signed Letter of Confirmation (LoC). Wait for the window to reload before proceeding.
- Renewal
Select Initial Order or Renewal. If renewal is selected, they MUST BE renewing a previous TLS Certificate that was issued from GeoTrust.
- Competitive Replacement
In most cases, select No, I can't take advantage of this offer. Select Yes in the case where we would be renewing an existing tickets.myvenue.org TLS Certificate that was originally issued from another Certificate provider other then GeoTrust.
- Special Instructions
Leave this field empty.
- Click Continue
- Open up /Library/Apache2/bin/server.csr in BBedit.
- Enter CSR
Copy the entire contents of server.csr file (including the BEGIN CERTIFICATE REQUEST and END CERTIFICATE REQUEST tag lines) into Certificate Signing Request field.
- Click Continue
- Leave the Add Additional Domains field blank.
Adding to this field will increase the cost of the TLS Certificate.
- Click Continue
- Verify Server URL
Review information on the page for accuracy.
- Click Continue
- Site Administrator Contact Information
Enter in Site Administrator contact information from the clients information as per instructions
- Technical Contact Information
Enter in Technical Contact information as:
First Name: David
Last Name: McKeonoe
Title: Director of Development
email: as per current email
Phone Number: 403-536-1214
- Click Continue
- Approval of Your Certificate Request
Select Approval Email address from the clients information as per instructions
- Click Continue
- Order Summary
Review information on the page for accuracy.
- Check the box "I agree to this Subscriber Agreement" at the bottom of the page.
- Click Submit Order
Inform the AMS Installer or the client contact that the TLS Certificate has been submitted and is now awaiting for their approval.