Assign Promotions to a Performance
|
By default, ALL promotions are available to the performance when it is created. |

To add a promotion to a performance, you carry out the following steps:
- Open the Event Setup window.
- Click on the Promotions Tab.
A list of all the performances for the event is displayed on the left side of the window.
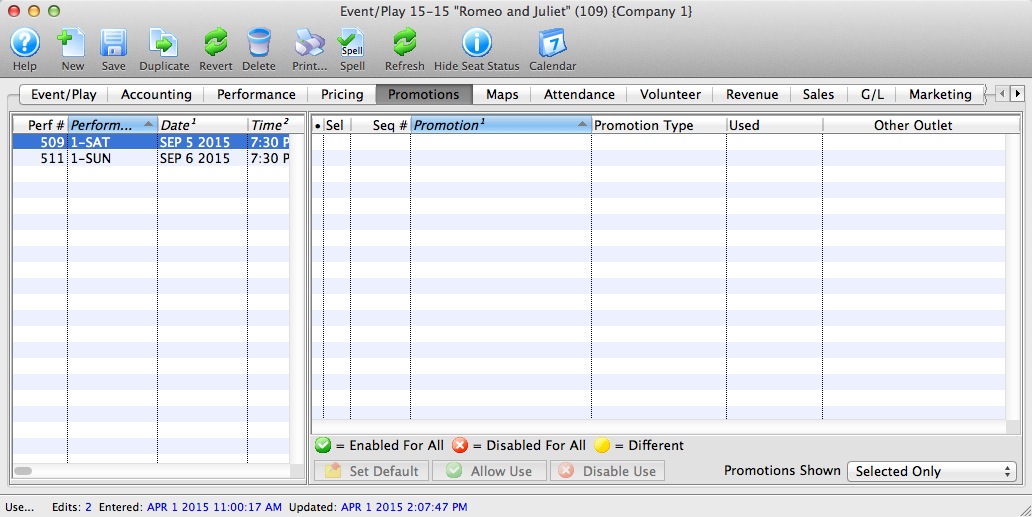
- Select the performance you want to add promotions to.
Click a performance to select it. Only one performance may be selected since each may contain different promotion data.
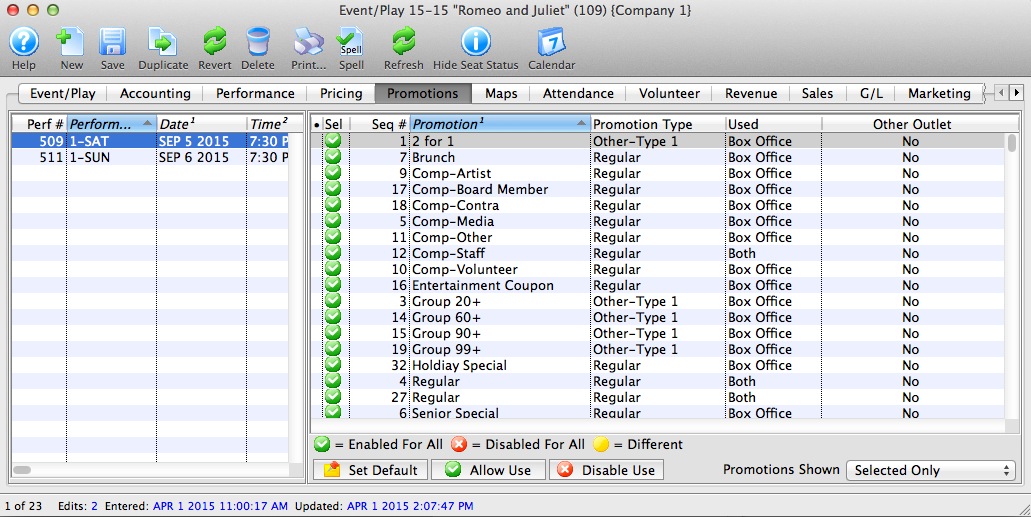
- Select the promotions you want to use.
Click a promotion to select / deselect it.
- Click the Allow Use
 button.
 A green check mark in the Sel column shows the promotion is available for the performance. The checked promotions will appear in the buy window when selling tickets to that performance.
Disabling Promotions for a Performance
- Open the Event Setup window.
-
Click on the Promotions Tab.
- Select the performance.
Click a performance to select it. Only one performance may be selected since each may contain different promotion data.
- Select the promotions you want to remove.
Do this by highlighting the promotions you want to clear.
- Click the Disable Use
 button.
 A red X appears in the Sel column shows the promotion. The X'd promotions will now not appear in the buy window when selling tickets to that performance.