Adding a Graphic to a Form Letter
Unlike plain text, adding graphics and color to your form letters, newsletters and email adds impact to your content. In the form letter functions of Theatre Manager, you can easily add graphics. These can range from your logo to photographs to clipart.

There are 3 different methods to add graphics to a form letter:
- Drag and Drop the image into a form letter.
- The menu option Edit >> Paste From File.
- Copy and Paste.
| You can download the Cheatsheet (1-2 pages) of adding a Graphic to a Form Letter. |
Add URL to a Graphic
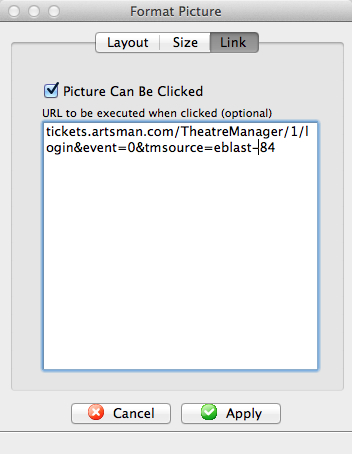
There are two selections to make.
| Item | Values |
| Picture can be clicked | If this is enabled (clicked), then when the picture is placed in an email, the user will be able to click on it and activate the URL. If this is disabled, entering the URL will have no effect |
| URL |
The URL is the link that you want execute if the user clicks on the picture. You can enter email addresses, actual URL's to any web site, or feeds.
The link should contain an accepted web prefix like https://, mailto:, or tel: (being explicit is better). If the link does not have a prefix, the patrons email client may try to interpret what it should be based on content. This can be a link to your ticketing web site, in which case we recommend the use the tmsource= parameter to know which eblast resulted in a sale. Examples of URL's are:
|
Copy Paste
Copy and Paste is a phrase that implies copying material from one page to another. Material may include text, an entire page, symbols, characters, photographs, files or folders. This can be accomplished by using the left and right buttons of your mouse or by using your mouse and the keyboard of your computer.
- Open the letter you want to add the graphic to.
Click here for more information on opening an existing form letter.
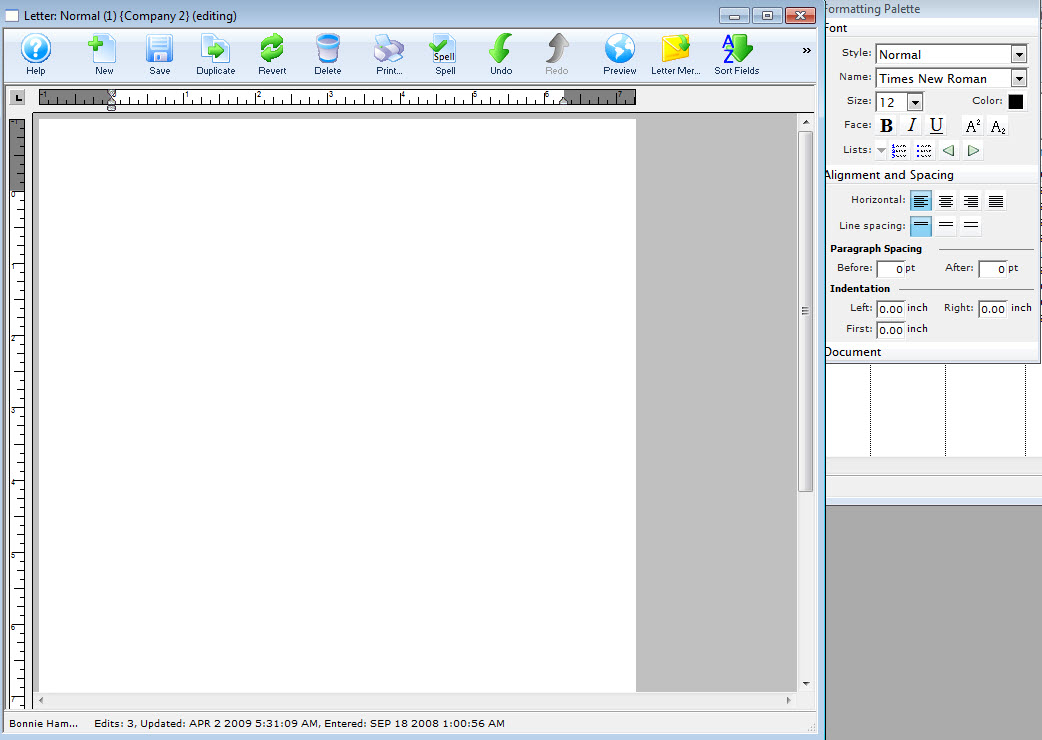
The selected letter opens.
- Open the document you want to copy the graphic from.
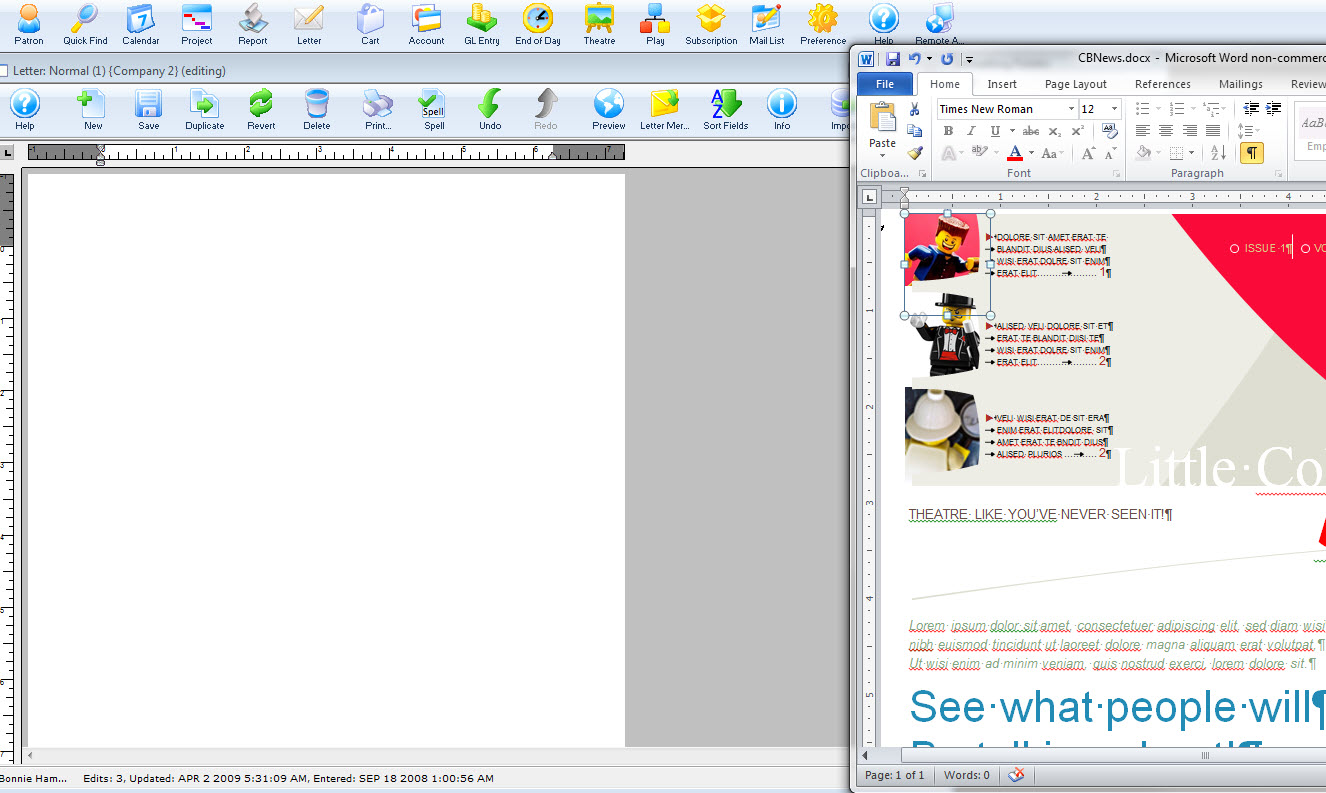
Mouse Method
- Highlight by holding down the left button of your mouse and dragging across the material you wish to copy.
Release your hold from the left button of the mouse.
- Right click the highlighted material. The right click commands menu opens.
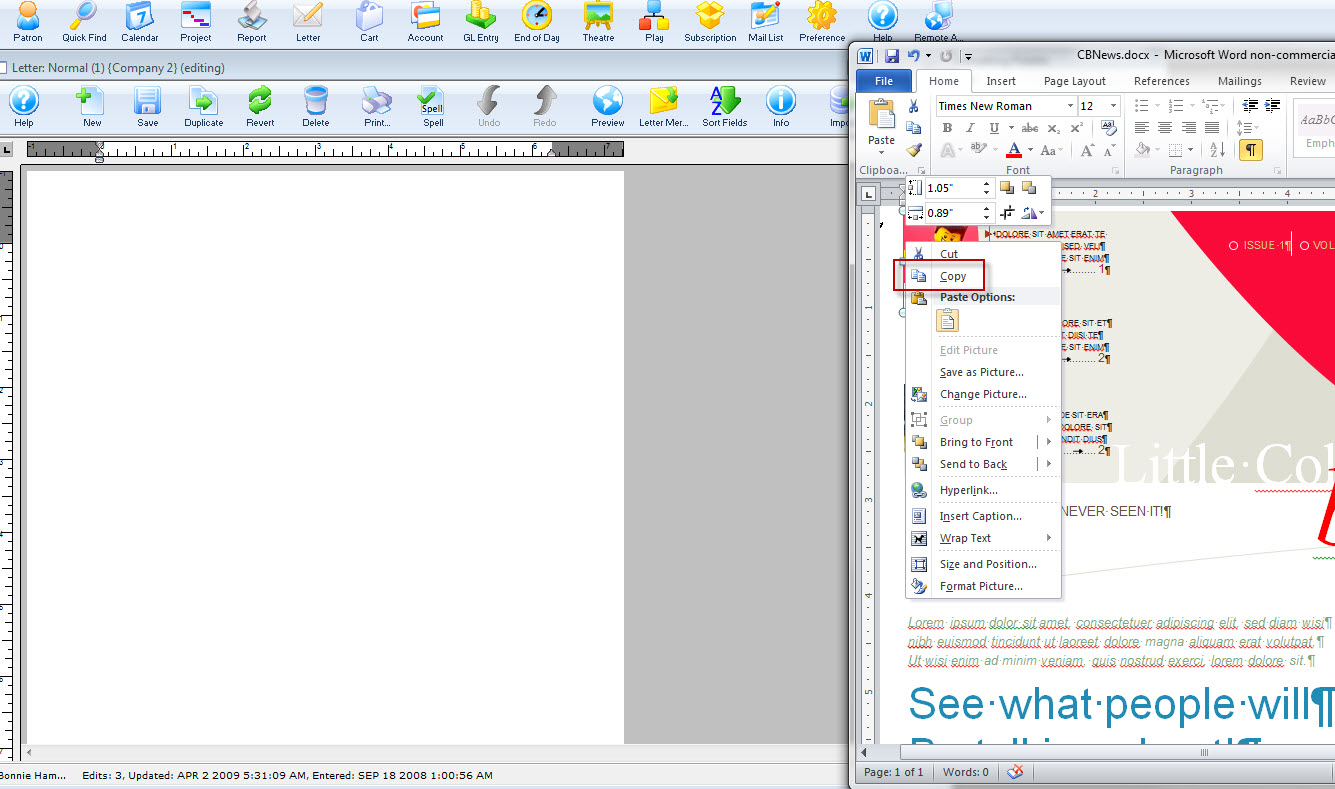
- Left click on Copy, to copy the highlighted material.
Proceed to your new page where you would like to place the copy.
- Place the cursor and right click over the area that needs the copied material. The right click menu opens.
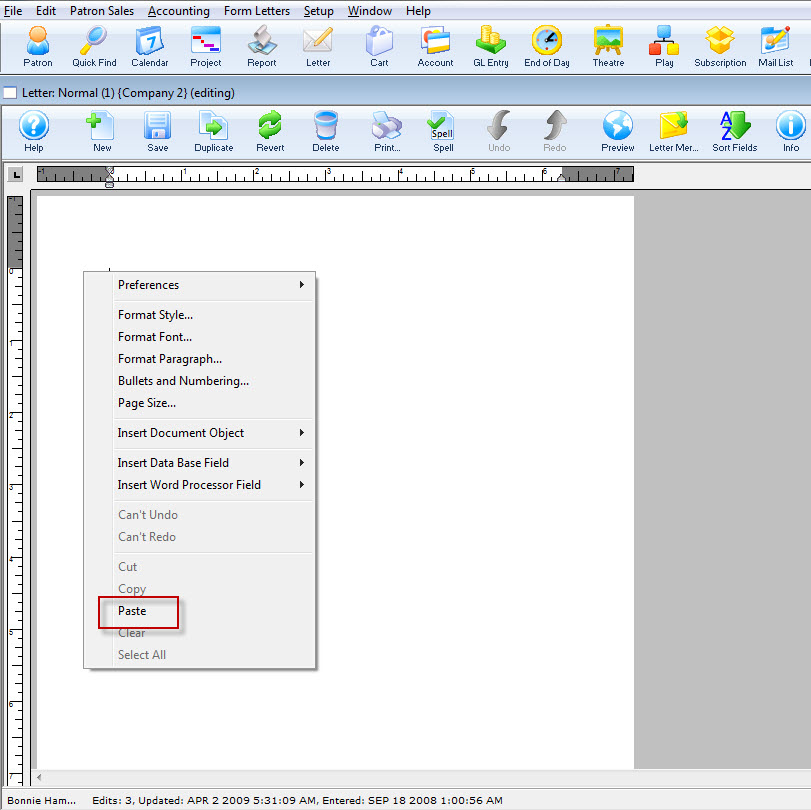
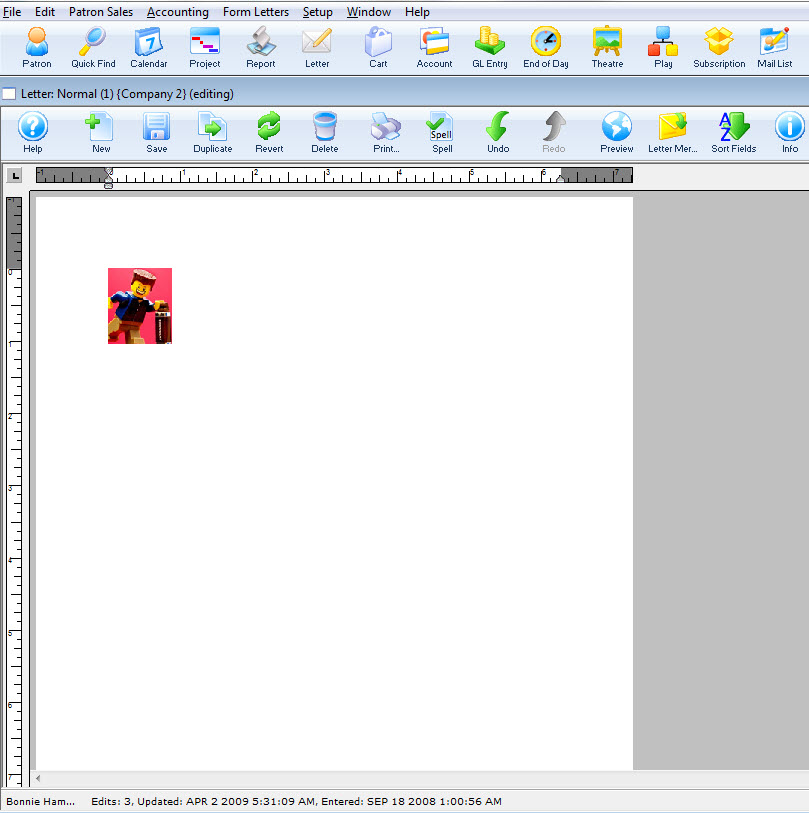
- Left click on Paste. The copied material is placed at the new location.
Mouse and Keyboard Method
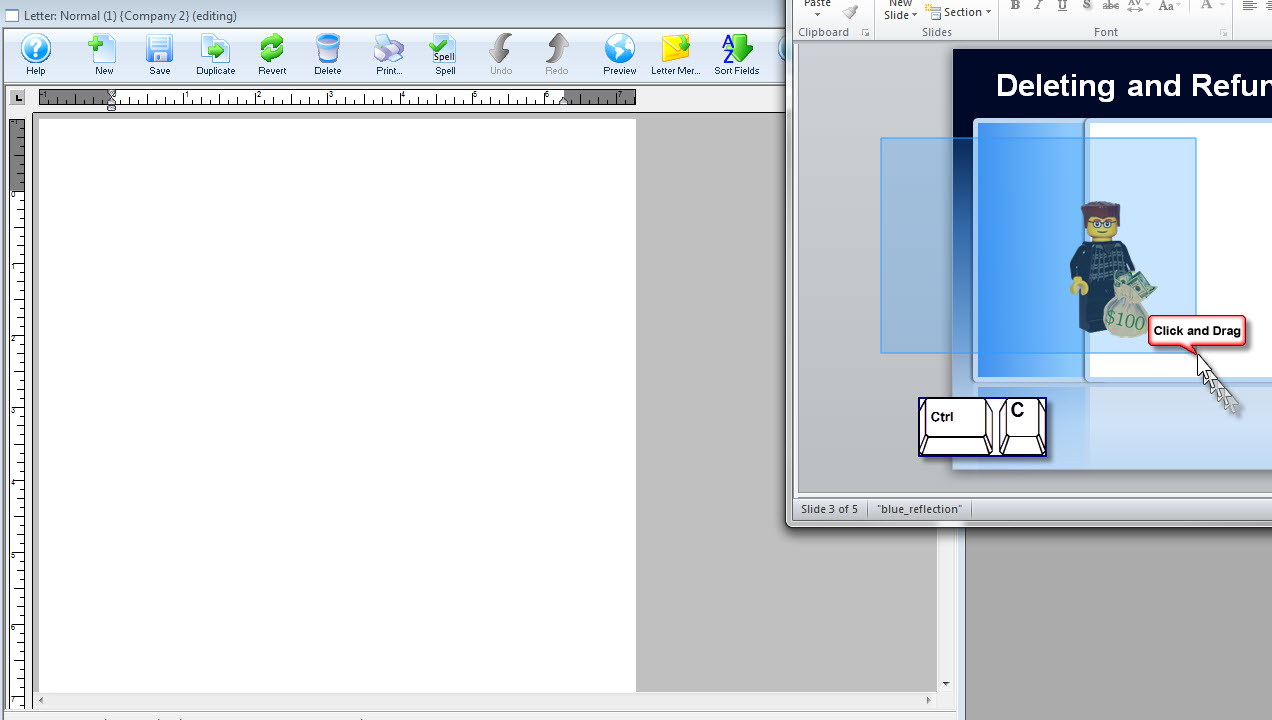
- Highlight by holding down the left button of your mouse and dragging across the material you wish to copy and release the mouse button.
- Hold down the Ctrl key on your keyboard, while pressing the C key at the same time, to copy the highlighted material.
Proceed to your new page where you would like to place the copy.
- Put the cursor where you would like the copied material and hold down the Ctrl key on your keyboard, while pressing the V key at the same time.
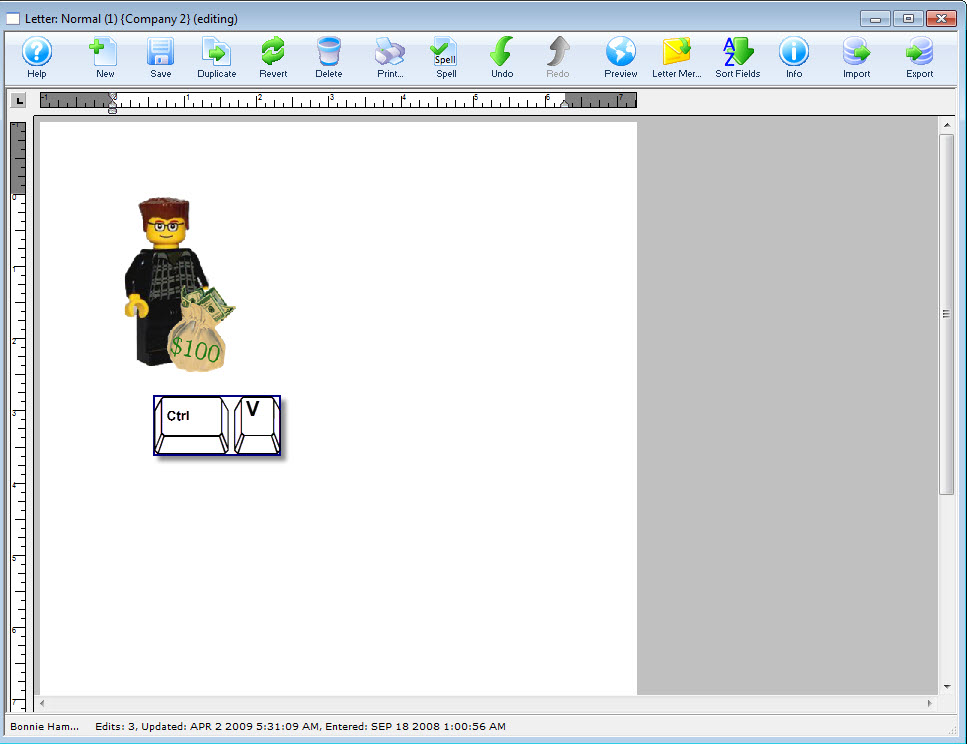
Your picture is now pasted in the document.
Drag and Drop to add a Graphic
To Drag and Drop a graphic into your form letter, you perform the following steps:
- Open the letter you want to add the graphic to.
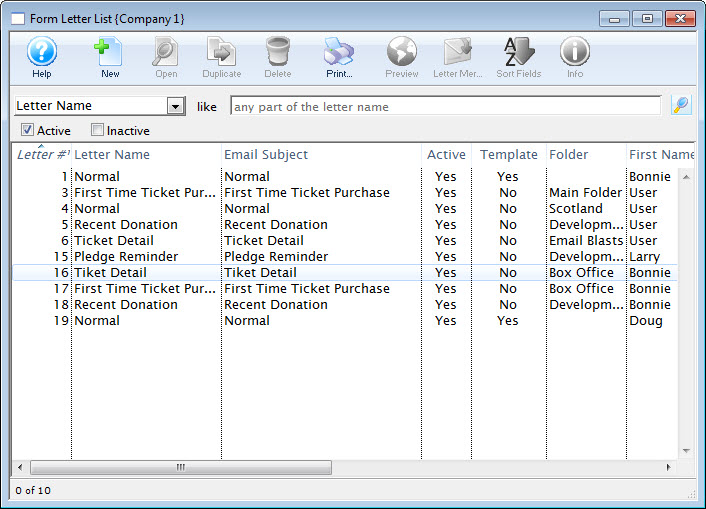
Click here for more information on opening an existing form letter.
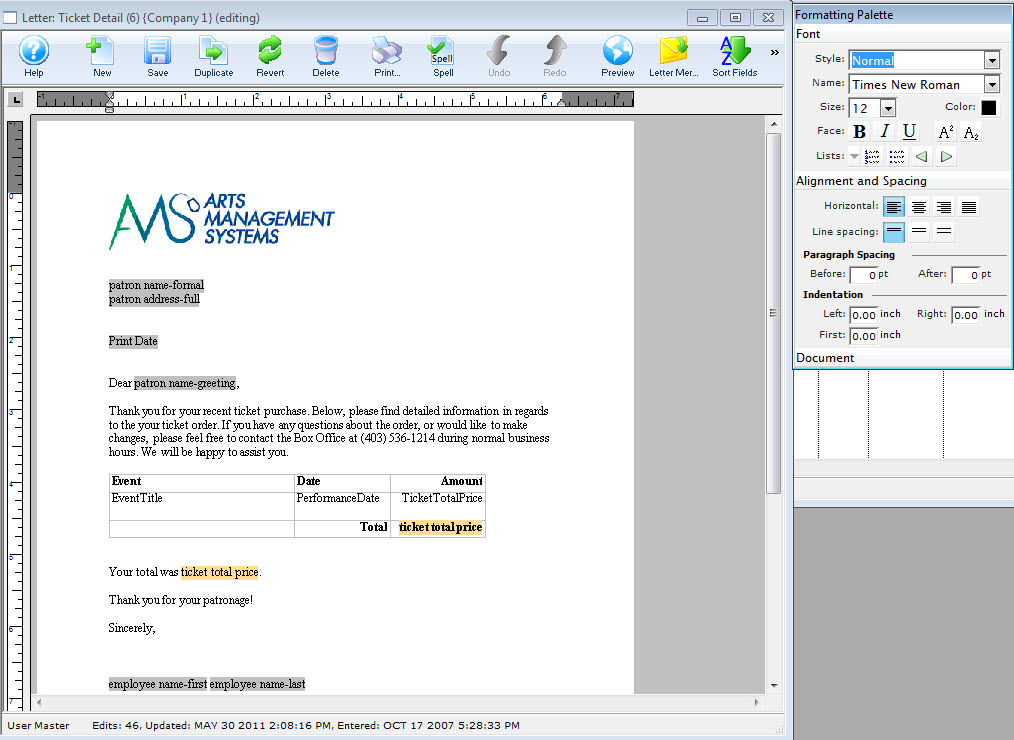
The selected letter opens.
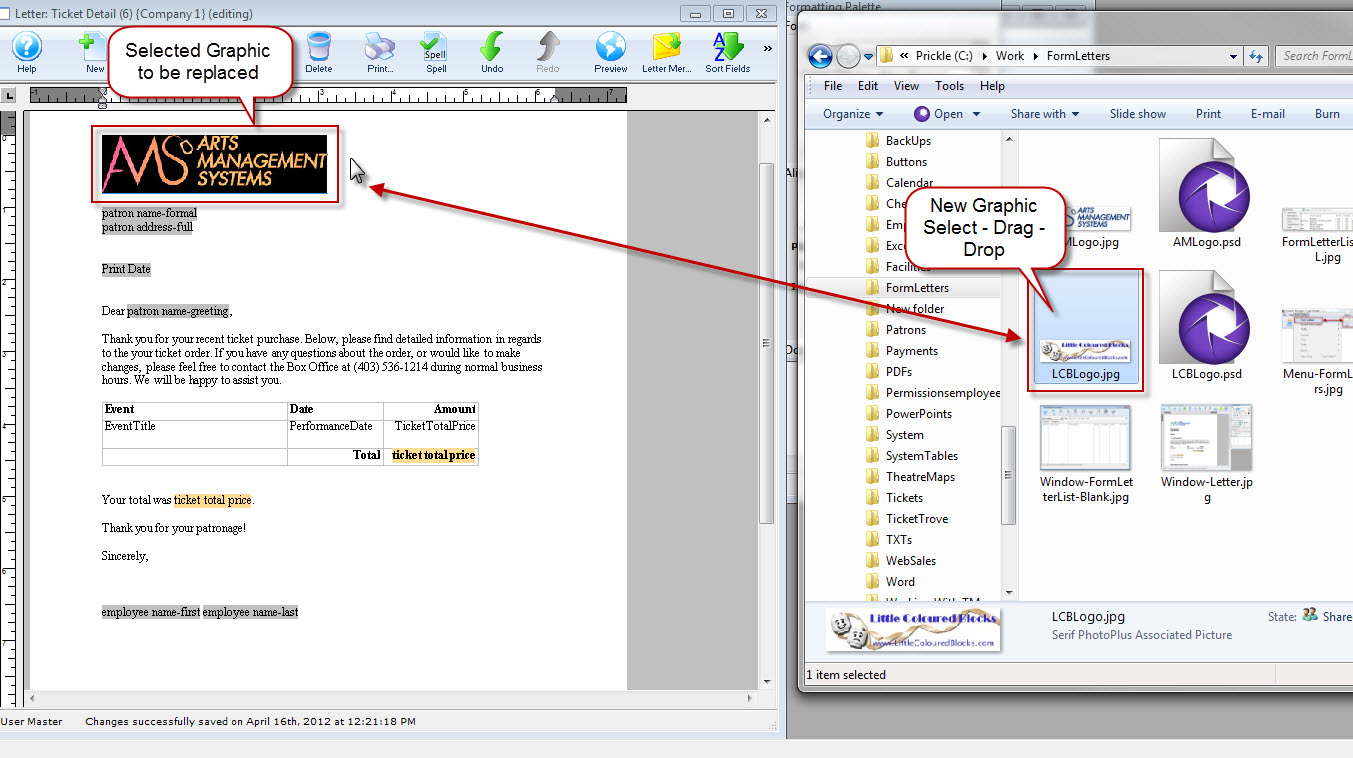
- Highlight the existing Graphic, if there is no graphic, place your cursor at the beginning of the line for your insertion point and now drag and drop the graphic into place.
A confirmation dialog opens.
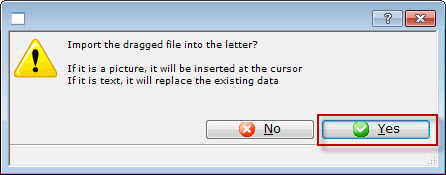
- Click the Yes
 button.
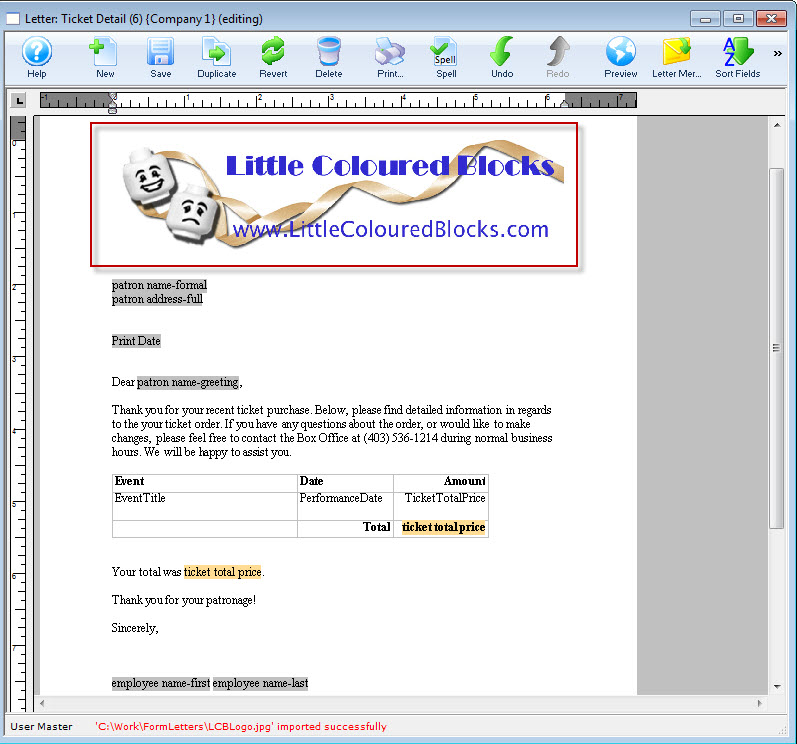
Your graphic has been added to the form letter using drag and drop.
To change the graphic size or location, use the right - click menu.

Float Image with Text wrapped
When creating a newsletter or eblast, it can be advantageous to fix the position of the image on the page and allow the text to wrap around it. To do this:
- Drag the image onto the form letter approximately where it should be placed
- Double click on the image. The formatting window, similar to the image on the right, will appear.
- Change the formatting to be Wrap
- (optionally) set the space from text:
- This is the white space that the form letter will leave around the image
- You can set values for one or more of the left, right, top or bottom of the image
- In the example, white space will be created only at Left border of the image for 0.2
- Close the Format Picture window. The text is now wrapped around the image
- Click on the image and drag it to the desired location in the document and the text will format automatically.
An Example is shown below:
The example shows placement of one image on a form letter. This can be repeat this as many times as needed in order to move images around on the page when creating a letter or email.
- The image for happy New Year is dragged onto the document and landed between text
- By double clicking on the image the parameters for wrapping and space around the image can be set
- Click on the image and drag it to the desired location in the document. In this case, the image is dragged to the right and the text formates nicely around it.
Paste From File
To add a graphic to a Form Letter by using paste from file, you perform the following steps:
- Open the letter you want to add the graphic to.

Click here for more information on opening an existing form letter.

The selected letter opens.
- With your cursor, locate the beginning of the linewhere you would like the graphic to appear.
- Chose the Main Menu item Edit >> Paste from File.
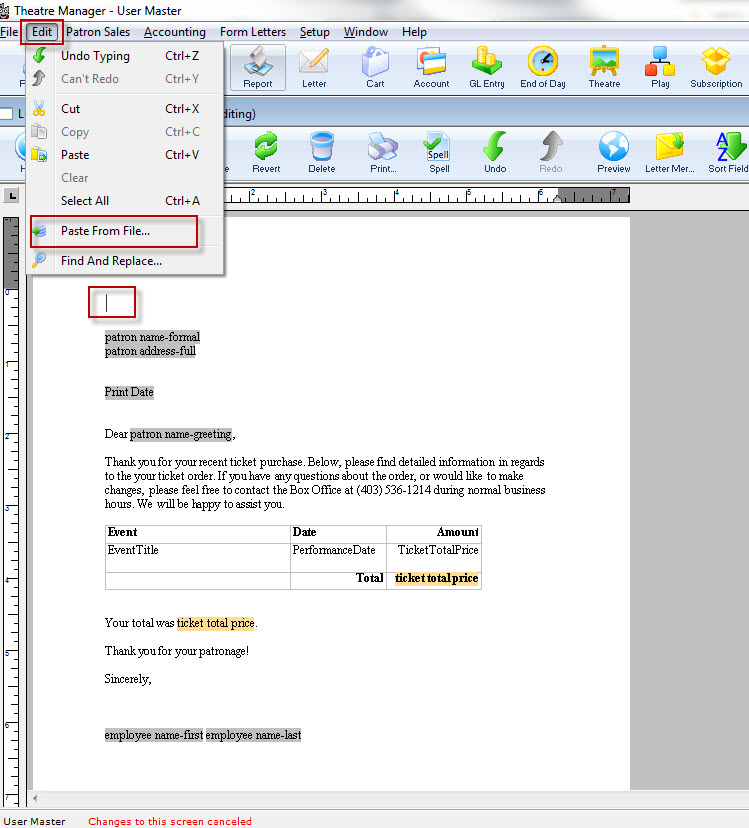
The file dialog for your operating system opens.
- Find the graphic file you want to insert into your form letter. You may have to use the drop down selection to choose the appropriate file type.
- Click the Open
 button.
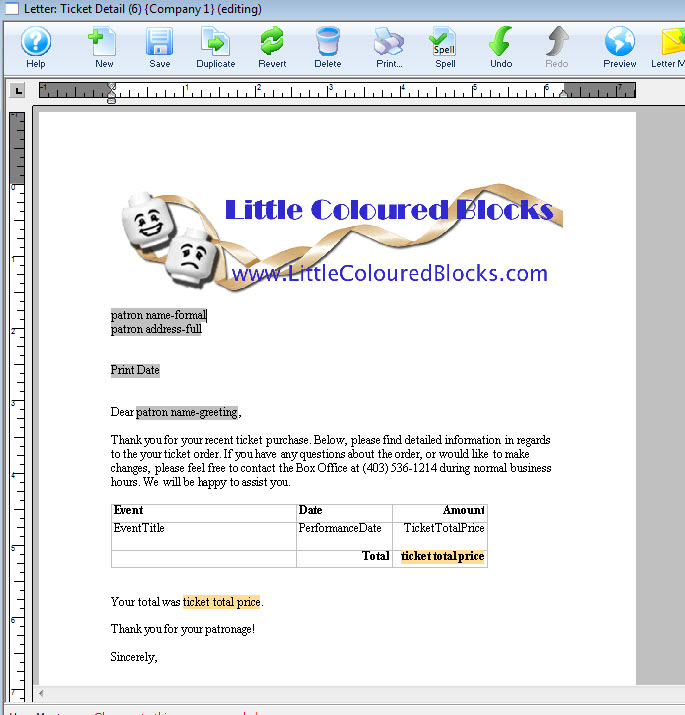
The graphic is pasted into the Form Letter.
