Schedule C Shred When Used
|
All the credit card data in theatre Manager is stored using AES256 encryption with rotating keys. An independant company has auditied the safety of the information and practices in theatre Manager to ensure it meets PCI PA/DSS 2.0 storage requirements. Visa has approved Theatre Manager as an application that can accept credit card payments using best practices. |

A venue may choose to shred cards immediately after use for added security. This means that full card data is never stored in the database. Voids can only be done using the merchant providers internal token if you have not yet done end of day. After end of day is completed, refunds require you to input the card number again.
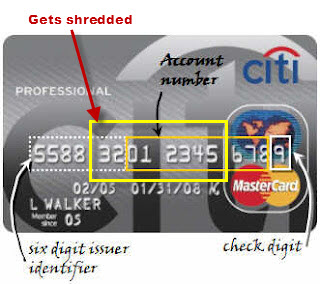
Shredding Credit Cards stores only the first and last 4 digits of a credit card number for informational purposes. For example:
When you shred yoiur credit card date the following business capabilities and functions are impacted:
- You cannot process post dated payments
- You will not be able to refund using the original payment/credit card number. You will have to ask the patron to give you the number again.
- You may not be able to refund an entire event using the card used for purchase
- You will be unable to process automatic season renewal.
- All existing payment / credit card information within the system is now unavailable.
The above are only a few functions that will be impacted.
If your venue wants to shred credit cards after use, you perform the following steps:
- Make a complete backup of your Theatre Manager Database just in case you want to change your mind later. Click here for more information on Backing up.
- Chose main menu item Setup >> System Preferences.
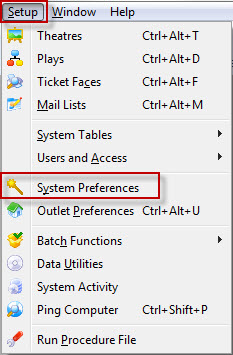
The System Preferences window opens.
- Click the PCI Security tab.
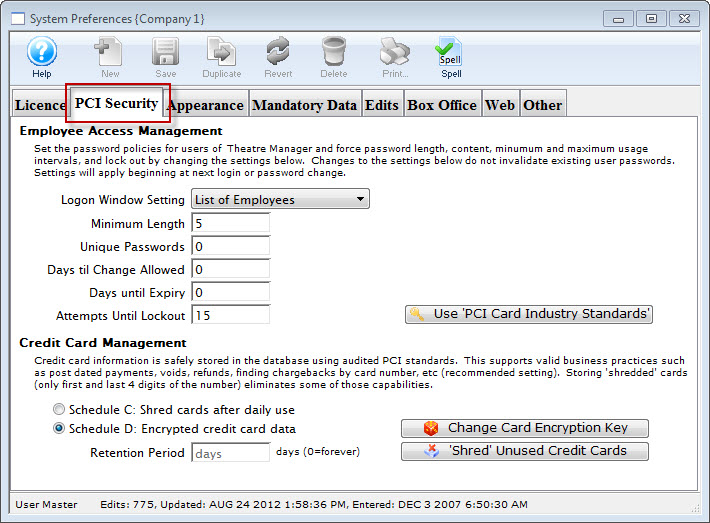
- In the Credit Card Management section, change the radio button to Schedule C: Shred cards immediately after use.

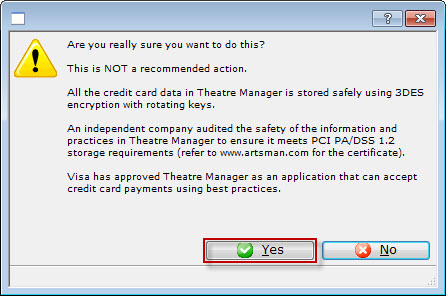
The first Warning dialog opens.
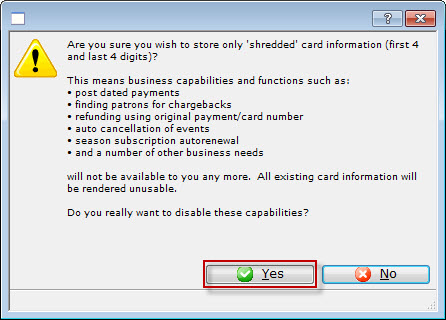
- Click the Yes
 button.
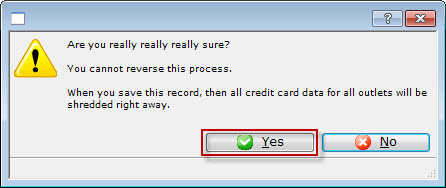
The second Warning dialog opens.
- Click the Yes button.
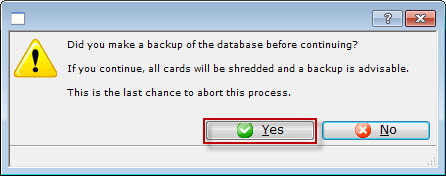
The third Warning dialog opens.
- Click the Yes button.
The fourth Warning dialog opens.
- Click the Yes button.
The Confirmation the data has been shredded data dialog opens.
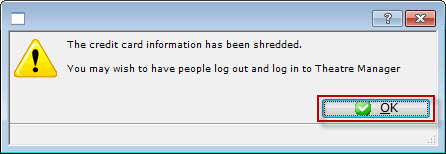
- Click the Yes button.