Schema Documentation
This is one of the most important setup steps when creating new data base fields.
Schemas are to be documented in three places.
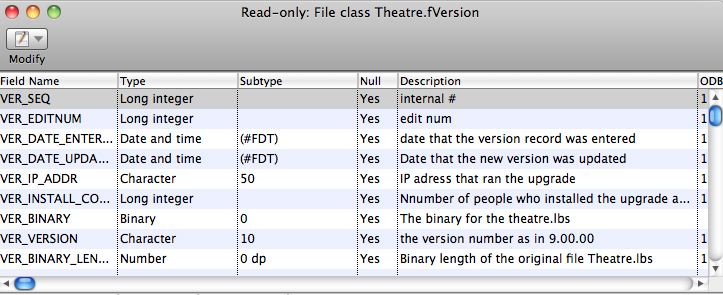
File Class
First, all database schemas will have a Studio ‘File’ class like the example below. The description in this area is for programmer assistance. It will show as tooltips to describe the field when looking it up for coding purposes.

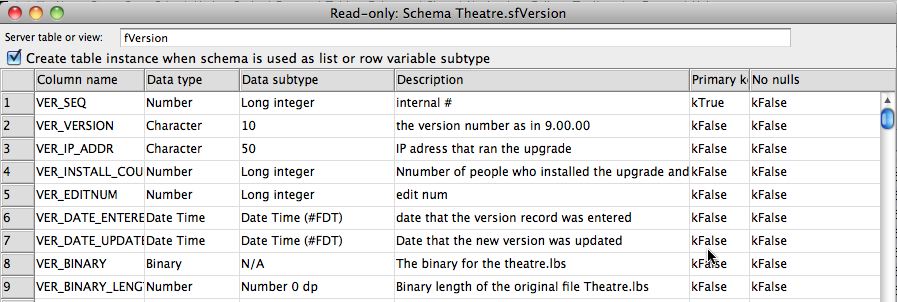
Schema Class
Most file classes have a corresponding schema class. The schema class is what actually is used to describe the database fields and interact with the database. The field names, types, subtypes, and descriptions should be copied from the file class. This is also for programmer tool-tip quick documentation

Data Dictionary
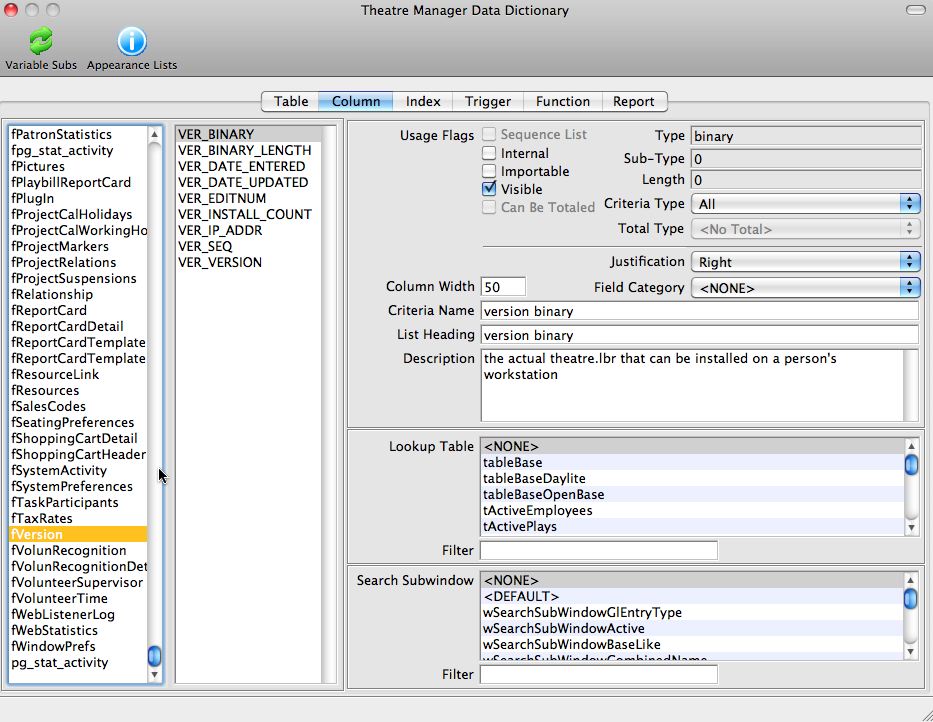
Once the file and schema classes have been defined, customer friendly field names are to be placed into the data dictionary. This is accessed off the Developer Menu->Data Dictionary.
Customer friendly descriptions are to be defined, along with a number of other data attributes as follows:
- Criteria Name (medium length name of the field for help)
- List Heading (short description of the field for the top of list columns wherever the field is used)
- Description (the tool tip to be displayed for the user when they hover over the field on any window)
- Usage flags for visibility and other options in Theatre Manager
- Justification for columns in lists
- Criteria level for use as a search field in reports and mail lists
- Lookup table - if the field is an enumerated data type and the user is to select 'is one of' the values from the list
- Search Sub Window which defines the sub window class to be used in list windows when this variable is used a search field
