Buttons and Dragging
Below the treelist and Gantt chart are a group of buttons and a drop area for tasks.
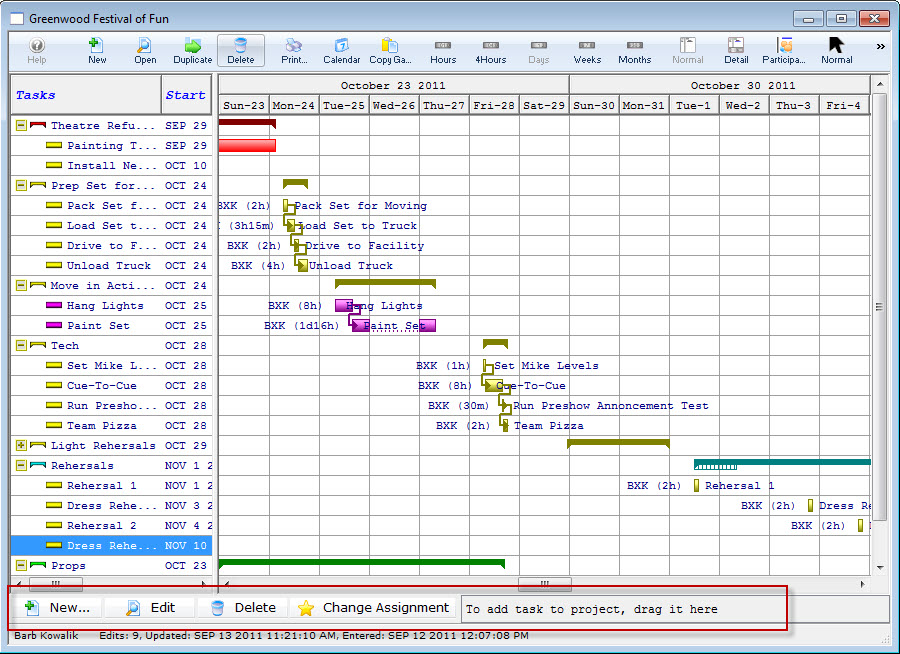
Description of the Button and Dragging Area
 |
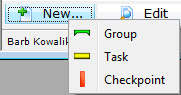
A Flyout menu opens where you can add:
| ||
 |
Edits the name of the task selected. | ||
 |
Removes the task or the group selected.
| ||
 |
Allows you to transfer tasks from one employee to another. Click here for more information. | ||
 |
If you want to add tasks to a project that have already been created elsewhere, you can drag them to the drop area. Click here for more information. |

New Button - Group
To Add a New Group, you perform the following steps:
- In the Projects window, click the New button.
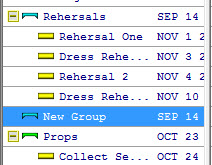
In the example shown, I want to insert the New Group, after the group Rehersals.
- In the New flyout, click Group
 .
.
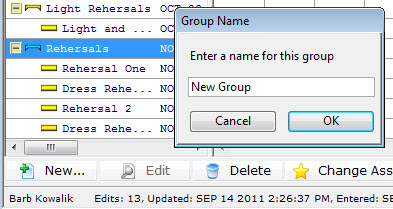
The Group Name Dialog opens.
Enter the name of your new group and click OK.
- You click and drag to right under the group Rehersals and you see the same ended line
, then let go.
Your new group has been added.
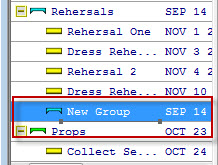
New Group is now a sub-group of rehersals. It needs to be at the same level as Rehersals.
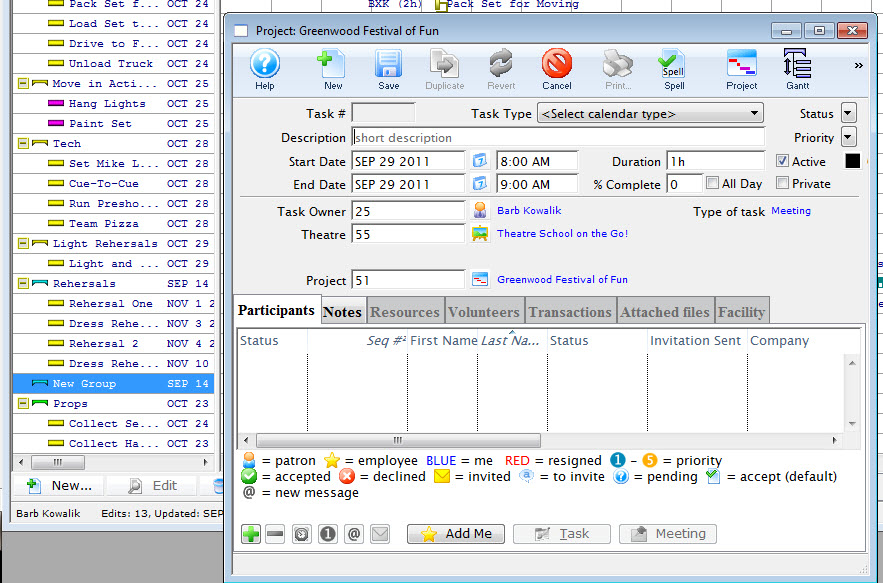
New Button - Task
To Add a New Task, you perform the following steps:
- In the Projects window, click the New button.
In the example shown, I want to insert a New Task in the group New Group.
- In the New flyout, click Group
 .
.
The Group New Task window opens.
Click here to go to the Add New Task page.