Customizing Theatre Manager
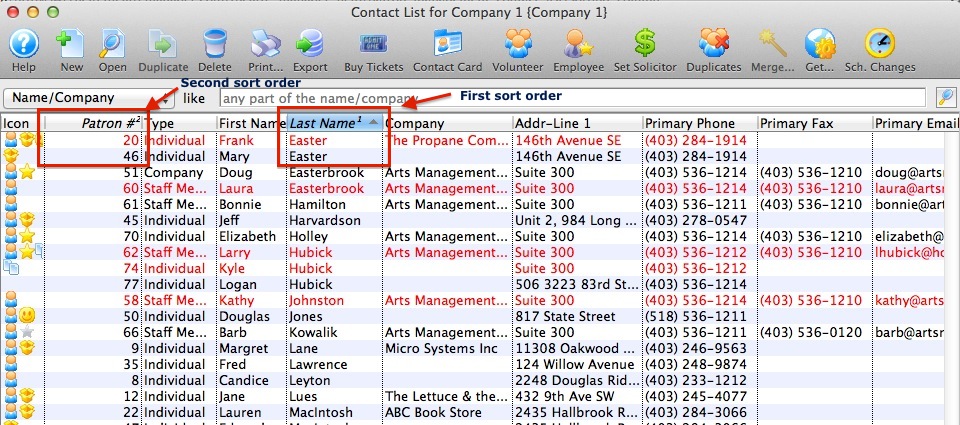
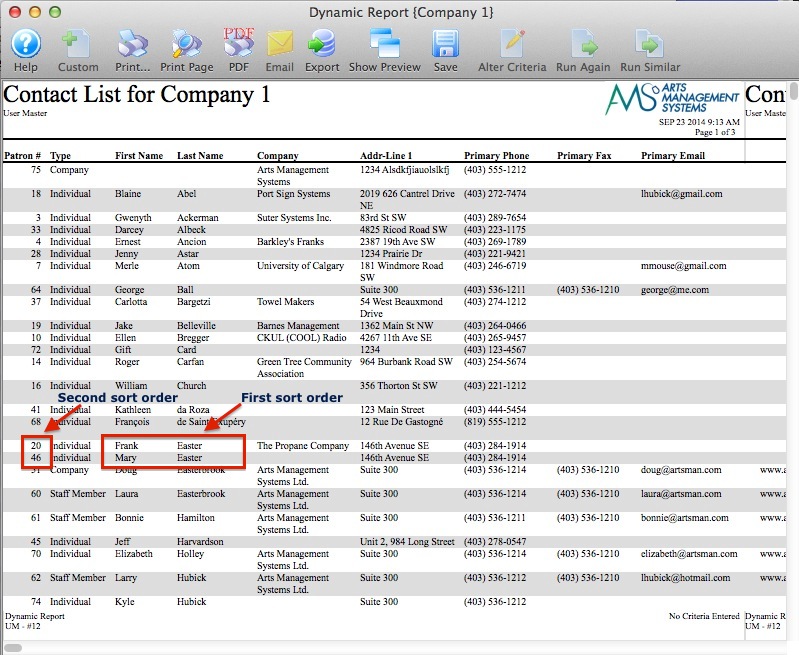
Changing Sort Order of a List
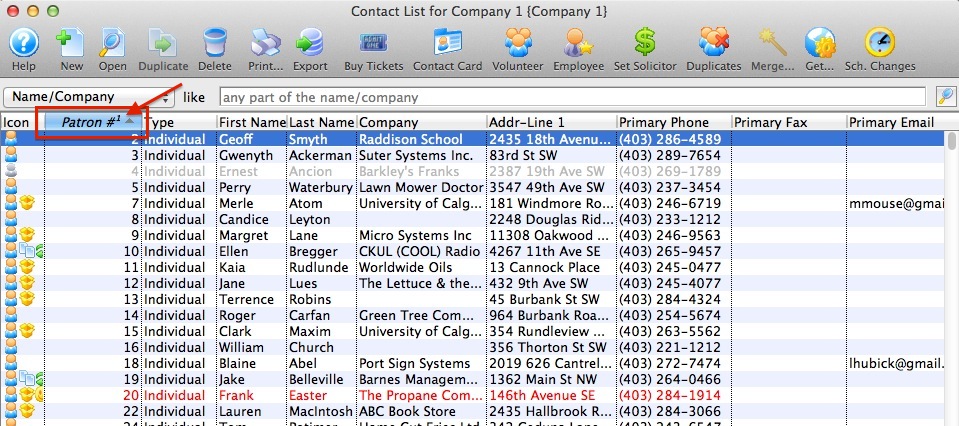
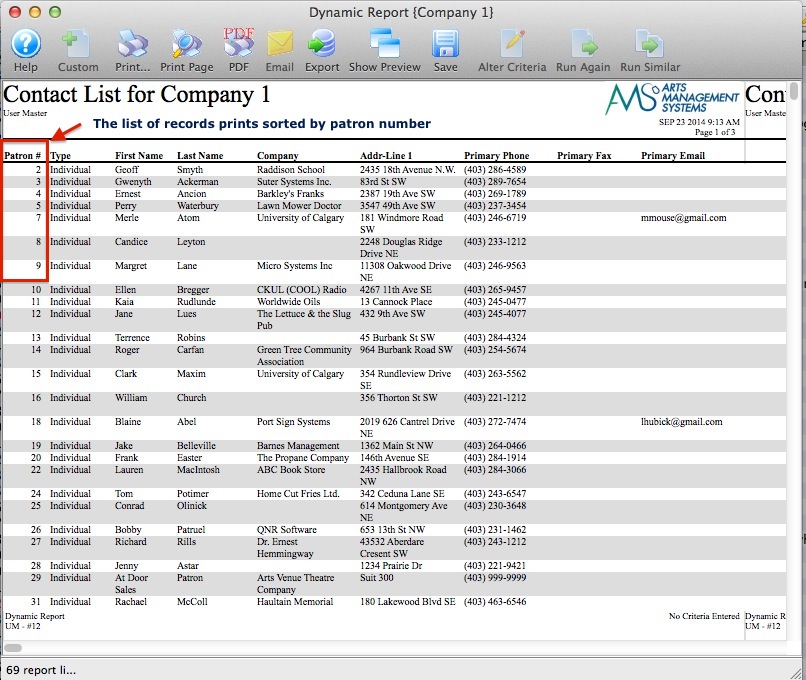
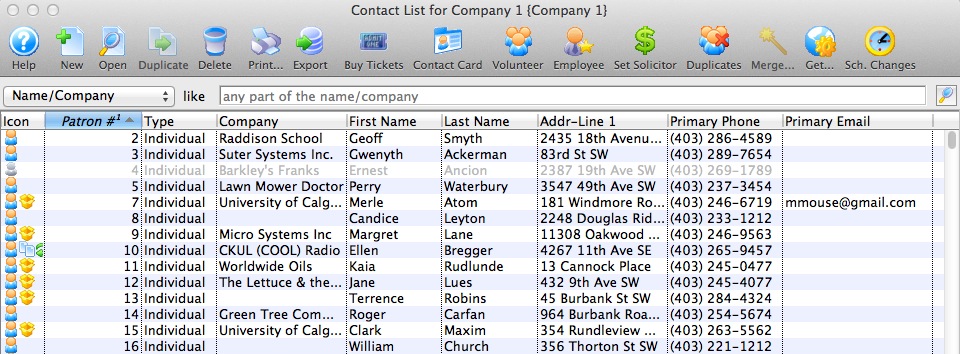
Note that in this example the list is sorted by the patron number, denoted with a 1 to the right of the column title.
Note in this example the list is sorted first by Patron Last Name, then by Patron Number.
Changing Column Order of a List
Click [and hold] on the header of the column you wish to relocate and with your mouse drag the column left or right to the desired position.
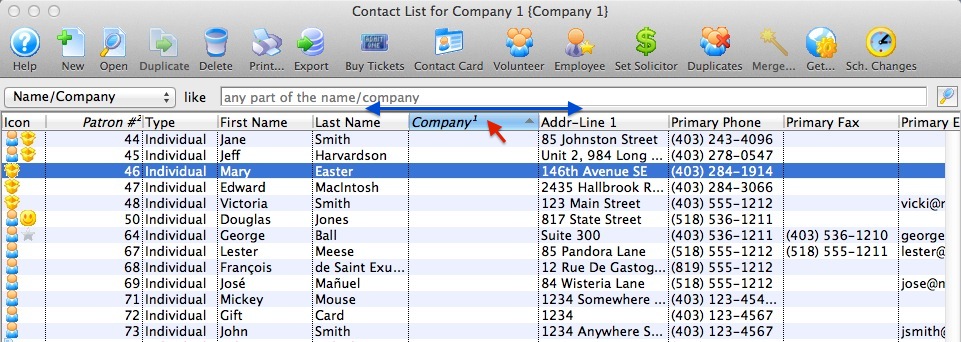
Below you will see that now the Company Name column has moved from the right of the Last Name to the Left of the First Name.
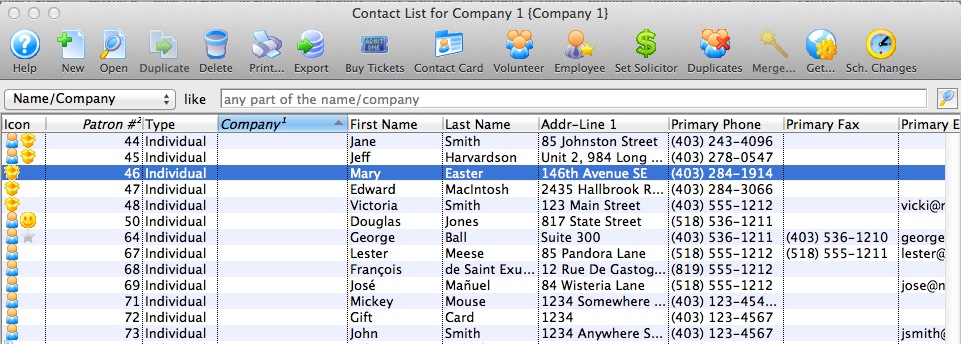
Now this change will remain as your users preference for this window. This will apply to all windows where a list columns of information is presented.
Changing Column Preferences
|
The column preferences will only be saved for the user who is logged into Theatre Manager when the changes are made. |

To change the column preferences for a list, you perform the following steps:
- Right-click anywhere on one of the column headers in the list you wish to change.
A checkable sublist opens.
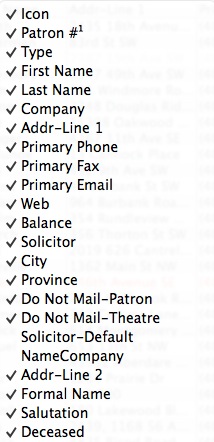
What is checked in the list is the column that displays.
- Click to check the columns you want displayed.
Clicking places a check next to the column name.
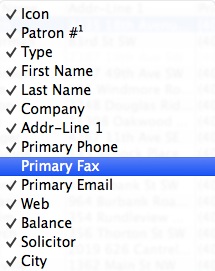
- Click to uncheck the columns to be dismissed.
This removes a check next to the column name. Note that Primary Fax has now been unchecked.
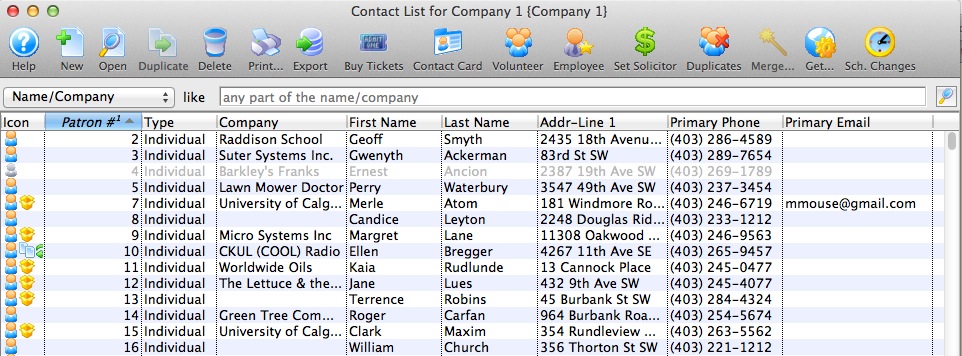
Now the Primary Fax Column has been removed from the list.
This feature is useful to customize the window to suit your needs, but even more so for exporting the data from this list. Only the data fields that are shown will be included in the export.
Changing Default Auto-Capitalization Settings
To change the default auto-capitalization setting for a field, you perform the following steps:
On a MAC:- Type the word into the field with the capitalization you want to display.
For example: MacDonald
- Press option+tab.
The cursor moves to the next field and your capitalization remains. Or Press option and click to the next database field with your mouse.
For example: MacDonald instead of Macdonald
- Type the word into the field with the capitalization you want to display.
For example: MacDonald
- Press ctrl+Click into the next field.
Your capitalization remains.
For example: MacDonald instead of Macdonald
If necessary, you can change the default auto-capitalization settings for all fields.
|
It is strongly recommended users maintain the auto-capitalization default. This preserves the 'standardization' of name and address data. If the default setting is changed, all users - including employees and patrons using the online interface - will be able to enter information in an incorrect manner.(no capitalization for anything, all caps for everything, etc.) |
- Choose Setup >> System Preferences >> Edits tab.
- Change the Auto-Capitalize drop down box to your desired setting.
- Never Capitalize will never auto-capitalize words
- First Time will auto capitalize words the first time they are typed in, but not when they are edited after the first time
- Except for Option-Tab will auto capitalize words except when the methods described above are used
- Always Capitalize will always auto capitalize words
Customizing Date Preference
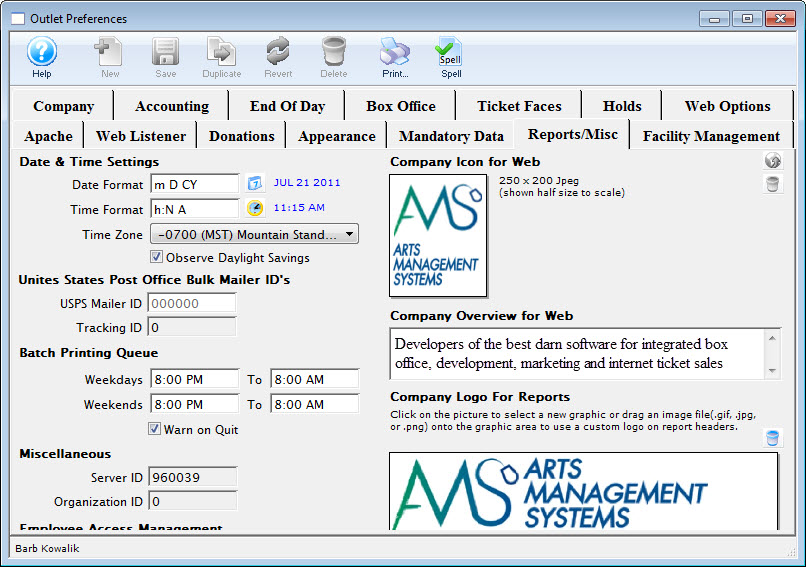
Using the Date Lookup icon lets you edit the format of how the dates will appear in Theatre Manager.

Using the corresponding letters from the lookup you can choose to change the date format.
|
Each letter is separated by a space. |
Multi-Level Sorting
There may be time where you would like to create a multi-level sort within your data. Some examples of when you might need this could be to find duplicate patrons; perform multi-season event searches; sort patrons within the subscription module; sort orders/tickets within a frequent buyer's record, etc.
Clicking on a column header, sorts any list:

If you would like to further refine your sort, use Shift+Click on the columns in the order you would like them to sort:

Performing a Shift-Click on the same column header again will change whether it is in ascending or descending order:

A single regular click will remove the additional sorts.
Statistics
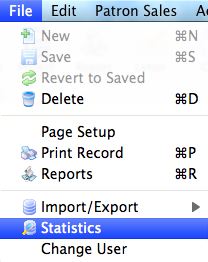
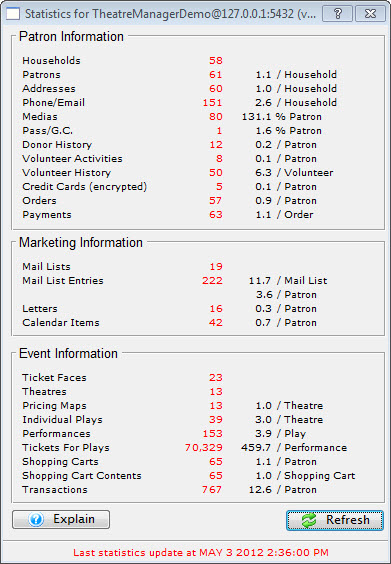
The Statistics window is accessed through the File>>Statistics menu.
This shows a quick glance at the record counts in the system. There is a more detailed report that can be printed. The statistics are up dated as the window is opened. If you want to refresh the statistics, you may click the  button.