Patron Contact Card - Tool Bar
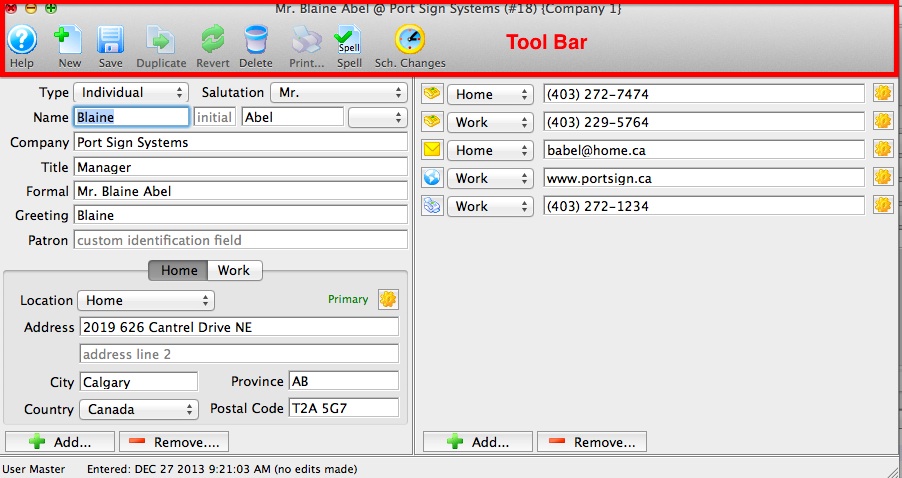
Parts of the Contact Card Tool Bar
The Tool Bar has many helpful function buttons.
 |
Connects to Theatre Manager Online Help for the Patron Contact Card. |
 |
Inserts a New patron contact card for another patron in the same household. |  |
Allows Contact Card to be saved. |
 |
Not applicable. |

|
Returns the content/text back to the saved content/text prior to any recent changes. |

|
Removes the patron record providing there is no financial transactions associated with the patron. |

|
For future development. |

|
Spell check. |

|
Displays a list of the Scheduled Changes for the patron. |
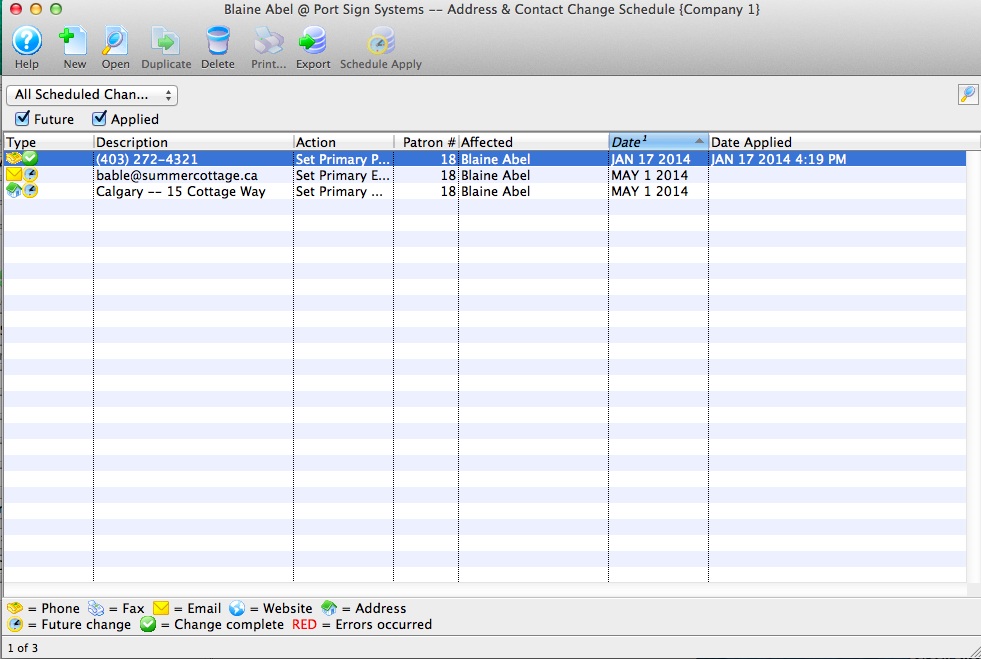
Patron Contact Card - Scheduled Changes
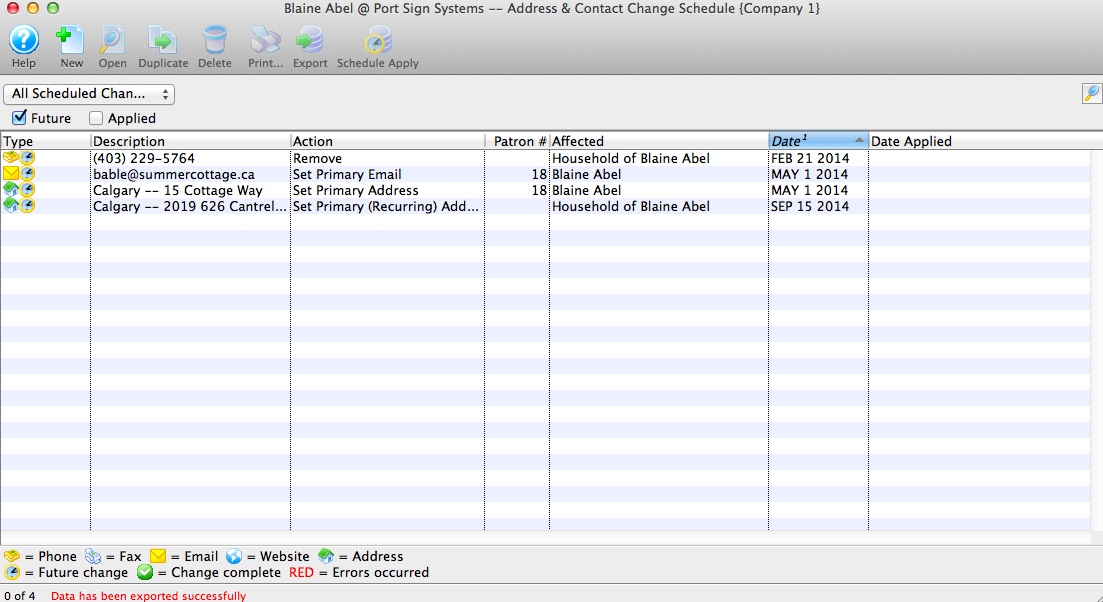
Scheduled Changes Window
This window displays a list of address and contact change schedules. A patron may have more than one address where they reside during different times of the year. For example they may have a summer home and would like to receive mailings at their summer home from June to September. An address can be schedule to change from their permanent to their summer address and then back to their permanent address in September.
Parts of the Scheduled Changes Window
|
Connects to Theatre Manager Online Help for the Scheduled Changes. |
|
Inserts a New address for patron. |  |
Allows an existing scheduled change from the list in the window to be opened for viewing or editing. |
|
For future development. |
|
|
Removes the scheduled change record. |
|
For future development. |
 |
Allows for the list of Scheduled Changes to be exported to a tab delimited or MS Excel workbook file. |

|
Rather than waiting until it's scheduled date, the contact information can be change now. |
|
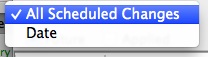
Search criteria for Schedule Change window can be set by Date range, by All Schedule Changes, Future or Applied. |
Editing Scheduled Change
When you make a scheduled address or phone change , you likely need yo make TWO scheduled changes. For example:
- If a person is moving in the future, you would set up a ONE-TIME change for:
- The new address and the specific date in the future when you want it to be effective -and-
- some time beyond that (say a couple of months), a scheduled deletion of the old address so that it is no longer in the patron record
- If the patron is a snowbird and is regularly changing addresses, you would indicate a RECURRING change:
- for the month/day that address 1 becomes effective each year
- for the month/day that address 2 should become effective each year
 |
This feature can also be reached by using the "gear" icon next to the contact on the Contact Card |
- Use the Schedule Change button to open the Schedule Change window.
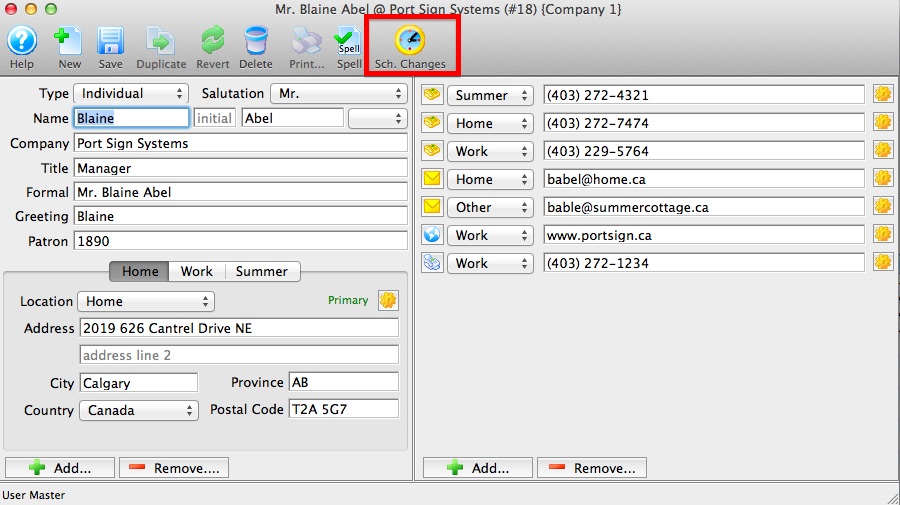
- Double click on a Scheduled Change to the selected line in the display window.
- Address or Contact Change wizard will pop up.
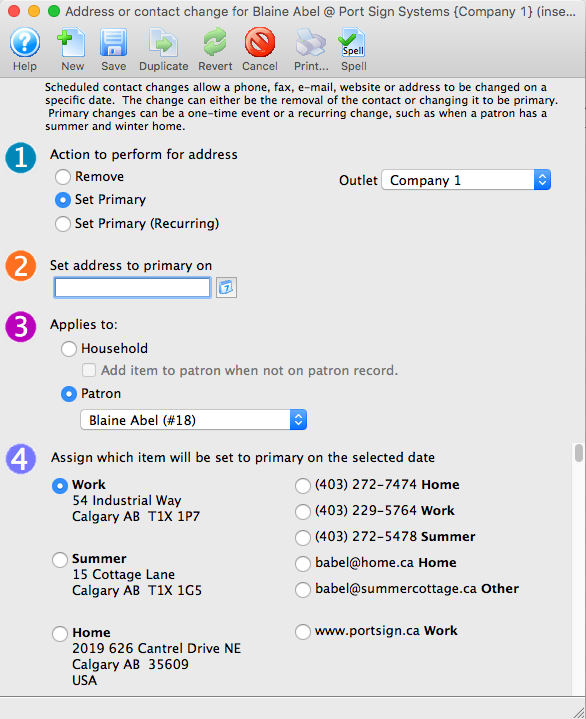
- Make required changes to any step(s)and save.
Note: In each of the 4 steps only one item within each step can be selected for change. If you need to make another change to a different contact information, simply create another New record to schedule the next change.
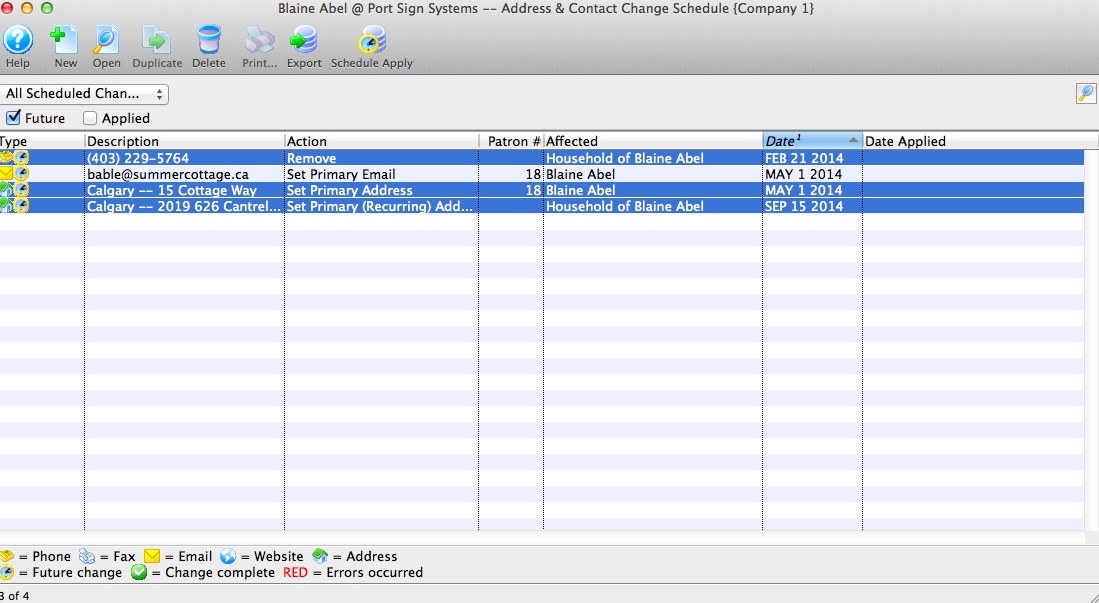
Apply Schedule Change Now
Rather than waiting until it's scheduled date for an automactic change, the contact information can be manually changed by using the Schedule Apply button from the toolbar.
- Use the Schedule Change button to open the Schedule Change window.
- Highlight the contact information line in the Schedule Change window.
- Click the button.
Clicking Schedule Apply button changes the effective date to be today's date. The 'Set Recurring' function will continue to exist for future scheduled effective dates, even though the contact information has been updated through this process.
Exporting A List of Schedule Changes
Allows for individual or groupings of Scheduled Changes to be exported to a tab delimited or MS Excel workbook file.
- Use the Schedule Change button to open the Schedule Change window.
- Highlight one or all Scheduled Change lines.
- Click Export button.
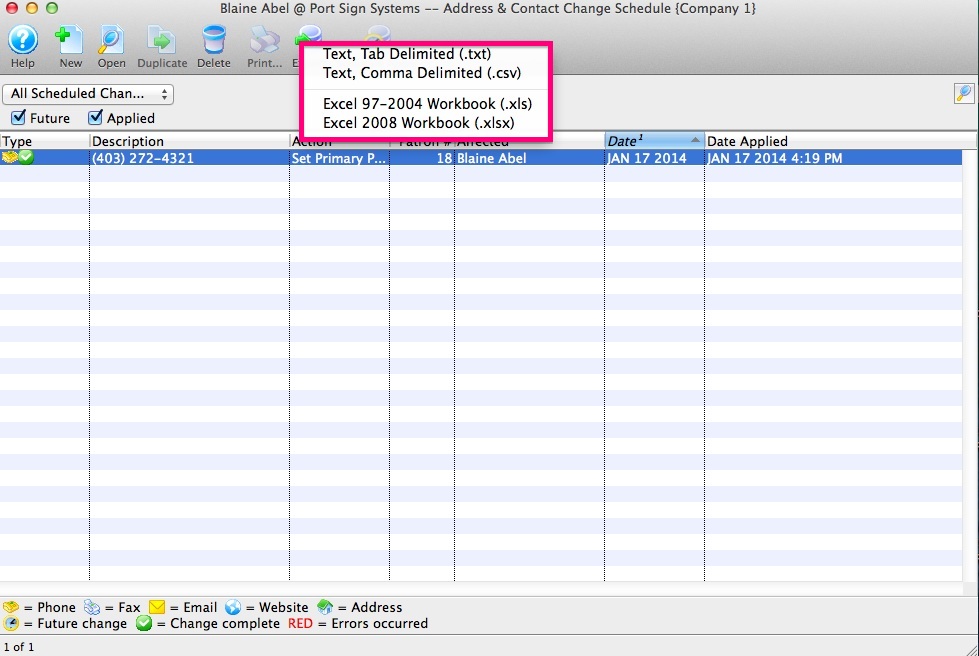
- Select a Tab Delimited or MS Excel workbook file and save.