Active Sync for Windows
 If the AMS Tickets program is not on the scanner, you will need to install it. You can determine if it is in the scanner by clicking the start menu at the top of the scanner and looking down the list for the Programs' menu item. When you pick Programs, you will see a list of applications loaded on the device.
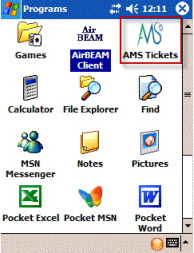
Look for AMS Tickets.
In the screen at the right, you can see the 'AMS' logo with the name 'AMS Tickets' in the first row on the 3rd Column
If you cannot find the icon the program will need to be installed.
|
Installation must be done on a PC because the connection cables that come with the device are USB and serial. If you have a credit card server, this is an ideal machine for this purpose. Installation only needs to be done once because the program is placed into nonvolatile ram, so even if you run out of battery power, it will still be there. |

Prerequisites
You need:
- The Windows Mobile software and the AMS Ticket program. You can download all you need from our web site.
- If you have Win 2000 or XP, then you must install Active Sync 4.5.
- For Windows Vista, 7, 8 and later, Microsoft Windows Mobile Device Center (WMDC) replaces ActiveSync. WMDC offers device management and data synchronization between a Windows Mobile-based device and a computer and is most often installed on the computer as part of the operatiing system.
- A PC computer with a USB connection.
Installing Active Sync 4.5
|
Active Sync 4.5 only applies to installing software on the Motorola scanners using windows 2000 or XP. If you have Vista and above, Microsoft Windows Mobile Device Center (WMDC) replaces ActiveSync and you may need to download and install that instead (if it is not already on the computer) |
| Step 1 |
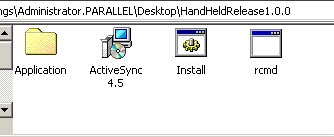
If you have not already done so, download the installers for the AMS ticket program. Expand the zip file to a convenient location and have a look at the folder. You will see some folders and files that look like the image to the right. If you have plugged in the scanner to your USB port, please unplug it. Double click on the ActiveSync 4.5 installer. This is the first step in getting the program installed. This happens once, regardless of the number of scanners you need to install the program on. |
| Step 2 |
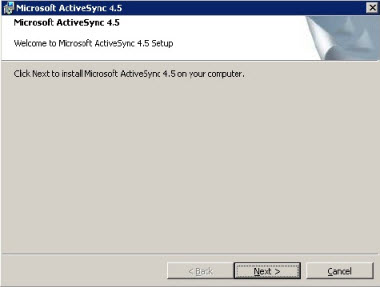
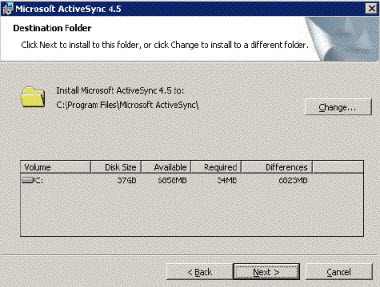
An installation window, similar to the one to the left, opens. Please follow the instructions to Install Active Sync 4.5. Click the Next button. |
|
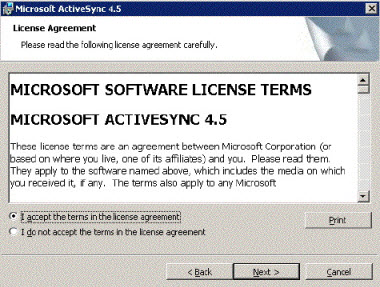
Step 3 |
After reading the terms, click to accept the licence terms, then click the Next button. |
|
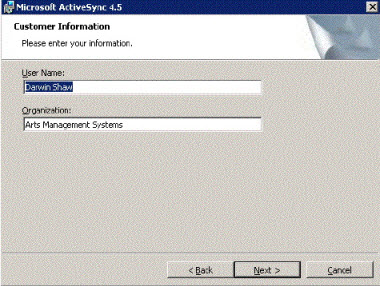
Step 4 |
Enter your user name and customer information and click Next. The software will most likely default the information for you. |
|
Step 5 |
Again click Next. |
| Step 6 |
Click the Install button and wait till the installer is finished doing its work. This can take several minutes, depending on the speed of your machine. |
|
Step 7 |
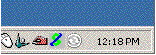
Once you have installed Active Sync, you should see an icon at the bottom left of your computer in the icon tray. It looks like a couple of 'arrows' in a circle. If it is grayed out (like this picture), the device is not in and not connected. |
|
Step 8 |
If the scanner is its cradle and is connected, you should see the the icon is 'green' (indicating a connection). |
|
Step 9 |
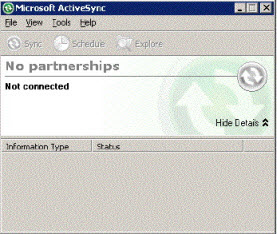
In either case, you can 'double-click' on the icon to open the active sync program. You will see a window like the one on the left. |
|
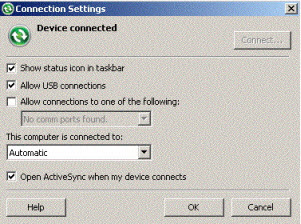
Step 10 |
If you have no connection, after plugging the scanner devince and the USB cradle, go to File->Connection Settings. This window has some settings that can be changed and should look like the image on the left. The default setting is to allow USB connections, but if you are having issues, please check to ensure the settings are similar. The important thing, is to get the Device Connected message. |